
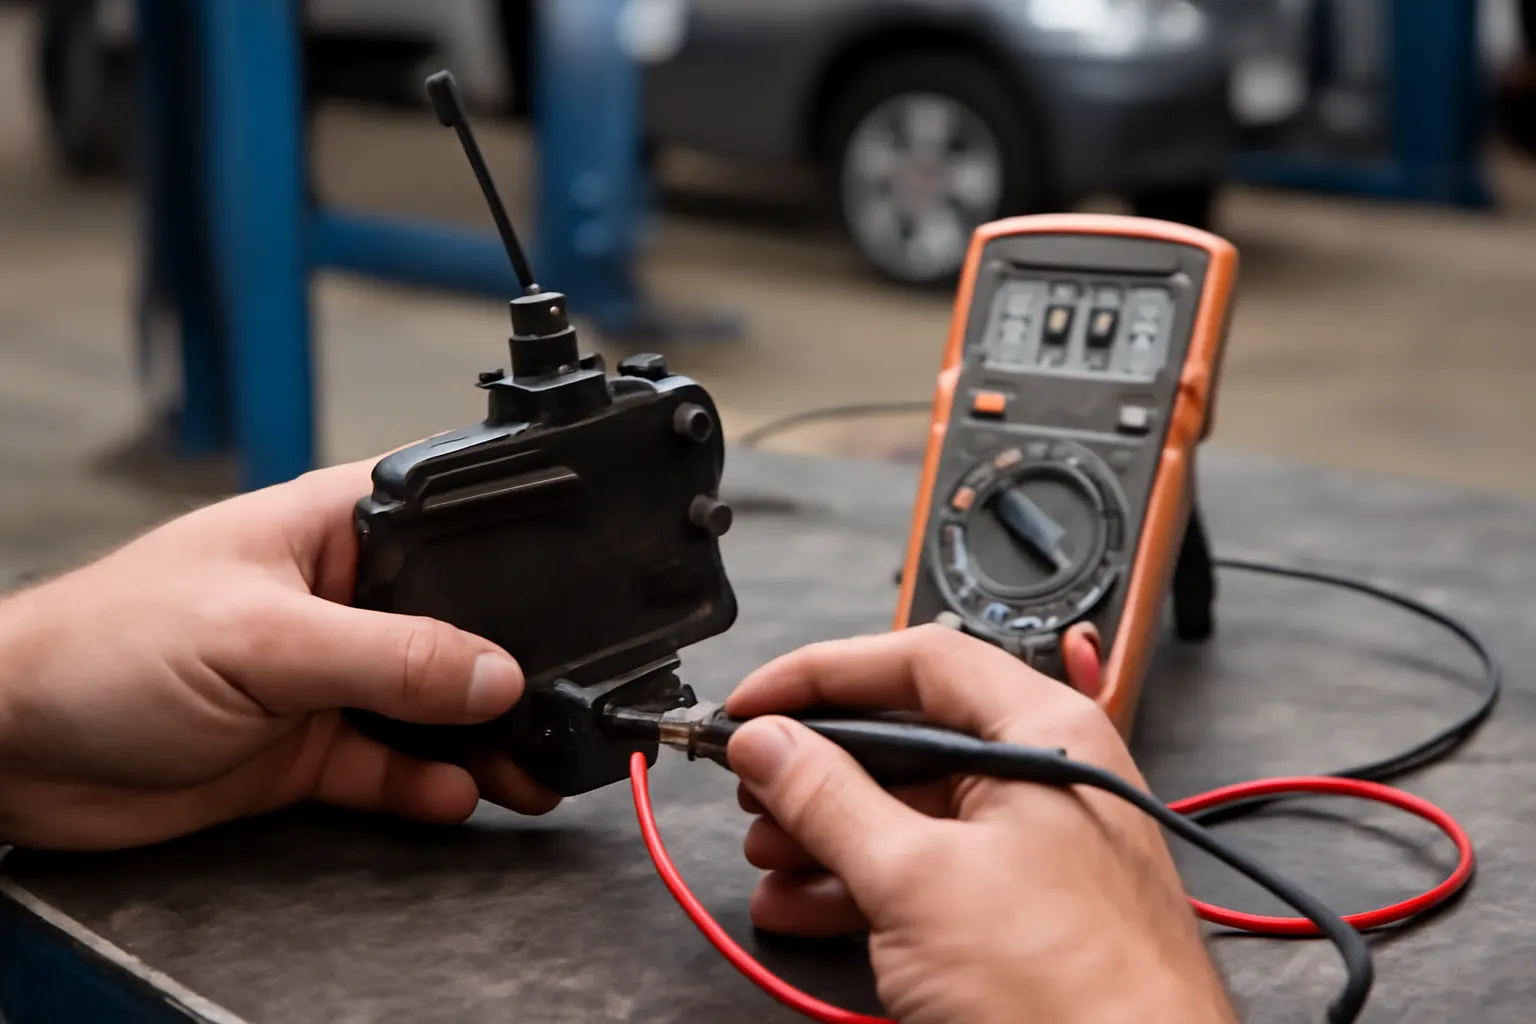
Common Symptoms of Failing Lock Actuators
Lock actuators are the unsung heroes of modern vehicle security, silently handling the electronic locking and unlocking of your car doors, hatch, or trunk. When these components fail, the consequences range from simple inconvenience to serious safety and security risks. Recognizing the early warning signs of a failing lock actuator is essential to avoid unexpected lockouts, compromised security, or even being stranded. In this comprehensive guide, the AutoPartEx Technical Editorial Team details the most common symptoms, their hidden implications, and the expert path to diagnosis and replacement. For a broader understanding of how these systems fit into your vehicle’s security architecture, visit our Lock Actuator Systems: Precision Control for Modern Vehicle Security category page.
Immediate Answer: What Are the Common Symptoms of Failing Lock Actuators?
If your vehicle’s doors refuse to lock or unlock at the press of a button, respond intermittently, make unusual noises, or behave erratically, you may be dealing with a failing lock actuator. Here are the primary symptoms to watch for:
- Unresponsive door locks (manual or remote)
- Intermittent or partial locking/unlocking
- Unusual noises (grinding, clicking, buzzing) from inside the door
- Door locks moving slowly or only partially engaging
- Only some doors respond to lock/unlock commands
- Unexpected lock or unlock cycles (“phantom” operation)
- Manual locking/unlocking feels stiff or jammed
- Warning lights or error messages on the dashboard (in advanced systems)
Ignoring these symptoms can lead to more severe issues, including total lockout or compromised vehicle security.
The Hidden Problem: Why Ignoring Lock Actuator Symptoms Risks More Than Inconvenience
At first glance, a slow or noisy door lock may seem like a minor annoyance. However, lock actuators are a critical link in your vehicle’s security system. When they begin to fail, the risks extend beyond inconvenience:
- Security Vulnerabilities: A malfunctioning actuator may leave one or more doors unlocked, making your vehicle a target for theft or unauthorized access.
- Risk of Lockout: If the actuator fails in the locked position, you could find yourself unable to enter your vehicle—potentially in an emergency.
- Safety Hazards: Some vehicles tie door locking to child safety locks or crash sensor systems. A faulty actuator can disrupt these features, reducing passenger safety.
- Electrical System Strain: Repeated attempts to operate a failing actuator can overwork related wiring, switches, or control modules, potentially leading to more extensive electrical problems.
The National Highway Traffic Safety Administration (NHTSA) highlights that vehicle safety components—including lock actuators—play a vital role in occupant protection and theft prevention 1.
Deeper Technical Explanation: How Lock Actuators Work and Why They Fail
Anatomy of a Lock Actuator
A lock actuator is an electromechanical device typically located inside each door, hatch, or trunk. It consists of:
- Electric motor or solenoid: Provides the force to move the lock mechanism.
- Gear reduction set: Translates the motor’s rotation into the linear or rotary motion needed to engage or disengage the lock.
- Linkage rods: Connect the actuator to the latch and external handles.
- Integrated sensors (in advanced systems): Report lock status to the vehicle’s control module.
Common Causes of Actuator Failure
Understanding why actuators fail helps in both diagnosis and prevention:
- Wear and Tear: Moving parts inside the actuator, especially plastic gears, can wear out over time.
- Electrical Issues: Faulty wiring, corroded connectors, or failing motors can disrupt operation.
- Moisture Ingress: Water entering the door cavity can corrode actuator internals or connectors.
- Temperature Extremes: Repeated exposure to hot/cold cycles can degrade plastic and electronic components.
- Design Limitations: Some OEM actuators are known for premature failure due to weak internal materials or poor sealing.
System Integration
Modern vehicles may integrate actuators with alarm systems, keyless entry, child safety locks, and crash sensors. A failing actuator can thus affect multiple interconnected systems. For an in-depth technical overview, see How Modern Lock Actuators Improve Vehicle Security.
Symptom 1: Unresponsive Door Locks
Description
You press the lock or unlock button—on the key fob or inside the car—but nothing happens. This is the most direct indicator of actuator failure.
Diagnostic Steps
- Check if all doors are affected. If only one door is unresponsive, the actuator is the likely culprit.
- Test both manual and remote operation. If manual operation works but electronic does not, suspect the actuator or its wiring.
- Inspect for blown fuses or relay issues. Sometimes, a blown fuse can mimic actuator failure.
Hidden Implications
An unresponsive lock can leave your vehicle vulnerable to theft or prevent you from accessing the cabin in emergencies.
Symptom 2: Intermittent or Partial Operation
Description
Sometimes the lock works, sometimes it doesn’t—or it only moves partway. This inconsistency is a hallmark of a failing actuator motor or internal gear set.
Diagnostic Steps
- Operate the lock repeatedly. Note if the actuator becomes less responsive with use (indicating motor overheating or gear slippage).
- Listen for weak or incomplete movement. Partial movement often signals worn gears or a dying motor.
Hidden Implications
Intermittent operation can mask the severity of the problem, leading owners to delay repairs until total failure occurs.
Symptom 3: Unusual Noises from Inside the Door
Description
A healthy actuator should operate quietly. Grinding, clicking, buzzing, or whirring sounds signal trouble.
Diagnostic Steps
- Identify the type of noise. Grinding suggests stripped gears; buzzing may indicate a stuck or overloaded motor.
- Compare with other doors. If only one makes noise, focus diagnostics there.
Hidden Implications
Noisy actuators often precede complete failure and may damage adjacent lock components if ignored.
Symptom 4: Slow or Partial Lock Movement
Description
The lock moves sluggishly or doesn’t fully engage/disengage. This is often due to internal mechanical resistance or failing motor windings.
Diagnostic Steps
- Observe lock speed compared to other doors.
- Check for physical obstructions in the door mechanism.
- Test operation at different temperatures. Cold weather can worsen sluggish actuators.
Hidden Implications
Slow locks can leave doors partially latched, increasing the risk of accidental opening or theft.
Symptom 5: Only Some Doors Respond
Description
You press the lock/unlock button, but only certain doors respond. This points to individual actuator failure rather than a system-wide issue.
Diagnostic Steps
- Cycle each door lock individually.
- Check for shared wiring or control module faults if multiple actuators fail at once.
Hidden Implications
Partial system failure can be mistaken for a central locking or key fob issue, delaying correct diagnosis.
Symptom 6: Phantom Locking or Unlocking
Description
Your doors lock or unlock without input (“phantom” operation). This usually stems from shorted actuator wiring or a failing control module, but a malfunctioning actuator can send errant signals as well.
Diagnostic Steps
- Monitor for patterns (e.g., happens after rain or car wash).
- Check for water ingress in the affected door.
- Scan for error codes in the vehicle’s body control module.
Hidden Implications
Phantom operation can drain the battery, disable security features, or accidentally unlock your vehicle in unsafe locations.
Symptom 7: Manual Locking Feels Stiff or Jammed
Description
If manually locking or unlocking the door feels unusually stiff or gets stuck, the actuator’s internal linkage or gears may be binding.
Diagnostic Steps
- Operate the lock with the door open and closed.
- Inspect for bent linkage rods or broken actuator mounts.
Hidden Implications
Forceful manual operation can further damage the actuator or related door hardware, driving up repair costs.
Symptom 8: Dashboard Warning Lights or Error Messages
Description
Some newer vehicles display lock-related warnings or error messages when an actuator fails, especially if integrated with advanced security or access systems.
Diagnostic Steps
- Check the vehicle’s diagnostic display or infotainment system.
- Scan for body control module error codes with an OBD-II scanner.
Hidden Implications
Ignoring these warnings can lead to more extensive electronic system faults or leave your vehicle unsecured.
Diagnostic Checklist: Is Your Lock Actuator Failing?
Use this step-by-step checklist to confirm a failing lock actuator before proceeding with repairs:
| Symptom | Y/N | Notes/Observation |
|---|---|---|
| Door fails to lock/unlock remotely | ||
| Door fails to lock/unlock manually | ||
| Only one door is affected | ||
| Unusual noises from the door | Grinding, clicking, buzzing | |
| Slow or partial lock movement | ||
| Sporadic or intermittent operation | ||
| Doors lock/unlock on their own | “Phantom” operation | |
| Dashboard displays lock warnings | ||
| Stiff or jammed manual operation | ||
| Symptoms worsen in cold/wet weather |
If you answer “Yes” to multiple symptoms, actuator replacement or repair is likely needed. For a detailed diagnostic walkthrough, consult our Diagnosing Door Lock Failures: Step-by-Step Guide.
The Solution Path: How to Address a Failing Lock Actuator
Step 1: Confirm the Diagnosis
Eliminate other possible causes such as blown fuses, faulty switches, key fob battery issues, or central locking module faults. Only proceed to actuator replacement once these are ruled out.
Step 2: Choose the Right Replacement
- OEM vs. Aftermarket: OEM actuators ensure fit and function but can be costly. Quality aftermarket units may offer improved durability.
- Match by VIN and Door Location: Actuators are often side- and position-specific; confirm compatibility with your vehicle’s make, model, and year.
- Check for Integrated Features: Some actuators include sensors or alarm triggers. Ensure replacements match all required features.
Step 3: Gather Tools and Supplies
- Trim removal tools
- Screwdrivers (Phillips and flathead)
- Ratchet and socket set
- Replacement actuator
- Dielectric grease (for electrical connectors)
- Shop towels and gloves
Step 4: Remove the Door Panel
- Disconnect the battery to prevent accidental airbag deployment or electrical shorts.
- Carefully pry off the door trim, disconnecting any wiring harnesses and linkage rods.
- Locate and unbolt the failed actuator.
Step 5: Install the New Actuator
- Transfer any mounting brackets or linkages to the new unit.
- Apply dielectric grease to electrical connectors.
- Securely bolt the actuator in place and reconnect all wiring and rods.
Step 6: Test Before Reassembly
- Reconnect the battery and test all lock and unlock functions (remote and manual).
- Verify that the lock cycles cleanly and quietly.
- If equipped, check for error codes and clear them if necessary.
Step 7: Reinstall the Door Panel
- Carefully align and reattach the door trim and all fasteners.
- Double-check for proper window and handle operation.
For a detailed, illustrated walkthrough, see our Replacing a Lock Actuator: Tools, Tips, and Best Practices.
Maintenance Tips: Extending Lock Actuator Life
Proactive maintenance can delay actuator failure and improve overall system reliability:
- Keep Door Seals Intact: Inspect and replace damaged weatherstripping to prevent moisture ingress.
- Lubricate Linkages: Periodically lubricate lock rods and latch mechanisms with a silicone-based lubricant.
- Avoid Slamming Doors: Excessive force can accelerate actuator wear and misalign linkages.
- Address Electrical Issues Promptly: Repair corroded connectors or damaged wiring to prevent actuator overload.
- Limit Aftermarket Modifications: Poorly installed alarms or remote starters can introduce electrical faults affecting actuators.
Sourcing Quality Replacement Lock Actuators
When replacing a lock actuator, sourcing matters:
- Purchase from Reputable Suppliers: Avoid low-cost, low-quality units that may fail prematurely.
- Verify Fitment: Use your vehicle’s VIN or consult the Lock Actuator Systems: Precision Control for Modern Vehicle Security category on AutoPartEx for precise fitment data.
- Check for Compliance: Ensure replacement parts meet or exceed applicable safety and performance standards, as outlined by organizations like SAE International 2 and NHTSA 1.
When to Seek Professional Help
While many DIYers can replace a lock actuator with basic tools and patience, certain scenarios warrant professional intervention:
- Advanced Security Systems: Vehicles with integrated alarms, smart keys, or biometric access may require dealer-level programming.
- Multiple Actuator Failures: Widespread lock issues may indicate a deeper electrical or control module problem.
- Persistent Error Codes: If dashboard warnings or error codes persist after replacement, a professional diagnostic scan is recommended.
- Airbag-Equipped Doors: Some vehicles have side airbags in the doors—improper handling can be dangerous.
The AutoPartEx Advantage: Precision, Support, and Security
At AutoPartEx, we understand that your vehicle’s lock actuator system is a cornerstone of safety and convenience. Our curated selection of OEM and premium aftermarket actuators ensures you get the right fit, the first time. With detailed product data, fitment guides, and expert technical support, AutoPartEx is your partner in restoring secure, reliable access to your vehicle. For more advanced insights and step-by-step guides, explore our related editorial content:
- How Modern Lock Actuators Improve Vehicle Security
- Diagnosing Door Lock Failures: Step-by-Step Guide
And for sourcing quality parts by make or model, visit our Lock Actuator Systems: Precision Control for Modern Vehicle Security category page.
Final Expert Action: Don’t Ignore the Signs—Act Early for Security and Safety
A failing lock actuator is more than a nuisance—it’s a potential security risk and a gateway to further damage. Early diagnosis and timely replacement restore your vehicle’s protection, convenience, and peace of mind. If you notice any of the symptoms outlined above, use our diagnostic checklist, source a high-quality replacement, and follow best installation practices. For complex systems or persistent issues, consult a professional technician. Rely on AutoPartEx for trusted parts, guidance, and the expertise you need to keep your vehicle safe and secure.
References
- Vehicle Safety and Equipment – National Highway Traffic Safety Administration
- SAE Standards – SAE International
- Materials Technologies – United States Department of Energy
Footnotes
-
National Highway Traffic Safety Administration, "Vehicle Safety and Equipment", https://www.nhtsa.gov/equipment ↩ ↩2
-
SAE International, "SAE Standards", https://www.sae.org/standards ↩
