
Advertisement
Common Headlight Motor Issues
When your Toyota’s headlight motors start acting up—whether they’re stuck, noisy, or fail to lift and retract—it’s more than a minor annoyance. Malfunctioning headlight motors can compromise nighttime visibility, vehicle safety, and even result in failed vehicle inspections. This in-depth guide draws on real-world shop data and expert diagnostics to help Toyota owners and technicians identify, understand, and resolve the most common headlight motor issues. We’ll cover typical failure symptoms, root causes, step-by-step diagnostic strategies, professional repair tips, and sourcing guidance for Toyota headlight motors.
For a comprehensive overview of replacement and fitment for specific Toyota models, see our Toyota Headlight Motor Replacement & Fitment Guide.
Immediate Answer: Typical Toyota Headlight Motor Failures
The most common Toyota headlight motor issues include:
- Headlights failing to pop up or retract (stuck in up or down position)
- Grinding, clicking, or buzzing noises from the headlight assembly
- Intermittent or slow operation of the headlight doors
- Complete headlight motor failure (no response when operating switch)
- Erratic headlight movement (one headlight moves, the other doesn’t)
These symptoms usually point to worn-out headlight motors, damaged internal gears, faulty limit switches, electrical connection problems, or corrosion in the motor housing. Prompt diagnosis and repair are essential for safe nighttime driving and to remain compliant with vehicle safety regulations [NHTSA Equipment].
Hidden Problem: Why Headlight Motor Issues Go Overlooked
While headlight motor failures are easy to spot when the lights don’t move, underlying issues often go unnoticed until a total breakdown occurs. Many Toyota owners and even some technicians underestimate the complexity of the headlight motor system, assuming a stuck headlight is simply a cosmetic fault. In reality, these problems can signal deeper electrical or mechanical faults with safety implications.
Common overlooked factors:
- Intermittent operation can mask wiring or switch faults until total failure
- Unusual noises are often dismissed as “normal aging,” but they indicate impending gear or bearing failure
- Moisture and corrosion inside the motor can cause gradual but irreversible damage
- Partial movement is sometimes attributed to weak motors, but often stems from relay or linkage issues
Ignoring these early warning signs can result in sudden loss of headlight function, risking nighttime visibility and vehicle safety compliance [NHTSA Equipment].
Why Headlight Motor Failures Matter: Safety, Compliance, and Performance
Toyota’s pop-up and retractable headlights were engineered for both aesthetics and aerodynamics, but their reliability is crucial for safety. Non-functioning headlights are a leading cause of failed state inspections and can attract citations. More importantly, inability to deploy headlights instantly reduces nighttime visibility—a major contributor to road accidents [NHTSA Equipment].
Key impacts of headlight motor failures:
- Compromised night driving safety: Headlights stuck down leave the vehicle invisible to others and the driver unable to see.
- Inspection and legal compliance risks: Non-operational headlights typically result in automatic failed inspections.
- Electrical system strain: Faulty motors can draw excessive current, risking blown fuses or further electrical damage.
- Reduced vehicle value: Persistent electrical or exterior faults can lower resale value and buyer confidence.
Technical Anatomy: How Toyota Headlight Motors Work
To effectively diagnose and repair headlight motor issues, it’s essential to understand the system’s core components and operation.
System Components
- Headlight Motor: Electric motor responsible for raising and lowering the headlight assembly.
- Limit Switches: Detect the up and down positions, stopping the motor at the correct point.
- Relay and Control Module: Directs power to the motor based on headlight switch input.
- Linkage Mechanism: Connects the motor to the headlight door, translating rotary motion to lifting action.
- Wiring Harness: Supplies power and ground to the motor and switches.
Operating Principle
When the headlight switch is activated, the relay sends current to the motor. The motor turns gears that move the linkage, raising the headlight door. Once the door reaches full extension, the limit switch cuts power to the motor. The process reverses when retracting the headlights.
Common failure points:
- Motor brushes and windings: Wear out over time, leading to slow or no operation.
- Plastic gears: Prone to stripping, especially in older models.
- Limit switches: Can corrode or fail, causing overrun or incomplete movement.
- Relays and wiring: Subject to corrosion, heat damage, or loose connections.
Advertisement
Symptom Checklist: Diagnosing Headlight Motor Issues
Use this checklist to quickly narrow down the cause of headlight motor problems:
| Symptom | Likely Cause | Diagnostic Action |
|---|---|---|
| Headlight won’t pop up or retract | Motor failure, gear strip, relay | Check fuse, test motor voltage, inspect gears |
| Grinding/clicking noise | Stripped gears, worn bearings | Remove motor, inspect internal components |
| Only one headlight moves | Faulty motor, wiring, linkage | Swap motors side-to-side, test for voltage |
| Intermittent operation | Faulty switch, relay, loose wire | Wiggle harness, test relay, check switch |
| Slow movement | Failing motor, corrosion | Test current draw, inspect for moisture |
Tip: Always begin with a visual inspection for obvious signs of damage, moisture ingress, or loose connectors.
Step-by-Step Diagnostic Strategies
A systematic approach is vital for pinpointing the exact fault. Here’s how professional technicians tackle Toyota headlight motor issues:
1. Visual and Physical Inspection
- Check headlight alignment: Are both headlights in the same position?
- Inspect wiring and connectors: Look for corrosion, frayed wires, or loose terminals.
- Examine motor housing: Signs of water ingress, rust, or cracked plastic indicate likely failure.
2. Electrical Testing
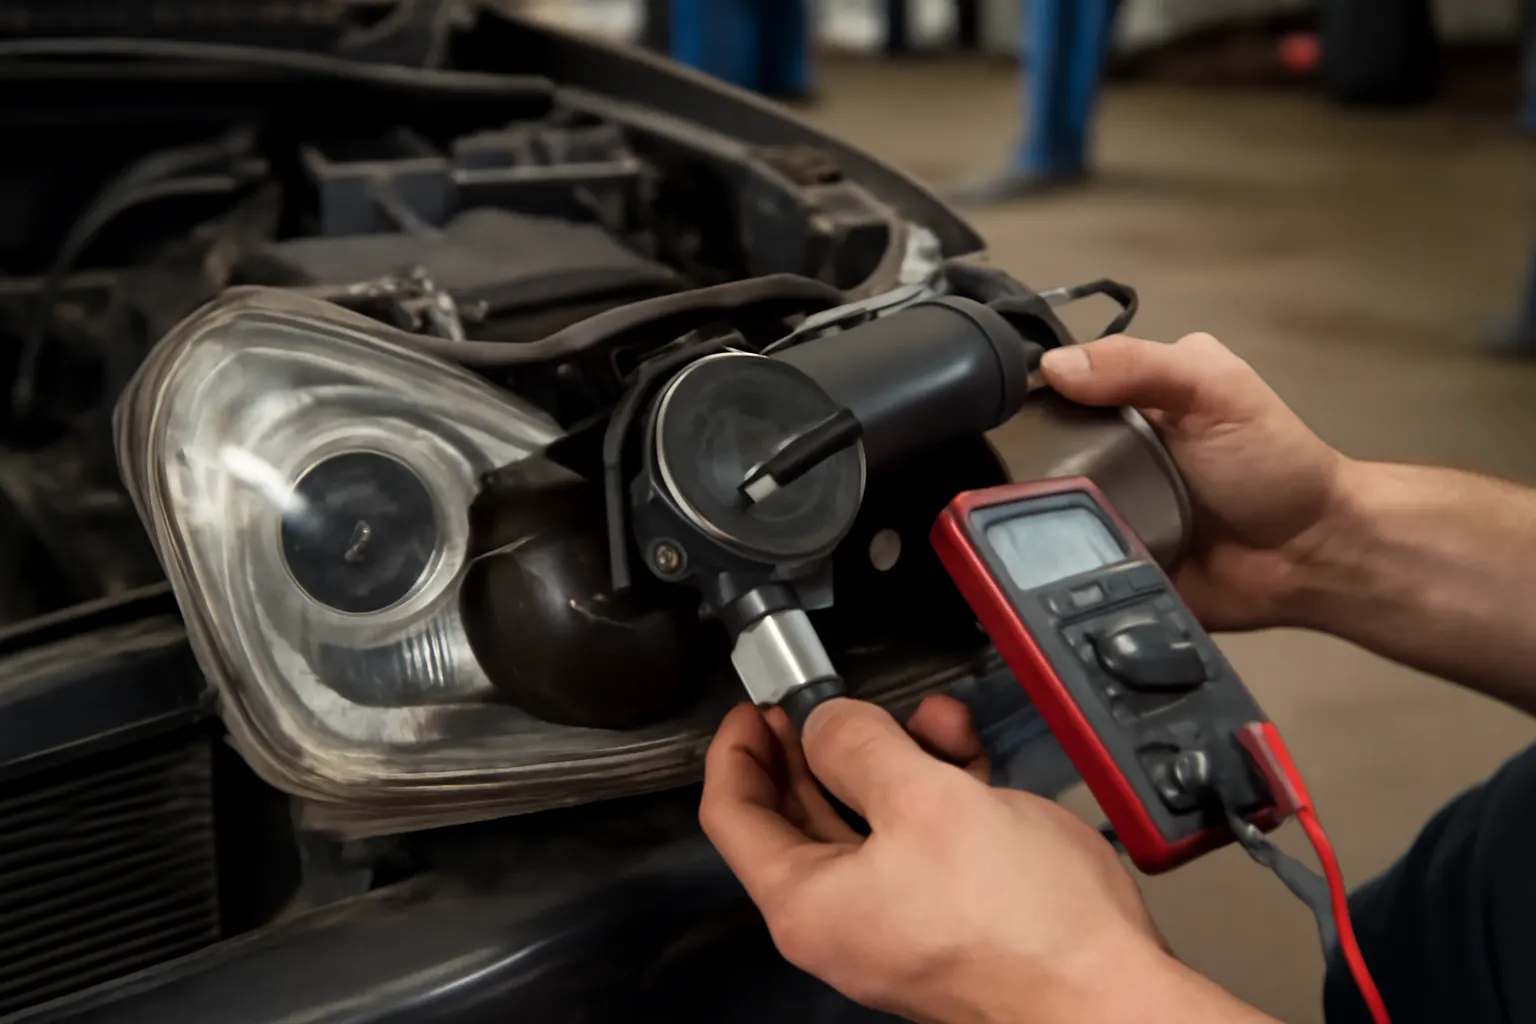
- Test for power and ground: Use a multimeter to confirm voltage at the motor connector with the switch activated.
- Inspect fuses and relays: Replace any blown fuses. Swap relays with known-good units if available.
- Test limit switches: With the headlight door partially open, check continuity at the limit switch terminals.
3. Mechanical Testing
- Manually cycle the headlight door: With the motor disconnected, ensure the linkage moves freely without binding.
- Listen for noises: Operate the motor outside the vehicle to isolate internal gear or bearing noise.
4. Isolate the Fault
- Swap suspect motor to the other side (if identical): If the problem follows the motor, it’s the motor itself.
- Bypass the relay: Briefly apply power directly to the motor to check operation.
Common Toyota Headlight Motor Failure Modes
Based on shop data and field reports, the following are the most frequent headlight motor failures in Toyota vehicles:
1. Stripped or Broken Internal Gears
- Symptoms: Grinding or clicking noises, partial movement, sudden failure.
- Cause: Age-related wear, plastic gear fatigue, or forced operation (e.g., frozen linkage in winter).
- Solution: Replace the motor assembly, or rebuild with new gears if available.
2. Worn Brushes or Burned Windings
- Symptoms: Slow or no movement, motor gets hot, intermittent operation.
- Cause: Extended use, poor-quality replacement parts, or electrical overloads.
- Solution: Replace the motor; rebuilding is rarely cost-effective.
3. Failed Limit Switches
- Symptoms: Headlight over-rotates, motor keeps running, or stops short of full extension.
- Cause: Corrosion, mechanical wear, or stuck switch contacts.
- Solution: Replace the entire motor assembly or the switch if separately serviceable.
4. Corroded or Damaged Wiring
- Symptoms: Intermittent or no response, especially in wet conditions.
- Cause: Water intrusion, rodent damage, or vibration-related wear.
- Solution: Repair or replace affected wiring sections; use dielectric grease on connectors.
5. Relay or Control Module Failure
- Symptoms: No movement, both headlights fail simultaneously.
- Cause: Relay wear, heat damage, or internal control module faults.
- Solution: Replace relay or module after confirming power at the motor.
Preventive Maintenance: Extending Headlight Motor Life
Routine inspection and preventive care can significantly extend the life of your Toyota headlight motors:
- Keep headlight seals intact: Prevents moisture ingress into the motor housing.
- Inspect wiring annually: Look for signs of corrosion, especially after winter or wet seasons.
- Operate headlights regularly: Prevents linkage from seizing and keeps contacts clean.
- Apply dielectric grease: Protects electrical connectors from corrosion.
- Address small noises early: Investigate any new sounds—early intervention can prevent major failures.
A proactive approach not only saves money but helps ensure your Toyota remains safe and compliant with vehicle safety standards.
Replacement and Fitment: Choosing the Right Toyota Headlight Motor
When replacement is necessary, selecting a correct-fit headlight motor is critical. Toyota used different motor designs, gear ratios, and connector styles across models and years. Compatibility errors can result in non-functioning or misaligned headlights.
Key Fitment Factors
- Model and year: Always match the motor to your Toyota’s VIN or exact model code.
- Connector type: Ensure the wiring plug matches your vehicle’s harness.
- Motor orientation: Left and right motors are sometimes different—verify part numbers.
- Aftermarket vs. OEM: Quality aftermarket motors can be reliable, but always check for compliance with SAE standards.
Advertisement
For detailed replacement procedures and part number guidance, visit our Toyota Headlight Motor Replacement and Toyota Part Number Supersession resources.
Sourcing Genuine and Quality Aftermarket Headlight Motors
Sourcing the right headlight motor involves more than just matching numbers. Consider the following best practices:
- Use trusted suppliers: Avoid generic online listings with vague fitment details.
- Check for recalls: Verify that the part is not subject to any manufacturer recalls by checking the NHTSA recall database.
- Ask about warranty: Reputable suppliers offer at least a 1-year warranty on headlight motors.
- Inspect before installation: Look for any shipping damage, missing seals, or connector issues before fitting.
For more on sourcing strategies and supplier vetting, see our Toyota Headlight Motor Sourcing guide.
Professional Repair Tips: Ensuring Reliable Headlight Motor Operation
Experienced technicians follow these best practices to ensure long-lasting repairs:
- Always test the new motor before final installation: Connect the motor to the harness and cycle it to verify full range of motion.
- Re-lubricate linkage: Use a high-quality synthetic grease on all moving parts.
- Replace worn grommets and bushings: These small parts prevent vibration and misalignment.
- Double-check headlight alignment: After installation, confirm both headlights deploy and retract evenly.
- Clear diagnostic codes: If your Toyota is equipped with a body control module, use a scan tool to clear any stored error codes.
Special Considerations: Pop-Up Headlights vs. Fixed Headlights
Toyota’s pop-up headlight systems (notably on models like the MR2, Celica, and Supra) are more prone to motor failures due to increased mechanical complexity. Fixed headlights, while simpler, can still suffer from motorized adjustment failures (for leveling or HID systems).
Pop-Up Headlight Motor Specifics:
- More moving parts: Increased likelihood of gear or linkage wear.
- Weather exposure: Headlight doors and motors are more exposed to road debris and water.
Fixed Headlight Motor Specifics:
- Leveling motor failures: Can result in poor beam aim, especially with HID systems.
- Simpler diagnostics: Fewer components to troubleshoot.
Advertisement
Always verify which type of motor your Toyota uses before sourcing replacements or beginning repairs.
Troubleshooting Checklist: Quick Reference for Shop and DIY
Before replacing your Toyota headlight motor, run through this troubleshooting checklist:
- Check fuse and relay for headlight motors
- Test for voltage at headlight motor connector
- Inspect wiring harness and connectors for corrosion
- Manually move headlight door to check for linkage binding
- Listen for grinding or clicking during operation
- Swap motor side-to-side to isolate fault (where possible)
- Test limit switch continuity
- Inspect motor for water damage or burned smell
- Confirm headlight switch is operating correctly
- Consult Toyota Headlight Motor Replacement & Fitment Guide for model-specific procedures
When to Seek Professional Help
While many headlight motor issues can be diagnosed and repaired by skilled DIYers, certain situations warrant professional intervention:
- Complex electrical faults: If you lack experience with automotive wiring and relays.
- Repeated motor failures: May indicate deeper system issues (e.g., control module faults).
- Unusual symptoms: Such as both headlights failing simultaneously or burning smells.
- Inspection failures: If your Toyota fails a safety inspection due to headlight issues.
Professional shops have access to specialized diagnostic tools, wiring diagrams, and OEM parts catalogs to ensure the repair meets all safety and fitment standards.
AutoPartEx: Your Source for Toyota Headlight Motor Expertise
At AutoPartEx, we provide more than just parts—we deliver data-driven guidance, verified sourcing options, and step-by-step technical resources to help you keep your Toyota’s headlight system reliable and compliant. Our editorial team continuously updates fitment guides, part number supersession data, and professional repair tips, all grounded in the latest safety standards and real-world shop experience.
For the most up-to-date fitment and replacement guidance, always start with our Toyota Headlight Motor Replacement & Fitment Guide.
Conclusion
Toyota headlight motor issues are both common and consequential, affecting safety, compliance, and the day-to-day enjoyment of your vehicle. By understanding the root causes, recognizing early warning signs, and following systematic diagnostic and repair strategies, you can resolve most headlight motor failures efficiently and effectively. Whether you’re a DIY enthusiast or a professional technician, keeping these best practices in mind will ensure your Toyota’s headlights are always ready for the road ahead.
References
Advertisement