Advertisement
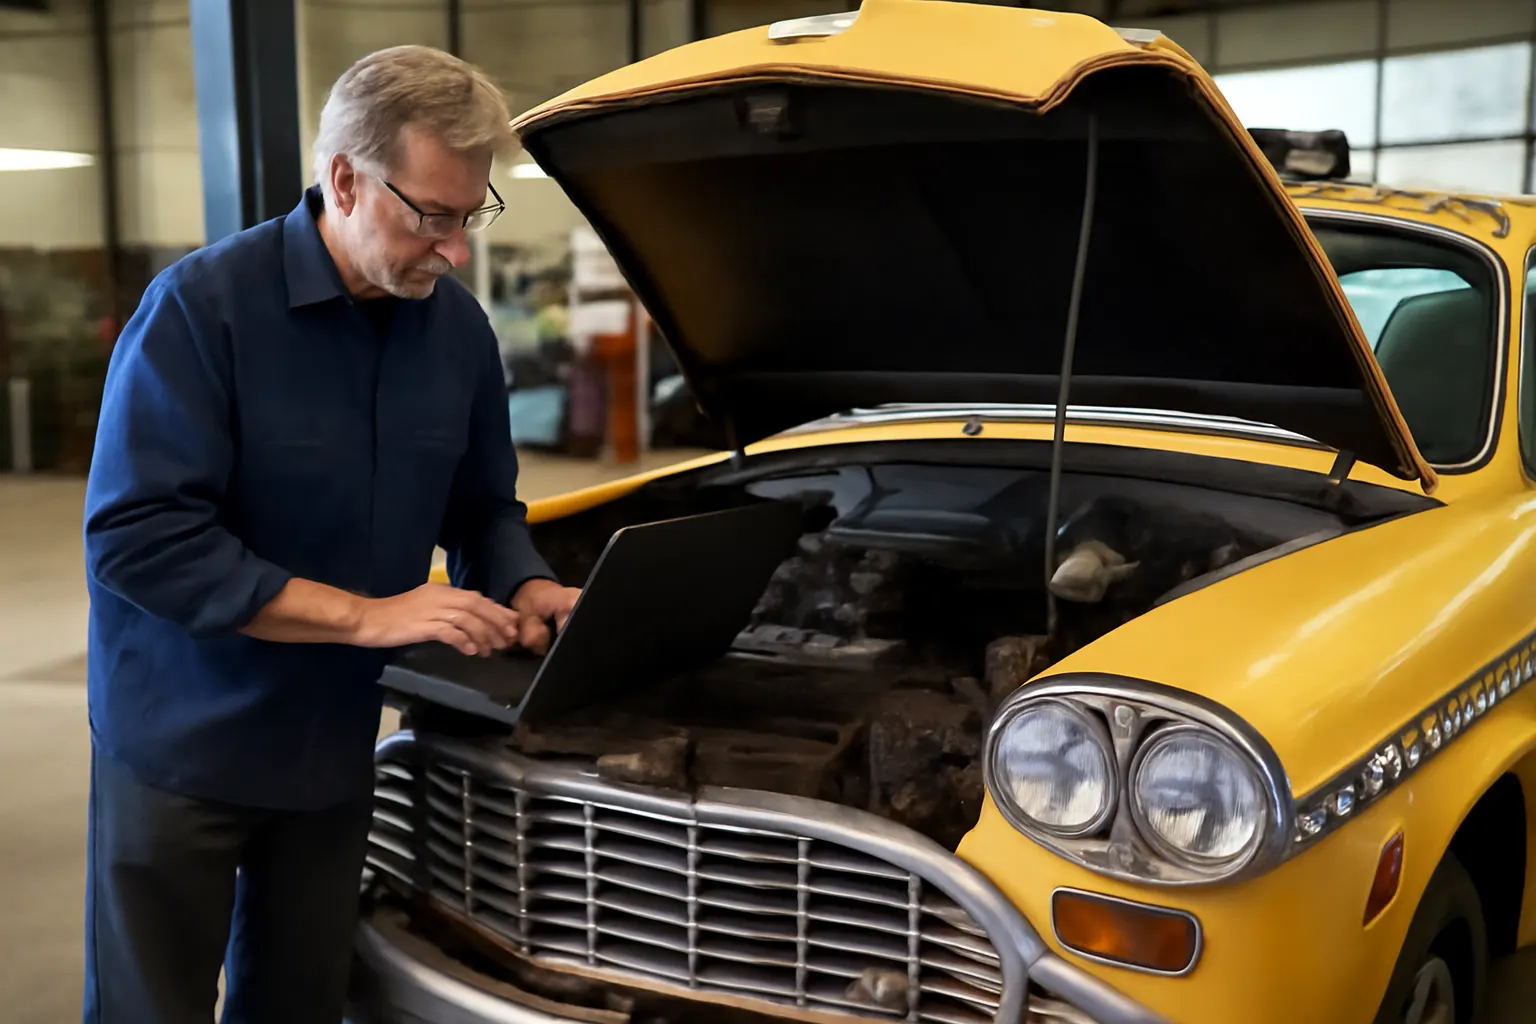
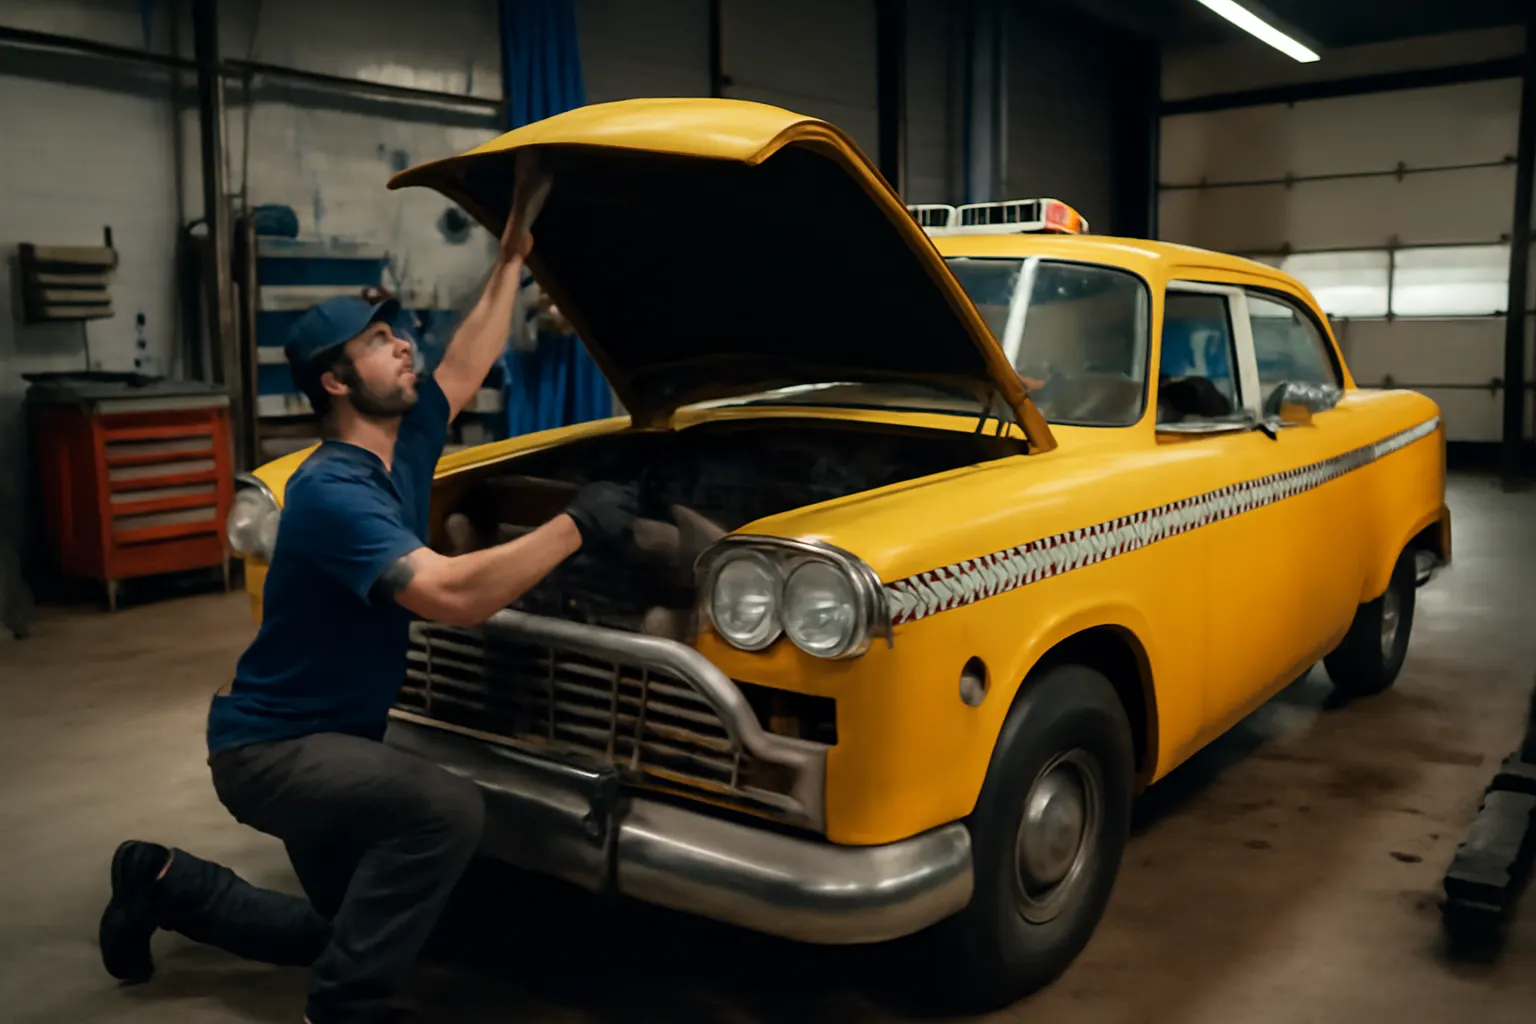
Restoring a Checker Cab Marathon is a journey through automotive history, technical problem-solving, and the pursuit of authenticity. This case study delivers a real-world roadmap for enthusiasts tackling the restoration of this iconic American workhorse, focusing on sourcing strategies, technical fitment, and unique challenges. Whether you seek originality for a concours build or durable upgrades for a daily driver, this comprehensive guide provides actionable solutions and expert insight.
For deeper background on the Checker Cab legacy and its unique parts requirements, see Checker Cab Auto Parts: Heritage, Fitment, and Authenticity | AutoPartEx.
Immediate Restoration Insights: What Every Checker Cab Marathon Restorer Must Know
The Checker Cab Marathon stands as a symbol of durability and American urban history. Its restoration, however, is not a straightforward process. Key insights for a successful project include:
- Parts Sourcing is the #1 Challenge: Many original components are out of production, requiring creative sourcing or custom fabrication.
- Authenticity vs. Modernization: Decisions must be made early regarding OEM-correct restoration versus modern upgrades for safety, efficiency, and reliability.
- Fitment is Non-Negotiable: Checker used a mix of proprietary and off-the-shelf parts from other manufacturers, making precise fitment and compatibility checks essential.
- Documentation is Scarce: Factory service manuals are rare, and much of the technical knowledge resides within specialist communities.
If you are new to Checker Marathon restoration, begin by reviewing the Checker Cab Compatibility Guide: Fitment and Sourcing Essentials for foundational information on interchange and part identification.
The Hidden Problem: Scarcity, Substitution, and the Checker Cab Puzzle
On the surface, the Checker Cab Marathon appears mechanically simple. Underneath, however, lurks a complex web of obsolete parts, blended GM/Ford/Chrysler components, and Checker’s own low-volume production quirks. These factors create unique restoration challenges:
- Obsolete Body and Trim Pieces: Many Marathon-specific panels, moldings, and badges are unavailable as new old stock (NOS).
- Mixed Drivetrain Heritage: Engines, transmissions, and suspension parts may be sourced from various model years and manufacturers, even within the same vehicle.
- Safety and Materials Standards Have Changed: Original components may not meet today’s expectations for crashworthiness or corrosion resistance, as detailed by the National Highway Traffic Safety Administration and Department of Energy.
Ignoring these realities leads to project stalls, unsafe modifications, or costly rework. Let’s examine how these problems unfold in a real-world restoration scenario.
The Marathon Restoration: Project Overview and Initial Assessment
This case study centers on a 1978 Checker Cab Marathon A11, purchased from a municipal auction after decades of service. The restoration goal: return the car to its late-1970s fleet appearance, with subtle safety and reliability improvements for regular use.
Initial assessment checklist:
- Body: Significant corrosion around rocker panels, door bottoms, and rear wheel arches. Numerous minor dents and evidence of previous repairs.
- Chassis: Frame rails intact but surface-rusted. Suspension bushings perished. Steering box loose with excessive play.
- Drivetrain: 250ci Chevrolet inline-six, TH350 automatic. Engine starts but runs rough with oil leaks. Transmission shifts but exhibits delayed engagement.
- Interior: Vinyl bench seats heavily worn, dash cracked, original taxi equipment missing.
- Electrical: Non-functional dome lights, intermittent exterior lighting, original fuse block brittle.
- Safety: Brake pedal soft, evidence of leaking wheel cylinders, no seat belts in rear.
This comprehensive assessment sets the baseline for parts sourcing, technical intervention, and restoration sequencing.
Sourcing Checker Cab Parts: Strategies and Pitfalls
Sourcing authentic Checker Marathon parts is a blend of detective work, networking, and technical research. The following strategies have proven effective:
1. Specialist Vendors and Clubs
- Checker-focused suppliers: A handful of niche vendors stock NOS and reproduction parts. Membership in Checker enthusiast clubs often unlocks access to private inventories and swap meets.
- Online communities: Forums and social media groups are invaluable for cross-referencing part numbers and locating rare components.
2. Cross-Referencing with Major OEMs
- GM, Ford, and Chrysler interchange: Many mechanical components (e.g., engines, brakes, steering) are shared with period Detroit models. Cross-referencing part numbers with SAE Standards and OEM catalogs is essential.
- Custom fabrication: For body panels and trim, local metal shops and 3D printing services can replicate unavailable items with original or improved materials.
3. Salvage and Donor Vehicles
- Parts cars: Acquiring a donor Checker (or compatible GM sedan) can provide a reservoir of hard-to-find components, especially for window regulators, interior trim, and wiring harnesses.
Advertisement
Sourcing Checklist
| Part Type | Sourcing Approach | Notes |
|---|---|---|
| Engine/Transmission | GM parts suppliers | Verify casting numbers and mount compatibility |
| Body Panels/Trim | Checker specialists, fab | Reproduction panels often require custom fitment |
| Suspension/Brakes | OEM cross-reference | Bushings, bearings often GM/Ford interchange |
| Electrical | Custom harnesses, NOS | Wiring diagrams may need to be reverse-engineered |
| Taxi Equipment | Collector networks | Roof lights, meters are rare; consider replicas |
Fitment and Compatibility: The Checker Cab’s Patchwork Engineering
Checker’s manufacturing approach blended proprietary chassis and body with off-the-shelf drivetrains and running gear. This patchwork requires careful fitment checks:
- Engine and Transmission: Most Marathons use Chevy small-block or inline-six engines, but bellhousing patterns, mounts, and accessory drives may differ. Always confirm dimensions and mounting points before ordering replacements.
- Suspension and Steering: Front suspension is often GM A-body derived, but bushings and ball joints may require minor modification. Steering boxes and linkages may be unique to Checker.
- Brakes: Wheel cylinders and master cylinders are usually GM, but brake lines and pedal assemblies can be Checker-specific.
- Body Panels: Even reproduction panels may need hand-fitting due to factory variability.
Fitment tip: Use calipers and digital measurements to compare old and new parts before installation. Maintain a detailed log of part numbers and modifications for future reference.
For a comprehensive interchange and fitment matrix, consult the Checker Cab Compatibility Guide: Fitment and Sourcing Essentials.
Diagnosing and Restoring the Drivetrain
Engine
- Compression test: Revealed low compression in two cylinders (60 and 85 psi), indicating worn rings or valves.
- Oil leaks: Rear main seal and valve cover gaskets both leaking.
- Cooling system: Radiator clogged, hoses brittle, water pump noisy.
Restoration actions:
- Full engine teardown and rebuild, replacing rings, bearings, and gaskets.
- Valve job with hardened seats for unleaded fuel compatibility.
- New water pump, radiator recore, and hoses.
- Carburetor rebuild and ignition upgrade (Pertronix electronic conversion for reliability).
Transmission
- Delayed engagement: Worn clutches and seals in the TH350 automatic.
- Fluid contamination: Evidence of burnt fluid and metal shavings.
Restoration actions:
- Complete transmission overhaul with new friction materials and seals.
- Replacement of transmission cooler lines and filter.
- Upgraded transmission mount to reduce vibration.
Drivetrain Checklist
| Component | Diagnostic Step | Restoration Action |
|---|---|---|
| Engine Compression | Compression/leakdown | Rebuild or replace as required |
| Oil Leaks | Visual/UV dye | Replace seals/gaskets |
| Cooling System | Pressure test | Recore radiator, replace hoses |
| Transmission | Fluid check, road test | Overhaul or replace as needed |
Body and Structure: Addressing Corrosion and Materials Challenges
The Checker Marathon’s body, while robust, is susceptible to rust in key areas due to its age and original materials. Modern restoration best practices, informed by Materials Technologies research, can significantly improve longevity.
Common Rust Zones
- Rocker panels
- Door bottoms
- Rear wheel arches
- Lower fenders
- Trunk floor
Structural Repairs
- Cut and weld: Remove all rusted metal, fabricate patch panels from 18-gauge steel or source reproduction parts.
- Rust inhibitors: Treat repaired areas with epoxy primer and cavity wax to prevent future corrosion.
- Seam sealing: All factory seams and welds should be resealed with modern urethane seam sealer for moisture resistance.
Improving Materials Performance
- Use galvanized or stainless hardware where possible.
- Apply sound deadening and modern undercoating for comfort and protection.
Expert tip: Keep a photographic log of all repairs for future reference and value documentation.
Electrical System Rehabilitation: Safety, Reliability, and Modernization
Original Checker wiring is notorious for brittle insulation and unreliable connections after decades of heat and vibration. Restoration of the electrical system is both a safety and reliability upgrade.
Key Areas of Focus
- Main harness: Replace or rebuild the main harness using modern wire and connectors. Label all circuits for future troubleshooting.
- Lighting: Upgrade exterior lighting to halogen or LED bulbs for improved visibility, ensuring compliance with Vehicle Safety and Equipment standards.
- Fuses and relays: Replace original glass fuse block with modern blade-style fuses and relays for improved reliability.
- Taxi-specific circuits: Restore or replicate wiring for roof lights, meters, and intercoms as desired.
Electrical Checklist
| Circuit/System | Action Required | Modern Upgrade Option |
|---|---|---|
| Main Harness | Replace/rebuild | Modern wire, labeled circuits |
| Exterior Lighting | Rewire/upgrade bulbs | LED or halogen conversions |
| Fuses/Relays | Upgrade to modern standards | Blade fuses, add relays |
| Taxi Equipment | Restore/replicate | Integrate with new harness |
Interior Restoration: Balancing Authenticity and Comfort
Checker interiors were built for durability, not luxury. Restoration can maintain period-correct aesthetics while subtly improving comfort and usability.
Advertisement
Seating
- Frame repair: Weld and reinforce seat frames as needed.
- Upholstery: Source period-correct vinyl or leatherette. Consider adding modern foam for comfort beneath original-style covers.
Dash and Controls
- Cracked dash repair: Use modern fillers and resurface, or source reproduction dash pads.
- Gauges: Clean and calibrate original gauges; replace non-functional units with period-correct or modern equivalents as needed.
Taxi Equipment
- Fare meters, roof lights, and intercoms: Authentic equipment is rare. Replicas can be fabricated or sourced from specialist vendors.
Comfort Upgrades
- Add sound deadening to floors and doors.
- Retrofit seat belts in rear for passenger safety.
Brakes, Suspension, and Steering: Safety Upgrades for Modern Roads
While originality is important, safety upgrades are essential for regular use—especially in braking and handling systems.
Brakes
- Original system: Drum brakes at all four corners, single-circuit master cylinder.
- Restoration: Rebuild or replace wheel cylinders, install new shoes and hardware.
- Upgrade: Consider dual-circuit master cylinder conversion and front disc brake retrofit for improved stopping power.
Suspension
- Bushings: Replace all rubber bushings with modern polyurethane or OEM rubber.
- Shocks: Upgrade to gas-charged shocks for better handling.
- Springs: Inspect and replace sagging leaf or coil springs.
Steering
- Steering box: Rebuild or source a remanufactured unit.
- Tie rods and idler arms: Replace with new components, confirming fitment with OEM interchange lists.
Safety compliance: Ensure all upgrades meet or exceed NHTSA safety requirements.
Fuel Efficiency and Drivability: Bringing the Marathon into the 21st Century
The original Checker Marathon was not known for fuel economy. However, several upgrades can improve efficiency without sacrificing character, referencing best practices from the Department of Energy’s Fuel Efficiency guidelines.
Engine Efficiency Upgrades
- Electronic ignition: Reduces misfires and improves combustion.
- Carburetor tuning or EFI swap: Optimize air/fuel ratios for better mileage.
- Lightweight components: Use aluminum intake manifolds and lighter accessories where possible.
Driveline and Rolling Resistance
- Rear axle ratio: Swap to a higher (numerically lower) ratio for reduced highway RPM.
- Modern radial tires: Lower rolling resistance and improved safety.
Advertisement
Aerodynamics and Weight
- Remove unnecessary taxi equipment: Reduces weight and drag.
- Lightweight body panels: Where authenticity allows, consider fiberglass or aluminum replacements.
Authenticity Versus Modernization: Making the Right Choices
Every Checker restoration involves trade-offs between originality and usability. Key decision points include:
- Safety: Modern seat belts, brakes, and lighting are recommended for any regular-use vehicle.
- Appearance: Exterior and interior finishes should match original specifications for show cars, but daily drivers can benefit from subtle upgrades.
- Mechanical systems: Upgrades that improve reliability (e.g., electronic ignition, improved cooling) are generally accepted, provided they do not alter the car’s character.
For guidance on verifying the authenticity of vintage Checker components, refer to Authenticity Checks for Vintage Checker Parts.
Quality Control and Testing: Final Steps Before Hitting the Road
Once restoration is complete, rigorous inspection and testing are critical:
- Safety inspection: Confirm all brake, steering, lighting, and restraint systems function as intended.
- Road testing: Perform initial low-speed shakedown runs, gradually increasing speed and distance while monitoring for leaks, noises, and handling issues.
- Documentation: Keep detailed records of all parts, modifications, and repairs for future maintenance and value assessment.
Post-restoration checklist:
- Torque all critical fasteners to specification.
- Bleed brakes and confirm pedal firmness.
- Test all electrical circuits and lighting.
- Verify fluid levels and check for leaks.
- Inspect tire pressures and wheel alignment.
- Complete VIN verification and registration as required.
Lessons Learned: Expert Takeaways from a Checker Cab Marathon Restoration
- Patience is essential: Parts sourcing and fitment can be time-consuming; expect delays and budget accordingly.
- Documentation pays off: Maintain detailed logs and photos throughout the process.
- Community matters: Engage with Checker clubs and online groups for technical support and sourcing leads.
- Safety first: Upgrades to brakes, lighting, and seat belts are strongly recommended for any vehicle intended for road use.
- Balance authenticity and usability: Decide early how far to modernize, and stick to your build philosophy.
AutoPartEx: Your Trusted Partner for Checker Cab Restoration
AutoPartEx specializes in hard-to-find and authentic Checker Cab components, providing technical support, fitment guidance, and access to a nationwide network of specialist suppliers. Our editorial and product teams are committed to helping restorers achieve their goals—whether you’re building a concours showpiece or a reliable daily driver.
Explore our curated catalog at Checker Cab Auto Parts: Heritage, Fitment, and Authenticity | AutoPartEx for the latest availability, technical resources, and restoration tips.
Related Resources for Checker Cab Enthusiasts
- Checker Cab Compatibility Guide: Fitment and Sourcing Essentials
- Classic Checker Maintenance: Service Intervals and Pitfalls
- Authenticity Checks for Vintage Checker Parts
References
Advertisement