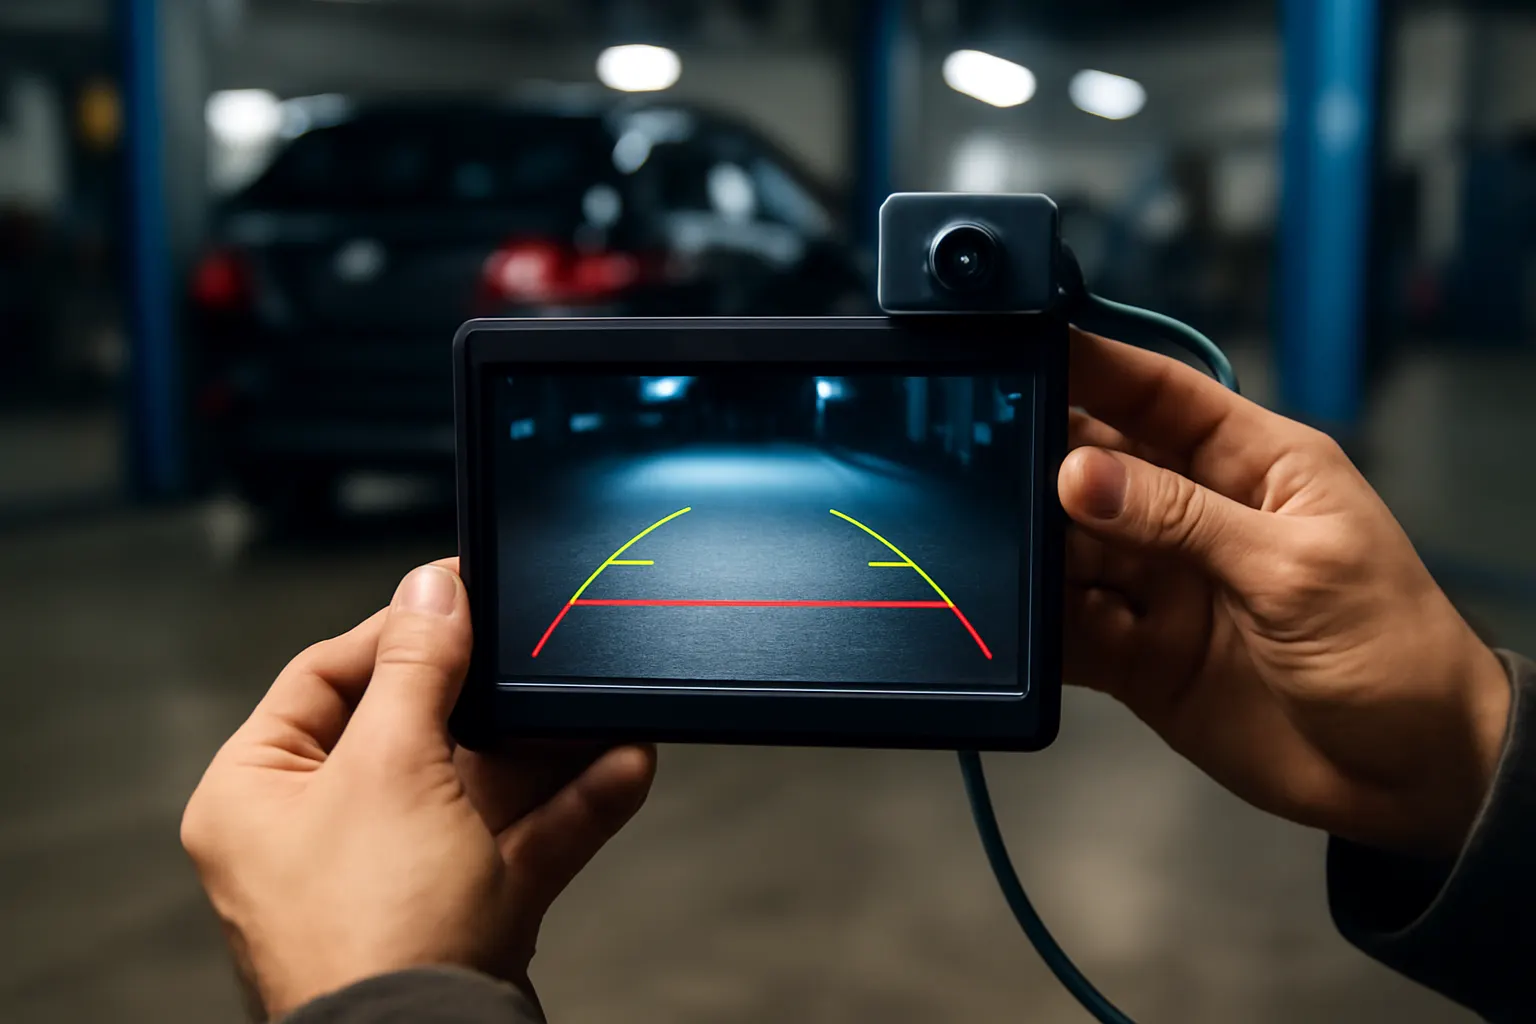
Troubleshooting Common Backup Camera Problems
Backup cameras are now a standard safety feature on most modern vehicles, helping drivers avoid obstacles and improve visibility when reversing. When your backup camera system malfunctions—whether it's delivering a fuzzy image, failing to power up, or not integrating with your vehicle’s infotainment display—the inconvenience can quickly become a safety concern. This comprehensive guide from AutoPartEx will help you systematically diagnose and resolve common backup camera problems using practical, step-by-step methods grounded in automotive best practices. For more background on backup camera systems, visit our Backup Camera category page.
Immediate Answers: Quick Fixes for Backup Camera Issues
If your backup camera suddenly stops working or displays a distorted image, start with these rapid diagnostic steps:
- Check the Display: Ensure your infotainment or rearview monitor is powered on and set to the correct input/source.
- Inspect the Camera Lens: Wipe the lens clean of dirt, water spots, or debris that may obscure the image.
- Test the Reverse Gear Trigger: Confirm the camera activates when you shift into reverse; if not, check for blown fuses or loose connections.
- Look for Warning Messages: Note any error codes or warnings on your dashboard display, as these can indicate specific system faults.
Often, minor issues like a dirty lens or an accidentally switched-off display are to blame. If these simple checks don’t solve the problem, deeper electrical or integration issues may be present.
The Hidden Problem: Why Backup Camera Failures Are More Complex Than They Seem
Backup camera systems are tightly integrated with your vehicle’s electrical, safety, and infotainment networks. While the camera itself is a small component, failures often point to broader issues:
- Wiring Harness Faults: Damage or corrosion in the wiring harness can interrupt power or signal transmission.
- Integration with Infotainment Systems: Modern backup cameras rely on seamless communication with your vehicle’s infotainment system, and software mismatches can cause display or control failures.
- Sensor and Module Failures: Backup camera modules may share circuits with other safety systems, so a fault can cascade into multiple error codes or non-functioning components.
- Physical Damage: Impact to the rear bumper or exposure to harsh weather can damage the camera assembly or connectors.
Understanding these hidden layers is crucial for effective troubleshooting—what seems like a simple camera failure may be a symptom of a larger electrical or integration problem.
Deeper Technical Explanation: Anatomy of a Backup Camera System
To troubleshoot effectively, you must understand the typical backup camera system architecture:
- Camera Unit: Usually mounted near the license plate or in the rear bumper, capturing a wide-angle video feed.
- Wiring Harness: Transmits power and video signal from the camera to the vehicle’s control unit or display.
- Control Module (if equipped): Processes image data, overlays guidelines, and communicates with the vehicle’s main computer.
- Infotainment Display or Rearview Mirror Monitor: Receives and displays the camera feed—often integrated with parking sensors and other driver-assist features.
- Trigger Mechanism: Typically, the reverse light circuit signals the system to activate when the vehicle is shifted into reverse.
Faults can occur at any of these points, and each requires a specific diagnostic approach.
Common Backup Camera Problems and Their Symptoms
Below are the most frequently encountered backup camera issues, along with typical symptoms:
1. No Image or Black Screen
- Display remains blank when in reverse.
- May show a “No Signal” or “Check Camera” message.
2. Distorted or Grainy Image
- Image appears fuzzy, discolored, or has lines running through it.
- Night vision or low-light performance is poor.
3. Intermittent Operation
- Camera works sporadically or cuts out unexpectedly.
- Camera feed flickers or loses connection during use.
4. Guidelines Missing or Misaligned
- On-screen guidelines do not appear, or are not aligned with the vehicle’s path.
- May result from calibration errors or software faults.
5. Camera Does Not Activate
- Camera does not switch on when shifting into reverse.
- May be accompanied by non-functioning backup light.
Step-by-Step Diagnostic Checklist
Use this systematic diagnostic process to identify the source of your backup camera problem:
-
Visual Inspection
- Clean the camera lens.
- Check for visible damage to the camera housing or connectors.
- Inspect the wiring harness for abrasion, corrosion, or loose plugs.
-
Power and Signal Testing
- Confirm the reverse lights illuminate when in reverse (indicates power to the circuit).
- Use a multimeter to check for 12V power at the camera connector.
- Test video signal continuity (advanced: use an oscilloscope or test monitor).
-
Display and Integration Check
- Verify the infotainment system or monitor is functional.
- Test with another video source (if possible) to rule out display issues.
- Look for software updates or error messages in the vehicle’s diagnostic menu.
-
Module and Software Assessment
- Scan for diagnostic trouble codes (DTCs) using an OBD-II scanner.
- Check for recent software updates or recalls related to the camera system.
-
Component Substitution
- Temporarily swap the camera or wiring harness with a known-good unit (if available).
- Test the system’s response to confirm the faulty component.
Diagnosing Image Quality Issues
Poor image quality—such as a blurry, washed-out, or color-distorted feed—can stem from multiple causes:
- Dirty or Scratched Lens: Even a thin layer of dirt or micro-scratches can degrade image clarity. Clean with a microfiber cloth and non-abrasive cleaner.
- Moisture Intrusion: Condensation inside the lens housing can cause fogging or water spots. In this case, inspect for housing cracks or failed seals.
- Camera Sensor Degradation: Over time, exposure to sunlight and temperature extremes can degrade the camera sensor. If cleaning doesn’t help, replacement may be necessary.
- Electrical Interference: Poor grounding or damaged wiring can introduce noise, causing lines or flickering in the video feed.
For persistent image quality issues, check both the physical condition of the camera and the integrity of the wiring harness.
Resolving Connection and Power Problems
When the camera fails to power up or the display shows “No Signal,” focus on the power and signal pathways:
- Fuse Check: Locate the fuse protecting the backup camera circuit (often shared with the reverse lights). Replace if blown, but investigate underlying causes if it blows again.
- Wiring Harness Inspection: Trace the harness from the camera to the control module or display. Look for pinched, cut, or corroded wires—especially near the trunk hinge or bumper area.
- Connector Corrosion: Unplug connectors and inspect for greenish or white corrosion. Clean or replace connectors as needed.
- Grounding Issues: Ensure the camera’s ground wire is securely attached to a clean, bare metal surface.
If the problem persists after these checks, consider testing with a known-good camera or wiring harness to isolate the faulty part.
Troubleshooting System Integration Failures
Modern backup cameras are deeply integrated with vehicle electronics. If your camera isn’t recognized by the infotainment system, or if guidelines are missing, the problem may be software-related:
- Software Updates: Check with your vehicle manufacturer or dealership for available software updates that address camera integration or calibration bugs.
- Recalibration: Some systems require periodic calibration to align guidelines or restore functionality after battery replacement or module reset.
- Diagnostic Codes: Use a compatible OBD-II scanner to check for relevant codes (e.g., “Camera Module Communication Error”).
- Aftermarket vs. OEM Compatibility: If you’ve recently replaced your camera or display with an aftermarket part, ensure it meets OEM parts specifications for your vehicle.
Refer to your vehicle’s service manual or consult a professional if you encounter persistent integration faults.
Addressing Physical and Environmental Damage
Backup cameras are exposed to harsh conditions—rain, mud, road salt, and impacts. Physical damage is a common cause of failure:
- Impact Damage: A collision or even a minor bump can misalign or shatter the camera housing. Inspect the mounting location, especially if the rear bumper has been hit.
- Water Ingress: Look for signs of moisture inside the lens or connectors. Water damage often requires replacement of the affected components.
- Corrosion: Prolonged exposure to road salt can corrode connectors and wiring. Clean or replace as necessary.
Routine inspection and prompt repair of physical damage can prevent more costly electrical or integration problems.
Preventing Future Problems: Maintenance and Best Practices
Proactively maintaining your backup camera system can reduce the risk of future failures:
- Regular Cleaning: Wipe the camera lens weekly, especially after driving in rain, snow, or mud.
- Inspect During Routine Service: Ask your technician to inspect the camera and wiring during oil changes or tire rotations.
- Protect Against Impact: Be mindful of parking barriers and avoid slamming trunk lids or tailgates.
- Update Software: Schedule periodic checks for infotainment system updates, which may include camera system improvements.
By following these best practices, you’ll extend the life and reliability of your backup camera system.
When to Replace vs. Repair: Sourcing the Right Parts
Not all backup camera issues require complete replacement. Use this guide to decide:
| Symptom | Likely Cause | Recommended Action |
|---|---|---|
| No image, power present | Faulty camera or wiring | Replace camera or harness |
| Intermittent image | Loose/corroded connector | Clean/replace connector |
| Guidelines missing | Software or calibration fault | Recalibrate/update SW |
| Physical damage | Impact or water ingress | Replace damaged part |
When sourcing replacement parts, always match your vehicle’s make, model, and year. For best fit and reliability, consider OEM parts, especially for vehicles with advanced integration.
Advanced Troubleshooting: Multi-Camera and Night Vision Systems
Some vehicles feature advanced backup camera systems, including:
- Multi-Camera Arrays: Used for 360-degree or bird’s-eye views; require more complex diagnostics and calibration.
- Night Vision Cameras: Use infrared sensors for low-light visibility; image quality may degrade if the IR emitter fails.
- Dynamic Guidelines: Move in response to steering input; rely on accurate sensor and software integration.
For advanced systems, refer to our guide on Advanced Backup Camera Features: Night Vision and Guidelines for deeper troubleshooting and calibration advice.
Professional vs. DIY: When to Seek Expert Help
While many backup camera problems can be resolved with basic tools and careful inspection, some situations call for professional expertise:
- Persistent Electrical Faults: If you’ve checked fuses, wiring, and connectors but the problem remains, specialized diagnostic equipment may be needed.
- Software or Module Failures: Reflashing or replacing control modules often requires dealer-level tools and access to manufacturer software.
- Complex Integration Issues: Vehicles with advanced infotainment or driver-assist systems may need recalibration after repairs.
For a detailed comparison of installation and repair options, see our Backup Camera Installation: Professional vs DIY Guide.
AutoPartEx Advantage: Your Partner for Reliable Backup Camera Solutions
At AutoPartEx, we understand the critical role backup cameras play in modern vehicle safety. Our expert team provides:
- Comprehensive Selection: From OEM to high-quality aftermarket cameras, harnesses, and displays.
- Technical Support: Step-by-step installation guides, troubleshooting resources, and compatibility checks.
- Quality Assurance: All parts meet or exceed industry safety and performance standards, as outlined by the National Highway Traffic Safety Administration and SAE International.
Whether you’re a DIY enthusiast or a professional technician, trust AutoPartEx for the right parts and expertise to keep your backup camera system operating safely and reliably.
Related Resources and Further Reading
- Backup Camera: Explore our full range of backup camera solutions.
- OEM vs Aftermarket Backup Cameras: Quality Comparison: Learn how to choose between OEM and aftermarket options.
- Advanced Backup Camera Features: Night Vision and Guidelines: Discover the latest in backup camera technology.
References
- Vehicle Safety and Equipment – National Highway Traffic Safety Administration
- SAE Standards – SAE International
- Materials Technologies – United States Department of Energy
This article is provided by the AutoPartEx Technical Editorial Team, drawing on industry standards and verified sources to ensure accuracy and practical value for automotive professionals and enthusiasts.