
Amc Restoration Best Practices
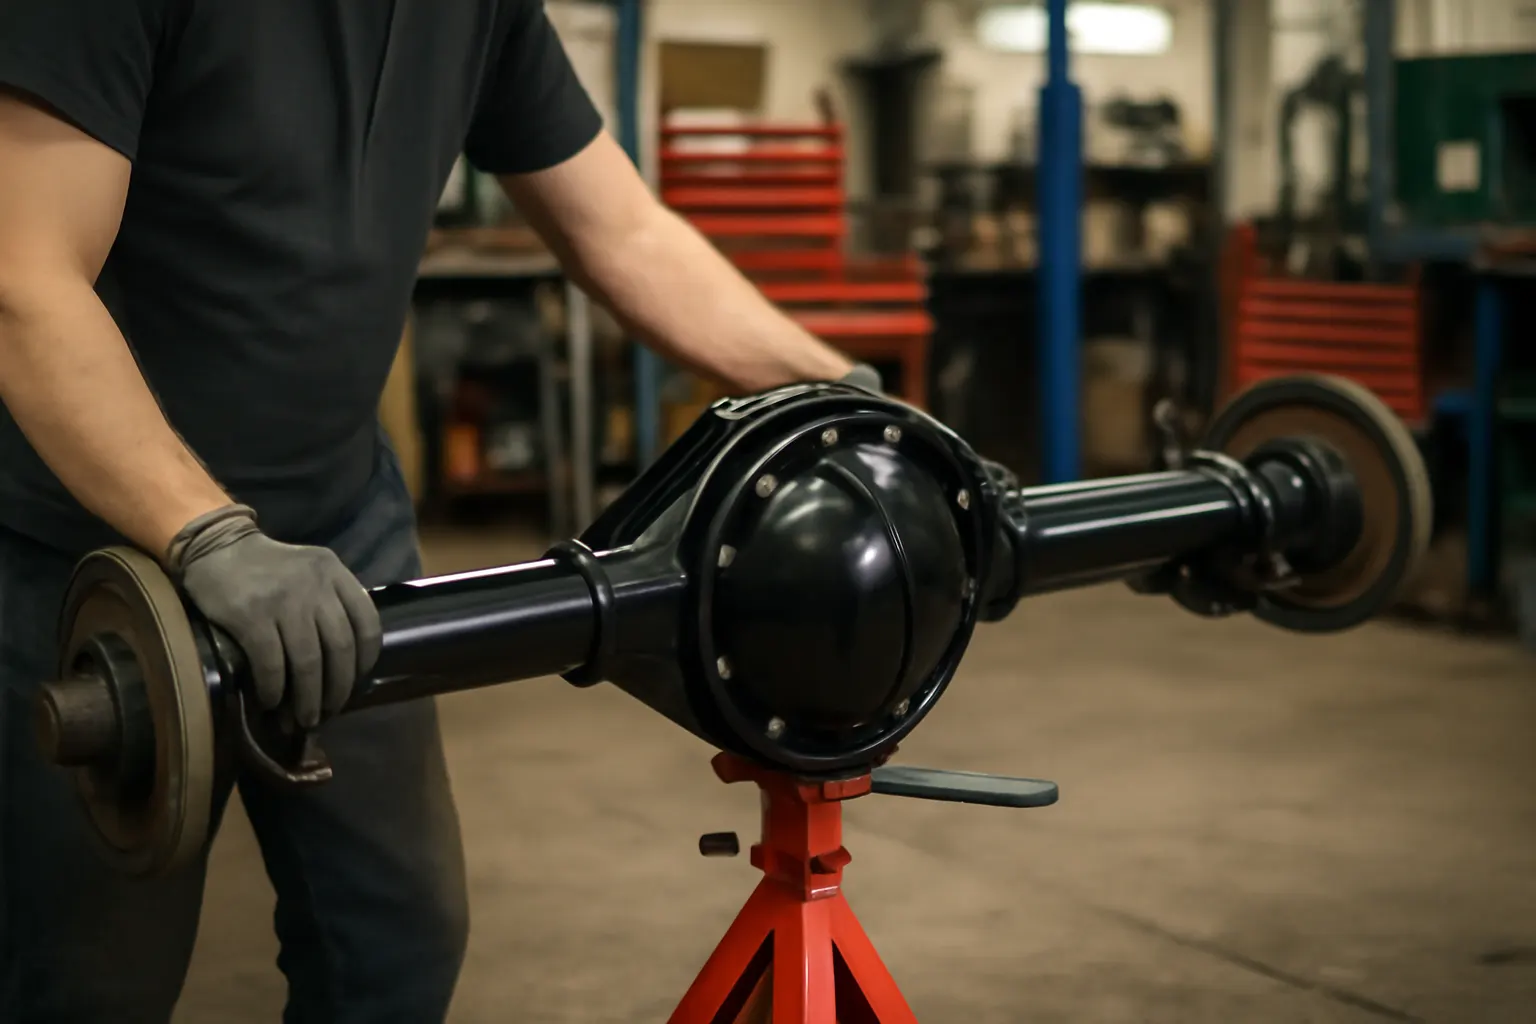
Restoring an AMC classic is a rewarding project—when done right, you preserve history, performance, and value. The best AMC restorations follow proven practices for drivetrain authenticity, parts sourcing, and technical accuracy, especially when working with crucial assemblies like the rear axle and housing. In this guide, you’ll discover essential AMC restoration tactics, from identifying correct axle assemblies to avoiding common pitfalls when sourcing vintage parts. For those seeking in-depth axle fitment and failure analysis, consult our AMC Rear Axle Assembly with Housing: Fitment, Failure, and Sourcing Guide.
Immediate Answers: What Makes AMC Restoration Unique?
AMC vehicles—spanning the Rambler, Javelin, AMX, and Jeep lines—present unique restoration challenges. Unlike the “big three” (GM, Ford, Chrysler), AMC’s limited production runs, part-year changes, and proprietary engineering mean that drivetrain authenticity and correct component sourcing are critical for both drivability and collector value. The rear axle assembly, in particular, is a linchpin of AMC authenticity, affecting everything from gear ratios to safety and fuel efficiency[^1].
Key best practices:
- Always verify drivetrain codes and casting numbers before purchasing parts.
- Source axle assemblies and housings from reputable specialists or certified rebuilders.
- Use era-correct materials and finishes to maintain value and compliance.
Hidden Problem: Sourcing Pitfalls and Drivetrain Authenticity Risks
Many AMC restorers encounter unexpected setbacks due to incorrect or poorly documented parts sourcing. Swapping in non-AMC axles, mismatched housings, or using generic service parts can lead to major fitment issues, compromised safety, and even diminished collector value.
Common pitfalls include:
- Using Jeep or aftermarket axles that do not match original AMC specifications.
- Overlooking subtle year-to-year changes in axle spline count, housing width, or brake backing plate pattern.
- Failing to check for prior repairs or modifications that may have altered the axle’s geometry or strength.
Problem Expansion: Why Rear Axle Assemblies Matter in AMC Restorations
The AMC rear axle assembly is more than a commodity part—it’s a complex system that defines the vehicle’s handling, durability, and originality. AMC engineered unique axle tubes, differential carriers, gear sets, and bearing arrangements, often changing specifications mid-year or between models. These differences are not always obvious, and using an incorrect assembly can lead to:
- Poor alignment and premature tire wear.
- Inaccurate speedometer readings due to mismatched gear ratios.
- Reduced fuel efficiency and increased drivetrain noise (see DOE Fuel Efficiency).
- Safety risks from improper brake fitment or axle retention (see NHTSA Vehicle Safety and Equipment).
In addition, restoring with the wrong axle can diminish historical value, especially for rare or performance AMC models.
AMC Rear Axle Identification: The Foundation of Authentic Restoration
Before sourcing or installing any rear axle assembly, it’s essential to properly identify the correct AMC axle for your vehicle. AMC used several different axle types, including the AMC Model 15, 20, and 35, as well as Dana 35 and 44 variants in certain Jeeps. Each has unique characteristics:
| AMC Axle Model | Years Used | Typical Applications | Notes |
|---|---|---|---|
| AMC 15 | 1950s-60s | Rambler, early AMCs | 1-piece axle shaft, small ring gear |
| AMC 20 | 1970s-80s | Javelin, AMX, Jeep | 2-piece axle shaft, large ring gear, common in performance models |
| AMC 35 | 1980s-90s | Jeep Cherokee, Eagle | Lighter duty, C-clip axle design |
| Dana 35/44 | 1980s+ | Jeep, select AMCs | Spicer-built, different flange and tube specs |
Identification checklist:
- Locate axle tag or stamped codes on the differential housing.
- Measure axle tube diameter and flange-to-flange width.
- Count axle splines and check bearing type.
- Consult the Amc Axle Identification Guide for detailed visuals and code breakdowns.
Sourcing AMC Rear Axle Assemblies: Avoiding Common Mistakes
Sourcing the correct AMC rear axle assembly is a critical step that can make or break your restoration. Here are best practices to ensure success:
- Buy from AMC specialists or certified rebuilders. General salvage yards or online sellers may misidentify axles, leading to costly returns or fitment headaches.
- Request documentation. Ask for photos of casting numbers, tags, and axle ends to verify authenticity.
- Check for modifications. Many used axles have been swapped or altered (e.g., gear changes, bracket relocation, aftermarket welds).
- Avoid “universal” or Jeep-only axles. Even if dimensions are similar, brake and bearing specs often differ.
- Confirm included components. Some assemblies are sold as “housing only” without axles, brakes, or hardware—factor in the cost and availability of these parts.
For more on sourcing and fitment, see our AMC Rear Axle Assembly with Housing: Fitment, Failure, and Sourcing Guide.
Drivetrain Authenticity: Preserving Value and Performance
Maintaining drivetrain authenticity is essential for both performance and collector value. AMC vehicles, especially limited-edition or high-performance models, are judged by the originality of their major assemblies. Here’s how to ensure drivetrain authenticity:
- Match casting numbers and date codes on axle housings to your vehicle’s build date.
- Use correct gear ratios as specified on the original build sheet or service manual.
- Retain factory-style hardware and finishes, such as phosphate-coated U-bolts and period-correct paint marks.
- Document any deviations for future owners or show judges.
Authentic drivetrain restoration also supports correct fuel efficiency and handling characteristics, as AMC engineered each axle/gear combination for specific vehicle weights and powertrains[^1].
Technical Considerations: Materials, Safety, and Fitment
AMC rear axle assemblies were built with era-specific materials and manufacturing techniques. Modern replacement or rebuilt axles may use updated materials for durability, but it’s critical to verify:
- Tube and housing metallurgy: The original AMC axles often used medium-carbon steel with specific wall thicknesses for strength and weight balance (see DOE Materials Technologies).
- Bearing and seal compatibility: Later-model axles may use metric bearings or different seal diameters.
- Brake backing plate and hardware fitment: AMC used several unique bolt patterns and brake sizes, which must be matched precisely for safety and performance[^2].
Never assume that all AMC or Jeep axles are interchangeable—always measure and verify before installation.
Diagnostic Checklist: Evaluating Used AMC Axle Assemblies
Before installing or rebuilding a sourced AMC axle, perform a thorough diagnostic inspection to identify wear, damage, or prior modifications. Use this checklist:
AMC Axle Diagnostic Checklist
- Inspect axle tubes for straightness, dents, or rust-through.
- Check for cracks around spring perches, shock mounts, and bearing flanges.
- Verify that the differential carrier is free of excessive play or scoring.
- Rotate axle shafts to check for roughness or binding.
- Inspect splines for wear or twisting.
- Examine bearing surfaces for pitting or discoloration.
- Confirm that all mounting hardware threads are intact and not cross-threaded.
- Check for correct brake backing plate bolt pattern and hardware.
- Look for signs of previous welding, grinding, or bracket relocation.
If any issues are found, address them before proceeding to installation.
Installation Best Practices: Ensuring Safety and Performance
Proper installation of the AMC rear axle assembly is crucial for vehicle safety, drivability, and longevity. Follow these best practices:
- Clean all mating surfaces thoroughly before assembly to ensure proper fit and sealing.
- Use new hardware for U-bolts, spring pads, and shock mounts—old hardware can have hidden fatigue or corrosion.
- Torque all fasteners to AMC or SAE specifications (see SAE Standards).
- Align axle housing precisely using factory reference points to avoid thrust angle or pinion misalignment.
- Install new axle seals and bearings if there’s any doubt about condition.
- Bleed brakes thoroughly after installation and check for leaks or improper pedal feel.
For a step-by-step installation walkthrough, review our Rear Axle Installation Tips Article.
Maintenance and Longevity: Protecting Your Restored AMC Axle
Once installed, regular maintenance is key to preserving your AMC axle’s performance and extending its lifespan:
- Change differential fluid at recommended intervals, using the correct weight and additive package.
- Inspect axle seals and vent tubes for leaks or blockages.
- Monitor for unusual noises such as whining, grinding, or clunks—early symptoms of bearing or gear wear.
- Check for fluid leaks around pinion, axle ends, and cover gasket.
- Retorque all mounting hardware after the first 500 miles of driving.
Routine maintenance not only prevents major failures but also helps identify minor issues before they become costly repairs. For more maintenance details, visit our Amc Rear Axle Service Guide.
Common AMC Restoration Sourcing Mistakes (and How to Avoid Them)
Many AMC restorers—especially those new to the marque—fall into avoidable sourcing traps. Here are the most frequent mistakes and strategies to sidestep them:
| Mistake | Consequence | How to Avoid |
|---|---|---|
| Buying “complete” axles missing key hardware | Delays, extra expense | Verify parts list and ask for detailed photos |
| Using Jeep axles without verifying specs | Poor fitment, safety issues | Cross-reference part numbers, measure flanges and tube diameters |
| Ignoring year/model changes in axle design | Brake, bearing, or driveshaft mismatch | Consult AMC service bulletins and fitment guides |
| Overlooking prior repairs or modifications | Weakness, misalignment | Inspect welds, brackets, and tube straightness carefully |
| Assuming aftermarket axles are “plug-and-play” | Compatibility, warranty issues | Confirm specs, ask for return policy, and check reviews |
Fuel Efficiency and Drivetrain Choices in AMC Restorations
Selecting the correct rear axle assembly and gear ratio has a direct impact on fuel economy and driving characteristics. AMC originally matched axle ratios to engine output, vehicle weight, and intended use (e.g., performance vs. economy models). Upgrading to a numerically lower (taller) gear can improve highway mileage but may reduce acceleration. Conversely, performance ratios enhance acceleration at the expense of fuel efficiency[^1].
Best practices:
- Use the original build sheet or data plate as a reference for correct axle ratio.
- If swapping ratios, consult a drivetrain specialist to ensure compatibility with your transmission and tire size.
- Remember that drivetrain modifications can impact emissions and safety compliance.
Safety and Compliance: Meeting Modern Standards with Vintage Parts
Restoring an AMC to original specs is the goal, but safety should always come first. When rebuilding or replacing axle assemblies:
- Use new or certified-rebuilt brake components to meet modern stopping standards.
- Replace all rubber brake hoses and axle seals to prevent leaks and failure.
- Check for NHTSA recalls on related components (see NHTSA Recalls).
- Consider upgrading to modern friction materials (e.g., brake pads, shoes) that offer improved performance without sacrificing authenticity.
Always test drive carefully after any major drivetrain work and monitor for any unusual behavior.
Documentation and Provenance: The Restorer’s Secret Weapon
Thorough documentation is often the difference between an average and an award-winning AMC restoration. Maintain a file with:
- Photos of all casting numbers, tags, and date codes before and after installation.
- Receipts and part numbers for all sourced components.
- Service and installation notes detailing any deviations from factory specs.
- Copies of original service manuals, TSBs, and build sheets.
This documentation not only proves authenticity to future buyers or show judges but also streamlines future service and parts sourcing.
Advanced Topics: Upgrading Materials and Performance Without Compromising Authenticity
While originality is paramount, some AMC restorers seek to discreetly upgrade axle assemblies for improved performance or durability. Consider:
- Using modern synthetic lubricants for reduced friction and improved longevity.
- Upgrading to improved bearing materials if available, while retaining original dimensions.
- Applying modern corrosion protection (e.g., powder coating) on the inside of axle housings, with original finishes on visible surfaces.
- Retrofitting limited-slip differentials if the vehicle was originally equipped, using period-correct units or visually identical modern replacements.
All upgrades should be well documented and, where possible, reversible.
AutoPartEx: Your Partner in AMC Authenticity and Sourcing
At AutoPartEx, we specialize in the technical details that make or break an AMC restoration. Our catalog is curated for authenticity, and our editorial team provides in-depth guides to help you avoid sourcing mistakes and technical pitfalls. For more on AMC axle identification, sourcing, and installation, start with our AMC Rear Axle Assembly with Housing: Fitment, Failure, and Sourcing Guide and Amc Axle Identification Guide.
Whether you’re restoring a Javelin, AMX, or Jeep, our resources ensure your project delivers factory-correct performance, safety, and value.
Expert Action: Step-by-Step Path to AMC Restoration Success
- Research your specific AMC model and year. Use internal and external guides to confirm original axle specs.
- Inspect your vehicle’s current axle for originality and condition. Document all findings.
- Source the correct axle assembly from a trusted specialist. Request photos, casting numbers, and full documentation.
- Perform a thorough diagnostic inspection before installation, following the checklist above.
- Install using new hardware and follow torque specs. Reference AMC or SAE standards for all fasteners.
- Test drive and monitor for any issues. Address them promptly.
- Maintain detailed records of all work performed.
- Consult AutoPartEx guides and support for any technical questions or sourcing challenges.
By following these best practices, you’ll ensure your AMC restoration is both authentic and reliable—ready to perform as it did from the factory, and to impress at any show or meet.