
Advertisement
Amc Electrical Diagnostics Blog
When your AMC clock stops ticking—or worse, causes electrical problems—it’s more than an inconvenience. It’s a signal that your classic American Motors vehicle may have underlying electrical or fitment issues that could compromise safety, authenticity, and even value. In this comprehensive guide, the AutoPartEx Technical Editorial Team walks you through the most common AMC clock electrical problems across model years, provides practical diagnostic steps, wiring diagrams, and real-world case studies, and details proven solutions for restoration and reliable operation. Whether you’re tackling a 1960s Rambler or a late-model Eagle, you’ll find actionable insights here. For a broader overview of AMC clock restoration, fitment, and sourcing, refer to our AMC Clock Parts: OEM Restoration & Fitment Guide.
The Immediate Answer: Diagnosing AMC Clock Electrical Issues
If your AMC clock isn’t working, start with three checks:
- Power Supply: Verify that the clock’s fused power lead is delivering 12V with the ignition on (or always, for some models).
- Ground Connection: Ensure the clock’s ground wire or case grounding tab is securely connected to a clean, bare metal surface.
- Internal Mechanism: If both power and ground are present but the clock is silent, the internal movement may be defective due to age, corrosion, or failed contacts.
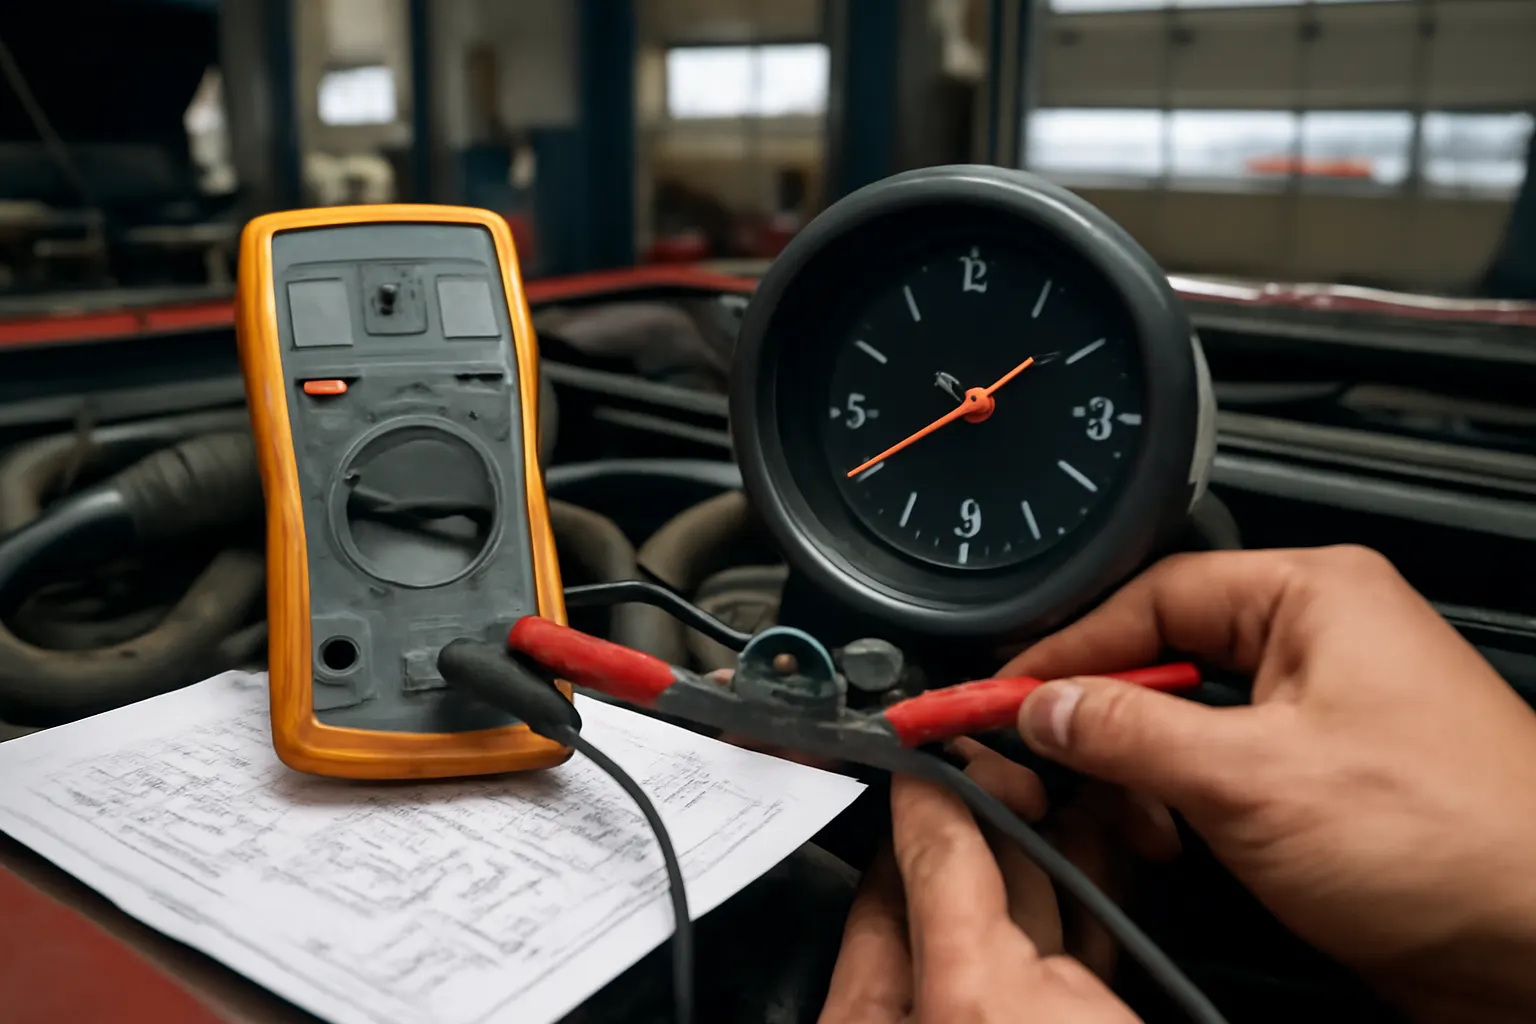
Use a digital multimeter to test voltage at the clock harness. If voltage and ground are good, but the clock is dead, removal and bench testing are next. If the clock blows fuses or causes other circuits to fail, a short or wiring fault is likely.
The Hidden Problem: AMC Clock Electrical Faults Can Affect More Than Timekeeping
While a non-functioning clock is annoying, electrical faults in AMC clocks can cascade into more serious issues:
- Shared Circuit Disruption: Many AMC models wired the clock into the same circuit as dash lights, radio, or even ignition accessories. A shorted clock can cause these systems to malfunction or stop working entirely.
- Fire Risk: Faulty grounding or internal shorts have been linked to harness overheating in AMC vehicles, particularly if higher-rated fuses are installed as a “quick fix.”
- Fitment-Related Shorts: Installing the wrong clock or an ill-fitting reproduction may pinch wires or leave terminals exposed to the dash frame, increasing the risk of a short circuit.
These compounded risks highlight why clock diagnostics are about more than restoring a period-correct dash—they’re about maintaining safety and electrical integrity throughout your classic AMC.
Understanding AMC Clock Circuitry: Technical Foundations
AMC clocks from the 1960s through the 1980s used a variety of mechanisms, but their electrical fundamentals share several core traits:
- Power Source: Most AMC clocks are powered by the vehicle’s 12V electrical system, with either constant or switched power depending on model year.
- Grounding: Ground is typically achieved via a dedicated wire or through the clock case’s mounting tab, which must contact bare metal.
- Internal Movement: Early clocks use mechanical “wind-up” mechanisms electrically energized by a solenoid, while later models may use synchronous or quartz movements requiring steady voltage.
- Wiring Integration: The clock harness often piggybacks on dash or accessory circuits, making it sensitive to wiring degradation elsewhere in the harness.
Wiring Diagram Example (1972 AMC Javelin):
| Wire Color | Function | Destination |
|---|---|---|
| Orange | +12V Constant | Fuse Panel (Clock Fuse) |
| Black | Ground | Dash Frame (Mounting Tab) |
| Blue | Dash Light (if lit) | Instrument Cluster Harness |
Always consult a factory manual or reliable reproduction diagram for your specific year and model.
Common AMC Clock Electrical Failure Modes
Over decades of fieldwork and restoration, several failure modes recur in AMC clock circuits:
- Open Circuit (No Power): Broken fuse, corroded terminals, or disconnected harness.
- Short Circuit: Frayed wires, pinched harness behind the dash, or failed internal solenoid.
- Grounding Failure: Painted dash surfaces or loose mounting tab prevent proper ground.
- High Resistance: Corrosion at harness connectors or fuse panel reduces voltage at the clock, causing erratic or slow operation.
- Incorrect Fitment: Replacing a mechanical clock with a quartz unit without proper wiring adaptation can lead to mismatched power/ground connections.
Advertisement
Each mode requires a systematic diagnostic approach—guesswork can result in further damage or even dash fires.
Step-by-Step AMC Clock Electrical Diagnostic Checklist
Use this checklist to systematically diagnose AMC clock electrical issues:
AMC Clock Diagnostic Checklist
- Visual Inspection
- Remove the clock bezel and inspect for corrosion, loose wires, and evidence of overheating.
- Confirm the clock matches your AMC model/year and isn’t an ill-fitting aftermarket unit.
- Power Test
- With ignition on (or off, per model), use a multimeter to check for 12V at the clock’s power lead.
- If no voltage, check fuse and upstream wiring.
- Ground Test
- Set multimeter to continuity mode; test between clock ground wire/mount and known chassis ground.
- If no continuity, clean mounting area and retest.
- Internal Function Test
- With clock removed and bench-powered at 12V, observe mechanism for ticking or movement.
- If no response, inspect for burnt contacts or failed gears.
- Wiring Harness Inspection
- Trace harness from clock to fuse panel for pinch points, exposed copper, or melted insulation.
- Repair or replace damaged sections.
- System Integration Test
- Reconnect clock and observe dash lights, radio, and other shared circuits for proper function.
- If issues persist, isolate by disconnecting clock and retesting.
Document all findings before reinstallation. This checklist is based on best practices recommended by the National Highway Traffic Safety Administration for vehicle equipment diagnostics [1].
Case Study: 1974 AMC Javelin—Clock Causes Dash Light Failure
Scenario: An AMC enthusiast reports that after installing a reproduction clock in his 1974 Javelin, both the clock and dash lights stopped working.
Diagnosis:
- Visual check revealed the reproduction clock’s mounting tab was painted, preventing ground.
- Multimeter test showed 12V at the power lead but no continuity to ground.
- Removing the clock restored dash light function.
Solution:
- Removed paint from the mounting tab and dash contact area.
- Reinstalled clock; both clock and dash lights now functioned.
Lesson: Grounding faults are a primary cause of “cascading” electrical failures in AMC clocks, especially when using reproduction or repainted parts.
Fitment Pitfalls: Electrical Hazards When Swapping AMC Clocks
Not all AMC clocks are interchangeable, even if they appear similar. Fitment errors introduce electrical hazards:
- Mounting Differences: Some years use two mounting studs, others three. Incorrect mounting can leave terminals or wires exposed.
- Harness Connector Types: Early and late models may use different connector shapes or pinouts. Adapting connectors without proper diagrams risks reversed polarity or open circuits.
- Case Depth and Dash Clearance: Deeper clock cases can crush harnesses against the dash frame, causing insulation wear and eventual shorts.
Best Practice: Always match the clock part number and harness style to your vehicle’s year and trim. Review our Amc Clock Parts Overview for detailed interchangeability data.
Sourcing Safe AMC Clock Replacements: What to Look For
Replacement clocks—whether NOS, reproduction, or used—vary in electrical quality and fitment precision. To avoid electrical headaches:
- OEM vs. Aftermarket: Genuine AMC clocks are engineered for specific dash harnesses and grounding methods. Aftermarket units may require adaptation.
- Reproduction Quality: High-quality reproductions replicate original connector orientation, mounting geometry, and case grounding. Cheap imports often do not.
- Testing Before Installation: Bench-test all replacements at 12V for at least 30 minutes to verify operation and check for overheating or erratic function.
- Connector Compatibility: Inspect harnesses for correct wire color and gauge. Never force incompatible connectors.
Pro Tip: When possible, source from reputable AMC specialists who understand the nuances of each model year and can provide wiring diagrams or support.
Wiring Diagram Reference: Example for 1970s AMC Clocks
A reliable wiring diagram is essential for safe installation and troubleshooting. Here’s a generalized example for 1970s AMC clocks:
[ +12V Fused ] ---- (Orange Wire) ----> [ Clock Terminal 1 ]
                                     |
[ Ground ] ---- (Black Wire) --------> [ Clock Terminal 2 ]
                                     |
[ Dash Light ] ---- (Blue Wire) ----> [ Clock Terminal 3 ] (if equipped)
- Fuse Location: Usually labeled “Clock” in the panel; 3A or 5A fuse typical.
- Ground Point: Dash frame or dedicated ground lug.
- Lighting Lead: Some clocks illuminate with dash lights; others do not.
Advertisement
Caution: Always compare wiring to your factory service manual or credible reproduction diagram. Mismatched wiring can damage both clock and harness.
Preventative Maintenance for AMC Clock Electrical Systems
Once your AMC clock is working, preventative care is key to long-term reliability:
- Annual Harness Inspection: Check for insulation cracks, corrosion, and secure connections.
- Keep Grounds Clean: Remove oxidation from mounting tabs and dash contact points yearly.
- Fuse Integrity: Use only the specified fuse rating. Never “upsize” a fuse to compensate for repeated failures—this masks underlying faults and increases fire risk.
- Moisture Control: If your AMC is stored in humid conditions, consider dielectric grease on connectors to prevent corrosion.
Tip: If your clock fails repeatedly, recheck for high resistance or voltage drops in the harness, which may indicate broader dash wiring issues.
Integration with Other Dash Systems: What to Watch For
AMC dashboards often integrate the clock with other circuits, especially in models with optional equipment. Watch for these integration issues:
- Shared Illumination Circuits: A short in the clock light can darken the entire dash cluster.
- Accessory Power Sharing: In some models, clock power is shared with the radio or accessory outlets—faults can mute radios or cause intermittent power loss.
- Gauge Cluster Removal: Removing the cluster for clock service without disconnecting the battery can short live wires against the dash frame.
Expert Advice: Always disconnect the negative battery cable before working behind the dash. Document all connections and use photos for reference during reassembly.
Advanced Troubleshooting: When to Suspect Deeper Electrical Problems
If your AMC clock continues to fail after following standard diagnostics, consider these advanced issues:
- Voltage Regulation Problems: Unstable system voltage (due to a failing voltage regulator) can damage sensitive clock mechanisms, especially quartz movements.
- Aging Harnesses: Brittle, oxidized wires throughout the dash can cause intermittent faults not traceable to the clock alone.
- Parasitic Draws: A clock wired for constant power may drain the battery if internal contacts stick closed, especially in seldom-driven vehicles.
Resolution Path:
- Check system voltage at the fuse panel with the engine running (should be 13.8–14.5V).
- Inspect the entire dash harness for age-related degradation.
- Use an ammeter to measure current draw with the ignition off; clocks typically draw less than 0.02A at rest.
Restoring Electrical Authenticity: Tips for Concours AMC Projects
For those pursuing concours-level restoration, electrical authenticity is as important as cosmetic detail:
- Correct Wire Colors and Routing: Use factory-correct wire colors, lengths, and harness clips.
- Original Connectors: Source or restore original connector housings rather than splicing in modern replacements.
- Proper Fasteners: Use original-style mounting hardware for clock and harness retention.
- Documentation: Maintain a log of all repairs and parts used; this adds value and confidence for future owners or judges.
For authenticity tips and verification, see our Amc Clock Authenticity Guide.
Safety and Compliance: Meeting Modern Standards
Classic AMC clocks and their electrical systems must still meet basic safety expectations. The National Highway Traffic Safety Administration (NHTSA) emphasizes the importance of proper equipment and wiring integrity to reduce fire risk and ensure safe operation [1]. While AMC clocks are not subject to modern recall campaigns, using safe, tested components and installing them per original specifications is critical for both safety and reliability.
If you discover a recurring electrical fault or signs of overheating, consult a qualified automotive electrician with experience in vintage vehicles. Document all repairs and modifications to maintain a clear service history.
The AutoPartEx Advantage: Your AMC Clock Electrical Resource
AutoPartEx is committed to providing the most comprehensive, technically accurate resources for AMC clock restoration and diagnostics. Our guides are grounded in industry standards and vetted by experts with decades of hands-on experience. Whether you need OEM parts, fitment diagrams, or troubleshooting advice, our curated content and marketplace connections help you restore your AMC’s dash with confidence.
For a full breakdown of available parts, technical references, and model-specific instructions, visit the AMC Clock Parts: OEM Restoration & Fitment Guide. For installation step-by-step, see our Amc Clock Installation Guide.
References
- Vehicle Safety and Equipment — National Highway Traffic Safety Administration
- Vehicle, Car Seat, Tire, and Equipment Recalls — National Highway Traffic Safety Administration
- SAE Standards — SAE International
This guide is part of the AutoPartEx AMC Clock Parts editorial series. For more technical resources, visit our AMC category page and related guides.
Advertisement