
Advertisement
Amc Charging System Restoration
Restoring the charging system of a classic AMC vehicle comes with unique challenges—misfit alternators, incorrect wiring, and overlooked compatibility issues can all sabotage your restoration. This guide delivers tested insights and practical steps to help enthusiasts and restorers avoid the most common pitfalls. Whether you’re working on an AMX, Javelin, Gremlin, or another AMC classic, understanding the nuances of AMC charging systems is crucial for a successful, reliable restoration. For comprehensive alternator replacement and model-specific details, see our AMC Alternator Replacement & Technical Guide.
The Immediate Answer: Common AMC Charging System Pitfalls
The most frequent issues encountered during AMC charging system restoration are alternator misfit, harness miswiring, and overlooked grounding. These problems result in no-charge conditions, battery drain, electrical fires, or even alternator failure. To restore your AMC’s charging system reliably, you must:
- Confirm alternator type and fitment for your specific AMC model and year.
- Inspect and repair wiring harnesses, using accurate diagrams.
- Test all grounds and charging voltages before finalizing installation.
- Use correct mounting hardware and belt alignment.
These steps are non-negotiable for a safe and functional restoration. Skipping any can undermine your entire project, risking both safety and vehicle performance.
The Hidden Problem: AMC Charging System Complexity
AMC vehicles, especially from the late 1960s through the 1980s, used a variety of alternator types and charging system layouts. Over the years, many AMCs have been modified with non-original parts, spliced wiring, or incorrect alternators. What looks like a simple alternator swap can quickly unravel into a complex electrical puzzle.
Common hidden problems include:
- Previous owner modifications that deviate from AMC factory wiring.
- Aftermarket alternators with incompatible wiring terminals.
- Voltage regulator mismatches (external vs. internal).
- Subtle differences in alternator mounting or pulley diameters.
These issues often remain hidden until after installation, when charging problems, warning lights, or electrical gremlins appear.
AMC Charging System Overview: Types and Evolution
Before diving into restoration, it’s essential to understand the evolution of AMC charging systems:
- Pre-1970s AMC Models: Typically used Motorola alternators with external voltage regulators. These systems have distinct wiring harnesses and mounting brackets.
- 1970s AMC Models: Began transitioning to Delco-Remy alternators (especially after the Chrysler buyout), with both external and internal regulator variants.
- 1980s AMC Models: Shifted toward internally regulated alternators, simplified wiring, and more standardized mounting.
Each system requires specific alternator types, wiring, and brackets. Using the wrong combination leads to poor charging or even electrical fire risks. For more detail, review Amc Alternator Types.
Diagnosing AMC Charging System Issues
A methodical diagnostic process is critical before and after restoration. AMC charging system failures can masquerade as battery or starter issues, so targeted checks are key:
Step-by-step AMC charging system diagnostic checklist:
- Battery Condition: Test battery voltage (should be 12.6V at rest, 13.8–14.4V charging).
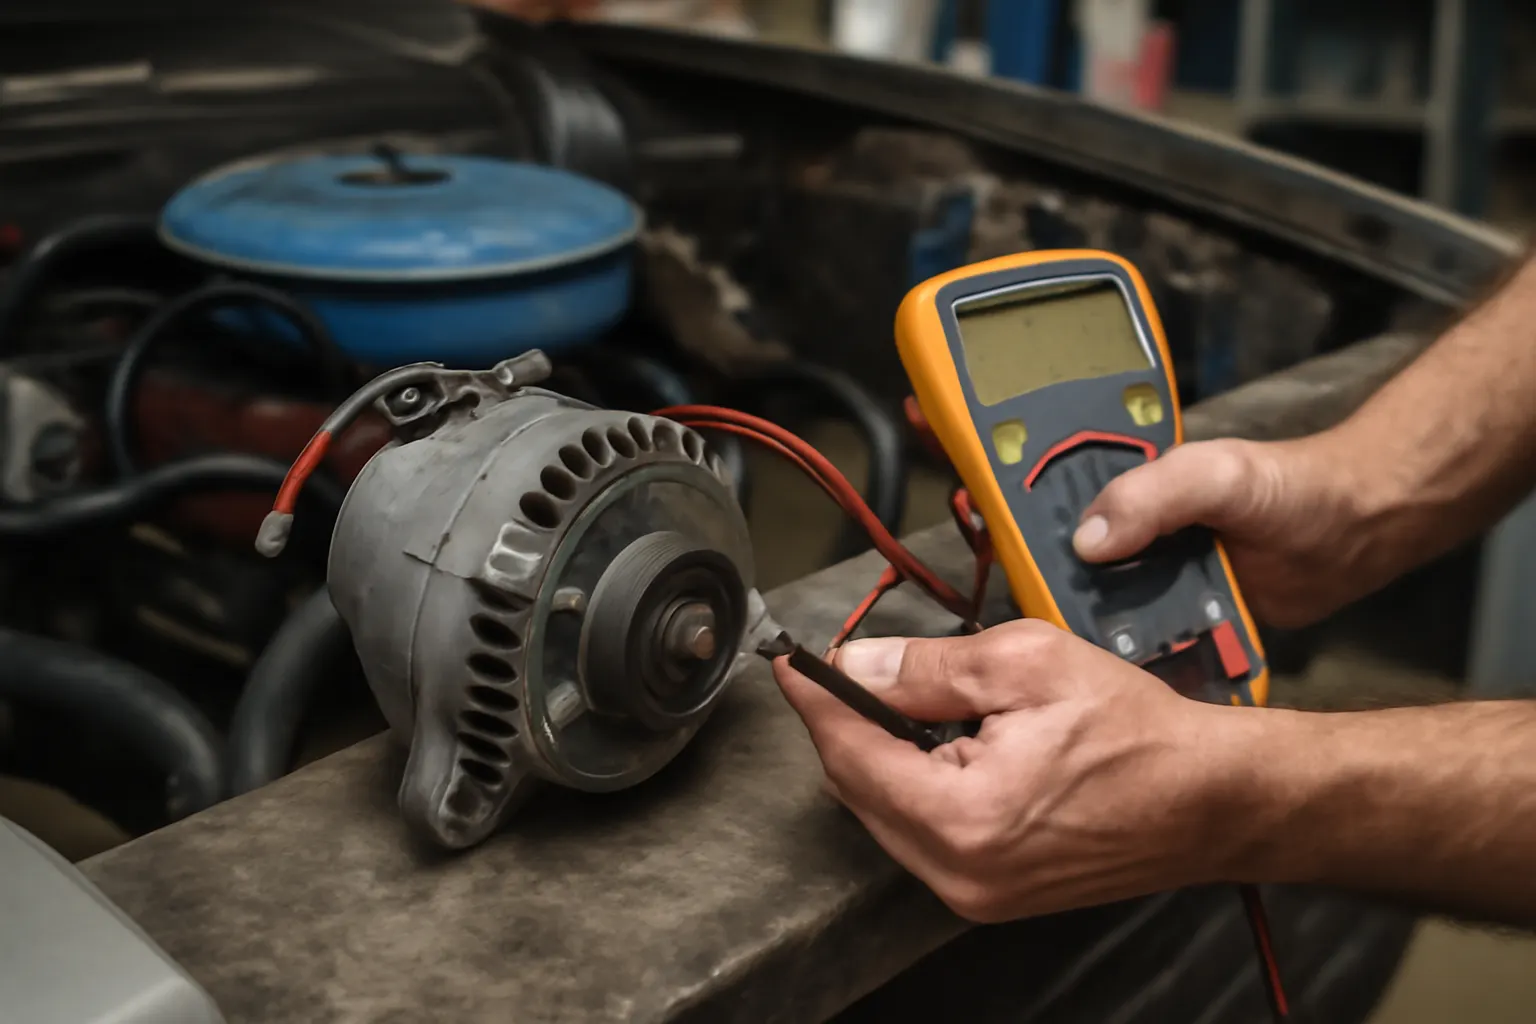
- Alternator Output: With engine running, measure alternator output at the main terminal.
- Voltage Regulator Test: If equipped with an external regulator, confirm correct operation and wiring.
- Grounds: Inspect engine, alternator, and body grounds for corrosion or looseness.
- Belt Tension: Confirm proper belt tension and pulley alignment.
- Wiring Harness: Trace all charging circuit wires for continuity, splices, or damage.
- Indicator Light: Verify dash warning light operation (if equipped).
Advertisement
If any step fails, correct before proceeding with alternator replacement or system restoration.
Alternator Misfit: The Most Common Restoration Error
Alternator misfit is the single most frequent problem in AMC charging system restoration. AMC engines used several alternator mountings—side vs. bottom, different ear widths, and various pulley diameters. Installing the wrong alternator leads to:
- Misaligned belts, causing noise or rapid wear.
- Inability to tension the belt properly.
- Pulley mismatch leading to under- or over-charging.
- Electrical connector incompatibility.
Preventing alternator misfit:
- Cross-check alternator part numbers against AMC factory specs.
- Measure mounting ear width, bolt hole diameter, and pulley offset.
- Match alternator output rating to your vehicle’s electrical load.
For detailed installation guidance, visit Amc Alternator Installation.
Wiring Errors: The Silent System Killer
Wiring errors are a close second in causing charging system failures. AMC harnesses often suffer from age-related insulation breakdown, prior owner splices, or incorrect color coding.
Typical AMC wiring mistakes:
- Swapping field and sense wires (especially on externally regulated systems).
- Using generic wiring kits without adapting to AMC color codes.
- Failing to reconnect ground wires after engine or alternator removal.
- Overlooking fusible links or inline fuses in the charging circuit.
Checklist: Preventing AMC wiring errors
- Use AMC-specific wiring diagrams for your model/year.
- Inspect all wires for splices, corrosion, or heat damage.
- Replace brittle, cracked, or discolored wires.
- Confirm connections at the alternator, regulator, and battery are tight and clean.
Voltage Regulator Compatibility: External vs. Internal
AMC alternator systems used both external and internal voltage regulators, depending on model year and alternator type. Mixing these systems causes immediate charging failure.
Key differences:
- External Regulator: Typically a Motorola or Delco-Remy box mounted on the fender or firewall. Requires four or more wires between alternator and regulator.
- Internal Regulator: Regulator is inside the alternator case. Only two main wires (battery and indicator) needed.
Pitfalls:
- Installing an internally regulated alternator in a car wired for an external regulator (or vice versa) without adapting the harness.
- Leaving the old regulator connected, causing voltage drop or erratic charging.
Solution: Always match alternator and regulator types. If upgrading to an internally regulated alternator, follow a conversion wiring diagram and remove or bypass the old regulator.
Grounding and Mounting: Overlooked But Essential
Many AMC charging issues trace back to poor grounding or incorrect mounting. Alternators require a direct, low-resistance ground path to the engine block and battery.
Grounding best practices:
- Clean all mounting surfaces to bare metal.
- Use star washers or ground straps where needed.
- Check resistance between alternator case and battery negative (should be less than 0.2Ω).
- Ensure engine-to-chassis ground straps are present and intact.
Loose or corroded grounds cause intermittent charging, voltage spikes, or regulator failure.
Sourcing the Right AMC Alternator and Parts
Finding the correct AMC alternator is more challenging than for many other brands. AMC used multiple suppliers (Motorola, Delco, Bosch), and many aftermarket replacements are “universal fit” that rarely fit perfectly.
Sourcing checklist:
- Use AMC part numbers and cross-reference guides.
- Inspect mounting points and pulley configuration before purchase.
- Purchase from reputable vendors specializing in AMC or classic American auto parts.
- Avoid “one size fits all” alternators unless you can verify fitment and output.
For part sourcing, AutoPartEx maintains a curated catalog and technical support for AMC alternators and charging system parts.
Advertisement
Step-by-Step AMC Charging System Restoration
Restoring an AMC charging system is more than just swapping an alternator. Follow this proven process:
- Document Original Setup: Photograph wiring, brackets, and alternator before removal.
- Remove Old Components: Carefully disconnect battery, remove alternator, and inspect all hardware.
- Inspect and Repair Harness: Replace or repair any damaged wires, connectors, or grounds.
- Test Voltage Regulator (if external): Replace if any sign of malfunction or corrosion.
- Install Correct Alternator: Match mounting, pulley, and electrical connector.
- Reconnect Wiring: Use dielectric grease on terminals; confirm all connections are tight.
- Check Belt Alignment and Tension: Adjust tension to spec (typically 1/2" deflection at center span).
- Test Charging Output: Start engine, measure output voltage and check for warning lights.
- Final Inspection: Verify all fasteners are secure, wires are routed safely, and no harnesses are near exhaust or moving parts.
Safety and Reliability: Meeting Modern Standards
Restored AMC charging systems must meet modern safety and reliability expectations. The National Highway Traffic Safety Administration (NHTSA) emphasizes the importance of proper parts selection and installation for vehicle safety and performance [NHTSA Vehicle Safety and Equipment]. Poor charging system repairs can cause fire hazards, electrical shorts, or leave you stranded.
Key safety tips:
- Always disconnect the battery before working on the charging system.
- Use only quality, tested components.
- Replace any questionable wiring or connectors.
- Test charging system under load (lights, blower, etc.).
Preventive Maintenance After Restoration
Once your AMC charging system is restored, ongoing maintenance is vital for longevity:
- Inspect belts and pulleys every 6 months for wear or misalignment.
- Check charging voltage regularly—low or high output can indicate regulator or alternator issues.
- Clean battery terminals and check for corrosion.
- Listen for bearing noise or unusual sounds from the alternator.
Address any issues promptly to prevent major failures.
AMC Charging System Restoration Checklist
Here’s a concise checklist to guide your AMC charging system restoration:
| Task | Completed |
|---|---|
| Verify alternator type and fitment | ☐ |
| Inspect and repair wiring harness | ☐ |
| Test and confirm voltage regulator type | ☐ |
| Clean and verify all grounds | ☐ |
| Check belt alignment and tension | ☐ |
| Install alternator with correct hardware | ☐ |
| Reconnect all wiring per AMC diagram | ☐ |
| Test charging output at battery | ☐ |
| Inspect for warning lights or noises | ☐ |
| Perform final safety inspection | ☐ |
Use this checklist at every step to ensure a thorough and reliable restoration.
When to Seek Expert Help
If you encounter persistent charging issues, erratic voltages, or cannot confirm wiring diagrams, it’s time to consult a professional. AMC charging systems are unique, and mistakes can lead to expensive damage or safety hazards.
AutoPartEx offers technical support, wiring diagrams, and AMC-specific alternator sourcing. For advanced troubleshooting, see Amc Alternator Diagnostics.
Why Restoration Quality Matters: Performance and Efficiency
A properly restored AMC charging system doesn’t just keep your battery charged—it ensures reliable ignition, lighting, and accessory operation. Faulty charging can cause poor fuel efficiency, performance loss, and premature electrical component failure [DOE Fuel Efficiency]. Using correct materials and installation techniques also supports overall vehicle longevity [DOE Materials Technologies].
AutoPartEx: Your Partner in AMC Restoration
At AutoPartEx, we understand the challenges of AMC charging system restoration. Our catalog, technical articles, and support staff are dedicated to helping you achieve factory-level reliability and safety in your vintage AMC. For model-specific alternator information and troubleshooting, visit our AMC Alternator Replacement & Technical Guide.
References
Advertisement