
Advertisement
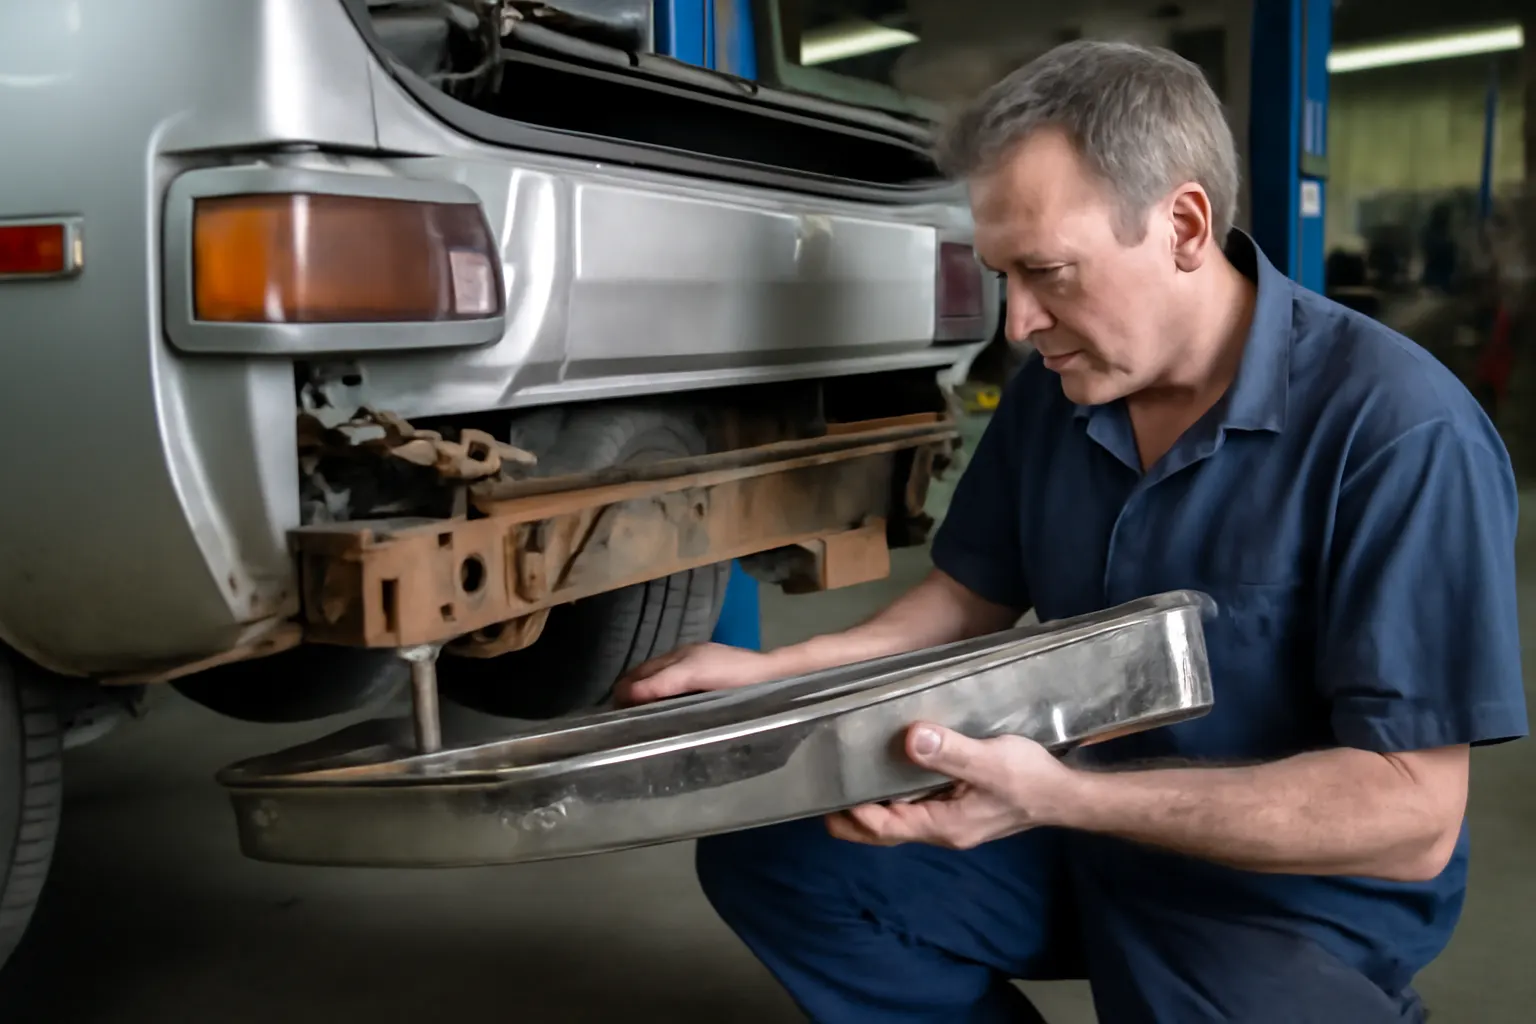
AMC rear bumper reinforcements are vital for safety and structural integrity, but real-world restoration shop reports reveal persistent failures, fitment headaches, and sourcing dilemmas. This in-depth field guide compiles direct service stories, practical diagnostic advice, and proven solutions from the classic AMC restoration community. Whether you’re restoring an AMX, Javelin, Gremlin, or Matador, you’ll find actionable insight to keep your rear bumper reinforcement effective and compliant.
For a foundational overview of AMC rear bumper reinforcement fitment, diagnostics, and sourcing, see our AMC Rear Bumper Reinforcement – OEM Fitment, Diagnostics, and Sourcing Guide. This blog dives deeper into the gritty realities of shop floors and restoration bays—where theory meets practice, and failures are not hypothetical.
Immediate Answers: What Restoration Shops Face with AMC Bumper Reinforcements
- Frequent Failures: Aging AMC bumper reinforcements are prone to corrosion, metal fatigue, and impact deformation, often failing at critical mounting points.
- Fitment Frustrations: Aftermarket and NOS (new old stock) parts rarely drop into place—requiring modification, shimming, or re-drilling.
- Sourcing Struggles: Genuine AMC reinforcements are scarce, and quality varies wildly among aftermarket suppliers.
- Safety Risks: Compromised reinforcements undermine rear crash protection, risking non-compliance with federal safety standards (NHTSA Equipment).
Bottom line: AMC bumper reinforcement service is a hands-on challenge demanding expert diagnostics, careful sourcing, and skilled installation.
The Hidden Problem: Why AMC Rear Bumper Reinforcements Fail
Many AMC owners and even some restoration newcomers underestimate the complexity of rear bumper reinforcement failures. On the surface, a bumper reinforcement is just a metal bar, but field reports consistently highlight deeper issues:
- Material Degradation: Decades-old steel succumbs to rust, especially at mounting brackets and weld seams.
- Crash History: Hidden structural compromise from previous rear impacts often goes undetected until disassembly.
- Design Limitations: Original AMC reinforcements, designed before modern crash standards, offer less energy absorption than contemporary counterparts. This increases the risk of deformation even in low-speed collisions (Rear Bumper Energy Absorption Article).
- Improper Past Repairs: Welded patches, substandard hardware, or makeshift shims from previous owners frequently lead to misalignment and weak points.
Restoration shop reality: Most failures are not immediately visible. The real danger is hidden beneath paint, undercoating, or rust.
Deeper Technical Explanation: Anatomy of AMC Rear Bumper Reinforcement Issues
1. Corrosion and Metal Fatigue
Field Report: Shop owner in Ohio notes, “Of the last six Javelin bumpers we’ve done, five had severe bracket rust-through—two failed the ‘tap test’ and crumbled in hand.”
- Common Failure Points: Mounting ears, internal boxed sections, and weld seams.
- Contributing Factors: Road salt exposure, trapped moisture, and lack of drainage holes hasten corrosion.
- Fatigue Cracks: Repeated flexing from minor bumps and towing stresses can cause invisible hairline cracks.
2. Impact Deformation and Hidden Damage
Field Report: AMC specialist in California describes a Matador with “a perfectly straight bumper but a reinforcement bar bent like a banana behind it—likely from a decades-old fender-bender.”
- Symptoms: Uneven bumper alignment, persistent rattling, or difficulty bolting up.
- Technical Note: The reinforcement’s job is to distribute impact force. If it’s bent or collapsed, this function is lost.
3. Aftermarket and NOS Fitment Problems
Field Report: “We ordered three different ‘direct fit’ reinforcements for a ’72 Gremlin. None matched the original mounting holes. One was 1/4” too short, another had incorrect bracket angles.”
- Root Causes: Inconsistent manufacturing tolerances, lack of original jigs, and model year variations.
- Complications: Even NOS parts can warp in storage, and aftermarket units may use lower-grade steel (Materials Technologies).
Diagnostic Practices: How Restoration Shops Identify Reinforcement Issues
Visual and Physical Inspection
- Remove the Bumper: Always remove the bumper cover to expose the reinforcement.
- Check for Rust: Probe mounting brackets, welds, and boxed sections with an awl or pick.
- Tap Test: Lightly tap with a hammer—listen for dull thuds (rust pockets) versus crisp rings (solid metal).
- Inspect for Bends: Sight down the length for warping or twist.
Measurement and Alignment
- Compare to Factory Specs: Use digital calipers and angle finders to check bracket spacing and bar curvature.
- Dry Fit: Temporarily mount the reinforcement to the frame rails before painting or final assembly.
Structural Soundness
- Weld Quality: Look for previous repairs or cracks at weld seams.
- Hardware Check: Verify that all bolts, nuts, and spacers meet original grade and size.
Checklist: AMC Rear Bumper Reinforcement Diagnostic Steps
Advertisement
| Step | Action | Tools Needed |
|---|---|---|
| Expose reinforcement | Remove bumper cover and trim | Socket set, trim tools |
| Probe for corrosion | Awl test at brackets and seams | Awl, flashlight |
| Tap for hidden rust | Hammer tap along full length | Small hammer |
| Check for bends/twist | Sight down bar, measure bracket spacing | Straightedge, caliper |
| Inspect welds | Look for cracks or poor repairs | Inspection mirror |
| Dry-fit to frame | Test fit before painting | Bolts, wrenches |
| Hardware verification | Confirm OEM grade/size hardware | Thread gauge |
Common Installation Challenges: Shop Stories from the Field
Misaligned Mounting Points
Even “bolt-on” reinforcements are rarely plug-and-play. Restoration techs report:
- Off-center holes: Mounting holes on aftermarket units often require elongation.
- Bracket angle errors: Brackets may need re-bending or shimming to achieve correct bumper alignment.
- Frame rail variance: Older AMCs may have minor frame rail spread, complicating fitment.
Hardware Headaches
- Missing Spacers: Shops frequently encounter previous repairs missing factory spacers or using hardware store bolts.
- Thread Damage: Corroded or cross-threaded captive nuts in the frame are common, necessitating re-tapping or welding in new nuts.
Paint and Finish Problems
- Premature Rust: Poorly finished aftermarket reinforcements may rust before installation.
- Coating Incompatibility: Some powder coatings are too thick, preventing proper fitment of brackets or bumper shells.
Sourcing Genuine and Quality AMC Bumper Reinforcements
The NOS vs. Aftermarket Dilemma
- NOS (New Old Stock): Often stored for decades, these parts may be rusted or warped. When pristine, they command high prices but offer the best fitment.
- Aftermarket: Readily available but highly variable in quality. Some are made from thinner gauge steel or lack proper corrosion protection.
Shop Sourcing Strategies
- Cross-Reference Part Numbers: Always verify part numbers for year/model/trim compatibility.
- Inspect Before Purchase: When possible, physically inspect NOS or used reinforcements for rust, bends, or poor welds.
- Trusted Suppliers: Restoration shops recommend building relationships with reputable AMC specialists rather than generic parts resellers.
Sourcing Checklist
| Sourcing Step | Best Practice |
|---|---|
| Verify compatibility | Match part number, year, model, trim |
| Inspect for damage | Request detailed photos or inspect in person |
| Ask about storage history | Prefer dry, climate-controlled storage |
| Check for hardware | Confirm inclusion of brackets, spacers, bolts |
| Confirm return policy | Ensure supplier accepts returns for defects |
Installation Solutions: How Restoration Pros Overcome Fitment Issues
Bracket Modification
- Shimming: Use stainless steel or aluminum shims to fine-tune bracket angles and bumper position.
- Hole Elongation: Carefully elongate mounting holes with a carbide burr or step drill for perfect alignment.
- Custom Spacers: Fabricate new spacers from high-grade steel if originals are missing or corroded.
Hardware Upgrades
- Grade 8 Bolts: Always replace hardware with proper grade 8 or OEM-specified bolts and lock washers.
- Anti-Seize Application: Prevent future rust by applying anti-seize compound to all threads.
Corrosion Protection
- Epoxy Primer: Coat reinforcement with epoxy primer before painting.
- Cavity Wax: Spray internal boxed sections with cavity wax to prevent future rust.
Final Alignment
- Dry-Fit Sequence: Assemble the entire bumper-reinforcement-frame stack loosely, then torque bolts in sequence to ensure even fitment.
- Gap Measurement: Use feeler gauges to check bumper-to-body gaps and adjust as necessary.
Shop-Proven Maintenance Tips to Extend Reinforcement Life
Regular Inspection
- Annual Checks: Remove bumper covers annually to inspect for rust or hardware loosening.
- Salt Season Care: In northern climates, wash underbody thoroughly after winter to remove salt buildup.
Preventative Measures
- Drainage Holes: Drill small drainage holes in hidden boxed sections (where safe) to prevent water accumulation.
- Rust Converter: Treat any surface rust immediately with converter and touch-up paint.
Hardware Retightening
- Torque Check: Retorque all mounting bolts to spec after 500 miles of driving post-installation.
- Lock Washers: Replace any worn lock washers to prevent loosening.
Diagnosing Post-Installation Issues: Rattles, Misalignment, and More
Common Symptoms and Their Causes
- Persistent Rattle: Usually caused by loose hardware, missing spacers, or a slightly warped reinforcement.
- Crooked Bumper: Indicates bracket misalignment or bent reinforcement bar.
- Excessive Gap or Contact: Too large or small a gap between bumper and body signals improper shimming or mounting hole placement.
Diagnostic Protocol
- Check Hardware Torque: Re-torque all bolts and nuts.
- Inspect Spacer Placement: Confirm all spacers are present and in correct positions.
- Measure Alignment: Use a straightedge and feeler gauges to assess bumper alignment relative to body.
- Test for Flex: Apply moderate hand pressure to bumper ends—excessive flex often means underlying reinforcement weakness or improper mounting.
Advertisement
Safety and Compliance: Why Bumper Reinforcement Integrity Matters
Federal Safety Standards
- NHTSA Requirements: Rear bumper reinforcements are essential for compliance with federal crash safety standards (Vehicle Safety and Equipment).
- Inspection Risk: Vehicles with obviously compromised bumper structures can fail safety inspections in many states.
Energy Absorption
- Crash Performance: A solid reinforcement bar distributes impact energy, minimizing body and frame damage (Rear Bumper Energy Absorption Article).
- Insurance and Liability: Poorly repaired or missing reinforcements can increase liability in the event of a rear-end collision.
Documentation
- Photo Records: Restoration shops recommend photographing all reinforcement repairs or replacements for future reference and insurance documentation.
Real-World Case Studies: Lessons from the Shop Floor
Case Study 1: 1974 AMC Javelin
Problem: Severe rust-through on both mounting brackets; previous owner had welded in angle iron as a “fix.”
Solution: Shop sourced a used OEM reinforcement, media blasted and epoxy primed it, then fabricated new brackets to OEM spec. Used grade 8 hardware and added drainage holes. Final fitment required minor shimming for perfect bumper alignment.
Takeaway: Always inspect for non-OEM repairs and never trust surface appearance alone.
Case Study 2: 1976 AMC Gremlin
Problem: Aftermarket reinforcement purchased online had mounting holes misaligned by 3/8”. Bumper would not bolt up flush.
Solution: Shop elongated holes with a step drill, fabricated custom spacers, and used anti-seize on all hardware. Finished with cavity wax inside boxed sections.
Takeaway: Even “direct fit” aftermarket parts often require skilled modification.
Case Study 3: 1973 AMC Matador
Problem: Persistent rattle post-restoration. Initial inspection found no obvious issues.
Solution: Upon removal, discovered that the reinforcement had a hidden fatigue crack at one mounting ear. Replaced with a new part, torqued all hardware, and rattle disappeared.
Takeaway: Always investigate persistent noises—hidden cracks are common in old steel reinforcements.
Buying Guidance: How to Choose the Right AMC Bumper Reinforcement
Key Selection Criteria
- Model and Year Specificity: AMC changed reinforcement designs frequently—always confirm exact fitment for your vehicle.
- Material Quality: Prefer thicker-gauge steel and well-finished welds; avoid reinforcements with thin flanges or rough welds.
- Corrosion Protection: Look for epoxy-primed or E-coated parts.
- Supplier Reputation: Buy from established AMC specialists with return policies and technical support.
Advertisement
Red Flags
- No Photos: Sellers unwilling to provide detailed images likely have something to hide.
- Universal Fit Claims: “Universal” or “one size fits all” rarely works for AMC models.
- Low Price: Rock-bottom pricing often signals inferior materials or manufacturing.
For a deeper technical reference on fitment, see our Amc Bumper Fitment Verification guide.
Fitment Verification: Ensuring OEM-Quality Installation
Test-Fit Protocol
- Dry Fit All Components: Assemble bumper, reinforcement, and brackets loosely on the vehicle.
- Check Gaps and Alignment: Adjust with shims or spacers as needed.
- Torque in Sequence: Tighten all hardware to factory spec, moving from center to outboard bolts.
- Final Inspection: Confirm all gaps, hardware, and welds before paint or trim installation.
Documentation
- Record Part Numbers: Note the exact reinforcement part number and supplier for future reference.
- Photograph Install: Take photos at each stage for documentation and insurance records.
AutoPartEx Positioning: Your Partner in AMC Bumper Reinforcement Service
At AutoPartEx, we bridge the gap between technical knowledge and practical shop experience. Our editorial team curates field-proven service strategies, rigorous diagnostic checklists, and up-to-date sourcing advice for AMC rear bumper reinforcements. Whether you’re a restoration pro or a DIY enthusiast, our AMC Rear Bumper Reinforcement – OEM Fitment, Diagnostics, and Sourcing Guide is your trusted reference for fitment, compliance, and performance.
Our commitment: deliver actionable, technically specific guidance grounded in real-world restoration stories and the latest industry standards. For further reading, explore our Amc Bumper Reinforcement Guide and Rear Bumper Energy Absorption Article.
Expert Action: Next Steps for AMC Restoration Success
- Inspect Early, Inspect Thoroughly: Don’t wait for a visible failure—diagnose reinforcement condition during every major restoration or rear-end service.
- Source Wisely: Prioritize reputable suppliers, OEM part numbers, and corrosion-resistant finishes.
- Document Everything: Maintain photo and part number records for compliance, resale, and insurance.
- Consult the Community: Leverage shop forums, technical guides, and AutoPartEx resources for the latest field-tested advice.
By following these best practices and learning from real-world service stories, you’ll ensure your AMC’s rear bumper reinforcement delivers the safety, fitment, and durability it was designed for—no surprises, no shortcuts.
References
- Vehicle Safety and Equipment – National Highway Traffic Safety Administration
- Materials Technologies – United States Department of Energy
- Fuel Efficiency – United States Department of Energy
Advertisement