
Advertisement
Amc Bumper Diagnostic Patterns
AMC vehicles, especially those built during the classic era, rely on robust bumper systems that are critical for safety, structure, and period-correct aesthetics. Yet, both in the field and in restoration shops, AMC front bumper face bars frequently present a unique set of diagnostic and installation challenges. This guide distills real-world service bay findings, common failure patterns, and practical diagnostic and installation tips specifically for AMC bumpers—helping you avoid costly mistakes and keep your classic AMC both safe and true to its heritage.
If you’re seeking a foundational technical overview, sourcing guidance, or fitment details for AMC bumper face bars, refer to our AMC Front Bumper Face Bar – Technical Resource, Fitment, and Sourcing Guide | AutoPartEx for a comprehensive starting point.
Immediate Answer: The Top AMC Bumper Failure Patterns
Across service bays, three failure patterns dominate AMC bumper diagnostics:
- Mounting Bracket Fatigue and Misalignment: The most frequent issue, especially in vehicles with prior collision repairs or multiple bumper replacements.
- Corrosion-Related Structural Weakness: Rust and pitting, particularly at weld seams and mounting points, compromise both safety and fitment.
- Impact Absorber (Energy Absorber) Degradation: Hydraulic or foam absorbers lose function, leading to improper bumper positioning and diminished crash protection.
Recognizing these patterns early—via visual inspection, hands-on testing, and fitment checks—can prevent downstream safety issues and expensive rework.
Hidden Problem: AMC Bumper Issues Often Mask Deeper Structural and Safety Risks
While a misaligned or rusted bumper can seem like a cosmetic or minor mechanical issue, these failures often indicate more critical problems:
- Frame Rail Deformation: Chronic misalignment sometimes points to previous frame damage, not just a bent bracket.
- Compromised Crashworthiness: Corroded mounting hardware or failed absorbers can render the bumper unable to meet safety standards during an impact, risking occupant injury (NHTSA Equipment).
- Incorrect Fastener Usage: Substituted or mismatched bolts may appear to hold, but under stress, they can shear or loosen unexpectedly.
Ignoring or misdiagnosing these issues can lead to failed inspections, unsafe operation, or even regulatory noncompliance.
Problem Expansion: Why AMC Bumper Face Bars Are Uniquely Challenging
AMC’s approach to bumper engineering—especially during the 1970s and early 1980s—differs from other domestic manufacturers in several ways:
- Material Choices: AMC often used lighter gauge steel, sometimes with chrome plating that can mask underlying corrosion until advanced.
- Complex Mounting Geometry: Multiple sub-models (AMX, Javelin, Gremlin, Hornet, etc.) feature unique bracketry and absorber designs, making interchangeability and fitment non-trivial (see Amc Interchange Table).
- SAE and Proprietary Fasteners: AMC sometimes used a mix of SAE and custom thread pitches, complicating hardware replacement.
- Energy Absorber Variability: Some models employ hydraulic absorbers, others foam or mechanical crush boxes, each with distinct failure modes.
These factors mean that incorrect diagnosis, part selection, or installation can cascade into persistent problems—rattles, misalignment, premature corrosion, or outright safety failures.
Field Diagnostics: Service Bay Techniques for AMC Bumper Assessment
Effective AMC bumper diagnostics rely on a systematic approach:
Visual and Tactile Checks
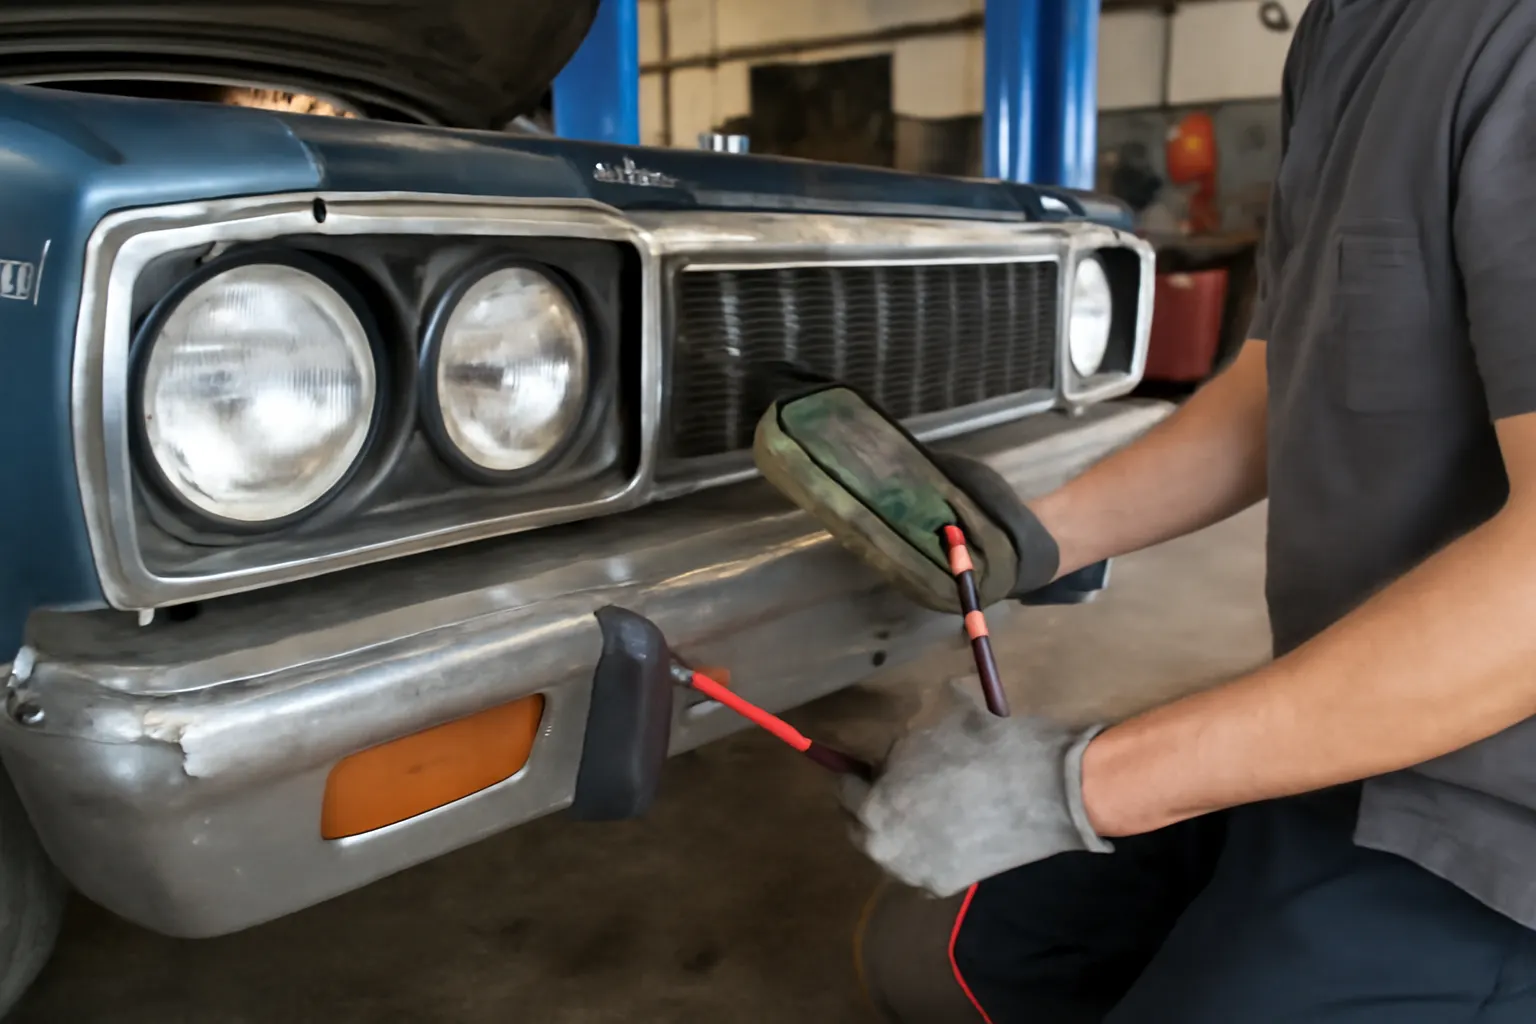
- Inspect weld seams and mounting flanges for rust, pitting, or hairline cracks. Use a bright LED and a pick tool to probe suspect areas.
- Check for bumper-to-body gaps: Uneven gaps often indicate bracket deformation or frame rail issues.
- Test for bumper flex: Gently press on the bumper’s ends and center to detect excessive movement, which suggests loose or fatigued mounts.
Mounting Bracket and Absorber Evaluation
- Remove bumper covers (if equipped) to access brackets and absorbers.
- Look for signs of hydraulic fluid leakage (for models with hydraulic absorbers).
- Examine fasteners for correct thread pitch and grade. Substitute hardware is a red flag, especially if mismatched or corroded.
Alignment and Fitment
- Measure bumper alignment relative to body lines and hood/fender edges. A misaligned bumper may hide deeper issues.
- Use a straight edge or laser line to check for horizontal and vertical deviations.
By combining these steps, technicians can pinpoint not just visible failures but underlying structural or hardware issues.
Advertisement
Common AMC Bumper Failure Modes: Detailed Patterns
1. Mounting Bracket Fatigue
- Symptoms: Sagging bumper ends, persistent rattles, or shifting after minor impacts.
- Causes: Repeated stress cycles, corrosion at bracket mounting holes, or previous collision repairs.
- Diagnostic Tip: Remove the bumper and check bracket holes for elongation or ovaling—a sure sign of fatigue.
2. Corrosion and Pitting
- Symptoms: Flaking chrome, visible rust streaks, or bubbling under paint.
- Causes: Water intrusion, failed seam sealers, or incompatible replacement hardware promoting galvanic corrosion.
- Diagnostic Tip: Probe suspect areas with a pick tool; if the metal flakes or crumbles, the bumper may be structurally compromised.
3. Absorber/Crush Box Failure
- Symptoms: Bumper sits too close or too far from body, or “bottoms out” easily during manual flexing.
- Causes: Hydraulic absorber leaks, foam collapse, or deformation from previous impacts.
- Diagnostic Tip: Remove the absorber and compress it by hand (if safe). Lack of resistance or fluid seepage indicates failure.
4. Fastener Problems
- Symptoms: Bumper shifts under load, or fasteners spin freely during tightening.
- Causes: Use of incorrect thread pitch or grade, corroded threads, or missing lock washers.
- Diagnostic Tip: Compare removed fasteners to AMC factory specs (see Amc Interchange Table).
Diagnostic Checklist: AMC Bumper Face Bar Service Bay Inspection
Use this checklist during any AMC bumper service or restoration:
| Inspection Point | Pass/Fail Criteria | Notes |
|---|---|---|
| Visual rust/corrosion at welds | No visible rust, pitting, or bubbling | Probe with pick tool |
| Mounting bracket hole shape | Round, no elongation or cracks | Remove bumper for access |
| Fastener type and condition | Correct grade/pitch, no corrosion or galling | Refer to factory specs |
| Absorber (hydraulic/foam) integrity | No leaks, maintains resistance when compressed | Replace if failed |
| Bumper-to-body alignment | Even gap, parallel to body lines | Use straight edge/laser |
| Bumper flex under moderate pressure | Minimal movement, no creaks or rattles | Test at center and ends |
| Bumper chrome/plating condition | No flaking, peeling, or bubbling | Check top and underside |
A failed item in any row warrants further investigation before reinstallation.
Technical Deep Dive: AMC Bumper Materials and Energy Absorption
AMC’s bumper face bars evolved over the years, reflecting both regulatory changes and advances in materials (DOE Materials Technologies):
- Early 1970s: Mostly heavy-gauge steel with chrome plating; minimal energy absorption, relying on the frame for impact resistance.
- Mid-to-late 1970s: Introduction of hydraulic or foam energy absorbers to meet federal crash standards (NHTSA Equipment).
- 1980s: Some models experimented with lighter steel alloys and improved plating, but corrosion resistance remained a challenge.
The energy absorber design is especially critical. Hydraulic absorbers (used in models like the Matador and Ambassador) can leak or seize, while foam or crush-box styles (seen in Gremlin and Hornet) can compress permanently after even minor impacts.
Material selection also impacts restoration: modern reproductions may use different grades or finishes, affecting both fitment and longevity. Always verify material specs when sourcing replacements.
Installation Pitfalls: Costly Mistakes to Avoid
Even experienced technicians can fall into these common traps during AMC bumper installation:
- Reusing Old Fasteners: Corroded or stretched bolts may fail under load. Always replace with correct grade and pitch.
- Ignoring Frame Rail Condition: Installing a new bumper on a bent or rusted frame rail guarantees misalignment and possible safety issues.
- Omitting Energy Absorber Inspection: Skipping absorber checks can leave a critical failure point hidden until the next minor impact.
- Overtightening Bracket Bolts: Excess torque can deform thin-gauge steel brackets or strip threads, leading to premature failure.
- Improper Sealing: Failing to reseal mounting points or weld seams invites water intrusion and rapid corrosion.
To avoid these mistakes, always follow AMC factory procedures, torque specs, and sealing guidelines. Consult the Amc Bumper Fitment Guide for model-specific installation procedures.
Sourcing the Right AMC Bumper: Fitment and Quality Considerations
Not all AMC bumpers—or their components—are created equal. When sourcing replacements:
Advertisement
- Verify Model and Year Specificity: Even minor year-to-year changes in bracketry or absorber design can affect fitment.
- Check for Reproduction Quality: Some aftermarket bumpers use thinner steel or lower-quality plating, which can accelerate corrosion and reduce structural integrity.
- Confirm Absorber Compatibility: Hydraulic and foam absorbers are not interchangeable. Always match the absorber type to the original equipment.
- Inspect Mounting Hardware Kits: Ensure that replacement kits include correct fastener grades, washers, and locknuts.
For a comprehensive fitment and sourcing overview, our AMC Front Bumper Face Bar – Technical Resource, Fitment, and Sourcing Guide | AutoPartEx provides detailed interchange and compatibility data.
Maintenance Strategies: Maximizing AMC Bumper Longevity
Routine maintenance is essential for preserving both the function and appearance of AMC bumpers:
- Annual Inspections: At minimum, check for rust, loose fasteners, and absorber condition every year.
- Protective Coatings: Apply a rust inhibitor or clear wax to vulnerable seams and mounting points, especially in humid or salted-road environments.
- Prompt Rust Repair: Address any bubbling or flaking chrome immediately—minor surface rust can be sanded and treated, but advanced corrosion may require replacement.
- Fastener Retorquing: Periodically check and retorque bumper mounting bolts to factory specifications.
- Drainage Checks: Ensure that any bumper or absorber drainage holes are clear to prevent water accumulation.
These steps can double or triple the service life of an original or restored AMC bumper assembly.
When to Replace vs. Restore: Decision Points
Deciding whether to restore an original AMC bumper or replace it with a reproduction depends on several factors:
- Extent of Corrosion: Deep rust, especially at mounting points, usually mandates replacement.
- Structural Integrity: If the bumper flexes excessively or mounting holes are elongated, replacement is safer.
- Originality Goals: Concours restorations may favor repairing and rechroming original bumpers, even at higher cost.
- Availability of Quality Reproductions: Some AMC models have limited reproduction options, making restoration more practical.
Consult with an experienced restoration shop or refer to the Classic Amc Bodywork Article for advanced restoration techniques and sourcing tips.
Advanced Diagnostics: Tools and Techniques for AMC Bumper Assessment
For shops or enthusiasts seeking a deeper dive, consider these advanced diagnostic methods:
Ultrasonic Thickness Gauging
- Purpose: Detects hidden rust or thinning in chrome-plated bumpers that appear solid.
- Application: Compare readings across the bumper; significant variance may indicate internal corrosion.
Dye Penetrant Testing
- Purpose: Reveals hairline cracks at welds or mounting points.
- Application: Clean the area, apply dye, and inspect for seepage after wiping—cracks will hold dye.
Digital Angle Finders
- Purpose: Precisely measures bumper alignment relative to body and frame.
- Application: Place on bumper and compare readings at multiple points for twist or sag.
These techniques are especially valuable for high-value restorations or when evaluating rare NOS (new old stock) bumpers.
Regulatory and Safety Considerations: Meeting Modern Standards
While AMC bumpers were designed to meet the standards of their era, modern safety expectations are higher:
- Federal Requirements: Bumpers must meet minimum impact protection standards (NHTSA Equipment), though exemptions exist for historic vehicles.
- State Inspections: Some states require that bumpers be free of sharp edges, securely mounted, and structurally sound.
- Insurance Implications: Improper or unsafe bumper installations can affect insurance claims in the event of an accident.
When restoring or modifying AMC bumpers, always document your work and, where possible, retain receipts for parts and labor.
AutoPartEx Positioning: Your AMC Bumper Diagnostic and Sourcing Partner
AutoPartEx is dedicated to empowering both professional technicians and AMC enthusiasts with the most reliable diagnostic, fitment, and sourcing resources available. Our technical guides, interchange tables, and field reports are built on verified standards and real-world service bay data. Whether you’re tackling a daily driver or a concours restoration, refer to our AMC Front Bumper Face Bar – Technical Resource, Fitment, and Sourcing Guide | AutoPartEx for authoritative information, or consult our Amc Interchange Table for cross-model compatibility.
Expert Call to Action: Next Steps for AMC Bumper Reliability
- Technicians: Implement the diagnostic checklist during every AMC bumper service, and never assume prior repairs were performed correctly.
- Restorers: Source high-quality, model-correct bumper assemblies and absorbers, and document all restoration steps for future reference.
- Owners: Schedule annual bumper inspections, address corrosion early, and insist on correct hardware and fitment during any repair.
For advanced troubleshooting, sourcing, or installation support, reach out to AutoPartEx’s technical team or browse our deep library of AMC-specific resources.
References
Advertisement