
Advertisement
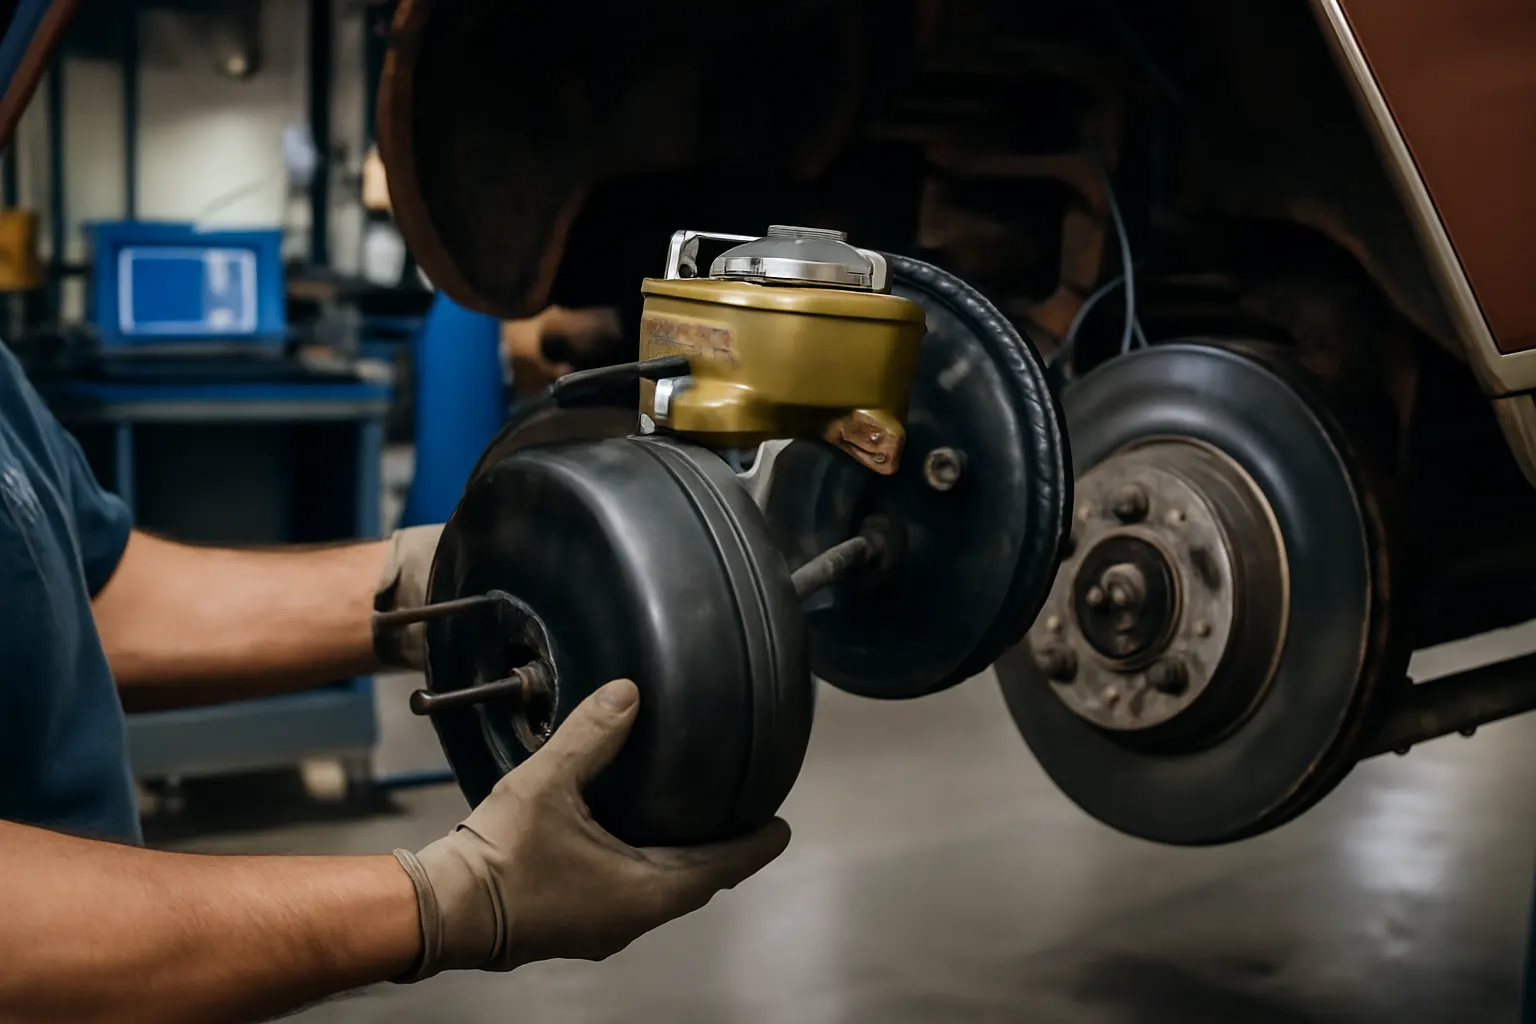
Restoring the brake system on your AMC vehicle is more than a cosmetic or mechanical refresh—it's a critical safety upgrade that can define the long-term reliability and driving confidence of your classic car. Whether you own a Javelin, AMX, Gremlin, or another AMC model, following proven best practices for brake restoration ensures you achieve OEM-level pedal feel, optimal stopping power, and lasting durability. This comprehensive guide details every step, from identifying correct AMC brake booster fitment to the nuanced diagnostics and sourcing strategies that separate successful restorations from costly mistakes. For a deeper look at AMC brake boosters, OEM fitment, and failure patterns, visit the AMC Brake Booster: OEM Fitment, Failure Patterns, and Trusted Sourcing | AutoPartEx category page.
Immediate Answer: What Are the Best Practices for AMC Brake Restoration?
- Source correct, model-specific parts: Always verify AMC brake booster and master cylinder compatibility for your exact year and model.
- Follow a systematic diagnostic process: Identify underlying hydraulic or vacuum issues before replacing components.
- Refurbish or replace key components: Inspect, clean, and restore lines, hoses, calipers, drums, and hardware.
- Bleed and test thoroughly: Ensure no air remains in the system and confirm optimal pedal feel and braking force.
- Document and verify fitment: Use authoritative guides and checklists to prevent mismatched or unsafe assemblies.
- Comply with safety and equipment standards: Reference NHTSA and SAE guidelines for every restoration.
The Hidden Problem: AMC Brake Restoration Pitfalls
Restoring AMC brakes isn't as simple as swapping out old parts for new ones. Many owners and even seasoned mechanics encounter persistent issues after restoration, such as inconsistent pedal feel, reduced braking performance, or mysterious vacuum leaks. These problems often stem from:
- Incorrect part selection: AMC used multiple booster and master cylinder designs, even within the same model year.
- Aged or incompatible materials: Modern replacement parts may not always match the metallurgy or design of 1970s AMC components, affecting fit and function.
- Overlooked system-wide wear: Focusing solely on the booster or master cylinder can ignore worn lines, proportioning valves, or hardware, leading to incomplete results.
Ignoring these hidden pitfalls can compromise not only your restoration investment but also your safety and compliance with federal vehicle equipment standards (NHTSA Equipment).
Expanding the Problem: Why AMC Brake Systems Are Uniquely Challenging
AMC brake systems, especially those from the late 1960s through the early 1980s, feature a variety of unique engineering decisions:
- Booster and master cylinder variations: AMC sourced boosters from several manufacturers (e.g., Bendix, Midland-Ross), with subtle differences in mounting and internal design.
- Non-standardized fittings: Thread pitch, line routing, and pedal linkage geometry often differ between models and years.
- Material changes over time: The Department of Energy notes evolving materials technology in automotive components (DOE Materials Technologies), which affects restoration part selection.
- Vacuum and hydraulic integration: AMC’s use of vacuum boosters with both drum and disc brake systems means restoration must address vacuum integrity as well as fluid dynamics.
These complexities require a methodical, research-driven approach—one that goes beyond generic restoration advice and addresses the specific needs of AMC platforms.
Step 1: Accurate Diagnosis—Don’t Replace Parts Blindly
Before removing a single bolt, perform a comprehensive diagnostic assessment of your AMC’s brake system:
- Pedal feel check: Does the pedal feel spongy, hard, or sink under steady pressure? Each symptom points to different root causes (air in lines, booster failure, master cylinder wear).
- Visual inspection: Examine all lines, hoses, and fittings for corrosion, leaks, or swelling.
- Vacuum test: Use a hand vacuum pump to evaluate booster integrity. A booster that fails to hold vacuum will not provide proper assist.
- Hydraulic isolation: Clamp off lines to isolate wheel circuits and identify if the issue is centralized (booster/master) or at the corners (calipers, wheel cylinders).
For step-by-step diagnostic procedures tailored to AMC boosters, consult the Amc Brake Booster Diagnostics Guide.
Step 2: Sourcing the Correct AMC Brake Booster and Components
Correct part selection is the foundation of a successful AMC brake restoration. Follow these sourcing best practices:
Advertisement
- Cross-reference by VIN and build date: AMC frequently changed suppliers mid-year. Always use your vehicle’s VIN and build date to confirm correct booster and master cylinder part numbers.
- Inspect core parts: If reusing original boosters or master cylinders, ensure the casting numbers and mounting patterns match your application.
- Beware of “universal” replacements: Many aftermarket boosters claim broad compatibility but may require modifications that compromise safety or authenticity.
- Use trusted suppliers: Work with vendors who specialize in AMC parts or provide detailed interchange information. The Amc Brake Booster Interchange Review offers valuable compatibility insights.
Step 3: Restoring or Replacing the Booster—What to Look For
When restoring the AMC brake booster, you must decide whether to rebuild the original or replace it:
Rebuilding
- Disassemble and inspect: Check for internal rust, diaphragm tears, and worn valves.
- Replace all rubber and vacuum seals: Use modern materials compatible with today’s brake fluids and engine bay conditions.
- Replate or refinish exterior: Zinc or cadmium plating not only restores appearance but also resists corrosion.
Replacing
- OEM vs. aftermarket: OEM or NOS (new old stock) boosters offer the best fit, but quality aftermarket units can be viable if they adhere to original specifications.
- Verify mounting and pushrod length: Small differences here can dramatically affect pedal travel and assist.
- Bench test before installation: Use a vacuum source to confirm function prior to mounting in the vehicle.
Step 4: System-Wide Restoration—Don’t Ignore Supporting Components
A brake booster restoration is only as good as the rest of the system. Address these areas for a holistic result:
- Master cylinder: Rebuild or replace with a unit matched to your booster and brake type (disc/drum).
- Brake lines and hoses: Replace any lines with visible corrosion, cracks, or swelling. Use DOT-approved materials and bends that match factory routing.
- Proportioning/combination valves: Clean and test for proper function, especially if converting from drum to disc brakes.
- Calipers and wheel cylinders: Rebuild or replace, ensuring seals and pistons are free of pitting.
- Pedal linkage and bushings: Lubricate and replace worn bushings to restore precise pedal movement.
Step 5: Installation and Fitment—Precision Matters
AMC brake booster installation demands careful attention to fitment and geometry. Follow these steps:
- Mock-up assembly: Before final installation, loosely fit the booster, master cylinder, and pedal linkage to verify alignment.
- Check pushrod length: Incorrect pushrod adjustment can cause poor pedal feel or brake drag. Use a depth gauge to set to factory spec.
- Torque fasteners to spec: Refer to AMC service manuals or trusted fitment guides. Over-tightening can distort mounting flanges.
- Vacuum line routing: Ensure all vacuum hoses are routed away from heat sources and secured with proper clamps.
- Final fitment checklist: Use the Amc Brake Booster Fitment Checklist to avoid common installation errors.
Step 6: Bleeding and Testing—Achieving Optimal Pedal Feel
Proper bleeding and testing are non-negotiable for safe, responsive brakes:
- Bench bleed the master cylinder: Before installation, bench bleed to remove internal air.
- Sequential wheel bleeding: Bleed in the correct order (typically RR, LR, RF, LF for AMC vehicles) to ensure all air is expelled.
- Monitor fluid type: Use only DOT 3 or 4 brake fluid as specified for your model. Mixes can cause seal failure.
- Road test procedure: After static tests, perform low-speed stops in a safe environment. Check for fade, pull, or inconsistent pedal response.
Step 7: Compliance with Safety and Equipment Standards
Restoration isn’t complete unless your AMC’s brakes meet or exceed federal safety standards:
- NHTSA regulations: All replacement brake components must comply with NHTSA safety equipment standards.
- SAE performance standards: Follow SAE standards for brake testing and installation procedures.
- Documentation: Record all part numbers, installation steps, and test results for future reference and compliance.
Step 8: Maintenance Practices for Longevity
Once restoration is complete, regular maintenance preserves braking performance:
- Inspect annually: Check for leaks, fluid color, and pedal feel at least once a year.
- Flush fluid: Replace brake fluid every 2-3 years to prevent moisture buildup and corrosion.
- Monitor vacuum hoses: Replace any hoses that show signs of aging or cracking.
- Keep records: Document all maintenance to track wear patterns and anticipate future needs.
Advertisement
AMC Brake Restoration Checklist
Use this comprehensive checklist to guide your AMC brake restoration project:
| Task | Details | Completed? |
|---|---|---|
| Confirm vehicle VIN and build date | Verify correct booster/master cylinder | [ ] |
| Inspect pedal feel and system function | Note symptoms and baseline performance | [ ] |
| Source correct booster and master cylinder | Cross-reference part numbers and fitment | [ ] |
| Rebuild or replace booster and master | Use new seals, correct pushrod length | [ ] |
| Replace all rubber hoses and lines | Use DOT-approved materials | [ ] |
| Inspect/replace calipers and wheel cylinders | Check for corrosion and seal condition | [ ] |
| Clean/test proportioning valve | Ensure correct balance for drum/disc setup | [ ] |
| Bench bleed master cylinder | Remove all air before installation | [ ] |
| Install with correct torque and alignment | Prevent leaks, ensure pedal geometry | [ ] |
| Bleed entire system | Sequentially, monitor for air | [ ] |
| Road test and adjust as needed | Confirm pedal feel and stopping power | [ ] |
| Document parts and procedures | For future reference and compliance | [ ] |
Step 9: Common AMC Brake Restoration Mistakes to Avoid
Learning from others’ errors can save time, money, and frustration:
- Skipping diagnosis: Many restorers replace boosters without confirming the root cause, leading to repeated failures.
- Mixing incompatible parts: Combining mismatched boosters and master cylinders can result in poor pedal feel or reduced braking force.
- Ignoring vacuum leaks: Overlooking cracked hoses or check valves can negate the effect of a new booster.
- Improper bleeding: Incomplete air removal causes spongy pedals and uneven braking.
- Neglecting documentation: Failing to record part numbers and installation details complicates future troubleshooting.
Step 10: Advanced Tips—Upgrades and Modifications
Some AMC owners wish to upgrade braking performance beyond stock:
- Disc brake conversions: Use kits designed for AMC platforms, ensuring booster and master cylinder compatibility.
- Performance friction materials: Select pads and shoes with higher temperature resistance for spirited driving.
- Stainless brake lines: Upgrade to stainless for improved pedal feel and corrosion resistance.
- Dual-reservoir master cylinders: For added safety, consider converting single-reservoir systems to dual-circuit designs, following NHTSA guidelines.
Advertisement
Always ensure any modification complies with federal safety standards and does not compromise original mounting geometry or vacuum assist function.
Step 11: The Role of Materials and Technology in Brake Restoration
Modern materials can enhance the durability and performance of your AMC brake system:
- Rubber compounds: Today’s rubber seals and hoses resist modern brake fluids and temperature extremes better than vintage originals.
- Plating and coatings: Zinc or epoxy finishes extend the life of boosters and hardware exposed to road salt or humidity.
- Composite and lightweight components: Where appropriate, modern materials can reduce unsprung weight and improve fuel efficiency (DOE Fuel Efficiency), though always verify compatibility with AMC designs.
Understanding these advances helps you make informed decisions when selecting restoration parts and materials.
Step 12: Documenting and Future-Proofing Your AMC Brake Restoration
A well-documented restoration not only aids future maintenance but also enhances the value and provenance of your classic AMC:
- Maintain a restoration log: Include photos, part numbers, torque specs, and test results.
- Save original parts: Even if replaced, original boosters and master cylinders may be valuable for future rebuilds or authenticity.
- Stay updated on recalls: Periodically check NHTSA recalls for any safety notices affecting AMC brake components.
Why Trust AutoPartEx for AMC Brake Restoration Guidance?
AutoPartEx is dedicated to providing authoritative, practical advice for AMC owners and restoration professionals. Our technical team leverages verified sources, industry standards, and real-world experience to ensure your AMC brake restoration delivers factory-correct performance and safety. For in-depth model-specific data, visit our AMC Brake Booster: OEM Fitment, Failure Patterns, and Trusted Sourcing | AutoPartEx page, and explore advanced guides like the Amc Brake Booster Diagnostics Guide for troubleshooting and installation support.
Expert Action: Begin Your AMC Brake Restoration with Confidence
- Start with a thorough diagnostic: Don’t assume—verify every symptom and component.
- Source with precision: Use VIN, build date, and trusted interchange guides to select the right parts.
- Restore system-wide: Don’t neglect lines, valves, or hardware—address the whole system.
- Test and document: Bleed, test, and keep records for ongoing reliability and safety.
- Rely on expert resources: Bookmark AutoPartEx and consult our guides for every step of your AMC brake restoration journey.
With meticulous planning, the right parts, and authoritative guidance, your AMC’s brakes can deliver the confidence, safety, and authenticity that make classic motoring truly rewarding.
References
Advertisement