
Advertisement
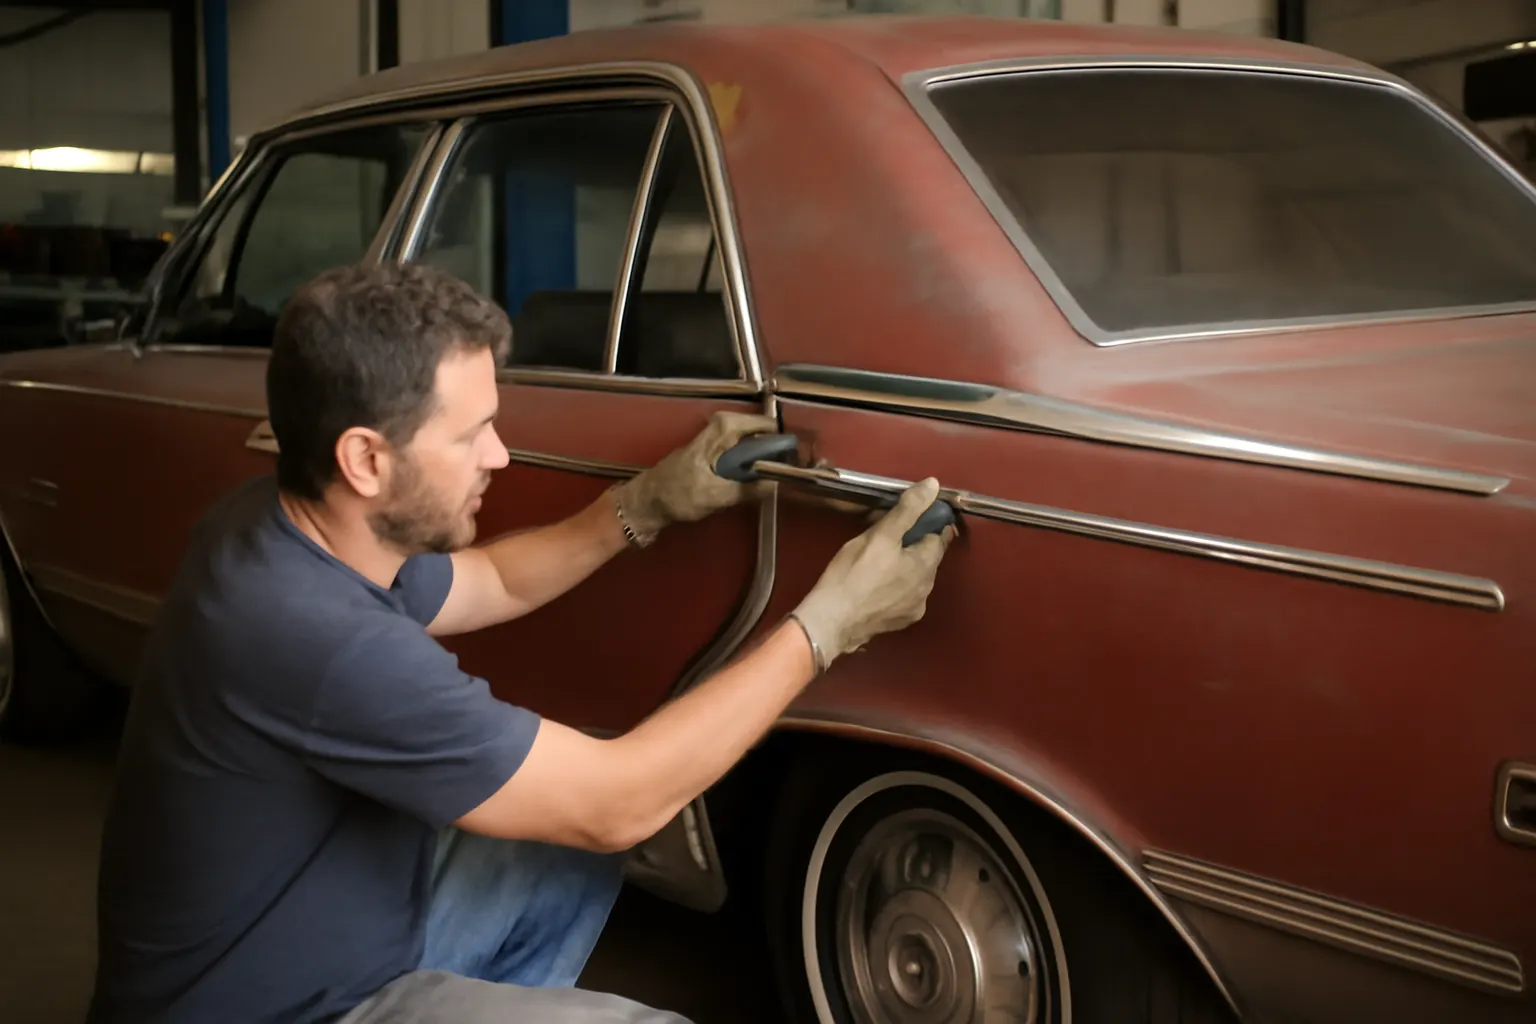
Restoring an AMC Ambassador to its original glory demands precision, patience, and specialized knowledge—especially when it comes to body trim and molding. The most common restoration pitfalls often involve improper trim fitment, sourcing rare molding pieces, and failing to account for subtle differences between production years. To achieve professional results and lasting value, enthusiasts must avoid these mistakes and follow proven restoration best practices. This guide delivers actionable trim restoration tips, diagnostic checklists, and expert insights for anyone tackling AMC Ambassador back door molding or body trim restoration projects.
If you’re seeking OEM fitment details or compatibility data for your AMC Ambassador’s door molding, don’t miss the comprehensive AMC Ambassador Back Door Molding – OEM Fitment, Compatibility, and Installation Guide for authoritative reference.
The Immediate Answer: Key Trim Restoration Tips for Your AMC Ambassador
For a successful AMC Ambassador trim restoration, focus on:
- Sourcing correct OEM or high-quality reproduction trim.
- Verifying fitment for your exact model year and body style.
- Using correct fasteners and installation tools to prevent damage.
- Inspecting and prepping underlying bodywork before installation.
- Adhering to modern safety and materials standards where applicable.
These five principles will help you sidestep the most common errors, such as misaligned molding, cracked trim, or lost investment in incorrect parts. But beneath the surface, trim restoration presents unique challenges that can undermine even experienced restorers.
The Hidden Problem: Why AMC Ambassador Trim Restoration Is So Challenging
Vintage AMC Ambassadors—especially those from the 1960s and 1970s—feature distinctive trim profiles, unique attachment methods, and model-specific molding. Over decades, original trim often suffers from corrosion, pitting, or loss. Replacements are rare, and aftermarket solutions may not match OEM contours or mounting points.
Common hidden issues include:
- Subtle differences in trim profile and length between model years (even within a single generation).
- Unavailability of certain clips or mounting hardware.
- Distortion or damage to door edges from prior incorrect installations.
- Paint or body filler buildup in original mounting holes.
- Safety risks from sharp or improperly secured trim, as noted by NHTSA equipment safety guidelines.
Even with a perfect paint job, a misaligned or ill-fitting molding can ruin the visual impact and reduce collector value. Understanding these hidden obstacles is the first step toward a professional-quality restoration.
Understanding AMC Ambassador Trim: Profiles, Materials, and Fitment
Model Year Differences Matter
The AMC Ambassador’s trim profile and mounting system evolved frequently between 1967 and 1974. For example, the 1968 sedan’s back door molding differs in length, curvature, and clip spacing from the 1970 wagon. Always confirm part numbers and compare original pieces before purchasing replacements.
OEM vs. Aftermarket Materials
Original AMC trim was typically produced from anodized aluminum or stainless steel, offering corrosion resistance and a durable finish. Modern reproductions may use similar materials, but some aftermarket parts use lighter alloys or plastic, which can affect fitment and longevity. The DOE’s Materials Technologies emphasizes the importance of material selection for performance and durability.
Attachment Methods
Trim is usually secured with spring clips, studs, or adhesive backing. Using the wrong clip or fastener can cause rattling, loss of trim at speed, or even door panel damage. Always match the attachment method to your specific model and trim piece.
Common Pitfalls: What Goes Wrong in AMC Ambassador Trim Restorations
1. Using Incorrect or Universal Trim
Generic or universal molding rarely matches the Ambassador’s unique contours. This results in gaps, poor alignment, and an obvious non-original appearance.
Advertisement
2. Improper Fastener Selection
Substituting modern clips or screws for factory attachment hardware can cause trim to sit unevenly or even loosen over time. In some cases, improper fasteners can damage the door skin or lead to water intrusion.
3. Skipping Prep Work
Failing to clean, align, and test-fit both the door and the trim before installation leads to misalignment and potential paint damage. Old adhesive or rust must be removed before new trim is installed.
4. Over-tightening or Forcing Trim
Vintage trim is often brittle; forcing it into place or over-tightening fasteners can cause cracks, kinks, or permanent distortion.
5. Ignoring Safety and Fitment Standards
Loose or sharp trim can pose safety hazards, as outlined in NHTSA equipment guidelines. Incorrectly installed trim may also fail to meet collector standards or concours judging criteria.
Diagnosing Existing Trim: Should You Restore, Repair, or Replace?
Before starting any restoration, perform a thorough assessment of your current trim and molding. Use this diagnostic checklist to guide your evaluation:
AMC Ambassador Trim Diagnostic Checklist
| Step | Inspection Area | What to Look For | Action Needed |
|---|---|---|---|
| 1 | Trim Surface | Pitting, scratches, dents, corrosion | Polish, repair, or replace |
| 2 | Mounting Points | Rust, stripped holes, missing clips | Repair or source hardware |
| 3 | Fitment | Gaps, misalignment, loose ends | Adjust or refit |
| 4 | Fasteners | Non-original, rusted, or broken | Replace with correct type |
| 5 | Safety | Sharp edges, loose trim | Repair or secure properly |
If more than two areas require major work, replacement may be more cost-effective and safer than repair.
Sourcing Rare AMC Ambassador Trim and Molding
Strategies for Finding OEM and Quality Reproductions
- Specialty Salvage Yards: Focus on AMC or vintage American car yards. Inspect in person if possible to verify condition and fitment.
- Online Forums and Clubs: AMC Ambassador owner groups often have parts exchanges or leads on rare trim pieces.
- Reproduction Specialists: Some classic car part suppliers offer high-quality reproductions. Compare reviews and request detailed measurements before buying.
- AutoPartEx Category Pages: The AMC Ambassador Back Door Molding – OEM Fitment, Compatibility, and Installation Guide provides sourcing and interchange information for back door molding.
- Auction Sites: eBay and other auction platforms can yield NOS (new old stock) trim, but beware of mislabeled or incorrect listings.
What to Watch For
- Verify part numbers and compare with your original pieces.
- Request detailed photos showing mounting points and trim profiles.
- Avoid trim with excessive pitting, as deep corrosion is rarely restorable.
- Be cautious with “universal” trim—these rarely provide a factory fit.
Prepping for Installation: Cleaning, Straightening, and Test Fitting
Cleaning and Polishing
- Remove old adhesive and debris using non-abrasive cleaners.
- Polish aluminum or stainless trim with a material-specific compound.
- Inspect for hidden corrosion or cracks after cleaning.
Straightening Bent Trim
- Use a soft-jaw vise and wooden dowels to gently straighten minor bends.
- Avoid over-bending, which can stress or crack the metal.
- For severe dents or kinks, consider professional restoration or replacement.
Test Fitting
- Dry-fit all trim pieces before final installation to ensure alignment.
- Mark mounting holes and confirm that clips or studs match up.
- Check door gaps and clearances with trim in place.
Installation Best Practices: Step-by-Step Guide
Proper installation is critical for both appearance and safety. Follow these steps for a professional result:
1. Prepare the Door Surface
- Clean and degrease the area thoroughly.
- Remove any rust or old adhesive residue.
- Repair or touch up paint as needed.
2. Install Mounting Hardware
- Use only OEM-style clips or fasteners.
- Secure all clips firmly, but avoid over-tightening.
3. Align the Trim
- Begin at one end and gently press the trim into place.
- Work slowly, ensuring each clip engages fully.
- Use a rubber mallet or trim tool if necessary—never a metal hammer.
Advertisement
4. Final Inspection
- Check for even gaps and flush fitment.
- Confirm that all trim is secure and free from movement.
- Inspect for any sharp edges or protrusions.
For a detailed walkthrough with model-specific illustrations, consult the Back Door Molding Installation Amc guide.
Maintaining and Protecting Restored Trim
Routine Maintenance
- Wash trim regularly with mild soap and water to remove road salts and debris.
- Polish annually with a non-abrasive metal polish suitable for aluminum or stainless steel.
- Inspect attachment points during each wash for looseness or corrosion.
Protection Strategies
- Apply a protective wax or sealant to help prevent future oxidation.
- Store the vehicle indoors or use a car cover to limit UV and weather exposure.
- Address chips or scratches promptly to avoid corrosion under the trim.
Troubleshooting: Addressing Common Installation Issues
Even with careful preparation, issues can arise. Here’s how to address the most common problems:
Loose or Rattling Trim
- Double-check clip engagement and replace any worn or missing fasteners.
- Add a thin layer of butyl tape behind the trim if vibration persists (avoid excessive buildup).
Misaligned or Gapped Trim
- Loosen and realign the trim, starting from the center and working outward.
- Check for bent mounting flanges or obstructions on the door surface.
Trim Won’t Seat Properly
- Compare new trim against original to verify profile and curvature.
- Ensure all mounting holes are clear and free from paint buildup.
If persistent issues occur, refer to the Amc Ambassador Door Molding Removal guide for safe removal and reinstallation techniques.
Modern Materials and Safety Considerations
While striving for originality, restoration should not compromise safety. The National Highway Traffic Safety Administration recommends ensuring all exterior trim is secure and free from sharp edges. If using reproduction trim, confirm that material quality meets or exceeds OEM standards to avoid premature failure.
According to the DOE’s Materials Technologies, modern alloys and coatings can improve corrosion resistance and longevity without sacrificing appearance. When possible, opt for updated materials that maintain the original look but offer superior performance.
Preserving Value: Documentation and Authenticity
Keep Records
- Document all sources and part numbers for future reference or resale.
- Photograph the restoration process, including original and replacement trim.
- Retain receipts for parts and professional services.
Authenticity Matters
- Use factory-correct trim whenever possible, especially for high-value restorations.
- For concours or show vehicles, verify that all fasteners, clips, and mounting methods match original specifications.
- Consult the Amc Ambassador Body Trim Evolution article for insight into year-by-year changes and authenticity tips.
AutoPartEx: Your Restoration Resource
Restoring AMC Ambassador trim requires more than just mechanical skill—it demands research, sourcing expertise, and attention to detail. AutoPartEx is committed to supporting enthusiasts and professionals with detailed model guides, fitment data, and sourcing solutions for rare and reproduction trim. Our technical editorial team continuously updates procedures and best practices based on the latest industry standards and verified sources.
Explore our AMC Ambassador Back Door Molding – OEM Fitment, Compatibility, and Installation Guide for authoritative information, part interchange data, and direct access to hard-to-find trim components.
Expert Action: Steps to Ensure Trim Restoration Success
- Assess your current trim and document what’s salvageable.
- Research and source correct OEM or high-quality reproduction trim.
- Prepare the body and test-fit all pieces before final installation.
- Install using manufacturer-correct hardware and methods.
- Maintain and inspect restored trim regularly for lasting appearance and safety.
- Leverage AutoPartEx resources and community expertise for ongoing support.
By following these expert-driven steps, you’ll avoid the most common AMC Ambassador restoration pitfalls and achieve a result that stands out—whether for show, resale, or your own enjoyment.
References
Advertisement