
Advertisement
Amc Ambassador Brake System Evolution
The AMC Ambassador’s brake system has undergone significant evolution, impacting everything from safety and performance to restoration parts sourcing. Understanding how backing plate variations and brake hardware changed across model years is crucial for anyone maintaining, restoring, or upgrading an AMC Ambassador. This comprehensive guide reveals the key changes, explains why backing plate fitment is complex, and provides expert diagnostic and replacement advice for enthusiasts and restorers.
If you’re searching for the right front backing plate for your classic AMC Ambassador, or troubleshooting brake system issues, start with the AMC Ambassador Front Backing Plate: Fitment, Issues, and Expert Replacement Guidance page. It offers model-specific fitment insights and links to related replacement resources.
Immediate Answer: How AMC Ambassador Brake Systems and Backing Plates Evolved
The AMC Ambassador’s brake system evolved from basic drum brakes in the early 1960s to more advanced front disc brake options in later years. Backing plate designs changed alongside these upgrades, reflecting improvements in safety, performance, and parts compatibility. These variations directly affect restoration, maintenance, and sourcing of replacement parts. Properly identifying your Ambassador’s brake system generation and backing plate style is the first step to safe and reliable braking.
The Hidden Problem: Backing Plate Variations and Restoration Challenges
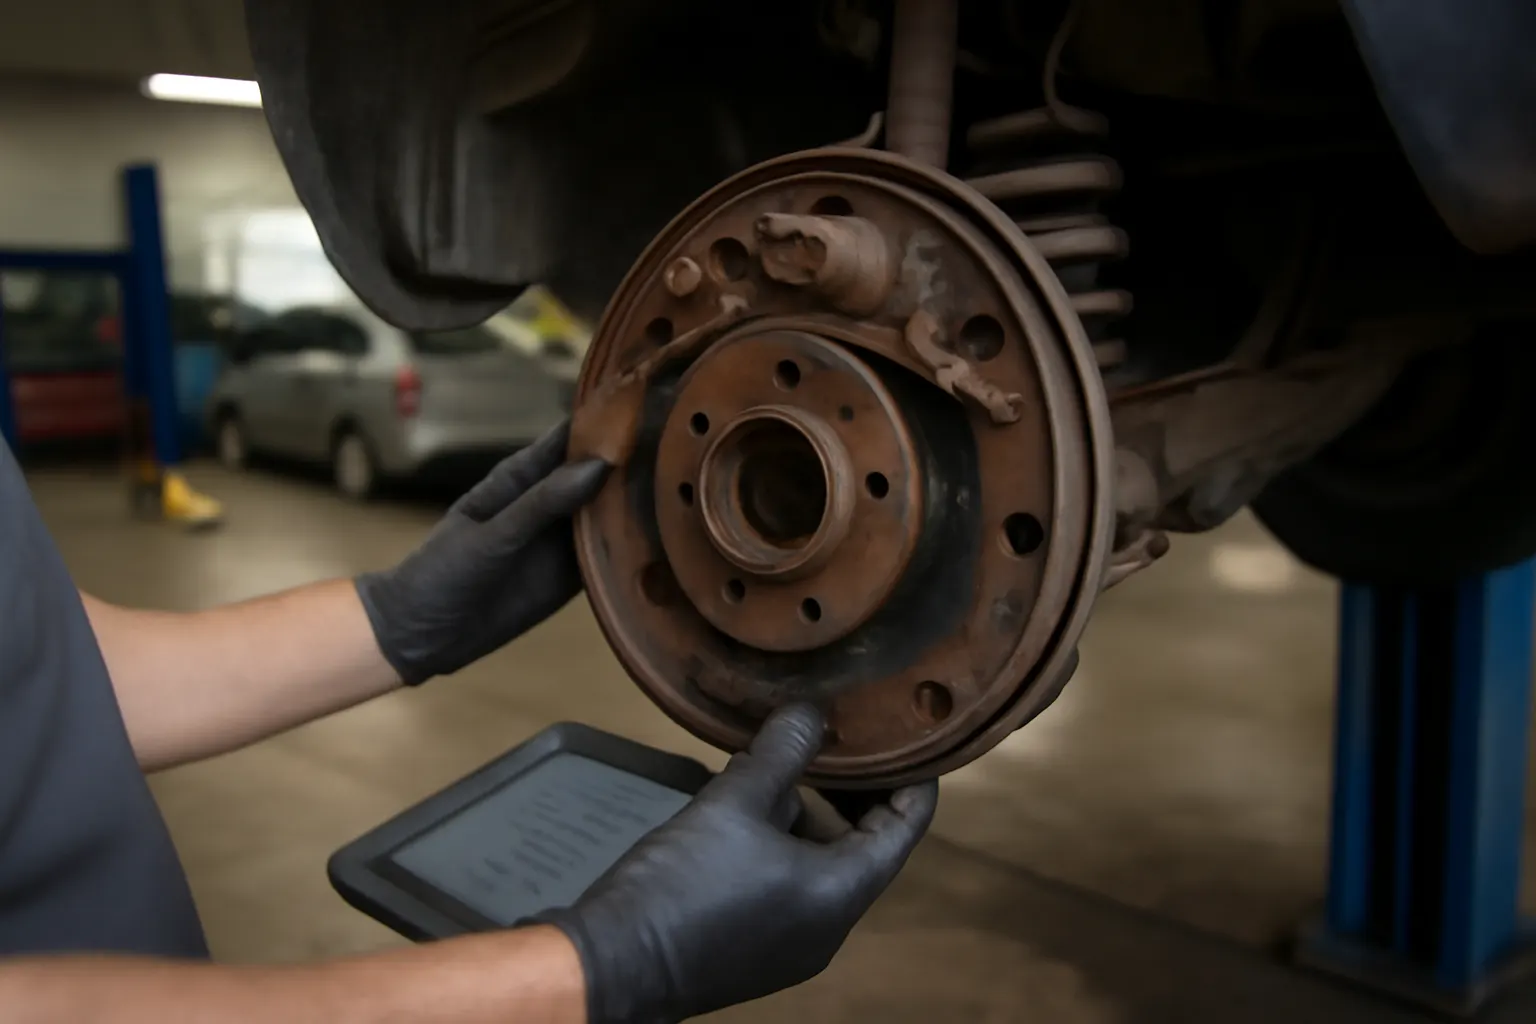
Many AMC Ambassador owners and restorers discover that not all brake system components are interchangeable across model years. The backing plate—a critical part that supports brake shoes or calipers—varies by year, brake type (drum or disc), and sometimes even by production plant. This makes sourcing the correct replacement more complicated than for many other classic cars.
What’s less obvious is that incorrect backing plate fitment can lead to:
- Poor brake performance
- Premature pad or shoe wear
- Increased risk of brake failure
- Compromised vehicle safety
This hidden complexity means that a casual approach to brake restoration can result in mismatched parts, frustrating installation attempts, and subpar braking reliability.
Deeper Technical Explanation: Why Did AMC Ambassador Brake Systems Change?
Shifting Safety Standards and Engineering Advances
The evolution of the AMC Ambassador’s brake systems was driven by several factors:
-
Federal Safety Regulation: The National Highway Traffic Safety Administration (NHTSA) began implementing stricter safety standards in the late 1960s, prompting automakers to upgrade braking systems for better stopping distances and fade resistance Vehicle Safety and Equipment.
-
Market Competition: As competitors introduced front disc brakes, AMC responded to customer demand for improved safety and performance.
-
Materials and Manufacturing: Advances in materials (such as high-strength steel and improved friction materials) allowed for lighter, more durable, and more efficient brake components Materials Technologies.
Key Brake System Generations in the AMC Ambassador
- 1960-1967: Drum brakes on all four wheels were standard, with stamped steel backing plates designed specifically for drum applications.
- 1968-1974: Introduction of front disc brakes as optional or standard equipment on higher trims. This brought new, heavier-duty backing plate designs to support calipers and shield rotors.
- 1975-1978: Further refinement of disc brake systems, with changes in mounting points, dust shield design, and caliper brackets. Some late models had unique backing plate bolt patterns and dust shield geometries.
Technical Impact of Backing Plate Changes
- Mounting Holes and Patterns: Differences in spindle design and brake hardware required changes to the number and arrangement of mounting holes on backing plates.
- Material Thickness: Later years used thicker, more corrosion-resistant plates to comply with safety and durability standards.
- Dust Shield Integration: Some backing plates incorporated dust shields, while others had separate shields, adding to the complexity of parts matching.
Identifying the Correct Backing Plate for Your AMC Ambassador
Correctly identifying your Ambassador’s brake system and backing plate is essential for safe restoration and maintenance. Here’s how to approach the process:
1. Determine Your Model Year and Brake Type
- Model Year: Check the VIN and consult AMC service manuals for accurate year identification.
- Brake Type: Inspect the front brakes—are they drums or discs? Note caliper or wheel cylinder presence.
Advertisement
2. Inspect the Existing Backing Plate
- Mounting Points: Count the number of mounting holes and measure their spacing.
- Shield Design: Note whether the plate includes an integrated dust shield or if it’s a separate component.
- Part Numbers: Look for stamped or cast part numbers, which can help with cross-referencing.
3. Compare With Reliable Reference Material
- Use factory service manuals, reputable parts catalogs, and expert resources like Amc Ambassador Backing Plate Diagnostics to confirm compatibility.
Backing Plate Identification Checklist
| Checkpoint | Details to Note |
|---|---|
| Model Year | VIN, build date, trim level |
| Brake Type | Drum or disc, caliper or wheel cylinder design |
| Mounting Hole Pattern | Number, spacing, diameter |
| Dust Shield Integration | Integrated, separate, or absent |
| Part Number | Stamped/cast numbers, if visible |
| Spindle Compatibility | Spindle diameter and bolt pattern |
| Hardware Fitment | Correct shoe/caliper alignment and hardware |
Common Issues Caused by Incorrect Backing Plate Fitment
A mismatched or worn backing plate can introduce several brake system problems. These include:
1. Brake Noise and Vibration
- Incorrect plate geometry can cause pads or shoes to misalign, leading to squeal, chatter, or vibration.
2. Uneven Pad or Shoe Wear
- If the backing plate doesn’t align perfectly, friction material can wear unevenly, reducing braking effectiveness and lifespan.
3. Reduced Braking Performance
- Poor fitment can cause caliper or shoe binding, leading to longer stopping distances and increased pedal effort.
4. Safety Hazards
- In extreme cases, a misaligned backing plate can cause brake hardware to detach or fail under load, posing a significant safety risk Vehicle Safety and Equipment.
Diagnosing AMC Ambassador Backing Plate Issues
Proper diagnosis is critical before replacing any brake components. Here’s a step-by-step approach:
Visual Inspection
- Rust and Corrosion: Check for excessive rust, cracks, or deformation, especially around mounting holes and dust shield edges.
- Hardware Fit: Ensure all brake hardware (shoes, springs, calipers) fits snugly without binding.
- Contact Points: Look for wear marks or grooves where shoes or pads contact the plate.
Functional Testing
- Spin Test: With the wheel off, spin the hub to check for scraping or resistance, indicating misalignment.
- Brake Application: Apply the brakes and observe for uneven movement or sticking.
Measurement and Comparison
- Mounting Pattern: Measure bolt hole diameters and spacing. Compare to manufacturer specs or reference plates.
- Thickness: Check plate thickness with a micrometer; excessive thinning indicates wear.
If in doubt, consult the Amc Ambassador Backing Plate Diagnostics guide for more in-depth troubleshooting.
Sourcing the Right AMC Ambassador Backing Plate
Given the complexity of backing plate evolution, sourcing the correct part is a challenge. Here’s how to streamline the process:
1. Use VIN and Brake System Details
- Always provide your vehicle’s VIN, year, and brake type when searching for parts.
2. Consult Expert Suppliers
- Work with suppliers who specialize in AMC or classic American cars. They are more likely to understand the nuances of Ambassador brake systems.
3. Reference Cross-Compatibility Lists
- Some later AMC models share backing plate designs with the Ambassador. Use verified cross-reference charts and always double-check mounting hole patterns.
4. Consider Reconditioning
- If original plates are unavailable, consider professional reconditioning or repair of existing plates, provided they are structurally sound.
For more on reliable parts sourcing, visit Amc Ambassador Brake Parts Sourcing.
Installation Tips for AMC Ambassador Backing Plates
Proper installation is as important as sourcing the right part. Here’s a practical guide to getting it right:
Installation Steps
- Prepare the Work Area: Safely lift and support the vehicle. Remove the wheel and brake assembly.
- Inspect the Spindle: Clean and inspect the spindle for wear or damage.
- Test Fit the Backing Plate: Before final installation, test fit the plate to ensure all holes align and hardware fits.
- Secure Mounting Bolts: Use new hardware where possible and torque bolts to factory specifications.
- Install Brake Hardware: Reinstall shoes, springs, or calipers, ensuring correct alignment.
- Check for Interference: Spin the hub and check for any contact with the backing plate.
- Reassemble and Test: Reinstall the wheel, lower the vehicle, and perform a brake function test before driving.
Advertisement
Installation Checklist
| Step | Key Points |
|---|---|
| Vehicle Supported Safely | Jack stands, wheel chocks in place |
| Old Plate Removed Cleanly | All hardware accounted for |
| Spindle Inspected | No scoring, rust, or thread damage |
| Plate Fit Confirmed | All holes align, no interference |
| Hardware Torqued Properly | Use torque wrench, follow specs |
| Final Brake Test Performed | No noise, smooth pedal feel |
Maintenance Considerations for AMC Ambassador Brake Backing Plates
Even after successful installation, ongoing maintenance is crucial for safety and longevity.
Regular Inspection
- Every 12 Months: Remove wheels and inspect backing plates for corrosion, cracks, or hardware wear.
- After Harsh Conditions: Check plates after winter or off-road driving, as salt and debris accelerate corrosion.
Cleaning and Protection
- Surface Cleaning: Use a wire brush or brake cleaner to remove rust and debris.
- Protective Coating: Apply a high-temperature anti-corrosion coating if driving in harsh environments.
Replacement Intervals
- Replace When: Plates show significant rust-through, cracks, or deformation, or if hardware no longer seats securely.
The Role of Backing Plates in Brake System Performance
Backing plates are often overlooked, but they are essential to brake system function:
- Positioning: They maintain the correct alignment of shoes or calipers to the drum or rotor.
- Heat Shielding: Plates (especially with integrated dust shields) protect sensitive components from heat and debris.
- Structural Support: They provide a rigid platform for springs, adjusters, and other hardware.
A compromised backing plate can undermine the effectiveness of even new pads, rotors, or drums.
Impact of Brake System Evolution on Restoration and Upgrades
Restoring or upgrading an AMC Ambassador’s brakes requires more than just swapping parts. The evolution of brake systems means:
- Parts Incompatibility: Later disc brake plates often cannot be retrofitted to early drum brake spindles without significant modification.
- Performance Upgrades: Upgrading to disc brakes may require new spindles, calipers, and custom backing plates.
- Originality Concerns: For concours restorations, using the correct year and type of backing plate is essential for authenticity.
Careful documentation and verification are key, especially when mixing components from different model years.
Advanced Sourcing: Navigating Aftermarket and NOS Backing Plates
As OEM AMC parts become rarer, restorers must navigate aftermarket and New Old Stock (NOS) options:
Aftermarket Plates
- Pros: Readily available, often improved corrosion resistance.
- Cons: May require minor modification for perfect fit; always verify dimensions and mounting patterns before purchase.
NOS Plates
- Pros: Authentic fit and appearance; ideal for concours restorations.
- Cons: Expensive, limited supply, and may have surface rust from long-term storage.
Buyer’s Checklist
- Verify Seller Reputation: Choose suppliers known for classic AMC expertise.
- Request Detailed Photos: Confirm mounting pattern, thickness, and shield style.
- Check Return Policy: In case of fitment issues, a flexible return policy is essential.
AutoPartEx: Your Partner for AMC Ambassador Brake Restoration
At AutoPartEx, we understand the unique challenges of restoring and maintaining classic AMC Ambassadors. Our expert team provides:
- Model-Specific Guidance: We help you identify the exact backing plate and brake hardware for your vehicle’s year and trim.
- Quality Parts Sourcing: Access to a curated selection of OEM, NOS, and premium aftermarket backing plates.
- Technical Support: Step-by-step installation guides, diagnostic checklists, and troubleshooting advice.
Explore our AMC Ambassador Front Backing Plate: Fitment, Issues, and Expert Replacement Guidance hub for more detailed information and to connect with our technical advisors.
Expert Action: What To Do Next
- Diagnose Your Brake System: Use the checklists above to identify your Ambassador’s brake system and backing plate type.
- Inspect and Document: Photograph your current setup, noting all relevant details for future reference.
- Source With Confidence: Use trusted suppliers and cross-reference all part numbers and mounting patterns.
- Install Carefully: Follow proper installation and torque procedures for safety and longevity.
- Maintain Regularly: Inspect and clean backing plates annually, especially if your vehicle sees regular road use.
For additional fitment guidance or to troubleshoot a challenging installation, consult the Amc Ambassador Front Backing Plate Replacement guide or reach out to AutoPartEx technical support.
References
Advertisement