Advertisement
How Aftermarket Accessories Impact Dash Harness Reliability
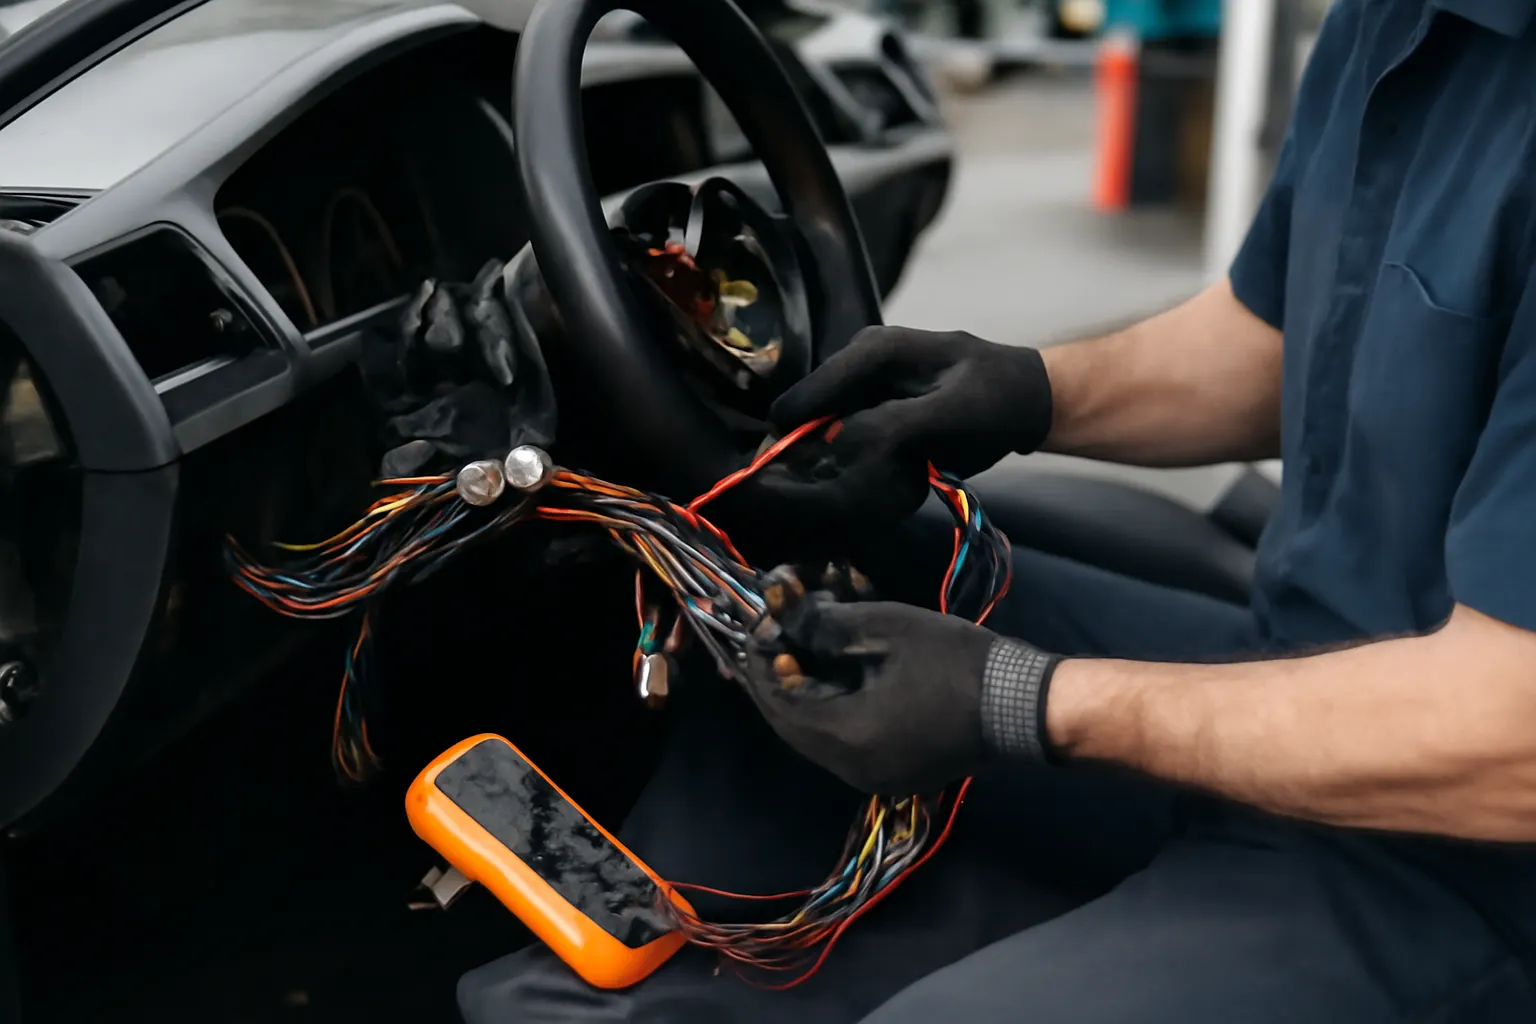
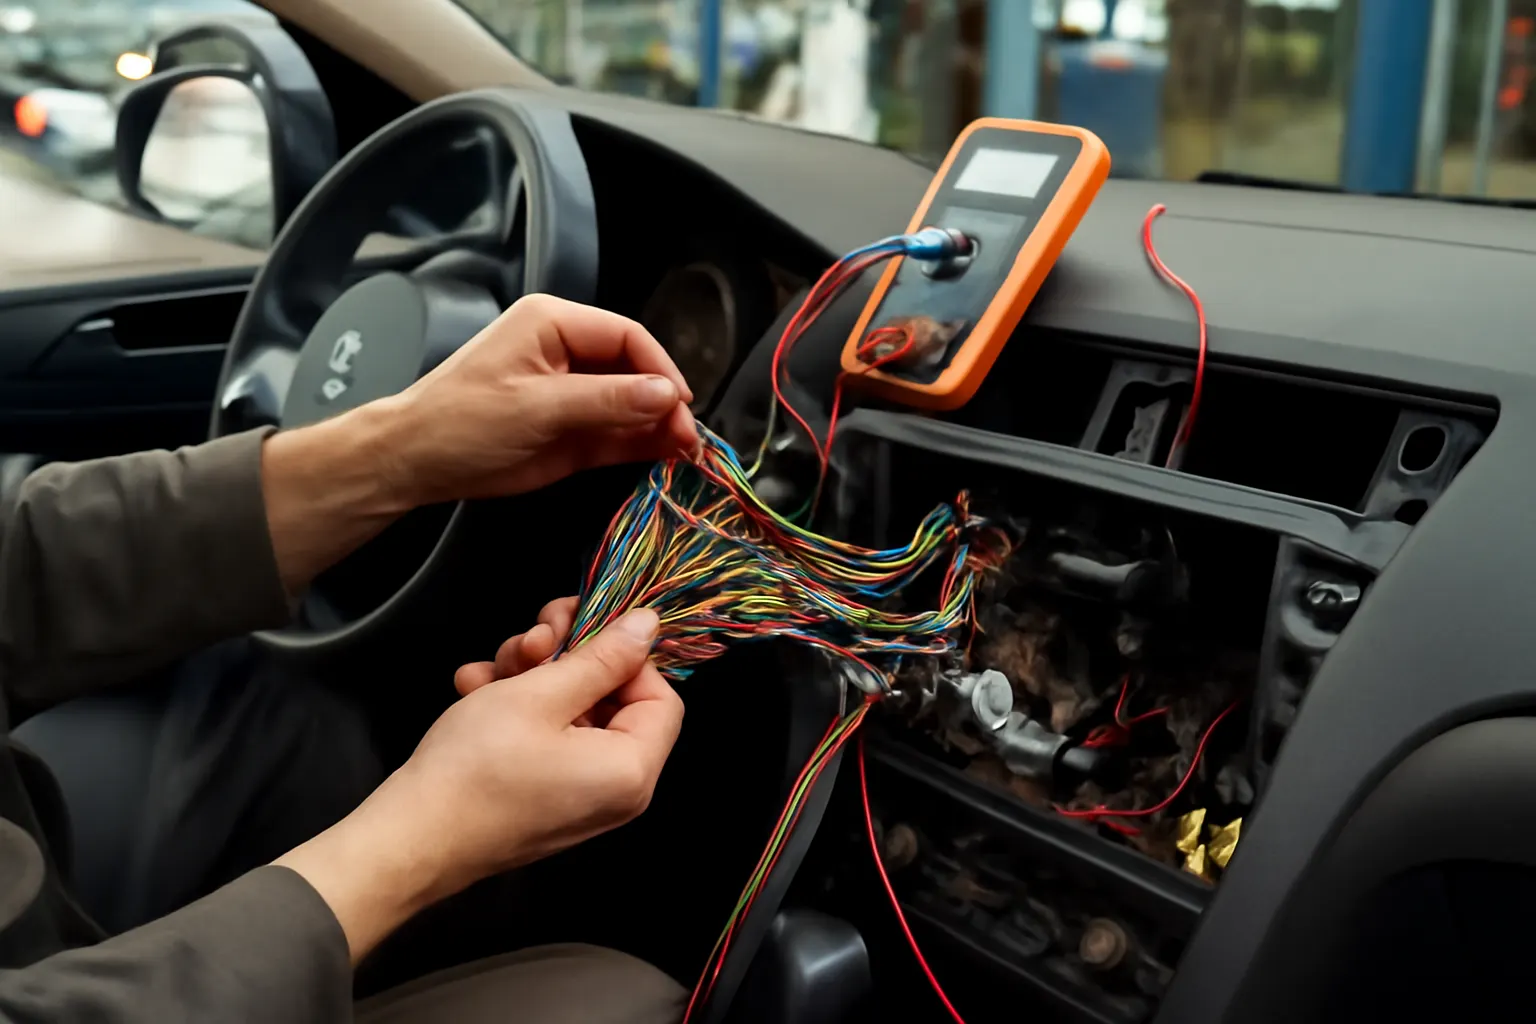
Adding aftermarket accessories—like upgraded infotainment systems, dash cams, radar detectors, or auxiliary lighting—to your vehicle can enhance convenience, safety, and style. But every new electronic device you wire into your dash carries a hidden risk: jeopardizing the reliability of your vehicle’s dash wiring harness, the critical nerve center for modern automotive electronics. Understanding these risks and best practices is essential for safe, trouble-free upgrades.
This article dives deeply into the real-world impact of aftermarket accessories on dash wiring harness reliability. We’ll reveal the often-overlooked problems, explain the technical reasons behind failures, and provide actionable solutions for diagnosing, installing, and maintaining your dash harness when adding new electronics. Whether you’re a DIY enthusiast, a technician, or a vehicle owner planning an upgrade, this guide will help you avoid costly mistakes and ensure your vehicle’s electrical system remains robust.
For foundational knowledge on the role of the dash harness, see our primary Dash Wiring Harness: The Nerve Center of Modern Vehicle Electronics resource.
The Immediate Answer: Aftermarket Add-ons Can Threaten Dash Harness Reliability
When you add aftermarket electronics to your vehicle’s dashboard, you’re introducing new electrical loads, connection points, and potential sources of interference. These changes can:
- Overload circuits and cause blown fuses or melted wires.
- Introduce electrical noise that disrupts sensitive onboard systems.
- Create poor connections, leading to intermittent faults and diagnostic headaches.
- Void OEM safety features or even trigger recalls if improperly installed.
The dash wiring harness is engineered for a specific set of factory equipment. Any deviation—especially poorly executed wiring modifications—can compromise reliability, safety, and long-term durability.
The Hidden Problem: Why Most Aftermarket Installs Fail the Reliability Test
Most vehicle owners and even some installers underestimate the complexity of modern dash wiring harnesses. These harnesses are not just bundles of wires—they’re intricately designed, with multiplexed signals, CAN bus communications, and precise current capacities. Introducing an aftermarket accessory without proper integration can:
- Overdraw power from circuits not designed for extra load.
- Cause voltage drops that affect critical systems like airbags or ABS.
- Lead to corrosion or shorts from improper splicing or connector usage.
- Trigger diagnostic trouble codes (DTCs) that are difficult to trace.
The hidden danger is that symptoms may not appear immediately. Faults can develop over weeks or months, manifesting as mysterious electrical gremlins, nonfunctional accessories, or even safety system failures.
How Modern Dash Harnesses Are Engineered for Reliability
To appreciate the risks, it’s important to understand how dash wiring harnesses are designed. Modern harnesses are:
- Precision Engineered: Each wire gauge, connector, and fuse is chosen for specific loads and safety margins.
- Multiplexed: Many signals share wires via digital communication protocols (CAN/LIN bus), reducing weight but increasing complexity.
- Safety Critical: Harnesses route power and signals for airbags, ABS, TPMS, and other essential systems.
- Material Optimized: OEM harnesses use materials and connectors tested for vibration, temperature, and corrosion resistance, as outlined in Materials Technologies.
Any aftermarket addition that ignores these engineering constraints introduces risk. For example, tapping into an airbag circuit for accessory power can disable the airbag or trigger a warning light.
Common Aftermarket Accessories and Their Impact on Dash Harnesses
Let’s break down some popular aftermarket add-ons and their potential effects:
- Dash Cams & Radar Detectors: Often hardwired to ignition or accessory circuits, these can overload fuses or cause voltage drops if not fused correctly.
- Infotainment Upgrades: Modern head units may draw more current or require CAN bus integration; improper wiring can disrupt steering wheel controls or factory features.
- Auxiliary Gauges & Lighting: Drawing power from dash circuits not meant for additional load can cause wiring to overheat.
- Remote Starters & Security Systems: Splicing into ignition, door, or immobilizer circuits risks disabling safety features or causing no-start conditions.
Advertisement
Each of these accessories, when improperly installed, can compromise the dash harness’s integrity and the vehicle’s safety systems.
Diagnostic Challenges: Symptoms of a Compromised Dash Harness
Electrical issues caused by aftermarket accessory installation can be elusive. Watch for:
- Intermittent Power Loss: Devices or factory features that work sporadically.
- Blown Fuses: Repeated fuse failures in circuits shared with accessories.
- Warning Lights: ABS, airbag, or check engine lights triggered by voltage anomalies.
- Electrical Noise: Static in audio systems or erratic sensor readings.
- Burnt Smell or Visible Damage: Signs of overheated wires or connectors behind the dash.
Troubleshooting these issues often requires tracing circuits, checking for proper grounding, and using diagnostic tools to read DTCs. For more on this, see our guide on Diagnosing Electrical Issues in Modern Dashboards.
Technical Deep Dive: Why Aftermarket Installs Cause Problems
The root causes of dash harness reliability issues after accessory installation are:
1. Current Overload
Dash circuits are designed for specific loads. Adding devices can push circuits beyond their rated capacity, resulting in:
- Overheated Wires: Excessive current causes insulation breakdown and, in extreme cases, electrical fires (see Preventing Electrical Fires: Dash Harness Safety Tips).
- Blown Fuses: Fuses protect circuits but repeated failures point to overload or short circuits.
2. Improper Grounding
Many aftermarket installs use chassis grounds. Poor connections can cause:
- Ground Loops: Resulting in noise or erratic sensor readings.
- Corrosion: Poorly protected grounds corrode, increasing resistance and causing voltage drops.
3. Signal Interference
Modern vehicles use data buses for communication. Splicing into these lines can:
- Disrupt Communication: Causing modules to lose sync, disabling features.
- Trigger DTCs: Resulting in warning lights and possible limp mode.
4. Connector and Splice Quality
OEM harnesses use sealed, vibration-resistant connectors. Aftermarket installs often rely on:
- Twist-and-Tape: Unreliable and prone to failure.
- Crimp Connectors: Better, but only if high-quality and properly installed.
- Soldered Joints: Reliable if insulated and strain-relieved.
Poor-quality connections are a leading cause of long-term reliability issues.
Installation Best Practices: Protecting Your Dash Harness
To minimize risk and protect your dash harness, follow these best practices:
- Use Add-a-Circuit Fuse Taps: These allow safe addition of low-current devices without cutting factory wires.
- Install Dedicated Relays: For high-current accessories, use relays triggered by dash circuits but powered directly from the battery.
- Use OEM-Style Connectors: Whenever possible, use connectors compatible with factory harnesses.
- Avoid Splicing Into Critical Circuits: Never tap into airbag, ABS, or ignition circuits.
- Protect All Connections: Use heat-shrink tubing, proper insulation, and secure all wiring to prevent vibration damage.
- Label and Document All Work: Future diagnostics will be much easier if modifications are clearly labeled.
Checklist: Safe Dash Harness Integration for Aftermarket Accessories
Here’s an actionable checklist for anyone adding accessories to their dash wiring harness:
| Step | Description |
|---|---|
| Identify Power Source | Use wiring diagrams to find suitable accessory or dedicated circuits. |
| Assess Circuit Capacity | Check fuse ratings and wire gauge; avoid exceeding 80% of rated capacity. |
| Use Proper Fusing | Add inline fuses close to the power source for every new accessory. |
| Ground Carefully | Use factory ground points; clean and secure all ground connections. |
| Avoid Critical Circuits | Never tap into airbag, ABS, or engine management circuits. |
| Use Quality Connectors | OEM or weatherproof aftermarket connectors are essential. |
| Secure Wiring | Bundle and tie all new wiring away from moving parts and heat sources. |
| Test Functionality | Check every accessory and factory feature after installation. |
| Scan for DTCs | Use a scan tool to check for any new trouble codes after wiring work. |
| Document Modifications | Keep diagrams and notes for future reference or repairs. |
Following this checklist can prevent the majority of dash harness issues associated with aftermarket installations.
Diagnosing Dash Harness Issues After Accessory Installation
If you suspect a dash harness problem after adding an accessory, follow this diagnostic process:
Advertisement
- Visual Inspection: Remove dash panels and check all wiring for loose connections, damaged insulation, or burnt smells.
- Check Fuses: Inspect all relevant fuses; repeated failures point to overload or short circuits.
- Test Grounds: Use a multimeter to verify low-resistance ground connections.
- Check for Interference: Listen for audio noise, observe for flickering displays, or erratic gauge behavior.
- Scan for Trouble Codes: Use an OBD-II scanner to check for new DTCs, especially related to communication errors.
- Trace Circuits: Use wiring diagrams to trace accessory power and signal paths, ensuring no critical circuits are tapped.
- Isolate Add-ons: Disconnect aftermarket devices one at a time to see if issues resolve.
If problems persist, consider consulting a professional technician or referencing our OEM vs. Aftermarket Dash Wiring Harnesses: What You Need to Know guide for further troubleshooting.
Sourcing Quality Components for Reliable Installs
Not all aftermarket parts are created equal. Choosing low-quality wiring, connectors, or accessories increases the risk of dash harness problems. When sourcing components:
- Choose Reputable Brands: Select accessories from manufacturers with proven automotive experience.
- Insist on SAE Standards: Look for components tested to SAE and OEM standards (SAE Standards).
- Select Correct Wire Gauge: Match or exceed OEM wire size for power and ground circuits.
- Use Weatherproof Connectors: Especially important if wires pass through the firewall or into damp areas.
At AutoPartEx, we vet our dash wiring harnesses and related components for compatibility, reliability, and compliance with industry standards. For more information, explore our Dash Wiring Harness: The Nerve Center of Modern Vehicle Electronics category.
Maintenance Tips: Keeping Your Dash Harness Healthy Post-Installation
After installing aftermarket accessories, proactive maintenance can prevent future issues:
- Regularly Inspect Connections: Check all accessory wiring for looseness or corrosion every 6-12 months.
- Monitor for Symptoms: Stay alert for warning lights, unusual smells, or intermittent electrical faults.
- Keep Wiring Clean and Dry: Moisture is the enemy of reliability. Use dielectric grease on connectors in humid climates.
- Update Documentation: Note any changes or repairs to the dash harness for future technicians.
- Replace Damaged Components Promptly: If you spot melted wires, corroded connectors, or insulation damage, repair or replace immediately.
Routine checks can catch problems early, before they cascade into major electrical failures.
The Role of Vehicle Safety Standards and Recalls
Improper wiring modifications can compromise not just reliability, but safety and regulatory compliance. The National Highway Traffic Safety Administration (NHTSA) sets standards for electrical equipment and investigates defects. Faulty accessory installations have triggered vehicle recalls for:
- Short circuits causing fires
- Disabled airbags or ABS
- Loss of lighting or critical controls
Always ensure installations meet or exceed safety requirements. If you experience persistent issues after an accessory install, check for relevant recalls at the NHTSA recall database.
When to Upgrade or Replace Your Dash Harness
Sometimes, the safest path is to upgrade or replace the dash wiring harness:
- Extensive Modifications: If you’ve added multiple accessories and the harness is heavily modified, replacement may restore reliability.
- Melted or Damaged Wires: Burnt insulation or visible damage requires immediate replacement.
- Persistent Electrical Issues: Chronic problems despite repairs point to underlying harness faults.
Choose a replacement harness that matches your vehicle’s specifications, and favor OEM or high-quality aftermarket options. For guidance, see our OEM vs. Aftermarket Dash Wiring Harnesses: What You Need to Know.
Expert Action: Ensuring Long-Term Reliability with AutoPartEx
For vehicle owners, technicians, and enthusiasts, the best way to ensure dash harness reliability when adding aftermarket accessories is to:
- Plan Every Installation: Use proper diagrams, component ratings, and installation techniques.
- Choose Quality Components: Rely on trusted brands and SAE-compliant parts.
- Document and Maintain: Keep records and perform regular checks to catch issues early.
AutoPartEx is your partner in reliable, standards-based dash harness solutions. Our curated selection of dash wiring harnesses and installation accessories are engineered for compatibility and durability. Whether you’re upgrading your infotainment, adding safety tech, or restoring a classic, trust AutoPartEx for the parts and expertise to keep your electrical system safe and reliable.
For more information, explore our Dash Wiring Harness: The Nerve Center of Modern Vehicle Electronics catalog and related editorial content. For advanced troubleshooting, see Diagnosing Electrical Issues in Modern Dashboards.
References
Advertisement