
Amc Ambassador Alternator Parts
AMC Ambassador Alternator: Expert Fitment, Failure Patterns, and Replacement Guide
The alternator is a crucial component of the AMC Ambassador’s electrical system, responsible for generating power to sustain battery charge and run essential electronics. Whether you drive a classic 1960s Ambassador or a later 1970s model, proper alternator function is vital for reliable ignition, lighting, and accessory operation. This guide delivers in-depth insight into alternator fitment, failure risks, and sourcing strategies tailored for the full range of AMC Ambassador trims and engines.
Owners of AMC Ambassadors often overlook the unique challenges of sourcing a compatible alternator, especially given the vehicle’s multiple year-breaks, engine options, and trim-specific electrical loads. Hidden risks include subtle changes in bracket designs between model years, alternator output variances for different V8 and inline-six engines, and scarcity of original mounting hardware. In some cases, a seemingly minor alternator mismatch can lead to charging inconsistencies or even installation damage. Without a thorough parts verification process, it’s easy to encounter incompatibility with pulleys, harness connectors, or voltage regulator interfaces unique to certain Ambassador builds.
As AMC Ambassadors age, their alternators are prone to several model-specific failure patterns. Classic signs include dimming headlights, erratic instrument readings, and rapid battery depletion—often misdiagnosed as battery faults or wiring issues. Thermal stress and worn bearings are common, particularly on high-output units found in V8-equipped trims. Electrical connector corrosion and regulator incompatibility are recurring issues, exacerbated by the transition from external to internal regulators in later years. These failure modes are compounded by the model’s complex interchange history, making accurate diagnosis and replacement selection essential for reliable operation.
To ensure proper alternator fitment for your AMC Ambassador, begin by verifying your model year, engine code, and trim level. Cross-reference OE part numbers and confirm mounting style (e.g., single-groove vs. dual-groove pulleys) against your existing setup. Sourcing from reputable suppliers with access to authentic AMC diagrams and interchange data is key, as is confirming regulator compatibility—especially if upgrading from an external to an internal regulator design. Replacement strategy should include testing the battery and charging circuit before and after installation, using a multimeter and load tester. If service history is unclear, consider replacing aged or damaged harnesses and brackets to mitigate future risk. For best results, follow service manual torque specs and use AMC-specific tools where available. For further practical steps, consult AMC Alternator Diagnosis & Replacement Guide and explore our History of AMC Alternator Design for in-depth background on alternator evolution.
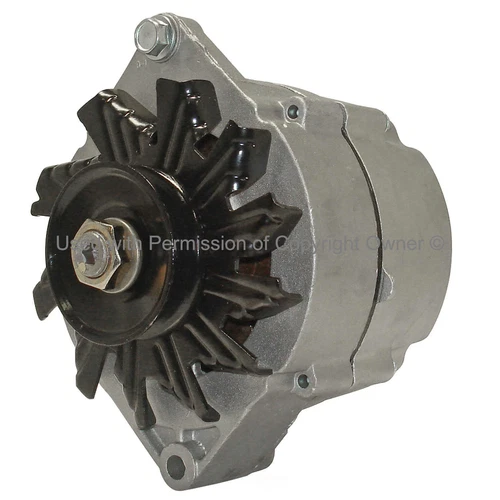
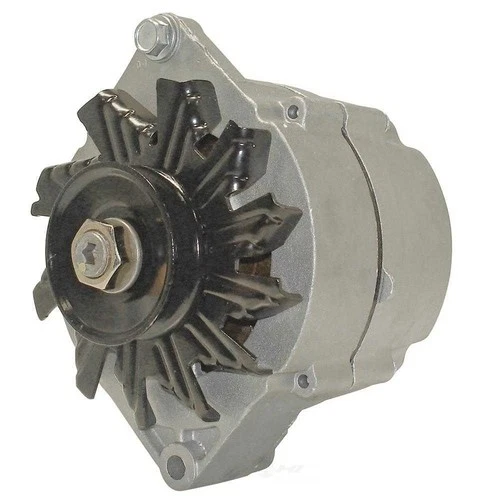
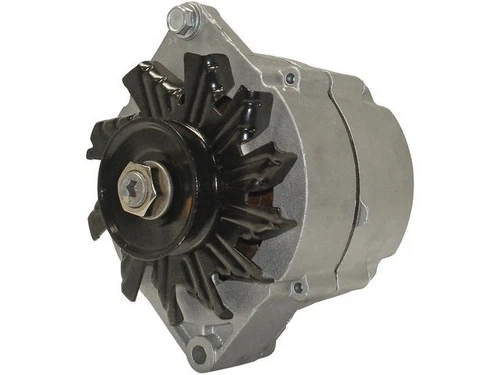
5 AMC Ambassador Alternator Parts
Advertisement

Advertisement
More Alternator options for AMC Ambassador
Filtering for AMC Ambassador • AlternatorBrowse nearby inventory for this model and category without leaving the page.
No Data Available
Please check back soon when more inventory is available for this part.
Advertisement
Expert AMC Ambassador Alternator Specs & Action Plan
When diagnosing charging issues, start by checking the battery voltage with the engine off and running. A healthy alternator should produce 13.8–14.5 volts at idle with minimal voltage drop under load. If output is low, inspect the drive belt for proper tension and alignment, as slipping or misalignment is a common cause of apparent alternator failure. Next, check all main power and ground connections, paying close attention to the condition of the harness connectors—corrosion or looseness here can mimic alternator failure. Use a multimeter to check for continuity between the alternator’s field terminal and the voltage regulator (if applicable), and ensure all fusible links are intact.
Installation requires careful bracket alignment and torque application. AMC-specific alternator brackets are often cast aluminum or steel, and using the wrong bracket can result in belt misalignment, vibration, and eventual alternator shaft failure. Always match the replacement alternator’s pulley configuration to your vehicle’s accessory drive (single, dual, or triple groove as needed). When upgrading to a higher-output or internally regulated alternator, ensure the alternator wiring is either adapted using a conversion harness or professionally modified following AMC diagrams. Failure to address wiring differences can result in no-charge or overcharge conditions, risking damage to sensitive electronics or the battery.
After installation, test the charging system under real-world loads: headlights on, blower motor running, and accessories engaged. Monitor voltage at the battery and alternator output terminal to confirm stable operation. If issues persist, consult an AMC Ambassador service manual or a specialist with vintage AMC electrical experience. Finally, keep records of alternator part numbers, wiring diagrams, and installation notes for future reference or resale purposes. For a toolkit and procedural walk-through, see AMC Ambassador Electrical Tools.
AMC Ambassador Alternator: Quick Reference
Year/Engine Fitment
Covers 1958–1974 AMC Ambassador, all trims. Verify engine (232/258/327 I6, 304/360/401 V8) and alternator output rating (37–78 amps) for best match.
Installation Tools
Required: socket set, torque wrench, pulley puller, multimeter, soldering kit (for regulator conversions), and AMC wiring diagrams.
Common Failure Signs
Watch for dim headlights, battery warning lights, erratic gauges, odd noises, and frequent battery discharge. Always test with a multimeter and visually inspect connectors.
Pro Sourcing Tips
Cross-check OE part numbers, bracket style, and pulley type. Retain old hardware until fitment is confirmed. Use AMC-focused suppliers when possible.
References
- Vehicle Safety and Equipment - National Highway Traffic Safety Administration, accessed 2024-06-19Used for technical grounding on safety, diagnostics, and electrical system best practices.
- Vehicle, Car Seat, Tire, and Equipment Recalls - National Highway Traffic Safety Administration, accessed 2024-06-19Referenced for recall and equipment-specific guidance on alternator fitment and replacement.
- Fuel Efficiency - United States Department of Energy, accessed 2024-06-19Referenced for information on alternator impact on engine efficiency and electrical system performance.
Related Guides & Articles

Amc Alternator Diagnosis Replacement
If your classic AMC vehicle exhibits dimming headlights, slow cranking, or warning lights, the alternator may be failing. To diagnose: Check battery voltage at rest and running. A healthy alternator should deliver 13.8–14.5 volts with the engine running. Inspect the alternator belt tension and condition. Test for charging output at the alternator’s main terminal. Examine wiring and connectors for corrosion or looseness. Listen for abnormal noises from the alternator. If diagnosis confirms alternator failure, replacement involves: Disconnecting the battery.
View Guide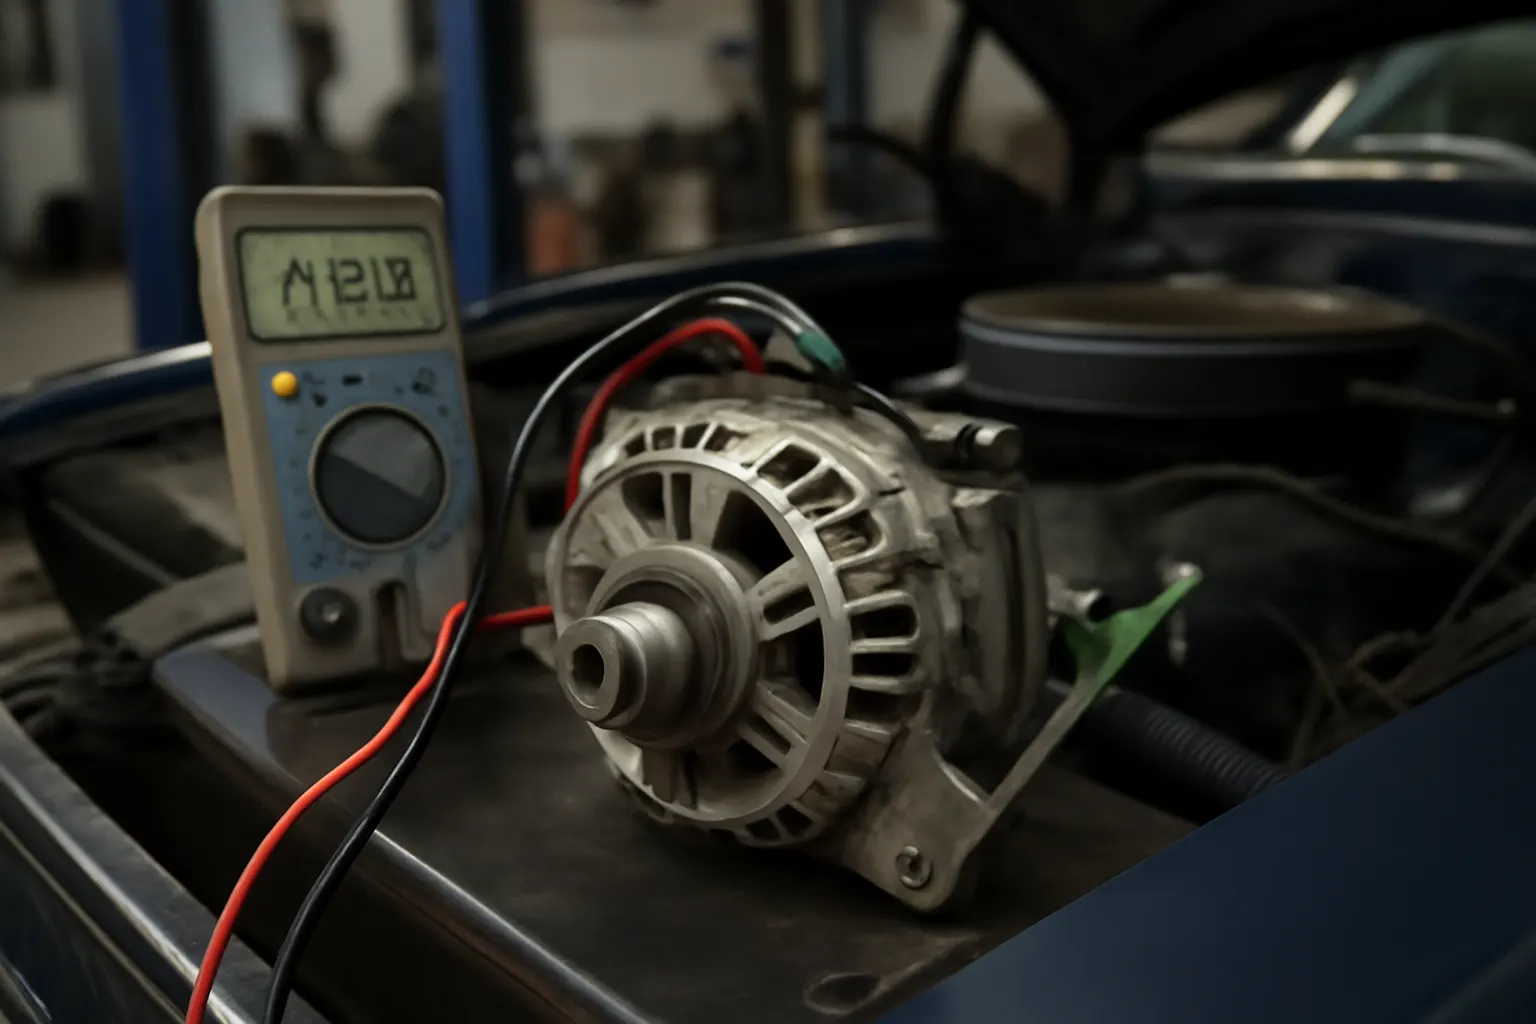
History Amc Alternator Design
Alternators are the unsung heroes of automotive electrical systems, and American Motors Corporation (AMC) played a unique role in the evolution of alternator technology from the 1960s through the 1980s. For owners and restorers of classic AMC models like the Ambassador, understanding the alternator’s historical development is crucial for reliable operation, correct fitment, and authentic restoration.
Read More
Classic Alternator Failure Signs
Recognizing the early warning signs of alternator failure in classic vehicles is essential for maintaining reliability, safety, and authentic performance. In this article, we’ll break down the most common symptoms of alternator failure, how to distinguish them from issues with the battery or wiring, and provide actionable steps for diagnosis, sourcing, and replacement—especially for owners of vintage models like the AMC Ambassador.
Read More
Amc Ambassador Electrical Tools
If you’re working on a classic AMC Ambassador, the following electrical tools are non-negotiable for diagnosing, repairing, and upgrading your alternator, wiring, and charging system: Digital Multimeter (DMM): For voltage, resistance, and continuity checks throughout the charging and starting circuits. Test Light: Quick go/no-go checks for power and ground. Wire Strippers and Crimpers: For precise, damage-free wire preparation and secure terminal connections. Terminal Removal Tools: To safely extract and replace connectors in aged harnesses.
View Guide