Advertisement
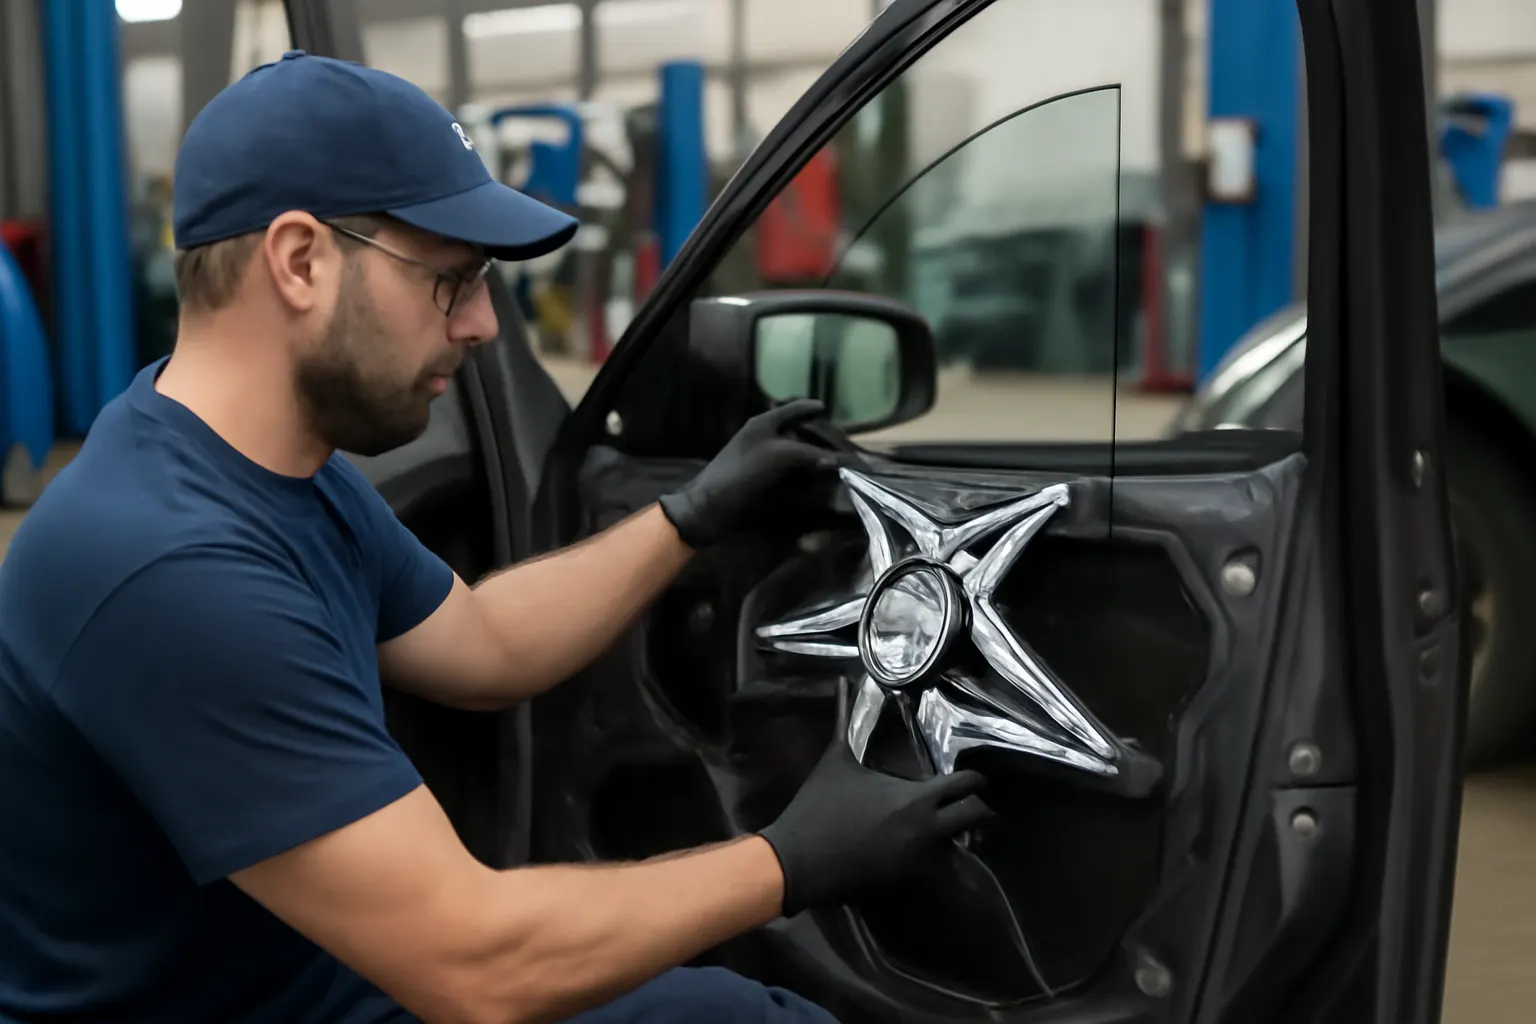
Installing vent glass and its regulator on Toyota vehicles demands precision, technical know-how, and attention to detail. Whether you’re a seasoned technician, an advanced DIYer, or a shop manager training new staff, this guide delivers actionable tips for perfect vent glass installation. Below, you’ll find proven alignment tricks, tool recommendations, diagnostic insights, and water leak testing procedures to ensure a professional, safe, and long-lasting result.
For a deep dive into technical fitment, diagnostics, and OEM replacement strategies, see our Toyota Front Door Vent Glass Regulator: Technical Fitment, Diagnostics & OEM Replacement Guide.
Immediate Answer: What Are the Key Tips for Installing Toyota Vent Glass?
- Pre-fit the vent glass and verify regulator operation before final assembly.
- Use non-marring trim tools and proper glass-setting gloves to prevent damage.
- Align the glass precisely with regulator tracks and window channels.
- Test for smooth regulator movement and check for interference or binding.
- Perform a water leak test before reassembling interior trim.
These steps, rooted in industry best practices and safety standards, form the backbone of a professional-grade Toyota vent glass installation.
The Hidden Problem: Why Toyota Vent Glass Installations Go Wrong
Despite the apparent simplicity of vent glass replacement, many installations fail due to overlooked technical details. Common issues include:
- Misalignment between glass and regulator, leading to binding or breakage.
- Use of incorrect tools causing scratches, chips, or improper torque on fasteners.
- Inadequate sealing, resulting in wind noise or water leaks.
- Failure to diagnose underlying regulator or channel problems before glass installation.
These problems can compromise occupant safety, vehicle integrity, and even fuel efficiency by affecting cabin aerodynamics (NHTSA Equipment, DOE Fuel Efficiency). To avoid callbacks, warranty claims, and customer dissatisfaction, it’s vital to understand the technical and procedural nuances of Toyota vent glass installation.
Understanding Toyota Vent Glass and Regulator System Design
Toyota vent glass panels are engineered to provide structural support, visibility, and controlled ventilation. Their attachment and movement rely on a regulator mechanism—often a manual or power-operated device that guides the glass through a sealed window channel.
Key design features include:
- Precision-molded glass edges: These fit tightly within the window channel to minimize noise and leaks.
- Regulator arms and guides: Designed to move the glass smoothly, requiring precise alignment.
- Weatherstripping and seals: Critical for water and wind intrusion prevention.
Toyota engineers adhere to SAE Standards for glass strength, safety, and mounting, making proper installation essential for compliance and safety.
Pre-Installation Inspection: Diagnosing Before You Replace
Before removing the old vent glass or regulator, conduct a thorough inspection:
- Check for regulator operation: Is the movement smooth? Any grinding, binding, or excessive play?
- Inspect window channels and seals: Look for debris, deterioration, or deformation.
- Assess glass fitment: Is the existing glass flush with body lines and weatherstripping?
- Diagnose root causes: If the glass broke or the regulator failed, determine why. Common culprits include worn bushings, misaligned tracks, or debris in the channel.
This diagnostic phase prevents repeat failures and ensures the new glass and regulator function as designed. For a step-by-step diagnostic approach, see Toyota Window Regulator Diagnostics.
Removing Old Toyota Vent Glass and Regulator: Step-by-Step
Removing the old glass and regulator safely requires the right sequence and tools:
- Disconnect the battery (for power regulators) to avoid electrical shorts.
- Remove interior door trim: Use non-marring pry tools to avoid damaging clips or panels.
- Peel back the moisture barrier carefully to preserve its sealing properties.
- Unbolt the regulator and glass: Support the glass as you remove fasteners. For fixed vent glass, carefully cut away any adhesive or sealant with a plastic or nylon blade.
- Extract the glass: Angle it out gently, avoiding contact with sharp metal edges.
Advertisement
Note: Always wear safety glasses and cut-resistant gloves. Dispose of broken glass according to local safety regulations (NHTSA Equipment).
Preparing for Installation: Cleaning and Pre-Fitting
Proper preparation is critical for a flawless install:
- Clean all contact surfaces: Remove old adhesive, debris, and corrosion from the window channel and regulator mounts.
- Inspect new components: Check the vent glass for chips or defects. Verify regulator arms are straight and bushings intact.
- Test-fit the glass: Place the new glass into the channel without final fasteners to check alignment and clearance.
- Verify regulator movement: Manually cycle the regulator through its full range with the glass loosely in place.
A clean, well-prepared work area minimizes contamination and ensures correct fitment.
Alignment Tricks for Toyota Vent Glass
Toyota vent glass must align precisely within the regulator and window channel to function smoothly and seal correctly. Use these alignment strategies:
- Loosely install fasteners first: This allows for minor adjustments before tightening.
- Check side-to-side and fore-aft spacing: The glass should be centered in the channel with even gaps.
- Align with body lines: Ensure the glass sits flush with the door frame and surrounding panels.
- Cycle the regulator: Move the glass up and down several times, checking for any rubbing, binding, or uneven movement.
- Use shims if necessary: Some models require thin shims between the glass and regulator arm to achieve perfect alignment.
Improper alignment is a leading cause of premature regulator failure and water leaks. Take time to get it right.
Tool Recommendations for Safe and Effective Installation
The right tools reduce the risk of damage and improve installation quality. Essential tools include:
- Non-marring pry tools: Prevent scratches on painted or plastic surfaces.
- Glass-setting gloves: Provide grip and protect from sharp edges.
- Trim clip pliers: For removing stubborn interior clips without breakage.
- Torque wrench or driver: Ensures fasteners are tightened to manufacturer specs.
- Plastic or nylon blades: For cutting adhesive without damaging paint.
- Glass suction cups (optional): Aid in handling larger vent glass panels.
For power regulators, a digital multimeter is recommended for electrical diagnostics.
Water Leak Testing Procedures
Water leaks are a common post-installation complaint. Testing before reassembling the door is essential:
- Seal the vehicle: Close all doors and windows.
- Simulate rain: Use a low-pressure hose to direct water at the vent glass and surrounding seal.
- Check for leaks: Inspect the interior for water intrusion, especially around the glass edges, regulator mounts, and channel.
- Address leaks immediately: If water enters, adjust the glass position, replace damaged seals, or reapply sealant as needed.
- Repeat the test: Confirm the repair before reinstalling door trim.
Proper leak testing saves time, prevents callbacks, and ensures the installation meets NHTSA safety standards.
Common Installation Pitfalls and How to Avoid Them
Even experienced technicians can fall into these traps:
- Over-tightening fasteners: Can crack glass or deform the regulator.
- Skipping the pre-fit step: Leads to misalignment and binding.
- Neglecting to clean channels: Traps debris, causing scratches or leaks.
- Ignoring regulator wear: Installing new glass on a failing regulator results in repeat failures.
- Failing to test for leaks: Small gaps can lead to major water damage over time.
- Using metal tools on glass edges: Increases risk of chips and breakage.
Always follow the manufacturer’s torque specifications and handle glass with care.
Advertisement
Toyota Vent Glass Installation Checklist
Use this checklist to ensure a complete, professional installation:
| Step | Details/Action | Complete? |
|---|---|---|
| Pre-inspect regulator | Check for smooth movement, wear, and binding | [ ] |
| Inspect new vent glass | Check for chips, cracks, or defects | [ ] |
| Remove old glass/regulator | Use proper tools, protect interior surfaces | [ ] |
| Clean window channel | Remove all debris, old adhesive, and corrosion | [ ] |
| Test-fit new glass | Check alignment and clearance before tightening | [ ] |
| Align and secure glass | Even gaps, flush with body lines, torque to spec | [ ] |
| Cycle regulator | Verify smooth, full-range movement | [ ] |
| Water leak test | Simulate rain, inspect for leaks, adjust as needed | [ ] |
| Reinstall interior trim | Ensure all clips and fasteners are secure | [ ] |
| Final function check | Operate vent glass multiple times, listen for noise | [ ] |
Diagnosing and Resolving Post-Installation Issues
Even after careful installation, issues can arise:
- Glass rattling: Indicates loose fasteners or worn channel guides. Tighten hardware and replace guides if necessary.
- Difficult movement: Suggests misalignment or regulator wear. Re-adjust glass and inspect regulator arms.
- Persistent leaks: Check seal integrity, apply additional sealant, or replace weatherstripping.
- Electrical faults (power regulators): Use a multimeter to check for proper voltage at the motor and inspect wiring/connectors.
Address these issues promptly to prevent further damage and maintain vehicle safety.
Sourcing Quality Toyota Vent Glass and Regulators
The quality of replacement parts directly affects installation success and longevity. Consider the following:
- OEM parts: Offer guaranteed fitment and compliance with SAE and NHTSA standards.
- Aftermarket options: Can be cost-effective but vary in quality—research supplier reputation and return policies.
- Verify part numbers: Cross-reference VIN and model year to avoid compatibility issues.
- Inspect on arrival: Check for shipping damage before installation.
For more on sourcing reliable regulators and glass, see Toyota Regulator Sourcing.
Maintenance Tips for Long-Term Performance
Properly installed vent glass and regulators require minimal maintenance, but periodic checks extend their life:
- Inspect seals annually: Replace weatherstripping at the first sign of hardening or cracking.
- Keep channels clean: Vacuum debris from window tracks to prevent scratches and binding.
- Lubricate moving parts: Use silicone spray on regulator arms and pivot points (avoid petroleum-based lubricants on rubber).
- Check regulator operation: Listen for unusual noises or resistance; address promptly to avoid glass stress.
Routine maintenance preserves regulator function and glass integrity, reducing the risk of water leaks and regulator failure.
When to Consult Professional Help
Some situations require advanced expertise or dealership-level tools:
- Complex power regulator faults: Involving wiring, module programming, or multiplexed circuits.
- Severely damaged door structures: Where rust or collision damage affects channel geometry.
- Repeated installation failures: Indicate underlying alignment or structural issues.
Professional shops have access to Toyota-specific service manuals, diagnostic tools, and OEM parts channels, ensuring a factory-quality result.
AutoPartEx: Your Partner in Toyota Vent Glass Solutions
AutoPartEx provides expert resources, technical guides, and high-quality parts for Toyota vent glass and regulator systems. Our editorial team synthesizes OEM service data, industry standards, and hands-on experience to deliver actionable advice you can trust.
For technical fitment data, in-depth diagnostics, and sourcing strategies, visit our Toyota Front Door Vent Glass Regulator: Technical Fitment, Diagnostics & OEM Replacement Guide. For further engineering and diagnostic insights, explore Toyota Oem Regulator Engineering.
Expert Action: Achieve Leak-Free, Durable Toyota Vent Glass Installs
Mastering Toyota vent glass installation is about more than swapping parts—it’s about diagnosing root causes, using the right tools, aligning components to exacting standards, and verifying your work. By following the advanced tips in this guide, you’ll deliver installations that are safe, durable, and free from leaks or callbacks.
Keep learning, keep refining your technique, and leverage the detailed resources at AutoPartEx to stay ahead in Toyota glass and regulator repair. Your reputation—and your customer’s satisfaction—depend on it.
References
Advertisement