
Advertisement
Toyota Mirror Replacement Tips
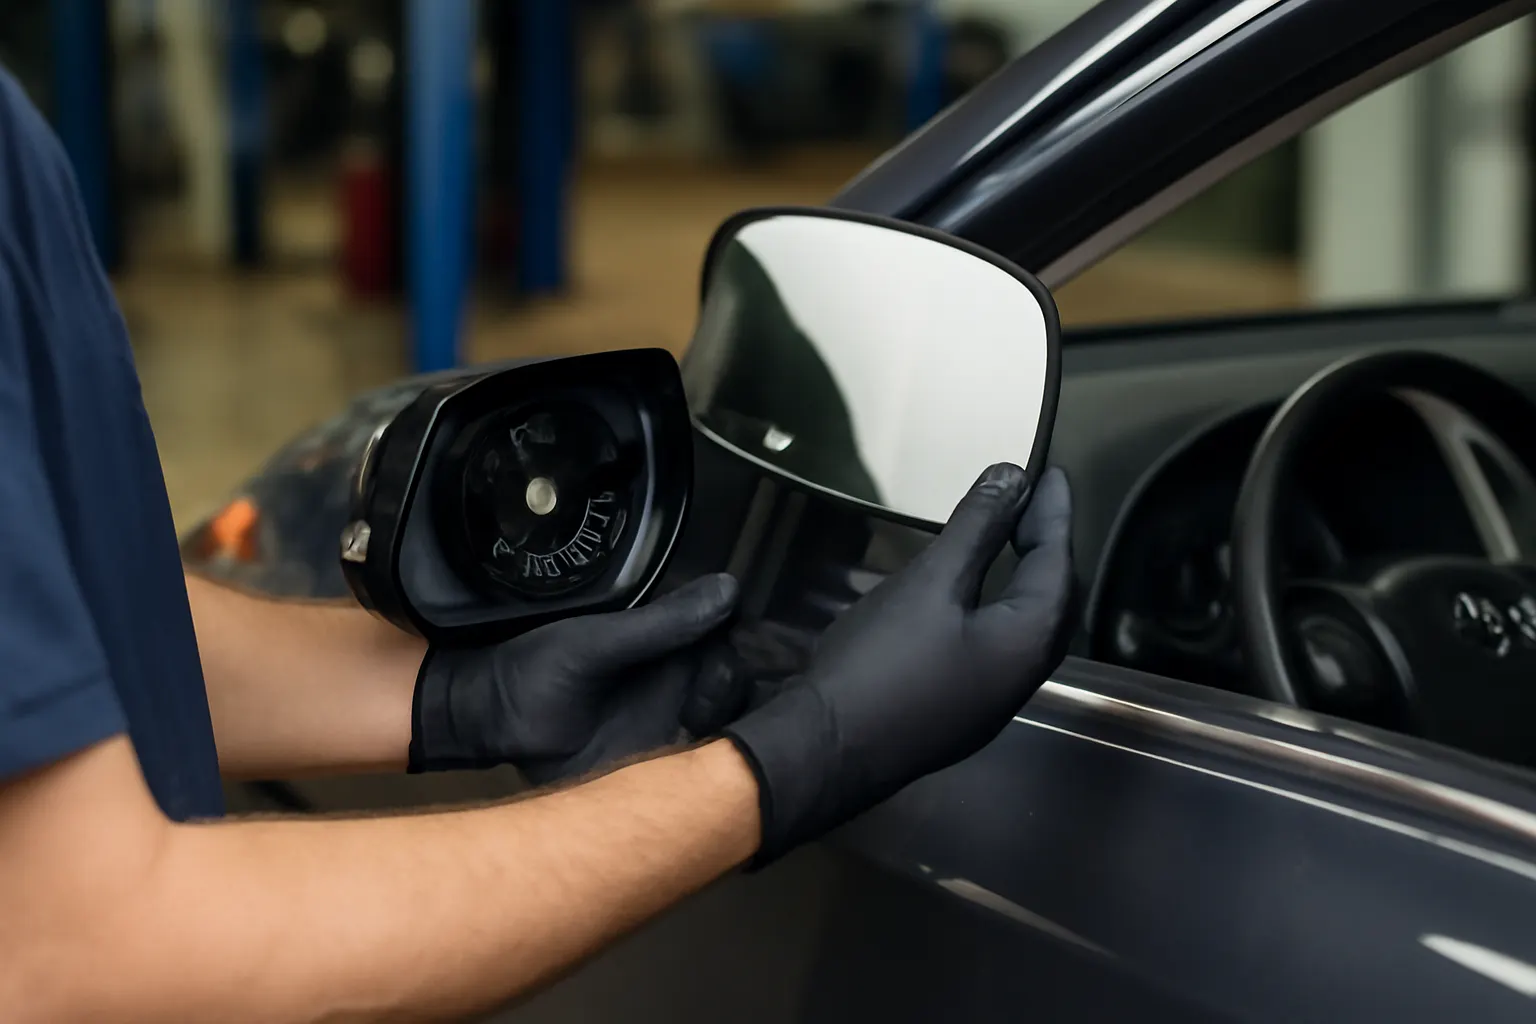
Replacing a Toyota front door mirror—whether just the glass or the entire assembly—is a critical repair that ensures safety, compliance, and optimal driving visibility. This comprehensive guide from AutoPartEx delivers expert advice for DIYers and professionals, covering tools, techniques, and common pitfalls to help you achieve a successful mirror replacement. For Toyota owners and repairers seeking the right fit, diagnostics, and sourcing strategies, this article is your definitive resource. For detailed fitment and part sourcing, see Toyota Front Door Mirror Glass: Fitment, Diagnostics, and Expert Sourcing | AutoPartEx.
Why Proper Mirror Replacement Matters
Your Toyota's front door mirrors are not just a convenience—they are a legal requirement and a primary safety system. According to the National Highway Traffic Safety Administration (NHTSA), properly functioning mirrors are essential for driver awareness and accident prevention, and vehicles with damaged or missing mirrors can fail safety inspections or trigger recalls [NHTSA Vehicle Safety and Equipment]. Inadequate or improper mirror replacement can compromise your field of view, reduce fuel efficiency due to poor aerodynamics, and even expose you to fines or liability in the event of a collision.
Hidden Challenges in Toyota Mirror Replacement
While a mirror swap might seem straightforward, Toyota mirror assemblies have evolved with complex features: heating elements, integrated turn signals, blind spot monitors, and power folding mechanisms. Each of these components introduces potential complications during removal and installation. Failing to address these features can result in incomplete repairs, electrical faults, or persistent error codes on your dashboard.
Additionally, subtle differences in mounting hardware, glass curvature, and connector types between Toyota models and years mean that sourcing the correct replacement part is not always as simple as matching a part number. Even small errors in fitment can cause vibration, wind noise, or water intrusion, undermining both comfort and safety.
Understanding Toyota Mirror Construction and Technology
Modern Toyota mirrors are engineered with advanced materials and integrated technologies to balance safety, durability, and fuel efficiency. The mirror housing typically combines high-strength plastics for impact resistance with lightweight materials to minimize vehicle weight—a factor that directly affects fuel economy [DOE Materials Technologies]. Mirror glass may be flat or slightly convex, and premium variants include electrochromic dimming or hydrophobic coatings.
Key features you may encounter in Toyota front door mirrors:
- Heated Glass: Prevents fogging and ice buildup.
- Integrated Turn Signals: Enhances visibility to other drivers.
- Blind Spot Monitoring: Alerts you to vehicles in adjacent lanes.
- Power Adjustment/Folding: Allows in-cabin control and protection in tight spaces.
- Memory Functions: Recalls mirror positions for multiple drivers.
Understanding which features your vehicle has is essential before attempting any replacement, as omitting a critical connection or using an incompatible mirror can disable these systems.
Diagnosing Mirror Issues: Before You Replace
Before sourcing a replacement, thorough diagnostics help avoid unnecessary repairs and ensure you address the root cause. Common Toyota mirror symptoms include:
- Cracked/Broken Glass: Obvious physical damage.
- Loose or Vibrating Mirror: May indicate failed mounting clips, degraded adhesives, or internal mechanism damage.
- Non-functional Adjustments: Power movement, heating, or folding features do not respond.
- Electrical Warnings: Dashboard alerts for blind spot monitoring or turn signal malfunctions.
For a systematic approach, consult our detailed guide: Diagnosing Toyota Mirror Issues.
Diagnostic Checklist
- Visual Inspection: Look for cracks, chips, or missing pieces in the glass and housing.
- Physical Test: Gently move the mirror—excessive play suggests broken clips or mounts.
- Function Test: Operate all electronic features from the cabin controls.
- Electrical Scan: Use a scan tool to check for Diagnostic Trouble Codes (DTCs) related to mirror systems.
- Weather Sealing: Inspect for signs of water intrusion or corrosion around the mirror base.
Choosing the Right Replacement Mirror or Glass
Selecting a compatible mirror is more complex than matching a model year. Toyota often uses different mirror assemblies across trims and regions, with subtle differences in wiring, mounting, or features. Always verify the following before purchasing:
Advertisement
- Year, Model, and Trim: Confirm exact vehicle details.
- Mirror Features: Heated, power, signal, memory, or blind spot monitoring.
- Connector Type: Number of pins and plug shape.
- Color and Finish: Some mirrors are paint-to-match, while others come pre-finished.
- OEM vs. Aftermarket: OEM parts guarantee fit and function but may cost more; high-quality aftermarket mirrors can offer savings but require careful vetting.
For sourcing guidance, reference Toyota Front Door Mirror Glass: Fitment, Diagnostics, and Expert Sourcing | AutoPartEx.
Essential Tools and Supplies for Toyota Mirror Replacement
A successful mirror replacement demands the right tools and preparation. Gather these essentials before starting:
- Trim removal tools (nylon or plastic to avoid marring surfaces)
- Phillips and flathead screwdrivers
- Ratchet and socket set (commonly 10mm for Toyota door panels)
- Torx drivers (if applicable)
- Panel clip pliers
- Electrical tape and connectors (for wiring repairs)
- Safety gloves and eye protection
- Heat gun or hair dryer (for adhesive-backed glass)
- Clean microfiber towels
For glass-only replacements, a glass adhesive kit or double-sided automotive tape may be required, depending on the design.
Step-by-Step Toyota Mirror Glass Replacement
Replacing just the mirror glass is often possible if the housing and electronics are intact. Here’s a general procedure:
Mirror Glass Replacement Checklist
- Disconnect Power: Turn off the ignition and disconnect the battery if working near electrical connectors.
- Tilt Mirror: Use adjustment controls to tilt the mirror fully upward or downward for easier access.
- Remove Broken Glass: Wear gloves; gently pry out the remaining glass using trim tools. Remove all shards and debris.
- Clean Housing: Wipe the backing plate and inspect for damaged clips or heating elements.
- Test-Fit Replacement Glass: Dry-fit the new glass to ensure correct size and curvature.
- Attach New Glass: Apply adhesive or snap into place per manufacturer instructions.
- Reconnect Wires: If heated or powered, carefully reconnect terminals.
- Test Functionality: Before reassembling, test all mirror features.
- Final Inspection: Check for secure fit and proper angle.
For more detailed instructions, see Toyota Mirror Glass Installation.
Full Mirror Assembly Replacement: Advanced Steps
When the mirror housing, internal mechanism, or wiring is damaged, replacing the entire assembly is necessary. This process is more involved and may require partial door panel removal.
Key Steps for Full Assembly Replacement
- Prepare the Vehicle: Park on a level surface, turn off ignition, and disconnect the negative battery terminal.
- Remove Interior Trim: Carefully pry off the mirror sail panel (the small triangular trim) and any door panel fasteners.
- Disconnect Wiring Harness: Locate and unplug the mirror’s electrical connector, usually accessible through the door.
- Remove Mounting Bolts: Use the appropriate socket to remove the mirror mounting bolts (typically three for Toyota models).
- Extract Old Mirror: Gently pull the assembly away from the door.
- Install New Assembly: Position the new mirror, align mounting holes, and secure bolts to manufacturer torque specifications.
- Reconnect Wiring: Plug in all connectors, ensuring a snug fit.
- Reassemble Trim: Reinstall the sail panel and any door trim removed.
- Test All Functions: Verify power adjustment, heating, signals, and folding features.
- Final Check: Inspect for wind noise, vibration, or panel misalignment.
Avoiding Common Pitfalls and Mistakes
Mirror replacement—especially on modern Toyotas—can go wrong if you overlook key details. Here are frequent errors and how to prevent them:
- Using Incorrect Parts: Double-check part numbers, connectors, and features. Cross-reference with your VIN if possible.
- Improper Adhesive Application: Too little adhesive can cause the glass to fall out; too much can interfere with heating elements.
- Forcing Panels or Clips: Use trim tools to avoid breaking fragile plastic clips or scratching painted surfaces.
- Neglecting Electrical Checks: Always test all features before final reassembly to avoid repeat labor.
- Skipping Weatherproofing: Ensure seals and gaskets are intact to prevent water leaks and wind noise.
- Ignoring Safety: Always disconnect the battery when working near airbags or electrical systems.
Advanced Diagnostics: When Mirror Features Fail
If your replacement mirror’s features do not work after installation, systematic troubleshooting is required:
Advertisement
- Check Fuses: A blown fuse can disable power or heating functions.
- Inspect Connectors: Look for bent pins, corrosion, or loose plugs.
- Scan for DTCs: Use a diagnostic tool to identify error codes related to mirror modules, especially for blind spot monitoring or memory features.
- Test Circuits: Use a multimeter to verify voltage at the mirror connector.
- Software Calibration: Some advanced features may require dealer-level programming or calibration after replacement.
Persistent issues may indicate deeper wiring problems or incompatibility between the replacement part and your vehicle’s control modules.
Maintenance Tips to Extend Mirror Life
Proper care reduces the frequency of mirror replacements and maintains optimal safety:
- Regular Cleaning: Use non-abrasive glass cleaner and microfiber towels to prevent scratching the glass or damaging coatings.
- Seasonal Checks: Inspect for ice buildup in winter and clean away road salt or debris.
- Protect from Impact: Fold mirrors in when parking in tight spaces or on busy streets.
- Inspect Seals: Check rubber gaskets periodically for signs of aging or cracking.
- Address Minor Damage Promptly: Small chips or cracks can worsen; replace glass before it fails completely.
Sourcing Genuine and High-Quality Aftermarket Toyota Mirrors
With the proliferation of aftermarket parts, sourcing a reliable replacement is crucial. Consider these factors:
- OEM (Original Equipment Manufacturer): Guarantees fit, finish, and feature compatibility. Ideal for newer vehicles or when advanced features are present.
- Aftermarket: Offers cost savings and broader availability. Ensure the supplier meets SAE or equivalent standards for safety and performance [SAE Standards].
- Certified Used Parts: Salvage yards may provide OEM mirrors at a discount, but inspect for hidden damage and test all features before installation.
- Supplier Reputation: Choose vendors with strong reviews and clear return policies.
AutoPartEx only sources mirrors that meet or exceed federal safety standards, ensuring your replacement part is as reliable as the original.
The Impact of Mirror Replacement on Safety and Efficiency
A properly replaced mirror restores full driver visibility, reduces blind spots, and keeps your Toyota compliant with safety regulations [NHTSA Vehicle Safety and Equipment]. In addition, modern aerodynamic mirror designs contribute to fuel efficiency by minimizing wind resistance [DOE Fuel Efficiency]. Improperly installed or ill-fitting mirrors can increase drag, create wind noise, and even cause water leaks that lead to corrosion.
Professional vs. DIY: When to Seek Expert Help
While many Toyota owners can successfully replace mirror glass or assemblies with patience and the right tools, certain scenarios warrant professional service:
- Complex Features: Mirrors with integrated cameras, sensors, or memory functions may require dealer-level calibration.
- Extensive Door Disassembly: If the mirror wiring is routed deep within the door or tied to other control modules, professional expertise ensures proper reassembly.
- Persistent Electrical Faults: If dashboard warnings or feature failures persist after replacement, a technician can perform advanced diagnostics.
For most standard Toyota models, DIYers can achieve excellent results by following the steps outlined above. If in doubt, consult a certified technician or your local Toyota dealer.
Toyota Mirror Replacement: Expert Checklist
Use this summary checklist to streamline your next Toyota mirror replacement:
| Step | Action | Key Points |
|---|---|---|
| 1. Identify Features | List all mirror functions | Heated, power, turn signal, blind spot, memory |
| 2. Source Correct Part | Match year/model/trim and connectors | Confirm with VIN; prefer OEM or SAE-compliant aftermarket |
| 3. Gather Tools | Prepare all necessary tools and supplies | See section above |
| 4. Disconnect Power | Safety first | Prevents shorts and accidental airbag deployment |
| 5. Remove Old Mirror | Follow step-by-step procedure | Avoid damaging door trim or paint |
| 6. Install New Mirror | Align, secure, and connect wiring | Torque bolts to spec; ensure all features connected |
| 7. Test Functions | Verify all electrical and mechanical ops | Power, heat, signal, fold, memory |
| 8. Inspect and Clean | Final check for fit and finish | No wind noise, leaks, or play |
AutoPartEx: Your Trusted Source for Toyota Mirror Solutions
AutoPartEx specializes in fitment-verified, safety-compliant Toyota mirror glass and assemblies. Our database covers all major Toyota models, and our sourcing team ensures every part meets NHTSA and SAE standards for safety and performance. Whether you're a DIYer or a professional shop, our resources—including Toyota Mirror Technologies and Toyota Mirror Glass Installation—support you from diagnosis to installation. For comprehensive fitment, diagnostics, and sourcing, visit Toyota Front Door Mirror Glass: Fitment, Diagnostics, and Expert Sourcing | AutoPartEx.
References
- Vehicle Safety and Equipment – National Highway Traffic Safety Administration
- Fuel Efficiency – United States Department of Energy
- Materials Technologies – United States Department of Energy
- SAE Standards – SAE International
Body word count: ~2420
Advertisement
