
Advertisement
A secure, well-fitting fuel cap is a small but critical component on every Toyota vehicle. It’s the first line of defense for your emissions system, a guardian of fuel efficiency, and a frequent culprit behind check engine lights and failed emissions tests. This guide delivers a deep dive into Toyota fuel cap diagnosis, drawing on real-world service cases and authoritative standards to help you select, maintain, and troubleshoot the right cap for your Toyota.
For a comprehensive overview of Toyota fuel cap fitment, diagnostics, and replacement options, visit our Toyota Fuel Cap: OEM Fitment, Diagnostics, and Replacement Solutions category page.
Why Toyota Fuel Cap Quality Matters – Immediate Answer
The fuel cap on your Toyota is more than a simple lid: it’s a precision-engineered part designed to seal the fuel system, prevent vapor leaks, and communicate with the vehicle’s onboard diagnostics. A poor-quality or ill-fitting cap can trigger warning lights, reduce fuel economy, and even cause your Toyota to fail emissions testing. Diagnosing and selecting the correct Toyota fuel cap ensures compliance with safety and environmental standards, optimal engine performance, and peace of mind on the road.
The Hidden Problem: Overlooked Fuel Cap Issues
Many Toyota drivers and even technicians underestimate the impact of a faulty or aftermarket fuel cap. Symptoms like a persistent check engine light, a faint fuel smell, or a failed emissions inspection are often traced back to the cap. Yet, the root causes—such as incompatible cap design, degraded seals, or missing pressure relief features—often go unnoticed. This leads to unnecessary parts replacement, wasted diagnostic time, and recurring problems.
Deep Dive: How the Toyota Fuel Cap Interacts with Your EVAP System
The Toyota fuel cap is an integral part of the Evaporative Emissions Control (EVAP) system. Its job is to maintain a sealed environment in the fuel tank, preventing gasoline vapors from escaping into the atmosphere. Modern Toyota fuel caps are engineered with pressure and vacuum relief valves, robust gaskets, and precise threading to interface with the filler neck.
When the cap is loose, damaged, or missing, the onboard diagnostics (OBD-II) system detects a leak in the EVAP system. This triggers a check engine light (often a P0457, P0456, or P0440 code) and can degrade fuel efficiency. According to the National Highway Traffic Safety Administration, proper equipment fitment—including fuel caps—is vital for vehicle safety and emissions compliance.
Real-World Service Cases: Fuel Cap Failure Stories
Case 1: 2015 Toyota Camry – The Persistent Check Engine Light
A 2015 Camry owner reported a check engine light after refueling. The code P0456 ("EVAP System Small Leak Detected") persisted despite multiple resets and even a new aftermarket fuel cap. Only after fitting an OEM Toyota cap did the code clear permanently. The original cap’s gasket had hardened, and the aftermarket replacement lacked the precise venting required by Toyota’s EVAP system.
Case 2: 2020 Toyota RAV4 – Failed Emissions Test
During a state inspection, a 2020 RAV4 failed the emissions test with a "large leak" code. The technician discovered that the fuel cap, purchased online, did not meet Toyota's threading standards. After installing a genuine Toyota cap, the vehicle passed inspection and the fuel smell in the garage disappeared.
Case 3: 2012 Toyota Corolla – Fuel Odor and Poor Mileage
A Corolla owner noticed a strong gasoline odor and declining fuel economy. Inspection revealed a cracked fuel cap gasket. Replacement with an OEM cap restored normal operation. This case highlights the importance of regular cap inspection as part of routine maintenance.
Advertisement
Toyota Fuel Cap Diagnostics: Step-by-Step Checklist
A systematic approach ensures you identify the true cause of fuel system warnings and avoid unnecessary repairs. Use this checklist before replacing any other EVAP components:
Toyota Fuel Cap Diagnostic Checklist
-
Visual Inspection
- Check cap for cracks, missing gaskets, or deformed plastic.
- Inspect the filler neck for damage or debris.
- Ensure the tether is intact (where applicable).
-
Gasket Condition
- Run your finger around the cap’s gasket—look for hardening, splits, or flattening.
- Gaskets should be pliable and free of fuel residue.
-
Fitment and Engagement
- Install the cap and listen for the audible "click" (on click-type caps).
- Confirm the cap tightens smoothly and does not cross-thread.
-
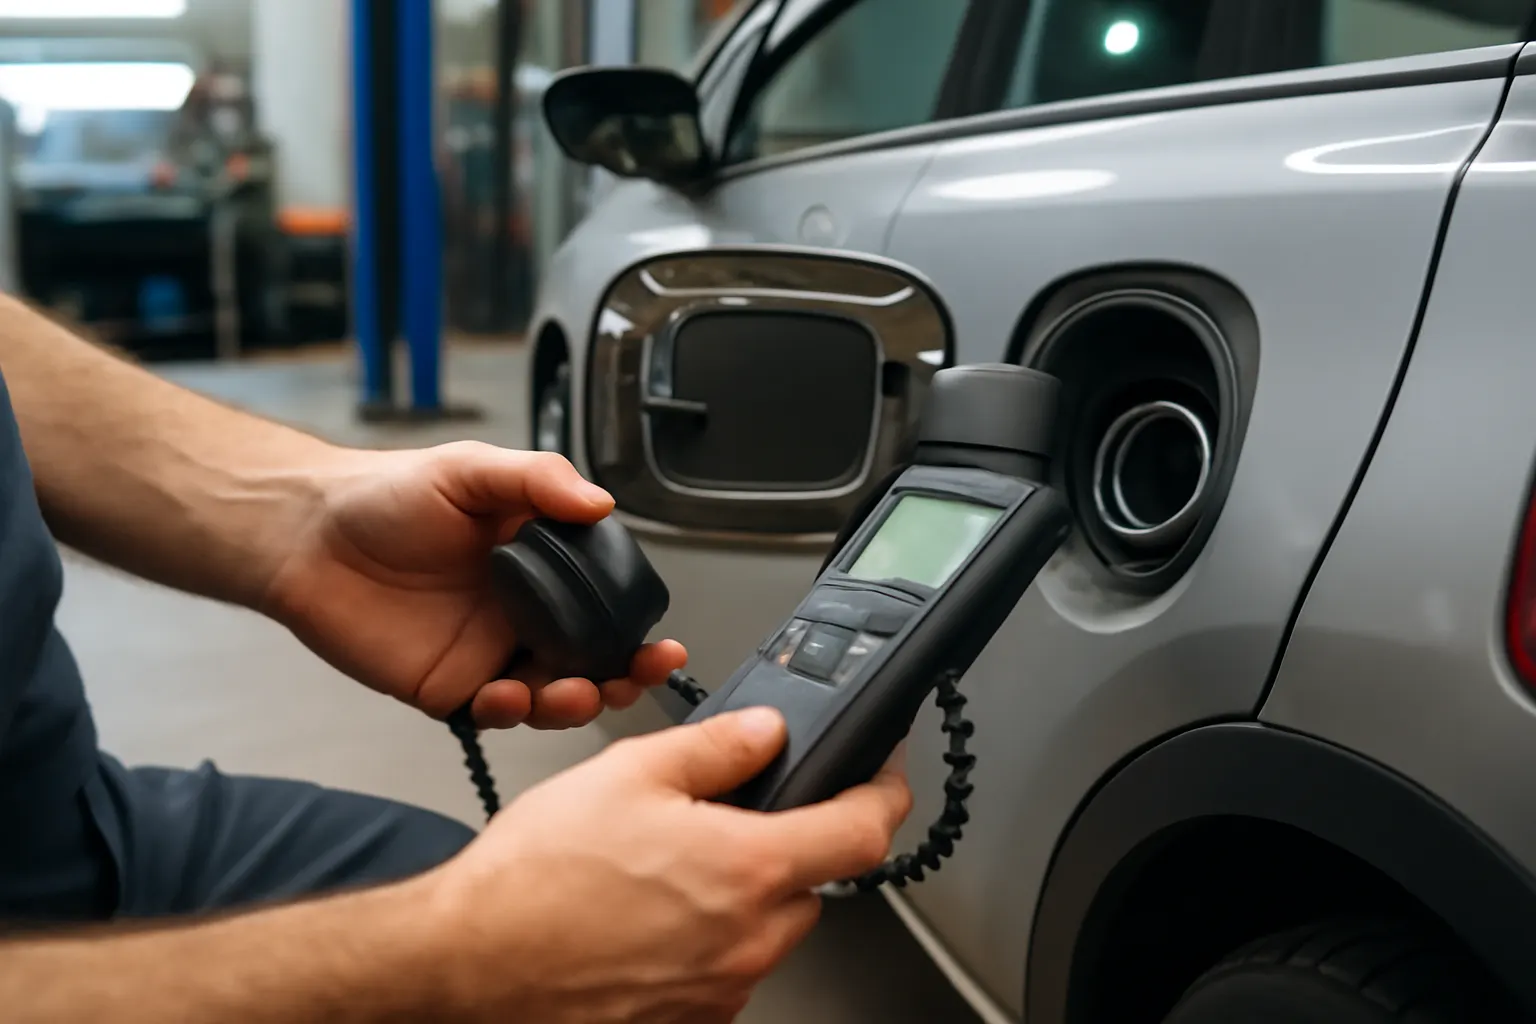
OBD-II Scan
- Use a scan tool to check for EVAP-related trouble codes (P0440, P0441, P0455, P0456, P0457).
- Clear codes after cap replacement and retest after a drive cycle.
-
Pressure/Vacuum Test (Advanced)
- Some shops use a smoke machine or EVAP tester to check for leaks at the cap.
- If smoke escapes from the cap area, replace the cap.
The Technical Anatomy of a Toyota Fuel Cap
Toyota fuel caps are engineered to strict standards for pressure, vacuum, and chemical resistance. Key components include:
- Sealing Gasket: Usually made of fuel-resistant rubber or synthetic material, this part ensures a tight seal.
- Pressure Relief Valve: Prevents excessive pressure buildup in the tank by venting at a calibrated threshold.
- Vacuum Relief Valve: Allows air in as fuel is consumed, preventing tank deformation.
- Threaded Collar or Bayonet Fitting: Matches the filler neck design specific to each Toyota model.
- Tether: Keeps the cap attached to the vehicle (required by federal safety standards for many models).
Failure in any of these components can lead to system leaks, fuel vapor loss, and diagnostic trouble codes.
OEM vs Aftermarket: Why Cap Selection Matters
Not all fuel caps are created equal. Toyota’s OEM (Original Equipment Manufacturer) caps are designed to meet specific engineering and emissions standards. Aftermarket caps, while sometimes less expensive, often lack precise fitment, proper venting, or durable gaskets. According to the NHTSA, improper replacement parts can compromise vehicle safety and emissions performance.
Key differences:
- Material Quality: OEM caps use materials tested for long-term fuel exposure.
- Valve Calibration: OEM caps match Toyota’s EVAP system requirements.
- Fitment: OEM caps provide a guaranteed fit and proper engagement.
If you must use an aftermarket cap, choose one that is certified to SAE standards and specifically lists your Toyota’s year and model.
Diagnosing Check Engine Lights: Fuel Cap-Related Codes
When your Toyota’s check engine light illuminates after refueling, the fuel cap is a prime suspect. The most common OBD-II codes related to fuel cap or EVAP leaks include:
- P0440: EVAP System Malfunction (generic leak)
- P0441: Incorrect Purge Flow
- P0442: Small Leak Detected
- P0455: Large Leak Detected
- P0456: Very Small Leak Detected
- P0457: Loose Fuel Cap
If you encounter any of these codes, start diagnostics at the fuel cap before moving on to more complex components. For detailed guidance, refer to our Toyota Evap System Diagnostics.
Fuel Cap Fitment: Matching the Cap to Your Toyota
Toyota uses a variety of fuel cap designs across models and years. Incorrect cap selection can lead to sealing issues and diagnostic errors. Factors to consider:
- Model-Specific Threading: Even small differences in thread pitch or diameter can prevent sealing.
- Cap Type: Some Toyotas use click-on caps, while others use twist-lock or bayonet designs.
- Tether Requirement: Certain models require a tethered cap for compliance.
- Pressure/Vacuum Ratings: These must match the original equipment specification.
Advertisement
For a detailed compatibility guide, consult our Toyota Fuel Cap Fitment Guide.
Maintenance Strategies: Keeping Your Fuel Cap in Top Condition
Regular inspection and maintenance of your Toyota fuel cap can prevent many common problems. Best practices include:
- Inspect the Cap Every Oil Change: Look for cracks, worn gaskets, or dirt.
- Clean the Sealing Surface: Wipe the filler neck and cap gasket to remove debris.
- Replace at Signs of Wear: If the cap no longer clicks, feels loose, or the gasket is hard, replace it.
- Store Cap Properly During Refueling: Use the built-in holder or tether to prevent dropping or contaminating the cap.
When to Replace Your Toyota Fuel Cap
Replace your Toyota’s fuel cap if you observe any of the following:
- Persistent check engine light after tightening the cap
- Failed emissions test due to EVAP leak
- Noticeable fuel odor near the filler neck
- Cap will not tighten or click
- Gasket is visibly cracked or flattened
On average, Toyota fuel caps can last 5–7 years, but environmental exposure and frequent refueling can shorten this interval.
Selecting the Right Replacement: Buying Guidance
When sourcing a replacement fuel cap for your Toyota:
- Consult the Owner’s Manual: Always check Toyota’s recommended part number.
- Choose OEM When Possible: Genuine Toyota caps ensure compatibility and compliance.
- Verify Fitment: Use model/year lookup tools or fitment guides.
- Check for Certifications: Look for SAE J2260 or equivalent standards compliance.
- Avoid Universal Caps: These rarely provide a perfect seal or correct venting.
AutoPartEx offers a curated selection of Toyota fuel caps, each verified for precise fit and performance.
The Role of Fuel Caps in Emissions and Fuel Efficiency
A properly functioning fuel cap is essential for meeting emissions regulations and maintaining fuel efficiency. According to the United States Department of Energy, fuel vapor leaks can significantly reduce fuel economy and increase hydrocarbon emissions. Even a small leak at the cap can allow vapors to escape, triggering OBD-II codes and failing state inspections.
By maintaining a secure seal, your Toyota’s fuel cap helps:
- Prevent fuel vapor loss (protecting the environment)
- Maintain optimal air-fuel mixture (improving efficiency)
- Reduce the risk of fuel contamination
Expert Action: What to Do When You Suspect a Fuel Cap Issue
If you suspect your Toyota’s fuel cap is causing a check engine light, follow these expert steps:
- Inspect and Clean: Remove the cap, clean the gasket and filler neck, and reinstall it securely.
- Reset Codes: Use an OBD-II scanner to clear codes, or drive for several cycles to see if the light resets.
- Replace if Needed: If codes return, replace the cap with an OEM or certified equivalent.
- Test Drive: After replacement, drive for at least 50–100 miles to confirm the issue is resolved.
- Seek Professional Help: If problems persist, consult a technician for a full EVAP system inspection.
For further information on Toyota emissions system evolution, see Toyota Emissions System Evolution.
AutoPartEx Positioning: Your Partner in Toyota Fuel Cap Solutions
At AutoPartEx, we understand that even the smallest parts—like a fuel cap—can have a big impact on your Toyota’s reliability and compliance. That’s why we provide only verified, model-specific caps, backed by expert guidance and fitment resources. Our editorial team is dedicated to helping you diagnose, select, and maintain the right fuel cap for your Toyota, ensuring you stay ahead of emissions regulations and avoid unnecessary repairs.
Explore our full range of Toyota fuel cap solutions, diagnostics, and fitment guides by visiting the Toyota Fuel Cap: OEM Fitment, Diagnostics, and Replacement Solutions page.
References
Advertisement
