Advertisement
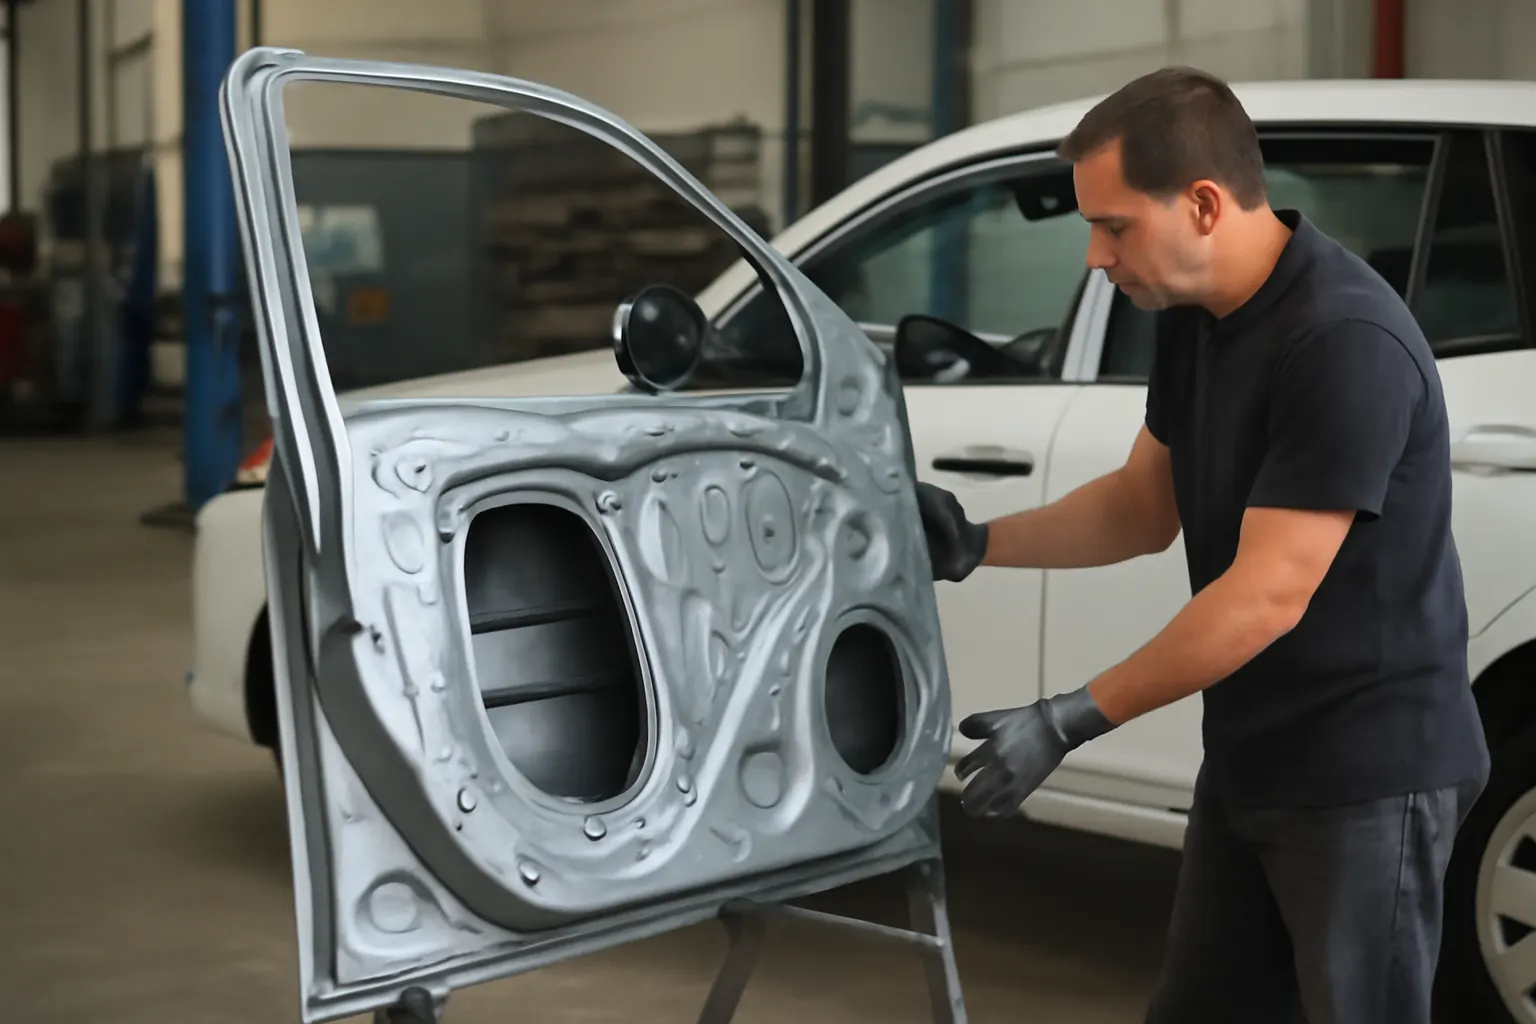
When a 2015 Toyota Camry suffers collision damage to its front door, the most reliable repair solution is to replace the damaged panel with a genuine OEM front door shell. This approach not only restores the vehicle’s structural integrity and safety but also ensures precise fitment, durability, and seamless integration with factory components. In this detailed case study, we’ll walk through the complete process of diagnosing, sourcing, and replacing a Toyota Camry front door shell, highlighting the critical technical, safety, and sourcing considerations that separate a professional repair from a shortcut fix.
For a broader overview of Toyota door shell fitment, sourcing, and quality standards, see our Toyota Front Door Shells: Precision Fitment, OEM Quality, and Expert Sourcing category page.
Immediate Answer: The Best Way to Restore a Damaged Camry Door
If your 2015 Toyota Camry’s front door has been compromised in a collision, the best-practice repair is to replace the damaged door shell with a factory-correct OEM part. This ensures:
- Structural safety: Restores side-impact protection as designed.
- Perfect fit and finish: Maintains original body lines, weather sealing, and mirror/window alignment.
- Seamless integration: Allows for direct transfer of glass, wiring, and trim.
- Resale value retention: Maintains the vehicle’s appearance and market value.
Attempting to repair a severely damaged door shell with body filler or non-OEM parts may compromise safety, fitment, and long-term durability. A genuine Toyota door shell is engineered to meet stringent crash, corrosion, and fitment standards specific to your Camry model year.
The Hidden Problem: Why Not Just Repair or Use Aftermarket?
Many owners and even some shops may be tempted to repair a bent or dented door shell using filler, patch panels, or aftermarket parts to save money. However, these shortcuts can introduce several hidden risks:
- Compromised crash protection: The door shell is a primary component in side-impact safety. Improper repairs or substandard materials can jeopardize occupant protection.
- Poor fitment: Aftermarket shells may not match the original panel’s shape, mounting points, or hardware compatibility, leading to wind noise, water leaks, and misaligned trim.
- Corrosion risk: Inferior coatings or materials can accelerate rust, especially in climates with road salt or humidity.
- Electrical and hardware issues: Door wiring harnesses, window regulators, and side airbags depend on precise shell geometry.
According to the National Highway Traffic Safety Administration, replacement parts must meet strict safety and equipment standards to maintain vehicle crashworthiness and operational safety.
Technical Deep Dive: Anatomy of a Toyota Camry Front Door Shell
Understanding the structure and function of the 2015 Camry’s front door shell is essential for a successful repair. The door shell is more than just an outer skin—it is a complex, load-bearing assembly that integrates:
- Outer and inner steel panels: Spot-welded for strength and rigidity.
- Side-impact beams: Reinforced steel bars to absorb and redirect crash energy.
- Mounting points: For hinges, latch, window regulator, glass, mirror, and wiring.
- Corrosion protection: Factory-applied e-coat and seam sealers to prevent rust.
- Precise dimensions: Critical for window operation, weatherstripping, and body alignment.
Modern Camry door shells are engineered for light weight without sacrificing strength, utilizing advanced steels and manufacturing processes as detailed in the Materials Technologies guidelines from the Department of Energy.
Case Study: Diagnosing the Door Shell Damage
Let’s walk through a real-world scenario: A 2015 Toyota Camry XLE is brought into the shop after a side collision. The visible symptoms include:
- A large crease and deformation along the lower front door.
- Difficulty opening and closing the door; latch misalignment.
- Wind noise and water intrusion after the incident.
- Cosmetic paint damage and exposed bare metal.
Step-by-step diagnostic process:
- Visual Inspection: Assess the extent of outer panel deformation and check for cracks in weld seams.
- Functional Test: Operate the window, locks, and mirrors—note any binding or electrical issues.
- Structural Assessment: Inspect the door’s inner structure and side-impact beam for buckling.
- Fitment Check: Measure gaps between the door, fender, and rocker panel.
- Safety Evaluation: Confirm side airbag deployment (if equipped) and wiring integrity.
Advertisement
Conclusion: In this case, the door shell’s structure is compromised beyond safe repair. Replacement with a genuine OEM shell is required.
Sourcing the Correct Toyota Camry Front Door Shell
Selecting the right replacement door shell is a critical step. Here’s how professionals ensure the best outcome:
- Verify Vehicle Details: Confirm the Camry’s VIN, trim level, year, and door configuration (e.g., with or without smart key, side molding, or blind spot monitor).
- Choose OEM: Genuine Toyota door shells are manufactured to exacting standards and include factory corrosion protection, mounting points, and reinforcements.
- Check for Supersessions: Toyota sometimes updates part numbers for door shells. Use official dealer databases or resources like the Toyota Door Shell Supersession Guide.
- Inspect for Shipping Damage: Door shells are large, delicate panels—always inspect for dents, bends, or coating scratches upon delivery.
- Compare to Existing Door: Lay the new shell next to the original to verify all cutouts, mounting holes, and contours.
Checklist: Sourcing a 2015 Toyota Camry Front Door Shell
| Step | Action | Notes |
|---|---|---|
| Vehicle Verification | VIN, year, trim, equipment | Prevents part mismatch |
| OEM Confirmation | Genuine Toyota part number | Avoids fitment/safety issues |
| Supersession Check | Cross-reference old/new part numbers | Ensures latest spec |
| Shipping Inspection | Check for transit damage | Reject if dented or scratched |
| Feature Matching | Confirm cutouts for mirrors, sensors, etc. | Critical for modern features |
Installation Preparation: Tools, Workspace, and Safety
Proper installation of a Camry front door shell requires preparation and attention to detail. Here’s how a professional shop gets ready:
-
Tools Needed:
- Trim removal tools (plastic)
- Torx and metric socket sets
- Screwdrivers (Phillips/flathead)
- Door hinge pin tools
- Panel alignment tools
- Torque wrench
- Electrical contact cleaner (for connectors)
- Body panel adhesive/seam sealer (as needed)
-
Workspace:
- Clean, well-lit area with padded stands for the new door shell.
- Protective covers for fenders and interior trim.
- Secure storage for removed glass, trim, and hardware.
-
Safety Precautions:
- Disconnect vehicle battery before working near airbag wiring.
- Use gloves and eye protection when handling sharp steel edges.
- Follow NHTSA equipment safety guidelines for replacement part installation.
Step-by-Step: Removing the Damaged Door Shell
Removing the damaged Camry door shell is a precise process to prevent collateral damage to adjacent panels and components.
- Disconnect Battery: Prevents airbag deployment and electrical shorts.
- Remove Interior Door Panel: Carefully pry off trim, disconnect switches, and release clips.
- Unplug Electrical Harnesses: Label connectors for mirror, window, lock, and airbag circuits.
- Detach Glass and Regulator: Lower window, remove bolts, and gently lift out glass.
- Remove Side Mirror and Accessories: Unbolt and store safely.
- Support Door Shell: Use a jack or assistant to prevent sagging.
- Unbolt Hinges and Latch: Remove hinge pins/bolts and door check strap.
- Lift Off Door Shell: Carefully maneuver shell off hinges; avoid scratching body.
Tip: Bag and label all fasteners and clips for reassembly. Photograph wire routing and hardware locations.
Transferring Components to the New Door Shell
A new OEM door shell is delivered as a bare steel panel. All hardware, glass, wiring, and trim must be transferred from the original door. This includes:
- Window glass and regulator
- Door lock and latch assembly
- Side mirror and mounting hardware
- Speakers and wiring harnesses
- Interior trim panels and armrest
- Weatherstripping and seals
- Side impact sensors or airbags (if equipped)
Critical steps:
- Inspect all transferred parts for hidden damage before installation.
- Clean and lubricate moving parts (window tracks, latch).
- Use factory-correct clips and fasteners to prevent rattles and misalignment.
- Apply new seam sealer to factory seams as needed to maintain water resistance.
Fitting and Aligning the New Door Shell
Proper fitment is essential for safety, appearance, and function. Here’s how technicians ensure a flawless result:
Advertisement
- Test Fit the Bare Shell: Mount the shell on hinges and loosely install bolts.
- Check Gaps and Alignment: Adjust for even spacing with fender, rocker, and rear door.
- Tighten Hinges to Spec: Use a torque wrench per Toyota guidelines.
- Install Door Check and Latch: Confirm smooth operation and correct engagement.
- Test Window and Lock Operation: Before installing interior trim, verify that all mechanical and electrical functions operate smoothly.
- Reinstall Accessories and Trim: Reconnect all wiring and secure trim panels.
- Final Inspection: Check for wind noise, water leaks, and proper sealing.
Professional tip: If the door shell or hinges have been painted, allow proper curing time before final assembly to prevent damage to fresh coatings.
Paint and Corrosion Protection: Matching OEM Quality
Even with a new OEM shell, professional paintwork is critical for a seamless repair:
- Factory Paint Matching: Use the vehicle’s paint code to ensure an exact color match.
- Corrosion Protection: Apply primer, basecoat, clearcoat, and cavity wax to all exposed seams and welds.
- Seam Sealing: Reapply any factory seam sealer to match original water intrusion protection.
- Quality Control: Inspect for overspray, orange peel, or mismatched texture.
The Department of Energy’s Materials Technologies program emphasizes the importance of corrosion prevention and proper materials selection in body repairs for long-term durability.
Quality Assurance: Safety and Performance Testing
A proper door shell replacement isn’t complete without rigorous post-repair testing:
- Side-Impact Door Closure Test: Ensure the door latches securely and closes with factory effort.
- Window and Mirror Functionality: Operate all switches to confirm smooth, quiet operation.
- Water Intrusion Test: Spray the door perimeter with water and check for leaks.
- Wind Noise Check: Road test at highway speeds to detect abnormal noise.
- Airbag System Scan: Use a scan tool to verify no airbag or electrical faults remain.
- Visual Inspection: Confirm paint match, panel gaps, and hardware torque.
Maintenance and Long-Term Care of a New Door Shell
After a door shell replacement, proactive care prolongs the repair’s life and preserves vehicle value:
- Regular Cleaning: Wash door jambs and lower seams to remove road salt and debris.
- Inspect Weatherstripping: Check for cracks or gaps that could admit moisture.
- Lubricate Hinges and Latch: Use silicone spray to prevent squeaks and sticking.
- Touch-Up Paint Chips: Repair minor nicks promptly to prevent rust.
- Inspect After Impacts: Even minor bumps can affect door alignment—address promptly.
Common Pitfalls and How to Avoid Them
Even experienced DIYers can make mistakes during a door shell replacement. Watch out for:
- Improper alignment: Leads to wind noise, leaks, and premature wear.
- Reusing damaged hardware: Worn hinges or bent latches can cause ongoing issues.
- Skipping corrosion protection: Bare metal or unsealed seams will rust.
- Electrical errors: Pinched wires or poor connections may trigger warning lights or system failures.
- Using non-OEM parts: May result in poor fit, compromised safety, and accelerated wear.
When in doubt, consult Toyota repair manuals or work with a certified collision repair facility.
When to Consider Professional Help
While a skilled DIYer can perform a door shell replacement with the right tools and patience, certain situations call for professional intervention:
- Severe structural damage: If the A-pillar, B-pillar, or rocker is bent, a body shop with frame alignment equipment is required.
- Airbag system involvement: Improper handling of side airbags can be dangerous.
- Advanced features: Blind spot monitors, smart key sensors, or advanced wiring may require specialized calibration.
- Paintwork: Achieving an invisible color match and factory finish typically requires professional equipment.
Professional shops follow SAE Standards and NHTSA guidelines for vehicle repairs, ensuring compliance with safety and engineering requirements.
AutoPartEx: Your Source for Genuine Toyota Door Shells and Expert Guidance
At AutoPartEx, we understand that restoring your Toyota Camry to pre-accident condition demands more than just a replacement part—it requires precision, expertise, and a commitment to safety. Our curated inventory of Toyota Front Door Shells: Precision Fitment, OEM Quality, and Expert Sourcing ensures that you receive factory-correct panels, backed by technical support and fitment guidance.
Explore our in-depth resources:
- Toyota Front Door Shell Installation: Step-by-step installation procedures.
- Oem Vs Aftermarket Toyota Door Shells: Understand the differences and make an informed choice.
When quality, safety, and long-term value matter, trust AutoPartEx to deliver the parts and knowledge you need for a successful Toyota Camry front door shell repair.
References
Advertisement