
Advertisement
Toyota Bumper Service Case Study
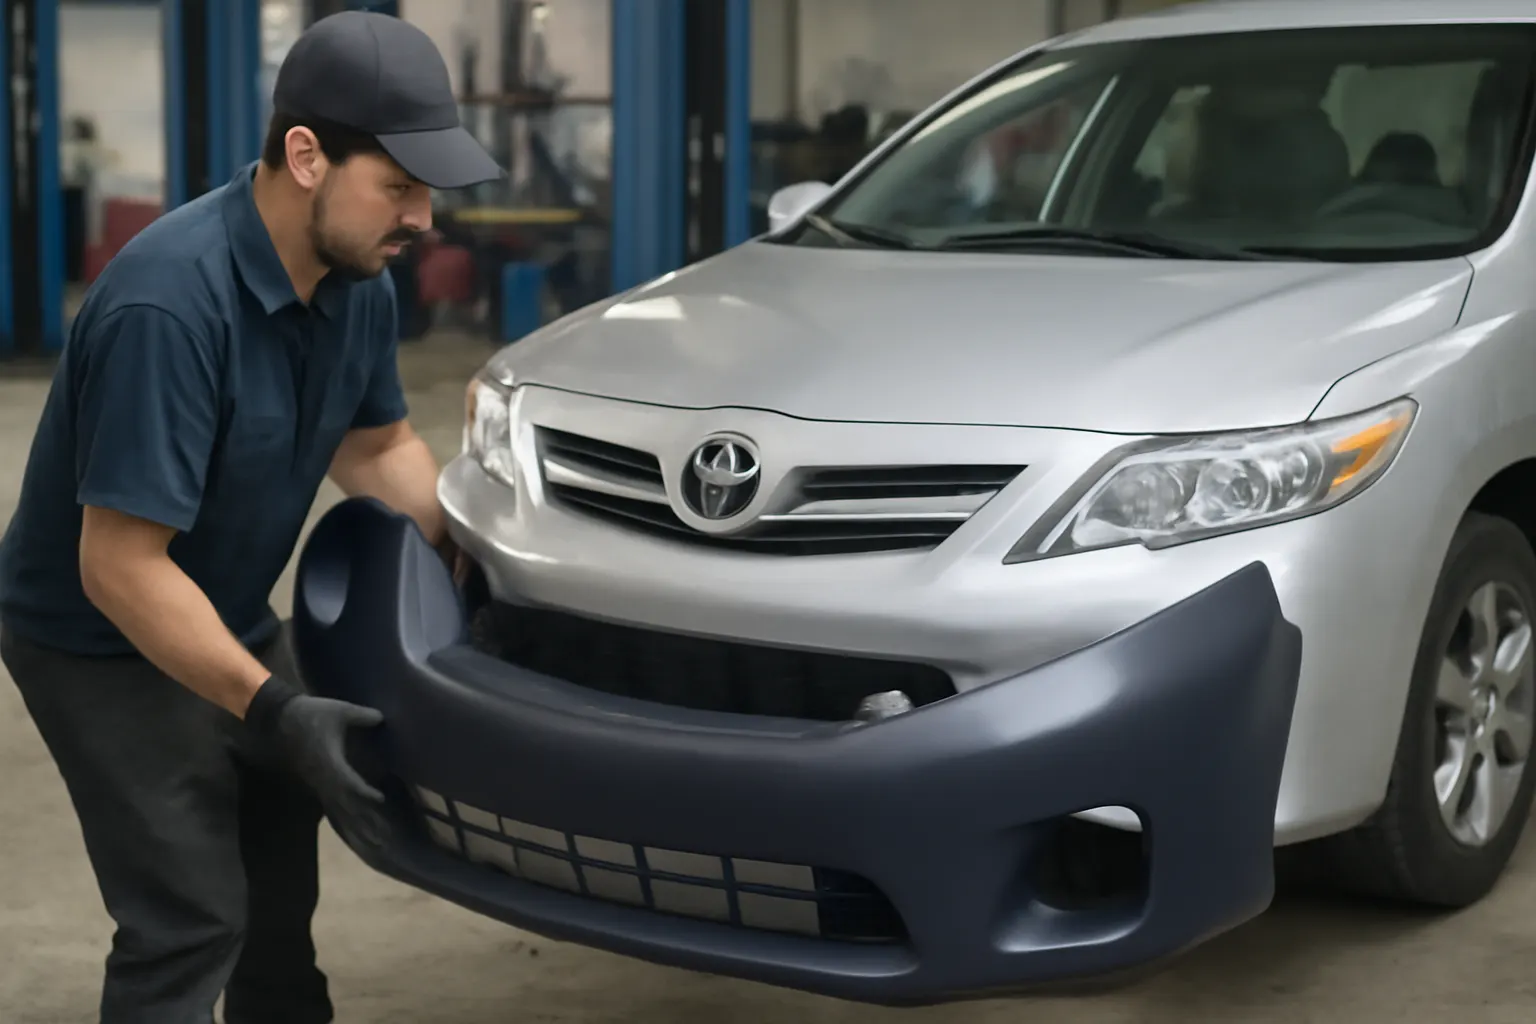
Incorrect Toyota front bumper face bar selection is a surprisingly common source of costly delays, warranty returns, and customer dissatisfaction in both independent and dealership repair environments. This case study details real-world shop stories, exposes the technical and operational pitfalls, and delivers a step-by-step path to bulletproof bumper service outcomes. Whether you’re a collision repair professional, a parts manager, or a Toyota owner seeking clarity, understanding the nuances of bumper face bar selection and installation is essential. For comprehensive background and fitment data, see our Toyota Front Bumper Face Bar: OEM Fit, Quality, and Expert Guidance category resource.
Immediate Answer: Why Bumper Face Bar Selection Matters
The Toyota front bumper face bar is a critical structural and cosmetic component designed to absorb impact, support safety systems, and ensure the vehicle’s aerodynamic and functional integrity. Selecting the incorrect part—whether due to model year mismatch, trim variation, or unverified aftermarket sourcing—can result in:
- Misalignment with mounting points and body panels
- Incompatibility with sensors (such as ADAS or parking assist)
- Compromised crash safety and fuel efficiency
- Costly rework, warranty returns, and extended vehicle downtime
In practice, a single misstep in bumper face bar identification can cascade into multiple operational failures, affecting not just repair timelines but also customer trust and shop profitability.
The Hidden Problem: Underestimated Complexity
Many technicians and parts professionals underestimate the complexity of Toyota bumper face bar selection. Modern Toyota bumpers are engineered with intricate differences across model years, trim levels, regional variations, and safety equipment configurations. This complexity is compounded by:
- Frequent mid-year design updates
- Overlapping part numbers for similar models
- Unlabeled or visually similar aftermarket components
- Integration with advanced materials and sensor arrays
Shops that rely on visual inspection or generic catalog references risk sourcing mismatched parts—even when working with seemingly simple bumper assemblies.
Real-World Impact: Shop Stories of Costly Delays
Case 1: The Camry Conundrum
A collision repair shop received a 2021 Toyota Camry with moderate front-end damage. The estimator ordered a replacement bumper face bar based on VIN decoding, but failed to account for the vehicle’s optional adaptive cruise control (ACC) package. The part arrived, appeared visually correct, and was installed—only for the ACC sensor bracket to misalign, triggering warning lights and disabling the system. The shop faced:
- Two-day delay sourcing the correct face bar
- Labor hours lost to removal and reinstallation
- Customer inconvenience and a warranty claim
Case 2: The Tacoma Trim Trap
An independent shop working on a 2019 Toyota Tacoma SR5 ordered an aftermarket face bar listed as “compatible with all 2016–2021 models.” Upon installation, the fog light bezels and mounting tabs failed to align. The shop had to absorb restocking fees and reorder the correct OEM part, extending the repair by three days and straining customer relations.
Case 3: The Fleet Fiasco
A fleet maintenance team servicing a batch of Toyota RAV4s sourced bulk aftermarket bumper face bars to control costs. Several units arrived with minor dimensional discrepancies, causing panel gaps and improper airbag sensor mounting. After a series of warranty returns and a failed safety inspection, the fleet manager reverted to verified OEM parts—at a higher total cost and with significant downtime.
Technical Deep Dive: Toyota Bumper Face Bar Engineering
Structural Role and Material Evolution
Toyota front bumper face bars are more than cosmetic. They are engineered to:
- Absorb and distribute impact energy to protect occupants and critical systems
- Support mounting of grilles, lights, and sensors
- Serve as a mounting platform for crash structures and reinforcement beams
Recent Toyota bumper face bars use advanced lightweight materials—such as high-strength steel, aluminum, and engineered polymers—to balance strength, weight, and performance (DOE: Materials Technologies). These material choices affect:
Advertisement
- Crash safety and compliance with federal standards
- Fuel efficiency and vehicle dynamics (DOE: Fuel Efficiency)
- Repairability and part interchangeability
Sensor and Equipment Integration
Modern bumpers integrate a variety of sensors and modules, including:
- Advanced Driver Assistance Systems (ADAS) radar and camera sensors
- Parking assist and proximity sensors
- Airbag impact sensors
Incorrect face bar selection often leads to misalignment or interference with these systems, resulting in diagnostic trouble codes (DTCs), inoperative safety features, and potential safety recalls (NHTSA: Vehicle Safety and Equipment).
Fitment and Mounting Challenges
Each Toyota model and trim may feature unique:
- Mounting points and reinforcement brackets
- Cutouts for fog lights, tow hooks, or air ducts
- Attachment hardware and support structures
Even a small dimensional difference or omitted bracket can render a face bar unusable or unsafe.
Common Points of Failure in Bumper Service
1. Incomplete VIN Decoding
VIN decoding is a starting point, but not a guarantee of correct part identification. Overlapping model years, running production changes, and factory-installed options can confound automated catalog lookups.
2. Overreliance on Aftermarket Listings
Aftermarket catalogs often aggregate fitment data, sometimes overstating compatibility. Listings such as “fits all 2018–2022 Toyota Corolla” may ignore trim-level or regional differences.
3. Ignoring Sensor and Bracket Requirements
Face bars must match the vehicle’s sensor suite and bracketry. ADAS-equipped vehicles require precise cutouts and mounting tabs for radar or camera modules.
4. Skipping Pre-Fit and Test Mounting
Skipping a dry test-fit before painting or final assembly is a frequent cause of rework, especially with aftermarket parts.
Diagnostic Checklist: Ensuring Correct Bumper Face Bar Selection
A systematic approach can prevent most bumper service failures. Use this checklist before ordering or installing a Toyota front bumper face bar:
| Step | Action | Details |
|---|---|---|
| 1 | VIN Verification | Decode VIN and cross-check with OEM catalog for exact model, trim, year, and option codes. |
| 2 | Sensor Audit | Identify presence of ADAS, parking sensors, fog lights, or unique equipment. |
| 3 | Visual Comparison | Compare original and replacement face bar for bracket locations, cutouts, and mounting points. |
| 4 | Material Confirmation | Verify material type (steel, aluminum, plastic) matches OEM specification. |
| 5 | Test Mount | Dry-fit bumper to check alignment before painting or final assembly. |
| 6 | Hardware Audit | Ensure all necessary clips, brackets, and fasteners are available and compatible. |
| 7 | Documentation | Save part numbers, supplier details, and installation notes for warranty tracking. |
Installation Guidance: Steps for Reliable Bumper Service
Preparation
- Vehicle Assessment: Inspect the damaged area for structural deformation that may affect bumper mounting.
- Sensor and Wiring Inspection: Disconnect battery and carefully remove attached sensors, wiring harnesses, and ancillary components.
Face Bar Removal
- Remove Fasteners: Unbolt or unclip the damaged bumper face bar, noting the location and type of each fastener.
- Transfer Components: Transfer reusable components (grilles, sensors, brackets) from the old face bar to the new one.
Test-Fitting
- Align Mounting Points: Gently position the replacement face bar and check for alignment with fenders, hood, and grille.
- Sensor and Bracket Fit: Confirm all sensor mounts and brackets are accessible and unobstructed.
Final Installation
- Secure Fasteners: Torque all bolts and clips to manufacturer specifications.
- Reconnect Electrical: Reinstall and test all sensors and wiring.
- Function Test: Cycle ignition and verify that all warning lights remain off and ADAS features operate correctly.
Post-Installation
- Panel Gap Check: Inspect for consistent panel gaps and flush mounting.
- Road Test: Perform a brief drive to confirm sensor operation and structural stability.
For a detailed walkthrough, see our Toyota Front Bumper Installation Guide.
The Cost of Mistakes: Warranty Returns and Shop Profitability
Incorrect bumper face bar selection impacts shops in several ways:
Advertisement
- Direct Costs: Restocking fees for returned parts, additional shipping, and labor for rework.
- Indirect Costs: Extended vehicle downtime, reduced bay throughput, and lost revenue from rework.
- Reputation Damage: Customer dissatisfaction, negative reviews, and reduced repeat business.
- Warranty Exposure: Increased claims due to improper fitment or sensor malfunction.
A single incorrect face bar can erode profit margins for an entire job, especially if warranty claims trigger manufacturer audits or loss of preferred supplier status.
Advanced Considerations: ADAS and Modern Toyota Bumpers
ADAS Sensor Calibration
Many current Toyota models use radar, lidar, or camera sensors mounted behind or within the front bumper. Installing a face bar with improper material composition or bracket geometry can:
- Block or distort sensor signals
- Require expensive recalibration procedures
- Trigger DTCs and disable safety features
For guidance on ADAS compatibility and calibration, reference our Toyota Bumper Adas Guide.
Material and Paint Compatibility
Toyota often specifies paintable face bars with primer coatings compatible with specific paint systems. Using non-OEM or improperly primed parts can lead to:
- Paint adhesion failures
- Corrosion or premature wear
- Visual mismatch with adjacent panels
Sourcing Strategies: OEM vs. Aftermarket Face Bars
OEM (Original Equipment Manufacturer) Pros and Cons
Pros:
- Guaranteed fit and finish
- Full compatibility with sensors and brackets
- Maintains manufacturer warranty and crash safety certification
Cons:
- Higher cost
- Potential lead times for less common models
Aftermarket Face Bars
Pros:
- Lower upfront cost
- Wider availability for popular models
Cons:
- Variable fitment accuracy
- Inconsistent material quality
- Higher risk of incompatibility with sensors or brackets
Expert Tip: Always request detailed part drawings or fitment data from aftermarket suppliers, and avoid “universal fit” claims unless verified by multiple sources.
Maintenance and Inspection: Extending Bumper Life
Proper maintenance can extend the service life of a Toyota front bumper face bar and prevent premature failures:
- Regular Inspection: Check for cracks, loose brackets, or sensor misalignment after minor impacts.
- Fastener Check: Ensure all mounting hardware is torqued and corrosion-free.
- Sensor Calibration: Recalibrate ADAS sensors after any bumper removal or replacement.
- Paint and Finish Care: Use compatible cleaning products to avoid damaging paint or plastic coatings.
Training and Documentation: Building Shop Expertise
Shops that invest in ongoing training and documentation see fewer bumper service failures. Best practices include:
- Staff Training: Regular workshops on VIN decoding, sensor integration, and OEM part identification.
- Documentation: Maintain a digital library of installation guides, part numbers, and supplier contacts.
- Quality Control: Implement a pre-delivery inspection checklist for all bumper repairs.
AutoPartEx Positioning: Your Partner in Precision Bumper Service
AutoPartEx specializes in verified fitment solutions for Toyota front bumper face bars, combining OEM-grade data, expert technical support, and comprehensive installation resources. By leveraging our platform, shops and vehicle owners can:
- Instantly cross-reference VIN, trim, and equipment codes
- Access detailed installation and calibration guides
- Source verified OEM and high-quality aftermarket face bars
For in-depth fitment guidance and product listings, visit our Toyota Front Bumper Face Bar: OEM Fit, Quality, and Expert Guidance page. For technical deep dives, see our Toyota Bumper Fitment Article.
Expert Action: Steps to Bulletproof Your Toyota Bumper Service
- Adopt a rigorous part identification process: Use VIN, trim, and equipment audits for every job.
- Standardize test-fitting and sensor checks: Make dry-fit and sensor audits mandatory before painting or final install.
- Document every repair: Track part numbers, supplier details, and installation notes for warranty and quality control.
- Invest in training: Keep shop staff current on Toyota bumper engineering, ADAS integration, and fitment best practices.
- Partner with trusted suppliers: Use platforms like AutoPartEx for verified fitment data and technical support.
By following these steps, you can eliminate costly delays, reduce warranty returns, and deliver a superior repair experience—protecting your shop’s reputation and bottom line.
References
Advertisement