
Advertisement
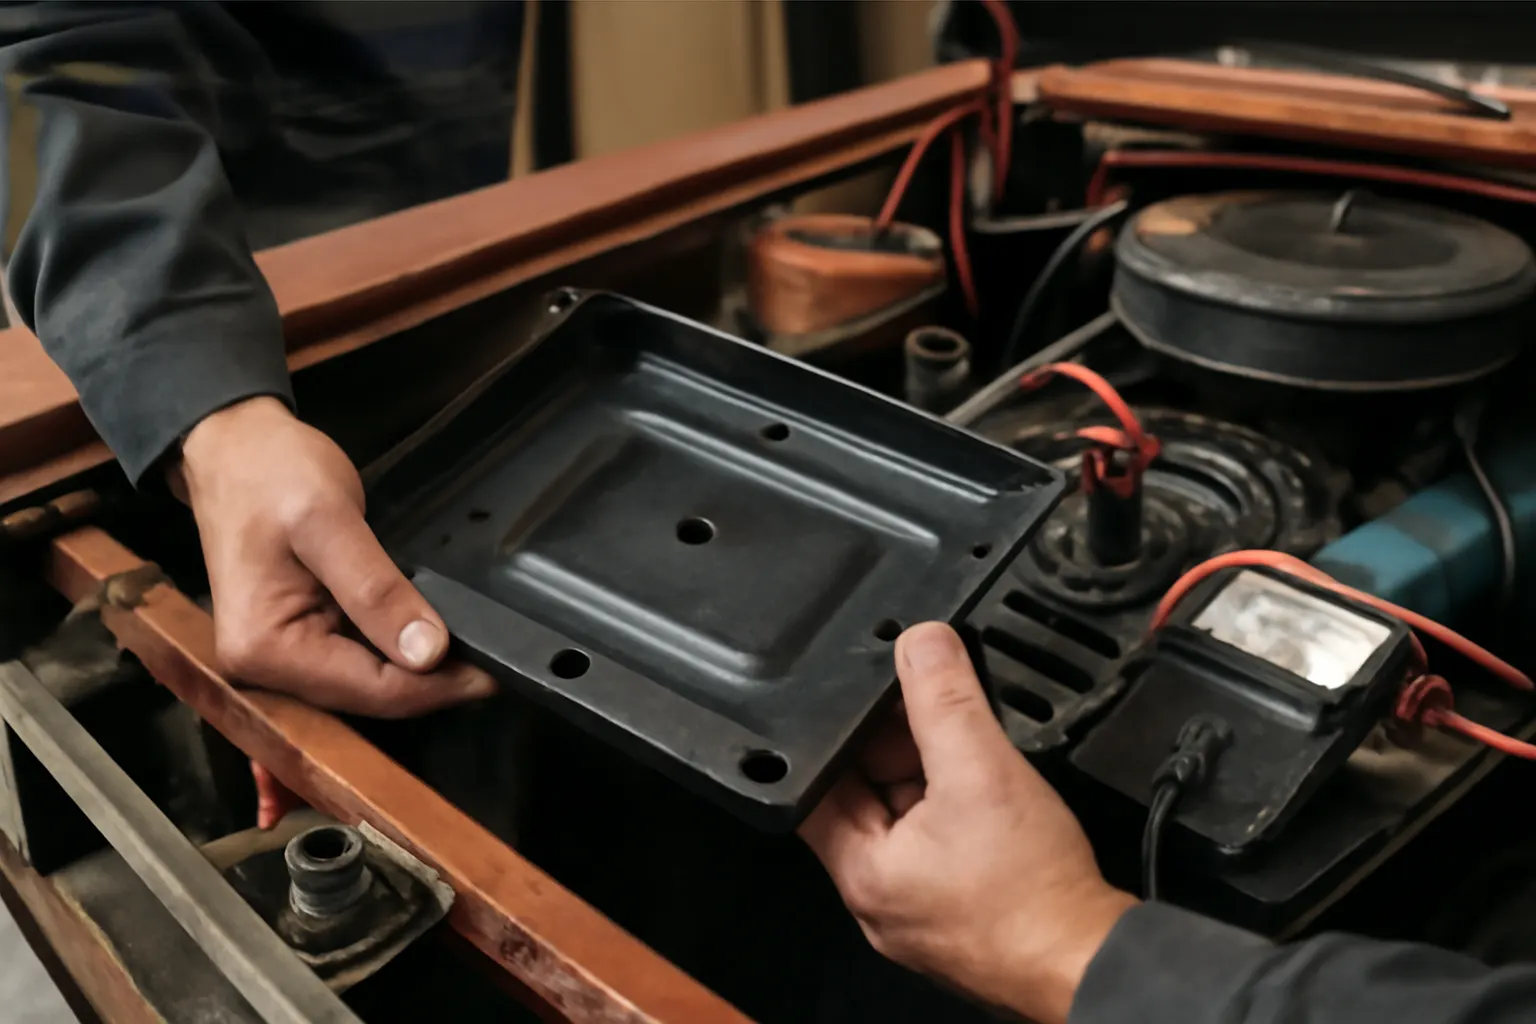
Restoring OEM battery trays in classic AMC models, especially the Ambassador line, is a critical step for anyone serious about preservation, safety, and originality. The battery tray is often overlooked in restorations, yet its condition directly affects electrical reliability, corrosion prevention, and even vehicle safety compliance. This comprehensive guide delivers actionable restoration strategies, diagnostic tips, and sourcing advice to help you maintain authenticity and functionality in your AMC. If you want to dive deeper into fitment and interchange specifics, start with our AMC Ambassador Battery Tray: Fitment, Interchange, and Expert Guidance page for authoritative technical insight.
Why Restoring the OEM Battery Tray Matters Immediately
The battery tray in an AMC Ambassador or other classic AMC model is more than just a mounting bracket. It is a structural component designed to secure the battery, channel away corrosive leaks, and interface with the chassis in a way that maintains original fitment and electrical grounding. A compromised tray can lead to battery movement, electrical faults, and even fire hazards—making restoration not just a cosmetic concern, but a critical safety and reliability issue.
Restoring your OEM battery tray preserves the authenticity and value of your AMC, ensuring that original engineering intent and collector appeal remain intact. Additionally, with regulatory scrutiny on safety equipment increasing (NHTSA Equipment), keeping this component in top condition supports compliance and peace of mind.
The Hidden Problem: Battery Tray Degradation in Classic AMCs
Beneath the surface, battery trays in vintage AMC vehicles face a multitude of threats. Acid leaks, moisture retention, vibration, and even improper battery sizing over decades can all contribute to tray degradation. The result is often advanced rust, structural weakness, and loss of original mounting points—issues that are not always immediately visible.
Many enthusiasts discover too late that their tray is only superficially intact. Hidden rust can undermine the tray’s ability to secure the battery, while unseen cracks or missing hardware create electrical grounding issues that can cascade into broader electrical system faults. Without proactive inspection and restoration, the integrity of your AMC’s electrical and safety systems is at risk.
Understanding AMC OEM Battery Tray Construction
To restore an OEM battery tray correctly, it is essential to understand how AMC engineered these components. Most AMC Ambassador battery trays from the 1960s through the 1970s were stamped steel, often finished with a corrosion-resistant coating. The tray is typically bolted or spot-welded to the inner fender or radiator support, and includes strategic drain holes to channel away battery acid or condensation.
Key features of original trays include:
- Precise dimensions and bolt patterns tailored to AMC’s engine bay layouts.
- Integrated hold-down brackets or tabs for battery security.
- Reinforced edges or gussets to resist deformation from battery weight and vibration.
- Coating or paint selected for resistance to acid and moisture.
Replicating or restoring these features is vital for both function and originality.
Diagnosing Battery Tray Condition: A Step-by-Step Checklist
Before you begin restoration, you need a clear assessment of your tray’s condition. Use this checklist to perform a thorough inspection:
Battery Tray Inspection Checklist
-
Visual Rust Assessment
- Remove the battery and inspect all tray surfaces for visible rust, pitting, or flaking.
- Pay close attention to corners, mounting points, and drain holes.
-
Structural Integrity
- Apply moderate pressure to the tray. Any flexing, creaking, or movement indicates compromised strength.
- Check for missing or loose hardware at all mounting points.
-
Coating Condition
- Inspect the factory coating or paint for bubbling, peeling, or discoloration—signs of acid attack or moisture ingress.
-
Drainage Function
- Ensure all original drain holes are clear and free of debris or corrosion build-up.
-
Battery Hold-Down Hardware
- Examine the integrity of hold-down brackets, bolts, and threads. Look for stripped threads, missing parts, or excessive corrosion.
-
Grounding Points
- If the tray doubles as a ground path, check for clean, bare metal contact where grounding cables or straps attach.
Advertisement
Document your findings and photograph any damage. This will help you determine whether restoration or replacement is the best path forward.
Common Restoration Challenges Unique to AMC Battery Trays
Restoring AMC battery trays presents several unique challenges:
- Obsolete Parts: OEM trays and hardware are often unavailable new, requiring repair or fabrication.
- Model-Specific Fitment: AMC used a variety of tray shapes and mounting patterns across models and years, complicating interchange.
- Corrosion Under Coatings: AMC’s original coatings, while robust for their time, often conceal rust that can only be revealed by stripping the tray.
- Electrical Grounding: Some AMC models use the tray as a chassis ground point, making correct restoration vital for system reliability.
Awareness of these challenges is essential when planning your restoration approach.
Stripping and Cleaning: Preparing the Tray for Restoration
Proper restoration starts with complete removal and cleaning. Here’s how to approach this stage:
- Remove the Battery and Disconnect Cables: Always disconnect the negative terminal first to avoid shorts.
- Unbolt or Drill Out the Tray: Use penetrating oil on stubborn bolts. If spot-welded, carefully drill out welds to avoid chassis damage.
- Chemical or Media Stripping: Use a chemical paint stripper or media blast (glass bead or walnut shell recommended) to remove all paint and rust.
- Neutralize Acid Residue: Wash the tray with a baking soda solution to neutralize any remaining acidic deposits.
- Rinse and Dry Thoroughly: Prevent flash rust by drying immediately, ideally with compressed air.
At this point, the tray should be bare metal, ready for detailed inspection and repair.
Repairing Rust, Holes, and Structural Damage
Once stripped, assess the extent of rust and damage. Minor surface rust can be removed with a wire wheel or sandpaper. For more serious damage:
- Pitting: Use a rust converter on minor pitting, then fill with metal-impregnated epoxy if necessary.
- Holes: Weld in patch panels using similar gauge steel. Grind smooth and blend edges.
- Cracks or Weakness: Weld or braze cracks, reinforcing as needed with small gussets or plates.
Always test-fit the tray after repairs to ensure proper alignment with mounting points and battery dimensions.
Restoring Original Coatings and Corrosion Protection
After structural repairs, restoring the correct finish is critical for both appearance and longevity. AMC trays were typically finished in semi-gloss black or, on some models, a zinc or phosphate coating.
Recommended restoration steps:
- Apply a Modern Epoxy Primer: This provides superior adhesion and corrosion resistance compared to vintage primers.
- Topcoat with Acid-Resistant Paint: Choose a paint rated for chemical resistance to withstand battery acid exposure.
- Optional: Zinc or Phosphate Re-Coating: For high-end restorations, consider professional re-plating to match original AMC finishes.
- Seal Drain Holes Edges: Apply a thin bead of seam sealer around drain holes to prevent water intrusion into the tray’s seams.
Allow all coatings to cure fully before reinstallation.
Sourcing Replacement Hardware and Authentic Parts
Original-style hardware is crucial for a factory-correct restoration. AMC used specific bolts, J-nuts, and hold-down clamps that are difficult to source. Here’s how to approach parts sourcing:
- Original Hardware: Salvage and restore original bolts and clamps whenever possible. Clean threads and re-plate if necessary.
- Reproduction Parts: Several specialty suppliers offer reproduction AMC hardware kits. Verify dimensions and finishes match original specs.
- Salvage Yards and Forums: AMC enthusiast forums and salvage yards are invaluable for finding rare or obsolete parts.
- Custom Fabrication: For missing brackets or unique fasteners, consider custom fabrication using period-correct materials and finishes.
Be wary of generic hardware, which can compromise fitment, grounding, and appearance.
Ensuring Proper Fitment: Test Fitting and Adjustments
Before final installation, conduct a dry fit of the restored tray:
- Position the Tray in the Engine Bay: Align with original mounting holes or weld points.
- Check Battery Fit: Place the correct group-size battery in the tray, ensuring secure fit and proper clearance with engine bay components.
- Verify Hold-Down Alignment: Confirm that hold-down brackets or rods engage properly and apply even pressure.
- Inspect for Interference: Ensure no contact with wiring, hoses, or body panels that could cause abrasion or shorts.
Advertisement
If necessary, adjust mounting holes or shims to achieve perfect alignment. For further guidance, see our Amc Ambassador Battery Tray Fitment resource.
Reinstalling the Battery Tray and Final Checklist
Reinstallation should be performed with care to avoid damaging your restored tray or adjacent components. Follow these steps:
- Bolt or Weld the Tray Securely: Use anti-seize compound on bolts to prevent future corrosion.
- Install Hold-Down Hardware: Torque to manufacturer specs; avoid over-tightening which can deform the tray.
- Reconnect Battery Cables: Clean cable ends and ensure solid contact at grounding points.
- Double-Check Drainage: Confirm that drain holes are unobstructed and direct any runoff away from sensitive areas.
- Final Inspection: Verify battery stability, tray alignment, and absence of interference with other systems.
Start the vehicle and check for electrical faults or warning lights—address any issues before regular use.
Preventative Maintenance: Keeping Your Restored Tray Like New
A restored battery tray will only last if maintained properly. Incorporate these preventative measures into your routine:
- Regular Cleaning: Remove the battery annually and clean the tray with a mild alkaline solution.
- Inspect for Rust or Acid Damage: Address any new corrosion or damage immediately.
- Check Hold-Down Hardware: Ensure all fasteners remain tight and corrosion-free.
- Battery Maintenance: Prevent overcharging or leaks by keeping the battery in good health and using a quality battery mat.
Document maintenance actions in your vehicle log for future reference and value retention.
Electrical Faults and the Battery Tray: What to Watch For
The battery tray plays a surprising role in electrical system reliability, particularly in AMC models where it serves as a grounding point. A corroded or poorly restored tray can introduce resistance, leading to hard starts, dim lights, or erratic gauges.
Symptoms of tray-related electrical faults include:
- Intermittent Starting Issues: Poor grounding can prevent consistent starter operation.
- Flickering or Dim Lighting: Voltage drops from bad grounds affect lighting circuits.
- Accessory Malfunctions: Unreliable grounds disrupt sensitive electronics.
If you encounter these issues after restoration, revisit grounding connections and ensure all contact surfaces are clean, bare metal. For an in-depth exploration, consult our Amc Ambassador Electrical Faults Battery Tray guide.
Sourcing, Interchange, and Reproduction: Navigating the AMC Parts Landscape
Given the scarcity of NOS (New Old Stock) trays, many restorers face the dilemma of using reproduction trays or adapting trays from other AMC models. Here’s what you need to know:
- Interchangeability: AMC often used similar trays across models/years but always verify mounting hole patterns and battery group compatibility.
- Reproduction Quality: Modern reproductions can vary in gauge, finish, and accuracy. Always request detailed photos and measurements before purchase.
- Modifications: Avoid modifying the tray or engine bay unless absolutely necessary, as this can reduce collector value and introduce new fitment issues.
For a detailed cross-reference of trays and fitment, visit AMC Ambassador Battery Tray: Fitment, Interchange, and Expert Guidance.
The AutoPartEx Approach: Precision, Authenticity, and Community
At AutoPartEx, we champion precision restoration and the preservation of automotive history. Our technical resources, fitment guides, and enthusiast-driven parts database empower you to restore your AMC battery tray to original condition—without guesswork or compromise. Whether you’re searching for a rare hardware kit, decoding factory finishes, or troubleshooting electrical faults, our platform connects you with the knowledge and community support you need.
Explore our comprehensive parts fitment tools, technical guides, and expert editorial content to ensure your restoration meets both your standards and those of the AMC collector community.
Next Steps: Take Action on Your AMC Battery Tray Restoration
Restoring an OEM battery tray in your AMC is an investment in safety, originality, and long-term value. Start today by inspecting your tray, sourcing the right restoration materials, and leveraging expert resources like AutoPartEx. For installation guidance, see our Amc Ambassador Battery Tray Installation tutorial. Preserve the legacy of your classic AMC with every detail—starting with the humble, but essential, battery tray.
References
Advertisement