
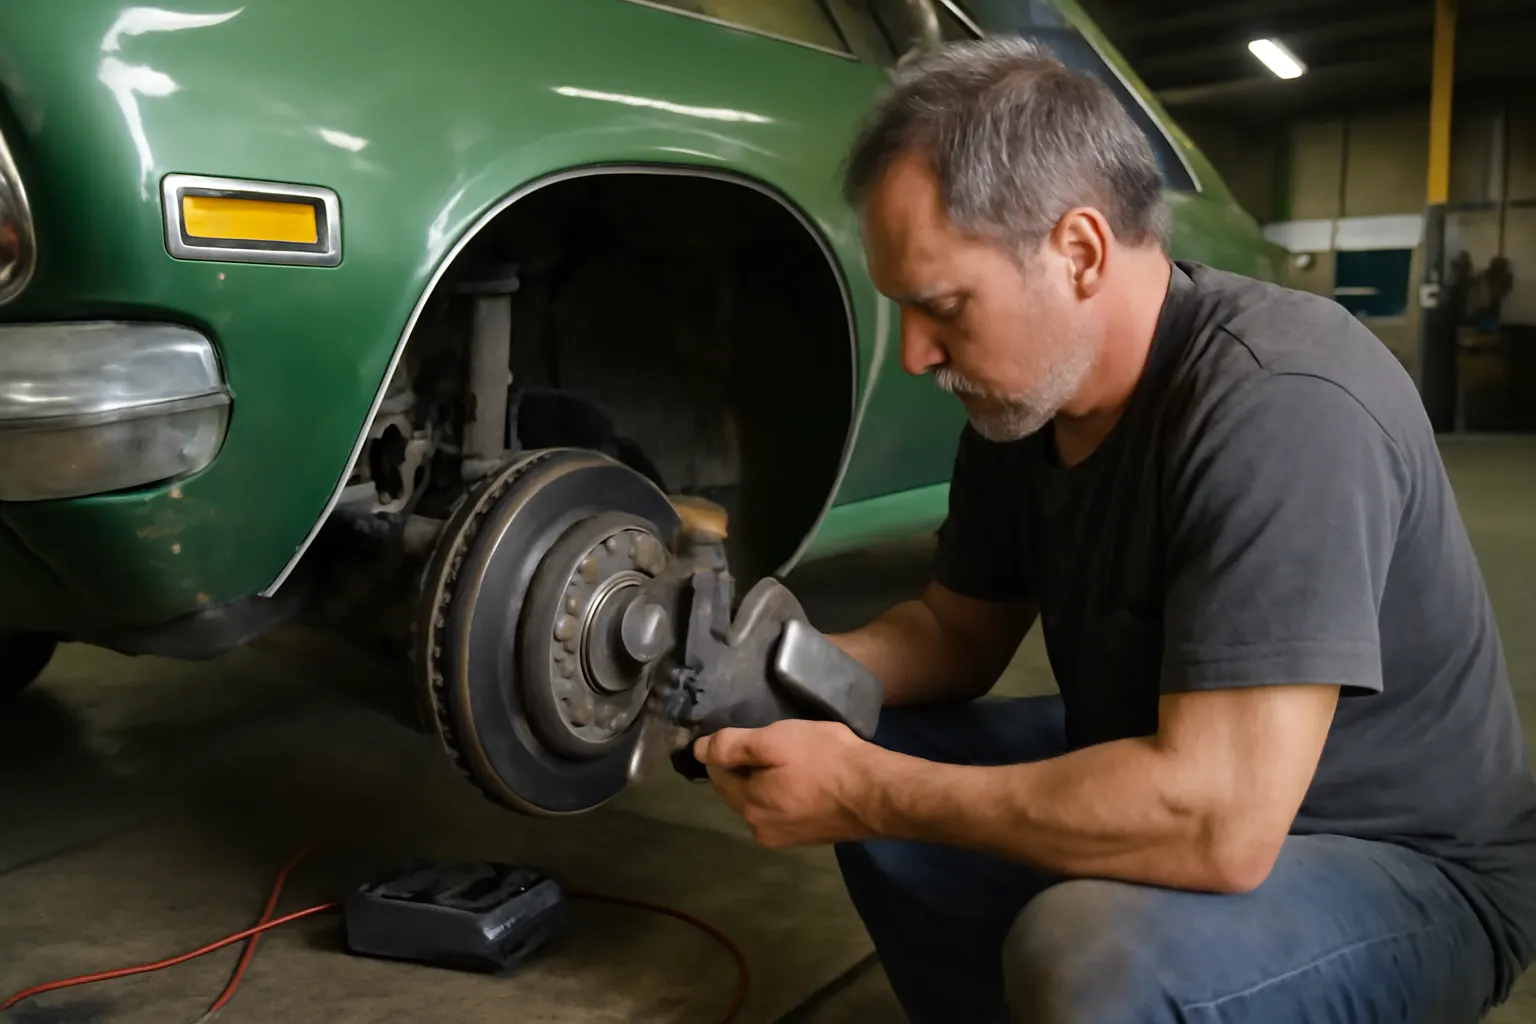
Restoring Classic Amc Brakes
Restoring the brakes on a classic 1971 AMC Ambassador isn’t just about swapping out old parts for new ones—it’s about understanding the interplay between original factory components, decades-old repairs, and the quirks introduced by aftermarket upgrades. In this in-depth real-world restoration story, we’ll walk through the complete process of diagnosing and resolving persistent brake issues on a vintage Ambassador with a mixed heritage of factory and aftermarket hardware. Whether you’re a seasoned AMC enthusiast, a weekend restorer, or new to classic car maintenance, this guide arms you with the technical knowledge and practical steps needed for safe, reliable braking performance.
If you’re looking for a model-specific overview of fitment, failure patterns, and solutions for the AMC Ambassador, see our AMC Ambassador Brake Parts: Model-Specific Fitment, Failure Patterns & Service Solutions category page for complete technical resources.
Immediate Answer: Solving Classic AMC Ambassador Brake Issues
Classic AMC Ambassador brakes can be restored to safe, reliable operation by methodically diagnosing the system, identifying mismatched or worn components, and carefully selecting compatible factory or high-quality aftermarket parts. The key is to evaluate the entire braking system—including master cylinder, lines, hoses, calipers, wheel cylinders, drums, rotors, and hardware—for age-related wear, corrosion, and compatibility issues. Addressing these factors ensures proper pedal feel, stopping power, and safety on the road.
Quick Steps:
- Perform a full visual and functional inspection of the entire brake system.
- Identify any mismatched or incompatible components (common in cars with decades of repairs).
- Replace worn or out-of-spec parts with quality, compatible replacements.
- Bleed the system thoroughly and adjust for correct pedal feel.
- Test drive and recheck for leaks or abnormal operation.
But hidden problems often lurk beneath the surface, especially in classics with a mix of factory and non-OEM parts.
The Hidden Problem: Mixed Heritage Means Mixed Results
Classic AMC Ambassadors, especially those built in the early 1970s, often present a unique challenge for restorers: over the years, previous owners and mechanics may have replaced brake parts with whatever was available, regardless of exact fitment. This results in a system with:
-
Mismatched master cylinders, boosters, or calipers.
-
Brake shoes or pads of varying compounds or sizes.
-
Aftermarket lines, hoses, or hardware that may not meet original specifications.
-
Subtle incompatibilities between drum and disc brake components (especially on models that transitioned from front drums to factory disc options).
These hidden issues can cause:
-
Poor pedal feel or excessive travel.
-
Uneven braking or pulling to one side.
-
Premature wear of pads, shoes, or drums.
-
Dangerous leaks or sudden loss of braking force.
Identifying and correcting these problems requires a methodical, technical approach—one that goes far beyond a simple pad or shoe swap.
Digging Deeper: Understanding AMC Ambassador Brake System Complexity
The 1971 AMC Ambassador was available with both front disc and all-drum brake setups, depending on trim and factory order. Over time, many have been retrofitted with disc brakes or had components swapped with later (or even earlier) AMC models. This complicates restoration for several reasons:
Factory vs. Aftermarket Variations
- Master Cylinder Differences: Factory disc-brake cars used a larger bore master cylinder and a proportioning valve. Swapping in a drum-brake master with discs can lead to underpowered front brakes and poor modulation.
- Caliper and Rotor Sourcing: AMC used unique caliper mounting and rotor dimensions. Aftermarket replacements may fit, but subtle differences in piston size or rotor thickness can alter performance.
- Brake Booster Compatibility: Not all boosters are interchangeable; mismatched pushrod lengths or mounting flanges can result in excessive pedal travel or a hard pedal.
Common Pitfalls in Mixed-Component Systems
- Brake Line Fittings: AMC used both SAE and metric fittings in some years. Mixing lines can cause leaks or poor sealing.
- Drum/Disc Hardware: Incorrect self-adjuster hardware or return springs can result in dragging shoes or uneven wear.
- Hose Length and Routing: Non-original hoses may kink or stretch under suspension movement, risking sudden failure.
Understanding these variables is essential for a successful restoration. Next, let’s walk through a real-world diagnosis and restoration process.
Step-by-Step Diagnosis: The 1971 AMC Ambassador Case Study
Initial Inspection
When our subject 1971 AMC Ambassador arrived in the shop, the owner complained of a soft pedal, uneven braking, and occasional pulling to the right. The system had a mix of original and aftermarket parts, including:
-
Front disc brakes (not original to this trim level)
-
Aftermarket master cylinder
-
Mixed-brand pads and shoes
-
Replacement rubber hoses of unknown origin
Diagnostic Steps:
- Visual Inspection: Checked for leaks, rust, and obvious hardware mismatches.
- Pedal Feel Test: Noted excessive pedal travel and low, mushy engagement.
- Wheel Removal: Inspected pads, shoes, rotors, and drums for wear patterns.
- Component Comparison: Measured bore sizes, rotor thickness, and pad dimensions against AMC factory specs.
Key Findings
- The master cylinder was for a drum-brake car, but discs were installed—resulting in insufficient fluid volume for the front calipers.
- The front right caliper was a remanufactured unit for a Jeep, not an AMC Ambassador—mounting was slightly off, causing uneven pad wear.
- Rear drums had mismatched shoes (one set correct, one set for a different AMC model).
- Rubber hoses were generic and too short, at risk of stretching during suspension travel.
These findings illustrate the importance of a detailed, part-by-part diagnostic approach.
The Parts Checklist: What to Inspect and Replace
Restoring a classic AMC brake system to factory or better performance requires a systematic assessment. Use the following checklist to guide your inspection and replacement decisions:
AMC Ambassador Brake Restoration Checklist
- Master cylinder: Confirm correct bore size and match to brake type (disc or drum).
- Brake booster: Inspect for vacuum leaks, proper mounting, and correct pushrod length.
- Proportioning valve: Verify correct function and model-specific application.
- Front calipers: Ensure proper AMC fitment, correct piston size, and even pad wear.
- Rotors: Measure thickness, check for warping, and compare to AMC service limits.
- Rear drums: Inspect for scoring, measure diameter, and check roundness.
- Pads and shoes: Confirm correct compound and fitment for front and rear.
- Brake hoses and lines: Check for cracks, swelling, leaks, and correct length/routing.
- Hardware kits: Replace all return springs, adjusters, and hold-down hardware.
- Wheel cylinders (rear): Inspect for leaks, pitting, and proper bore size.
- Fluid: Flush and replace with fresh DOT 3 or DOT 4 brake fluid.
- Pedal linkage: Inspect bushings, pivot points, and adjust for free play.
If any item fails inspection, source a replacement that matches AMC specifications or a reputable, tested aftermarket equivalent.
Sourcing Correct AMC Ambassador Brake Parts
Finding the right parts for an AMC Ambassador, especially with a mixed system, can be challenging. Here’s how to ensure compatibility and safety:
Factory vs. Aftermarket
- Factory (NOS) Parts: Offer guaranteed fitment but may be expensive or difficult to find.
- Aftermarket Replacements: Widely available but vary in quality and exact fit.
- Remanufactured Components: Often reliable if sourced from a reputable supplier, but always compare specs.
Sourcing Tips
- Use AMC-specific part numbers and cross-reference with supplier catalogs.
- Confirm bore sizes, mounting points, and thread types before ordering.
- When using aftermarket components, check for compliance with National Highway Traffic Safety Administration (NHTSA) standards.
- For a deep dive into sourcing, see our Amc Ambassador Brake Parts Sourcing guide.
Pro Tip: Avoid “universal fit” parts unless you can confirm all dimensions and mounting points match AMC specs.
Installation: Best Practices for Classic Brake Restoration
With compatible parts in hand, successful installation is all about attention to detail:
Preparation
- Clean all mounting surfaces with brake cleaner.
- Lubricate caliper slide pins, drum backing plates, and adjusters with high-temperature brake grease.
- Use new hardware kits; never reuse old springs or hold-downs.
Assembly
- Install master cylinder and booster as a matched pair when possible.
- Mount calipers and verify free movement; check for rotor runout.
- Fit new pads and shoes, ensuring even contact with rotors/drums.
- Route hoses to avoid kinks and ensure full suspension travel.
Bleeding and Adjustment
- Bleed the system in the correct sequence (typically RR, LR, RF, LF).
- Adjust rear drum brakes for light drag.
- Test pedal feel before lowering the car to the ground.
Bleeding the Brake System: Avoiding Air and Ensuring Firm Pedal
Air in the brake lines is a common cause of soft or spongy pedal feel, especially after replacing major components.
Bleeding Sequence for AMC Ambassador
- Fill the master cylinder with fresh DOT 3 or DOT 4 fluid.
- Begin bleeding at the wheel farthest from the master cylinder (usually right rear).
- Work toward the nearest wheel (left rear, right front, left front).
- Use a clear hose and catch bottle to monitor air bubbles.
- Continue until clean, bubble-free fluid emerges from each bleeder.
Tips:
- If the system has a proportioning or combination valve, ensure it is held open during bleeding (some require a special tool or pin).
- After bleeding, recheck pedal feel and top off fluid.
Test Drive and Fine-Tuning: Verifying Safe Operation
After installation and bleeding, a careful test drive is essential:
- Static Test: With the engine off, pump the pedal to check for firmness and pedal height.
- Low-Speed Test: Drive at walking speed and apply brakes gently; check for pulling, noise, or uneven engagement.
- Progressive Braking: Increase speed and brake force gradually, monitoring for fade or locking.
- Reinspection: After the test drive, recheck all fittings for leaks and all hardware for proper torque.
If issues persist, re-examine for:
-
Air in lines
-
Incorrect hardware installation
-
Out-of-round drums or warped rotors
-
Residual mismatched components
Maintenance for Longevity: Keeping Classic AMC Brakes Reliable
Restored brakes require periodic attention to remain safe:
- Inspect pads, shoes, and hardware every 6,000 miles or annually.
- Change brake fluid every two years to prevent moisture buildup and corrosion.
- Check hoses and lines for age-related cracking or swelling.
- Lubricate moving parts during tire rotations or brake service.
- Monitor for changes in pedal feel or braking performance—address issues immediately.
Regular maintenance is critical for classic vehicles, as age-related deterioration can occur even with low annual mileage.
Common AMC Ambassador Brake Failure Patterns
Understanding typical failure modes helps prioritize inspection and replacement:
- Master Cylinder Failure: Internal leaks cause gradual pedal fade; external leaks are visible at the firewall or booster.
- Caliper Seizure: Sticking pistons or slide pins cause uneven pad wear and pulling.
- Drum Hardware Fatigue: Old springs lose tension, leading to dragging or non-releasing shoes.
- Hose Deterioration: Swollen or cracked hoses risk sudden rupture and fluid loss.
- Proportioning Valve Issues: Internal corrosion or sticking can bias braking force to front or rear, causing instability.
For a more detailed reference, consult our Amc Ambassador Brake System Charts to compare year-specific components and known issues.
Upgrading vs. Restoring: When to Modernize
Some owners choose to upgrade rather than restore to factory spec. Considerations include:
- Performance Disc Upgrades: Modern calipers and rotors can improve stopping power but require careful matching to master/booster and proportioning valve.
- Stainless Lines: Resist corrosion and provide firmer pedal feel.
- High-Performance Pads/Shoes: Better fade resistance for spirited or heavy-duty driving.
Before upgrading, consult our Amc Ambassador Brake Upgrade Guide for compatibility and installation tips.
Technical Standards and Safety Regulations
All replacement parts and modifications should comply with recognized standards and regulations:
- NHTSA Equipment Standards: Ensure all parts meet federal safety requirements.
- SAE Standards: Brake system components should conform to SAE International standards for performance and testing.
- Recall Checks: Always check for applicable recalls on vintage AMC brake components at the NHTSA recall database.
Safety is paramount—never compromise on quality or fitment.
AutoPartEx: Your Partner in Classic AMC Brake Restoration
At AutoPartEx, we combine deep technical expertise with a curated selection of AMC Ambassador brake parts—both factory and high-quality aftermarket. Our resources, including the AMC Ambassador Brake Parts: Model-Specific Fitment, Failure Patterns & Service Solutions category, ensure you have access to the latest technical data, fitment charts, and sourcing guides.
Whether you’re restoring to concours original or building a reliable daily driver, our editorial team and parts specialists are here to support every step of your project. For advanced diagnostics, upgrade paths, or sourcing hard-to-find components, trust AutoPartEx as your restoration resource.