
Advertisement
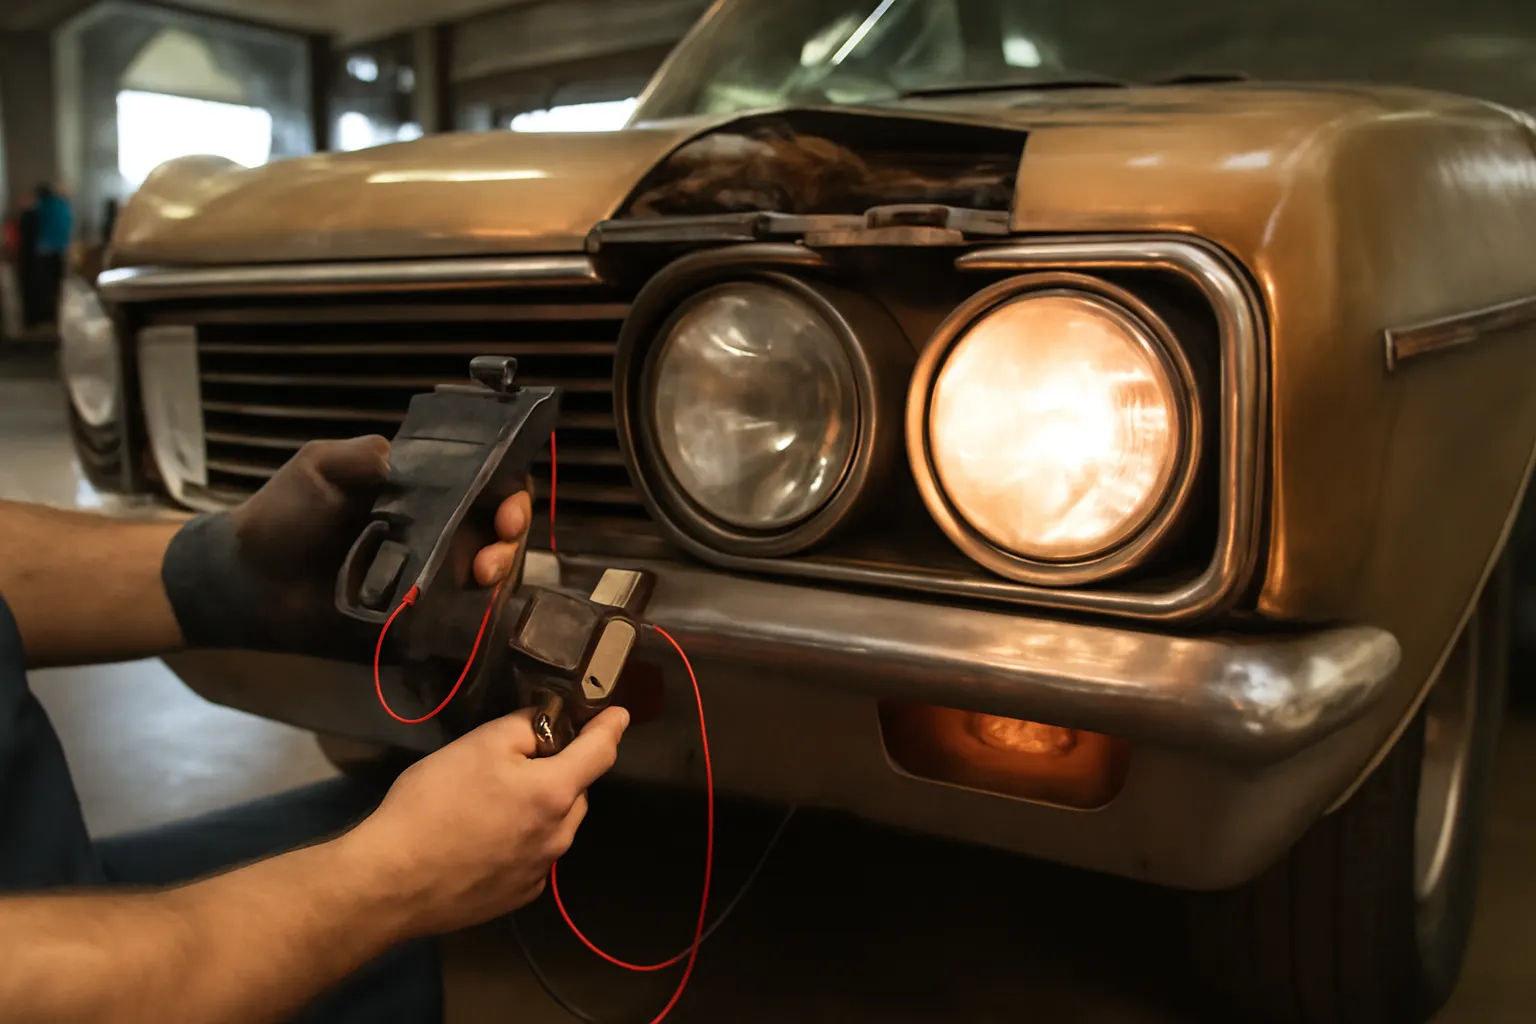
Restoring the headlight system of a classic 1971 AMC Ambassador is more than a cosmetic upgrade—it's a critical step in reviving the vehicle's night-driving safety features and authentic character. Whether you're a seasoned restorer or a passionate owner, sourcing and installing rare automatic headlight dimmers can be daunting. This guide delivers a practical, technical roadmap for returning your Ambassador’s headlight system to its original brilliance, with a focus on safety, authenticity, and reliability. For further fitment and replacement details, consult our AMC Ambassador Automatic Headlight Dimmer Replacement & Fitment Guide.
The Immediate Solution: Reviving Night-Driving Safety
Classic American cars like the AMC Ambassador were pioneers in integrating automatic headlight dimmers—devices that automatically switched between high and low beams to prevent blinding oncoming traffic. Restoring these systems is crucial for safe, legal night driving, especially as modern traffic safety standards emphasize headlight performance and reliability [^1]. The immediate answer for owners: source a compatible replacement dimmer, verify wiring integrity, and restore the system to original or better-than-original working order.
The Hidden Challenge: Sourcing and Authenticity
At first glance, updating or repairing a headlight system might seem like a straightforward bulb swap or relay fix. However, the real challenge lies deeper:
- Rare Parts: The 1971 AMC Ambassador’s automatic headlight dimmer is a model-specific, low-volume component.
- Aging Wiring: Decades-old connectors, insulation, and wiring can obscure electrical faults.
- Authenticity vs. Modernization: Purists seek period-correct parts; others may accept modern equivalents for reliability.
This complexity means restoration is as much about detective work and careful sourcing as it is about hands-on wrenching.
Why Headlight System Restoration Matters
Safety and Compliance
The National Highway Traffic Safety Administration (NHTSA) identifies lighting systems as critical to vehicle safety [^1]. Dim or malfunctioning headlights can increase accident risk, and non-functional automatic dimmers may violate state inspection requirements.
Nighttime Driving Experience
Headlight automation was a hallmark of luxury and safety in the early 1970s. Restoring these features provides:
- Reduced Driver Fatigue: Automatic dimming relieves the need to manually switch beams.
- Authentic Driving Feel: The original system’s operation is part of the car’s period-correct charm.
Protecting Value
For collectors and enthusiasts, a working headlight dimmer system enhances the car’s value and appeal, especially during concours judging or resale.
Deeper Technical Dive: How AMC Ambassador Headlight Automation Worked
System Components
The 1971 AMC Ambassador’s headlight automation system typically included:
- Photocell Sensor: Mounted on the dashboard, this sensor detected oncoming headlights.
- Control Module: Interpreted sensor input and triggered the dimmer relay.
- Dimmer Relay/Switch: Switched between high and low beams automatically.
- Manual Override: Allowed the driver to bypass automation if desired.
Wiring and Integration
The system was integrated into the main lighting harness, relying on period-specific connectors and often sharing circuits with the main dimmer switch. Over time, corrosion, heat, and vibration could degrade these connections, leading to intermittent or failed operation.
Step-by-Step Diagnostic Checklist
Before sourcing parts or attempting repairs, a methodical diagnostic approach is essential. Use this checklist to isolate issues in the AMC Ambassador’s headlight system:
Advertisement
| Step | Task | Expected Outcome |
|---|---|---|
| 1 | Inspect headlight bulbs and sockets | Bulbs intact, no corrosion or melting |
| 2 | Test headlight switch function | Manual high/low beam operation confirmed |
| 3 | Examine wiring harness for damage | No frayed wires, cracked insulation, or loose connectors |
| 4 | Locate and inspect the photocell sensor | Sensor lens clear, wiring intact |
| 5 | Test control module for power and ground | 12V at input; ground continuity |
| 6 | Activate automatic dimmer mode | System responds to simulated oncoming light |
| 7 | Check dimmer relay operation | Audible click or relay action when triggered |
| 8 | Verify manual override | System can be bypassed as designed |
Tip: Document each step, noting any abnormal findings. Electrical contact cleaner and a multimeter are essential tools for this process.
Sourcing Rare Automatic Headlight Dimmers
Original Equipment (OE) vs. Modern Reproductions
Finding a period-correct headlight dimmer for a 1971 AMC Ambassador can be challenging:
- Salvage Yards and Specialty Suppliers: Some classic car dismantlers and AMC specialists may have NOS (New Old Stock) or used units.
- Online Marketplaces: Auction sites and classic car forums occasionally list rare electrical components.
- Reproduction Parts: Some vendors offer modern equivalents that fit the original harness, sacrificing some authenticity for reliability.
Evaluation Criteria
When sourcing a replacement:
- Part Number Verification: Cross-reference AMC parts catalogs and service manuals.
- Connector Compatibility: Ensure wiring plugs match your vehicle’s harness.
- Functional Testing: If possible, bench-test the unit before installation.
Pro Tip: Always retain original connectors and mounting hardware, as reproduction parts may require adaptation.
Restoring Wiring and Connectors
Inspect and Repair
Even the best replacement dimmer won’t function with compromised wiring. Restoration steps include:
- Cleaning Connectors: Remove corrosion with contact cleaner and a small brush.
- Repairing or Replacing Wires: Use period-correct wire colors and gauges where possible.
- Heat Shrink and Solder: For permanent, vibration-resistant repairs.
Upgrading for Reliability
If authenticity is less critical, consider:
- Modern Relays: Reduce current load on original switches.
- Improved Grounds: Add supplemental ground wires to minimize voltage drop.
Note: All repairs should follow SAE standards for automotive electrical systems [^4].
Installation: Step-by-Step Headlight Dimmer Fitment
- Disconnect Battery: Prevent accidental shorts.
- Remove Dash Panels: Access the photocell sensor and control module.
- Label and Disconnect Old Wiring: Photograph connections for reference.
- Mount Replacement Dimmer: Use original hardware when possible.
- Reconnect Wiring: Match each wire to its original position.
- Test Operation: Simulate night driving to verify automatic switching.
- Reinstall Panels and Secure Wiring: Prevent rattles and future wear.
Common Pitfalls
- Incorrect Wiring: Double-check diagrams to avoid reversed high/low beam function.
- Sensor Placement: Photocell must be unobstructed for proper operation.
- Ground Issues: Poor grounds are a leading cause of intermittent faults.
For a detailed installation walkthrough, refer to our Amc Ambassador Automatic Headlight Dimmer Install.
System Calibration and Testing
Once installed, calibrate the system:
Advertisement
- Light Sensitivity: Adjust the photocell (if adjustable) to respond correctly to oncoming headlights.
- Road Test: Drive in varied lighting conditions to ensure reliable dimming and manual override.
- Inspection: Check for flickering, delayed response, or system inaction.
If issues persist, revisit the diagnostic checklist and verify all grounds and connections.
Maintenance Tips for Long-Term Reliability
Classic headlight automation systems require ongoing attention:
- Annual Cleaning: Remove dust from the photocell sensor.
- Connector Inspection: Check for corrosion at every oil change.
- Harness Securing: Ensure wiring is not chafing against metal edges.
- Functional Testing: Regularly test both automatic and manual dimming modes.
Proactive maintenance prevents the most common failures and preserves both safety and authenticity.
Troubleshooting Common Restoration Issues
Flickering or Non-Responsive Dimming
- Possible Causes: Dirty sensor, poor ground, failing relay.
- Fix: Clean sensor, inspect grounds, test/replace relay.
Manual Override Not Working
- Possible Causes: Faulty switch, wiring error.
- Fix: Test switch continuity, verify correct wiring per diagram.
System Activates Erratically
- Possible Causes: Sensor aimed incorrectly, electrical interference.
- Fix: Re-aim or shield sensor, reroute wiring away from ignition components.
Achieving Authentic Results: Concours and Collector Considerations
For those restoring for shows or resale:
- Document Everything: Keep records of parts, sources, and repair steps.
- Use OE Markings: Period-correct labels and finishes boost authenticity.
- Consult Judging Guidelines: Some competitions require original or NOS parts.
If using reproduction components, disclose this in sale or show documentation.
Upgrading While Preserving Character
Some owners wish to improve reliability without sacrificing the car’s classic feel. Options include:
- Discrete Modern Relays: Hidden upgrades that don’t alter the cabin’s appearance.
- LED Bulbs: Brighter, longer-lasting, but may require resistor kits for compatibility.
- Fuse Upgrades: Modern blade fuses in original-style housings.
Balance is key—prioritize safety while respecting the Ambassador’s unique electrical design.
Fuel Efficiency and Electrical Load
While the headlight dimmer itself draws minimal current, poor electrical connections or high-resistance wiring can increase the load on the alternator. According to the U.S. Department of Energy, optimizing all electrical systems—including lighting—supports overall vehicle efficiency and reliability 1. Clean, low-resistance connections help maintain proper voltage to all systems, reducing strain on classic alternators.
AutoPartEx: Your Partner in AMC Restoration
Restoring a 1971 AMC Ambassador’s headlight system is a rewarding, technically demanding process. At AutoPartEx, we provide:
- Curated Parts Listings: Hard-to-find dimmers, relays, and harnesses.
- Technical Guidance: Step-by-step guides and expert support.
- Community Resources: Connect with other AMC enthusiasts for tips and sourcing leads.
For more technical history and upgrade options, see our Amc Ambassador Headlight Automation History and Classic American Headlight Dimmer Upgrade articles. For model-specific fitment, always start with the AMC Ambassador Automatic Headlight Dimmer Replacement & Fitment Guide.
Expert Action: The Restoration Road Ahead
- Diagnose: Use the checklist to pinpoint faults.
- Source: Seek out OE or high-quality reproduction dimmers.
- Restore: Address wiring, connectors, and system calibration.
- Maintain: Implement regular inspection and cleaning.
- Document: Keep detailed records for authenticity and future reference.
With careful attention to detail and the right resources, your AMC Ambassador can safely light up the night as it did in 1971—combining classic style with restored safety.
References
- Vehicle Safety and Equipment - National Highway Traffic Safety Administration
- Vehicle, Car Seat, Tire, and Equipment Recalls - National Highway Traffic Safety Administration
- Fuel Efficiency - United States Department of Energy
- SAE Standards - SAE International
Footnotes
Advertisement