
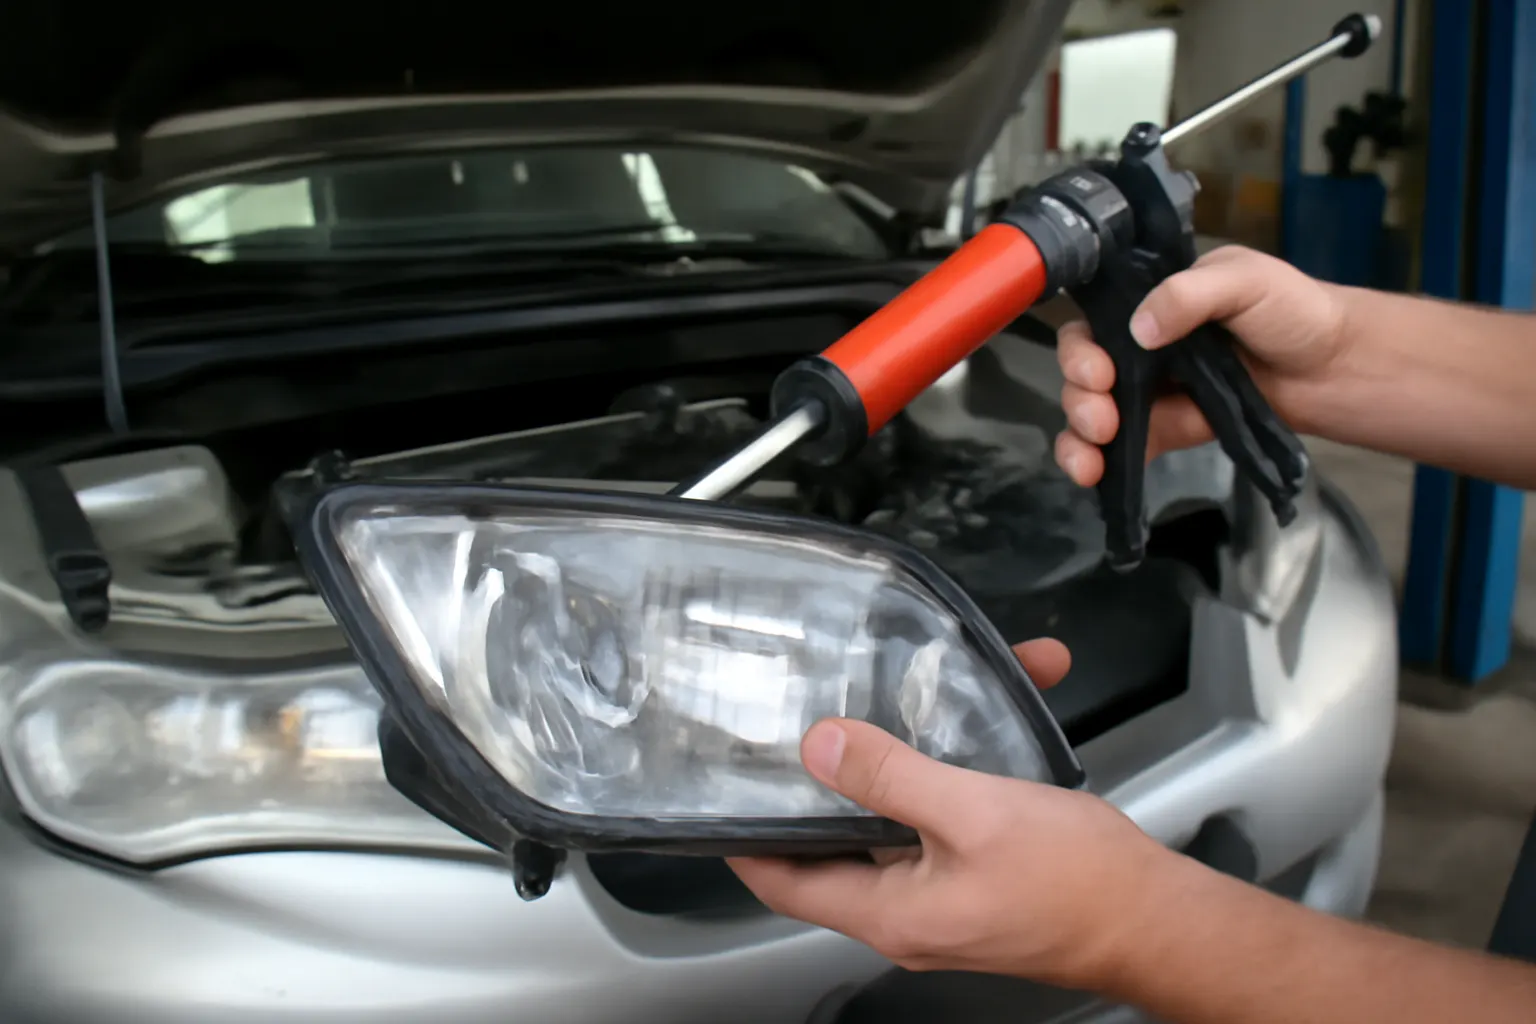
Preventing Moisture Damage in Front Lamp Housings
Front park and fog lamps are indispensable for vehicle safety, providing critical illumination and visibility in low-light and adverse weather conditions. However, even the most advanced front lamp assemblies remain vulnerable to one persistent adversary: moisture intrusion. Moisture inside a lamp housing can cause condensation, rapid bulb failure, corroded connectors, and even short circuits, compromising both safety and compliance. This comprehensive guide from AutoPartEx delivers actionable best practices for sealing, maintaining, and diagnosing front lamp housings to prevent moisture damage and electrical faults. Whether you’re a DIY enthusiast, professional technician, or fleet manager, mastering these techniques will extend the life of your lighting system and maintain compliance with Front Park and Fog Lamp Systems: Complete Technical Guide standards.
Why Moisture Damage Is a Critical Issue
Moisture inside front lamp housings is far from a cosmetic nuisance. Even a small amount of condensation can obscure light output, reducing beam effectiveness and potentially violating federal lighting standards. More troubling, moisture can corrode electrical contacts, degrade bulb filaments, and lead to intermittent or total lamp failure. According to the National Highway Traffic Safety Administration (NHTSA), lighting equipment failures are a significant contributor to vehicle safety issues and recalls, and moisture ingress is frequently cited in defect reports[^1].
The risk is not limited to older vehicles. Modern composite lamp assemblies, which often use lighter materials and intricate seals to improve fuel efficiency, can be especially susceptible to subtle leaks, especially after minor impacts or improper bulb changes. The result: even a new or high-end vehicle can quickly develop lighting faults if moisture control is neglected.
Understanding the Hidden Pathways for Moisture Intrusion
To effectively prevent moisture damage, it’s crucial to understand how water enters lamp housings:
- Seam Leaks: Over time, the adhesive or gasket sealing the lens to the housing can degrade, allowing water to seep in.
- Ventilation Failures: Most lamp housings include pressure-equalizing vents. If these become blocked or damaged, moisture can accumulate internally.
- Bulb Socket Issues: Improperly installed or worn bulb seals allow water to wick in along the wiring or socket.
- Impact Damage: Even minor cracks in the lens or housing from road debris or low-speed collisions can create a pathway for moisture.
Each of these entry points requires targeted inspection and maintenance. Missing a single compromised seal or vent can undermine the integrity of the entire lamp assembly.
The Technical Impact: Condensation, Corrosion, and Electrical Faults
Moisture inside a lamp housing initiates a cascade of technical problems:
- Condensation: Water vapor condenses on the inside of the lens, scattering light and reducing output. This can cause a foggy or streaked appearance.
- Corrosion: Electrical contacts, bulb bases, and connectors inside the housing are highly susceptible to corrosion, especially with modern materials that prioritize weight over corrosion resistance[^2]. Corroded contacts increase resistance, leading to dim bulbs or intermittent operation.
- Short Circuits: Persistent moisture can bridge electrical contacts, causing shorts that may blow fuses or damage control modules.
- Premature Bulb Failure: Moisture accelerates filament oxidation and can cause bulbs to fail rapidly, especially high-intensity discharge (HID) and LED assemblies.
- Regulatory Non-Compliance: Diminished output or non-functioning lamps can lead to failed inspections and potential fines, as outlined in Vehicle Safety and Equipment standards.
Diagnosing Moisture Intrusion in Front Lamp Housings
Early detection of moisture problems is essential. Use this step-by-step diagnostic checklist to pinpoint issues before they escalate:
Front Lamp Housing Moisture Diagnostic Checklist
- Visual Inspection:
- Check for fogging, water droplets, or streaks inside the lens after rain or car washes.
- Inspect for visible cracks, chips, or separation at lens seams.
- Touch Test:
- Gently press on the lens and housing. Flexing or movement may indicate a compromised seal.
- Vent Check:
- Locate and inspect pressure-equalizing vents. Ensure they are unobstructed and intact.
- Bulb Socket Examination:
- Remove bulbs and inspect for corrosion, moisture, or damaged seals.
- Examine wiring harness connectors for greenish or whitish corrosion.
- Water Spray Test:
- With bulbs removed and housing dry, lightly spray exterior with water. Monitor for ingress.
- Multimeter Test:
- Check continuity and resistance at lamp terminals. High resistance may indicate corrosion.
If any step reveals evidence of moisture, proceed to targeted repairs before replacing bulbs or assemblies.
The Role of Materials and Design in Moisture Resistance
Automotive front lamp housings have evolved dramatically, with manufacturers adopting composite plastics and advanced adhesives to reduce weight and improve fuel efficiency[^2]. However, lighter materials can be less forgiving of installation errors or minor impacts, and adhesives may degrade with UV exposure.
Key material features that impact moisture resistance include:
- Polycarbonate Lenses: Lightweight and impact-resistant, but prone to UV degradation and microcracking if not properly coated.
- Elastomeric Gaskets: Used at seams and bulb sockets, these must remain flexible and undamaged to maintain a watertight seal.
- Breather Vents: Allow pressure equalization but must filter out water and contaminants.
Understanding the strengths and weaknesses of your lamp’s materials is critical for effective maintenance and repair.
Best Practices for Sealing Lamp Housings
Preventing moisture starts with a proactive approach to sealing. When servicing or replacing front lamps, follow these best practices:
Sealing and Maintenance Best Practices
- Replace Gaskets and Seals: Always install new gaskets when changing bulbs or separating the lens from the housing.
- Use OEM-Grade Sealants: Apply automotive-grade RTV silicone only where specified by the manufacturer. Overuse can block vents or interfere with lens seating.
- Inspect for Even Contact: Ensure all mating surfaces are clean, debris-free, and make uniform contact.
- Torque Fasteners Properly: Over-tightening can warp housings, while under-tightening leaves gaps.
- Test After Assembly: Perform a water spray test before final installation to confirm seal integrity.
In many cases, aftermarket lamp assemblies may use different sealing strategies than OEM units. For a comparison, see our guide on OEM vs. Aftermarket Park Lamp Assemblies.
Addressing Bulb Socket and Connector Vulnerabilities
Bulb sockets and electrical connectors are frequent sources of moisture ingress. To enhance durability:
- Replace Socket Seals: Most sockets use rubber O-rings or molded gaskets. Replace these at every bulb change.
- Apply Dielectric Grease: A thin layer of dielectric grease on electrical contacts repels moisture and prevents corrosion.
- Check Connector Locks: Ensure all connectors snap firmly into place. Loose connectors are prone to wicking water.
- Use Weatherproof Connectors: If operating in severe environments, consider upgrading to weather-sealed connectors.
Regular inspection and preventive care of these small components can prevent expensive electrical repairs down the line.
Ventilation: Balancing Moisture Control and Pressure Equalization
A common misconception is that lamp housings should be completely airtight. In reality, most designs include small vents to equalize pressure as lamps heat and cool. If these vents become blocked by debris, bugs, or overzealous sealant, moisture can build up internally with no means of escape.
Vent Maintenance Steps
- Locate All Vents: Refer to your vehicle or lamp assembly manual for vent locations.
- Inspect for Blockages: Use compressed air or a soft brush to clear dirt and debris.
- Check Vent Filters: Many vents include a hydrophobic membrane. Replace if torn or clogged.
- Avoid Over-Sealing: Never apply sealant over vent areas.
Proper vent maintenance is essential for both moisture control and the longevity of the lamp assembly.
Repairing Cracks and Addressing Impact Damage
Even minor lens or housing cracks can act as moisture conduits. Address these issues promptly:
- For Small Cracks: Use a clear automotive epoxy to seal minor cracks from the inside, following manufacturer instructions for curing and flexibility.
- For Severe Damage: Replace the lamp housing entirely. Attempting to repair large cracks or shattered lenses is rarely effective and may not restore full moisture resistance.
- Inspect Mounting Points: Ensure lamp assemblies are securely mounted. Loose or misaligned lamps are more likely to develop leaks after impacts.
If your vehicle has recently sustained front-end damage, always inspect lamp housings as part of the repair process.
Upgrading to Moisture-Resistant Lamp Assemblies
If persistent moisture issues plague your current setup, consider upgrading to newer lamp assemblies that incorporate improved sealing technologies and materials. Features to look for include:
- Integrated Venting Systems: Modern lamps often use labyrinth-style vents or hydrophobic membranes for superior moisture management.
- Improved Gasket Materials: Advanced elastomers maintain flexibility and seal integrity over a wider temperature range.
- One-Piece Construction: Fewer seams mean fewer potential leak points.
- Robust Connector Design: Weather-sealed connectors and potted wiring harnesses resist corrosion and water ingress.
When sourcing replacements, always verify fitment for your specific make, model, and year. See our Front Park and Fog Lamp Systems: Complete Technical Guide for detailed compatibility information.
Routine Maintenance Schedule for Moisture Prevention
Preventive maintenance is the most effective defense against moisture damage. Adopt the following routine:
| Maintenance Task | Frequency | Notes |
|---|---|---|
| Inspect lamp housings for condensation | Every oil change | Look for fogging or water droplets |
| Check and clear ventilation vents | Every 6 months | Especially after pollen or insect season |
| Replace bulb socket seals | Every bulb change | Use only OEM or equivalent parts |
| Inspect lens and housing for cracks | Annually | Address any damage immediately |
| Water spray test after service | After any repair | Confirm seal integrity |
Document your findings and repairs to track recurring issues or component weaknesses.
Diagnosing and Repairing Electrical Faults Caused by Moisture
Moisture not only causes visible condensation but also triggers hidden electrical problems. If you experience flickering, non-functioning, or dim lamps, follow this targeted diagnostic and repair process:
- Check Fuses and Relays: Moisture-induced shorts can blow fuses or damage relays. Replace as needed.
- Inspect Connectors: Disconnect and examine all lamp connectors for corrosion. Clean or replace as necessary.
- Test Bulbs: Even new bulbs can fail rapidly when exposed to moisture. Test with a known-good bulb.
- Check Ground Connections: Corroded grounds are a common cause of intermittent lamp faults.
- Use a Multimeter: Measure voltage at the lamp terminals. Low or variable voltage indicates resistance in the circuit, often due to corrosion.
- Address Root Cause: Once moisture is detected, repair all leaks and replace compromised seals before installing new bulbs or connectors.
For a deeper dive into electrical diagnostics, consult our How to Diagnose Front Lamp Electrical Issues guide.
Sourcing Quality Replacement Parts and Sealants
Selecting the right replacement parts is critical for long-term moisture resistance:
- OEM vs. Aftermarket: OEM parts are engineered for precise fit and sealing, while reputable aftermarket assemblies may offer improved materials or features. Always check for compliance with SAE and NHTSA standards[^3].
- Sealant Selection: Use only automotive-grade RTV silicone or urethane sealants specified for lamp assemblies. Avoid household or general-purpose adhesives.
- Gasket Kits: Many manufacturers offer complete gasket kits for popular lamp assemblies, including lens, socket, and vent seals.
- Connector Upgrades: Consider weather-sealed connector kits for high-exposure vehicles (e.g., off-road, fleet, or delivery vehicles).
For application-specific recommendations, see our Choosing the Right Fog Lamp for Your Vehicle article.
When to Replace vs. Repair: Making the Right Call
Not all moisture problems require complete lamp replacement. Use these guidelines:
- Replace the Lamp Assembly When:
- Cracks or damage are severe or widespread.
- Internal reflectors or optics are corroded or delaminated.
- Repeated repairs have failed to resolve moisture ingress.
- Repair the Lamp Assembly When:
- Leaks are limited to bulb sockets or minor seam gaps.
- Housing and lens are structurally sound.
- OEM replacement parts or gaskets are readily available.
Balancing cost, safety, and long-term reliability is key. In fleet or critical-use vehicles, err on the side of replacement to avoid downtime and compliance issues.
AutoPartEx: Your Partner in Lighting System Reliability
At AutoPartEx, we understand that maintaining front park and fog lamp integrity is about more than just replacing bulbs—it’s about safeguarding your vehicle’s visibility, safety, and compliance. Our curated inventory includes OEM and premium aftermarket lamp assemblies, gaskets, connectors, and sealants that meet or exceed SAE and NHTSA standards. Whether you drive a daily commuter, manage a fleet, or restore classics, our technical resources and support help you prevent moisture damage before it becomes a costly safety issue.
Explore our full Front Park and Fog Lamp Systems: Complete Technical Guide for detailed fitment, troubleshooting, and installation advice. For personalized recommendations, contact our technical support team or browse by manufacturer, such as Acura or AMC.
Conclusion: Stay Proactive to Defeat Moisture Intrusion
Moisture damage in front lamp housings is a silent threat to safety and reliability. By understanding the pathways for water ingress, following best sealing and maintenance practices, and using quality components, you can dramatically reduce the risk of condensation, corrosion, and electrical faults. Regular inspections, timely repairs, and expert sourcing are your best defenses—ensuring your vehicle’s lighting system remains bright, compliant, and dependable in all conditions.
