Advertisement
Field Report: Real-World Pace Arrow Service Insights
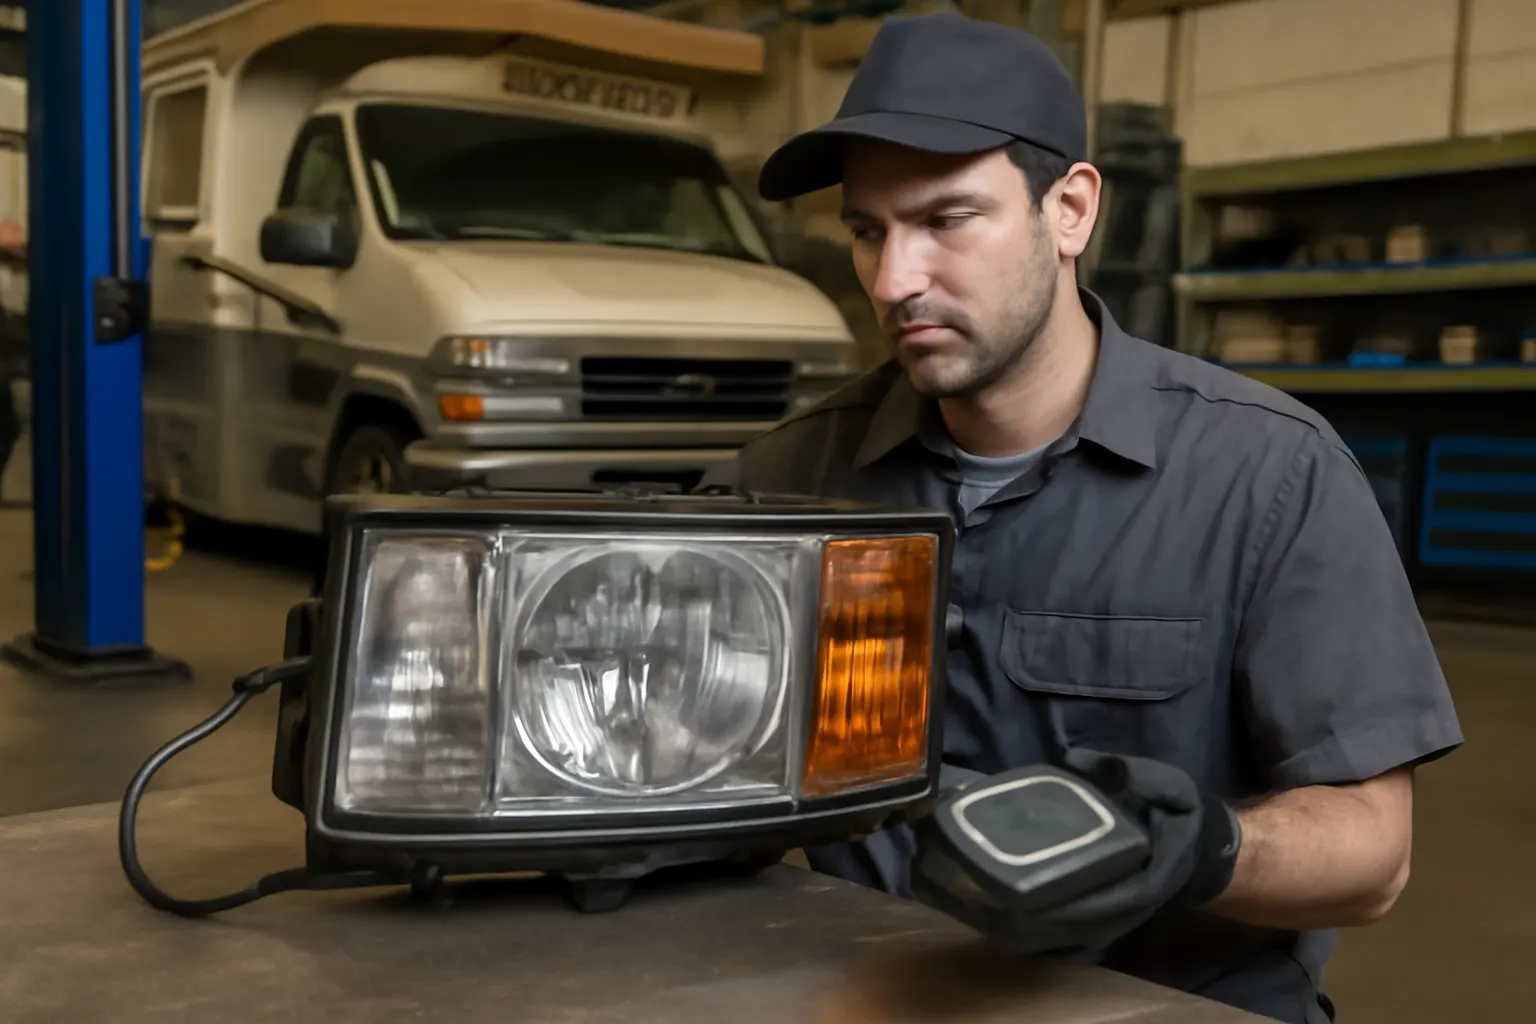
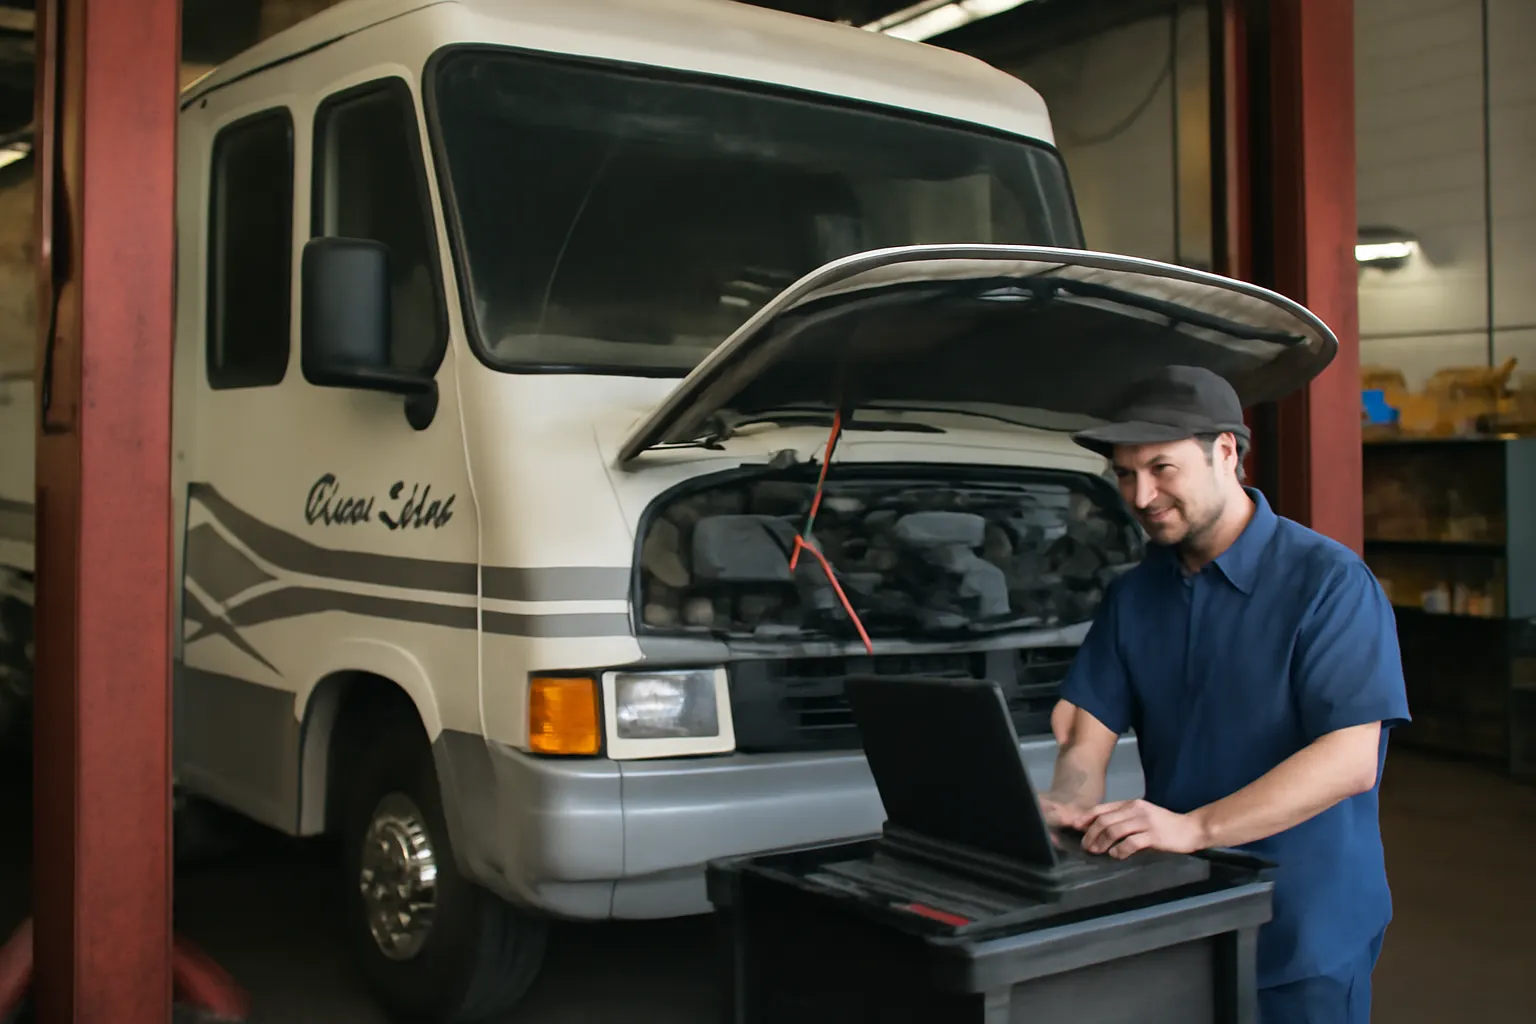
Direct from the service bay, this in-depth field report delivers practical, experience-backed insights into the most common—and most challenging—maintenance and repair scenarios encountered by technicians working on Pace Arrow RVs. Whether you’re a dedicated DIYer, a fleet manager, or a professional service provider, these real-world findings, diagnostic tips, and expert solutions will help you keep your Pace Arrow running safely, efficiently, and reliably for years to come.
For a broader look at the technical history and OEM sourcing landscape, see our Pace Arrow OEM Parts: Technical Heritage & Buying Guide | AutoPartEx. This article zeroes in on hands-on service intelligence from the field, highlighting the hidden issues, root causes, and proven fixes that matter most for owners and technicians.
Immediate Service Insights: What Really Goes Wrong With Pace Arrow RVs
The most frequent issues reported by service technicians working on Pace Arrow RVs fall into five primary categories:
- Chassis and suspension wear: Premature bushing, shock, and spring fatigue due to high loads and frequent travel.
- Electrical system faults: Corrosion, connector fatigue, and battery management issues in both chassis and coach wiring.
- Fuel system inefficiencies: Clogged filters, aging pumps, and injector problems leading to poor fuel economy and hard starts.
- Brake system degradation: Hydraulic leaks, pad wear, and parking brake cable failures, especially on older models.
- Body and structural fatigue: Water ingress, panel delamination, and frame corrosion from road exposure and material aging.
These issues are not just theoretical—they are seen repeatedly in professional service bays, often with complex root causes and significant safety implications. Addressing them promptly with the right diagnostics and parts is essential to maintain safety, efficiency, and resale value.
The Hidden Problem: Why Pace Arrow Repairs Are More Complex Than They Appear
While many RV owners expect their Pace Arrow to behave much like a heavy-duty truck, the reality is more nuanced. The integration of automotive, home, and specialty RV systems creates unique service challenges:
- Mixed material construction (steel, aluminum, composites, and wood) leads to complex corrosion and fatigue patterns.
- OEM parts obsolescence means that sourcing the right part is often not as simple as ordering by VIN or chassis number.
- Electrical integration between chassis and coach systems is especially sensitive to moisture, vibration, and aftermarket modifications.
- Heavy loads and infrequent use accelerate certain types of wear—especially in fuel, brake, and suspension systems.
This means that even routine repairs often require a hybrid approach: automotive diagnostics, RV-specific knowledge, and careful parts sourcing. Many owners and even general repair shops underestimate these complexities, leading to repeated failures or safety risks.
Chassis and Suspension: Diagnosing the Most Common Pace Arrow Ride Complaints
Typical Field Complaints
- Excessive sway or body roll
- “Wandering” steering
- Clunking or popping noises over bumps
- Rapid tire wear on front or rear axles
Root Causes
Pace Arrow RVs, especially those built on Ford and GM P-chassis platforms, are subject to high static and dynamic loads. Over time, this leads to:
- Bushing and shackle wear: Rubber and polyurethane bushings degrade, causing play and misalignment.
- Shock absorber fatigue: Damping performance drops, leading to poor ride quality.
- Spring sagging: Leaf and coil springs lose tension, affecting ride height and alignment.
- Steering linkage play: Idler arms, tie rods, and ball joints loosen, causing imprecise steering.
Diagnostic Checklist
- Inspect all bushings for cracks, tears, or excessive movement.
- Measure ride height at all four corners—compare to OEM specs.
- Check shock absorbers for leaks, dents, or loss of rebound.
- Inspect steering linkage for play with wheels off the ground.
- Examine tire tread for cupping or uneven wear patterns.
Timely replacement of worn suspension and steering components ensures safe handling and maximizes tire life. Always use parts meeting or exceeding SAE Standards for heavy-duty vehicles.
Electrical System Faults: Field Diagnostics and Repair Best Practices
Typical Field Complaints
- Dead batteries after short storage periods
- Flickering interior lights or dash indicators
- Intermittent or total loss of coach power
- Malfunctioning generator start circuits
Root Causes
Pace Arrow RVs combine automotive and residential electrical systems. The most common failure points include:
Advertisement
- Corroded ground connections: Especially at chassis-to-body interfaces.
- Aging battery isolators or solenoids: Causing charging system confusion.
- Loose or oxidized connectors: Particularly at fuse panels and relay blocks.
- Undersized or damaged wiring: Causing voltage drops under load.
Diagnostic Checklist
- Test battery voltage and load capacity; replace batteries older than 5 years.
- Visually inspect all ground straps for corrosion; clean and retorque as needed.
- Check voltage at key points (alternator output, coach battery, fuse blocks) with all systems on.
- Inspect main fuse panels for heat discoloration or melted terminals.
- Test generator start circuit for voltage drop under crank.
Electrical repairs should always follow NHTSA Vehicle Safety and Equipment guidelines for wire gauge, circuit protection, and connector quality.
Fuel System Inefficiencies: Hard Starts, Poor Mileage, and Fuel Odor
Typical Field Complaints
- Extended cranking before engine start
- Noticeable fuel smell after shutdown
- Loss of power under load or uphill
- Drop in fuel economy
Root Causes
- Clogged fuel filters: Especially after long storage or low-quality fuel use.
- Aging fuel pumps: Reduced pressure and flow.
- Leaky injector seals: Causing vapor leakage and hard starts.
- Cracked or perished fuel hoses: Allowing air ingress and external leaks.
Fuel System Service Checklist
- Replace fuel filters every 12,000–15,000 miles, or annually.
- Check fuel pump pressure with a gauge; compare to OEM specs.
- Inspect all hoses for cracks, soft spots, or leaks.
- Test injectors for leakage and spray pattern (professional equipment required).
- Monitor fuel economy; investigate any sudden drop with a full system inspection.
Improving fuel system health not only boosts reliability but can significantly enhance fuel efficiency and reduce operational costs.
Brake System Degradation: Recognizing and Resolving Safety Risks
Typical Field Complaints
- Spongy or low brake pedal
- Pulling to one side during braking
- Audible squeal or grind
- Parking brake fails to hold on inclines
Root Causes
- Hydraulic fluid leaks: From lines, calipers, or master cylinders.
- Pad and rotor wear: Especially on heavily loaded front axles.
- Parking brake cable stretch or corrosion: Reducing holding power.
- Aged rubber hoses: Causing internal collapse and uneven braking.
Brake System Safety Checklist
- Inspect all hydraulic lines for wetness, corrosion, or cracks.
- Measure pad thickness and rotor/disc runout.
- Test parking brake on a safe incline; adjust or replace cables as needed.
- Flush brake fluid every 2–3 years to prevent moisture contamination.
- Check for recall notices (NHTSA Recalls) on brake components.
Brake repairs must always prioritize safety—never substitute non-rated components or skip system bleeding after repairs.
Body and Structure: Preventing and Repairing Water Damage, Delamination, and Corrosion
Typical Field Complaints
- Soft spots in floors or walls
- Bubbling or separation of exterior panels
- Visible rust at frame rails or step wells
- Persistent musty odors inside the coach
Root Causes
- Water intrusion: Failed roof seams, window seals, or body seams.
- Material incompatibility: Galvanic corrosion where dissimilar metals meet.
- Road salt and debris: Accelerating frame and underbody corrosion.
- Aging adhesives: Loss of bond strength in sandwich panels.
Body and Structure Inspection Checklist
- Inspect all roof seams and window seals for cracks or gaps.
- Probe flooring near entry doors and slide-outs for soft spots.
- Examine undercarriage for rust, especially at welds and joints.
- Check for panel delamination by tapping and listening for hollow sounds.
- Address any water leaks immediately—dry and treat affected areas to prevent mold.
Modern materials technologies offer improved repair options, but careful diagnosis and moisture control are essential for long-term durability.
Sourcing the Right Parts: Navigating OEM, Aftermarket, and Obsolete Components
The Challenge
Pace Arrow RVs, especially those more than 10 years old, often present parts sourcing challenges:
- OEM part numbers may be superseded or discontinued
- Aftermarket alternatives may not match original fit or performance
- Chassis parts (Ford, GM, Workhorse) often differ from coach-specific components
Solution Path
- Identify by Chassis and Model Year: Use both the vehicle’s VIN and coach build documentation.
- Cross-reference OEM numbers: Consult Pace Arrow Parts Category and manufacturer catalogs.
- Check for updated or compatible parts: Many suspension, brake, and electrical components have modern equivalents.
- Consult fitment guides: Use resources like our Pace Arrow Model Compatibility Guide to avoid costly mistakes.
- Source from reputable suppliers: Always verify return policies and warranty support.
Advertisement
For a deep dive into authentic parts sourcing, see Sourcing Authentic Pace Arrow Parts: What to Know.
Diagnostic Protocols: Field-Tested Methods for Accurate Troubleshooting
Why Standard Protocols Matter
Misdiagnosis is a common cause of repeat repairs and wasted expense. Adhering to proven diagnostic steps ensures:
- Accurate root cause identification
- Minimized parts “throwing”
- Improved repair outcomes and safety
Field-Tested Diagnostic Approach
- Interview the owner: Document all symptoms, usage patterns, and recent repairs.
- Visual inspection: Look for obvious signs of wear, leaks, or corrosion.
- Functional testing: Operate all systems under load—chassis, coach, and generator.
- Systematic isolation: Test components individually (e.g., disconnect coach battery, test alternator output).
- Use professional diagnostic tools: Code readers, pressure gauges, and circuit testers.
Following this protocol, as practiced by experienced Pace Arrow technicians, reduces labor time and increases first-time fix rates.
Preventive Maintenance: The Key to Avoiding Costly Repairs
Field Lessons
The majority of major repairs seen in the service bay could have been prevented with routine maintenance:
- Suspension and steering failures often start with ignored grease points or worn bushings.
- Electrical faults are usually preceded by visible corrosion or loose connections.
- Fuel and brake issues typically develop from skipped filter changes or fluid flushes.
Essential Pace Arrow Maintenance Checklist
- Lubricate all suspension and steering grease points every 6,000 miles or annually.
- Inspect and clean battery terminals and grounds every 3 months.
- Change engine and generator oil at manufacturer-recommended intervals.
- Replace fuel and air filters annually or per schedule.
- Test all lighting and safety systems monthly.
- Inspect roof seams and body seals every 6 months.
For a model-specific checklist, see our Pace Arrow Maintenance Checklist.
Fitment and Compatibility: Ensuring Parts and Systems Work Together
Common Pitfalls
- Mixing coach and chassis parts: Not all Ford/GM chassis parts fit coach-modified systems.
- Incorrect brake or suspension upgrades: Aftermarket kits may require additional modifications.
- Electrical add-ons: Solar, inverters, or entertainment systems can overload original wiring.
Advertisement
Fitment Best Practices
- Always verify part numbers against both chassis and coach documentation.
- Consult compatibility guides before purchasing major components.
- Test-fit new parts before full installation.
- Retain all original hardware and compare to new components.
- Document all modifications for future service reference.
This approach reduces installation errors and ensures long-term reliability.
Real-World Case Studies: Lessons From the Service Bay
Case Study 1: Chronic Battery Drain
Symptom: Multiple owners reported dead batteries after short storage periods.
Diagnosis: Corroded ground strap at the coach-to-chassis interface causing parasitic drain.
Solution: Cleaned and replaced ground strap, sealed with dielectric grease. Batteries maintained charge for over 3 months post-repair.
Case Study 2: Dangerous Brake Pull
Symptom: RV pulled sharply to the right during hard braking.
Diagnosis: Left front brake hose had collapsed internally, restricting fluid flow.
Solution: Replaced both front brake hoses with heavy-duty equivalents, flushed system, and restored balanced braking.
Case Study 3: Water Damage and Soft Floor
Symptom: Spongy entryway floor and musty odor.
Diagnosis: Failed roof seam allowed water intrusion over time, leading to rot.
Solution: Replaced damaged subfloor, resealed roof seams with high-grade RV sealant, and installed moisture barrier.
The AutoPartEx Advantage: Expertise, Sourcing, and Support
AutoPartEx is dedicated to supporting Pace Arrow owners and technicians with:
- Model-specific parts sourcing: Access to both OEM and high-quality aftermarket components.
- Technical documentation and compatibility guides: Reduce guesswork and installation errors.
- Field-tested maintenance protocols: Backed by real-world service expertise.
For those seeking a comprehensive selection of parts, tools, and resources, visit our Pace Arrow Parts Category and bookmark our Pace Arrow OEM Parts: Technical Heritage & Buying Guide | AutoPartEx.
Expert Action: Your Next Steps for Reliable Pace Arrow Ownership
- Schedule a thorough inspection—especially before major trips or after long storage.
- Address minor issues early to prevent escalation into costly repairs.
- Use only quality, compatible parts—cross-reference with model and chassis documentation.
- Adopt a proactive maintenance schedule using the checklists above.
- Leverage AutoPartEx resources for sourcing, diagnostics, and technical support.
By applying these field-proven insights and partnering with a trusted technical resource, you’ll maximize the safety, longevity, and enjoyment of your Pace Arrow RV for years to come.
References
Advertisement