Diagnosing Common Oldsmobile Electrical Issues
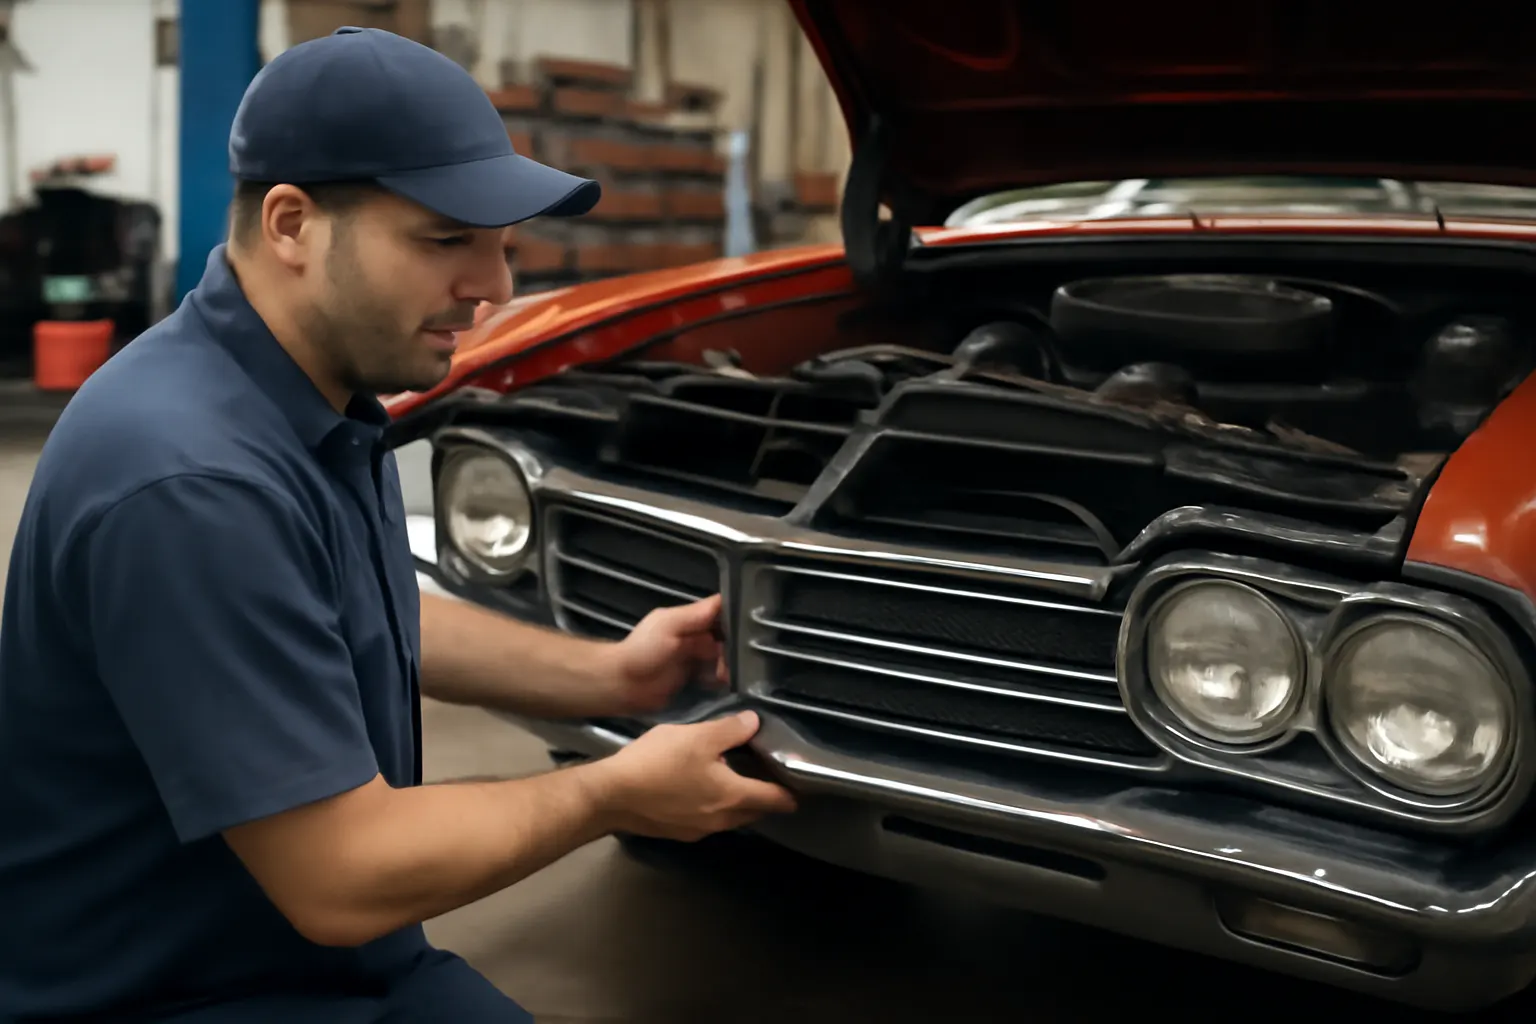
Electrical issues in Oldsmobile vehicles are among the most persistent and frustrating problems faced by owners and restorers. Whether you’re troubleshooting a non-functional power window, an intermittent ignition module, or a mysterious battery drain, knowing where to start can save hours of guesswork and prevent costly misdiagnoses. This in-depth guide from AutoPartEx provides an immediate troubleshooting roadmap for the most common Oldsmobile electrical faults, explains the underlying complexities, and offers expert-backed diagnostic and repair strategies tailored to Oldsmobile models and their unique heritage.
If you’re seeking replacement parts during diagnosis, our Oldsmobile Parts Catalog is a trusted starting point for sourcing OEM and high-quality aftermarket components.
Quick-Start: Immediate Troubleshooting for Oldsmobile Electrical Problems
When an electrical component in your Oldsmobile fails, follow this quick triage to rule out the most common causes:
- Check the Battery: Inspect connections for corrosion and ensure the battery is fully charged. Weak batteries are a frequent source of electrical gremlins.
- Inspect Fuses and Relays: Locate your Oldsmobile’s fuse box (often under the dash or hood) and check all relevant fuses and relays. Replace any that are blown or corroded.
- Test Switches and Connectors: Wiggle switches and connections while monitoring operation. Intermittent faults often point to dirty or loose contacts.
- Assess Grounds: Verify that ground straps and wires are securely fastened and free of rust or paint.
This rapid assessment resolves a surprising number of complaints, especially in classic Oldsmobile models where age-related deterioration is common.
The Hidden Problem: Electrical Complexity in Oldsmobile Vehicles
While the above checklist addresses surface-level issues, Oldsmobiles—especially models from the late 1970s onward—feature increasingly complex electrical architectures. Multiple control modules, layered wiring harnesses, and unique GM-era design quirks mean that a simple symptom (like a window not working) may have several possible root causes.
Hidden issues include:
- Corroded wiring inside harnesses (not visible externally)
- Faulty circuit boards in instrument clusters or climate controls
- Module communication breakdowns (in later models)
- Poor-quality prior repairs or non-OEM splices
Many problems are intermittent, making them hard to reproduce. Owners may fix a symptom temporarily, only for it to return days or weeks later. This complexity is why a systematic, model-specific approach is essential.
Understanding Oldsmobile Electrical System Architecture
To diagnose electrical issues effectively, you need to understand how Oldsmobile’s electrical systems evolved:
- Pre-1980s Models: Simple circuits, mostly analog switches and relays, minimal computerization.
- 1980s–1990s Models: Introduction of electronic control modules (ECMs), digital instrument clusters, and more advanced power accessories.
- Late 1990s–2004: Multiplexed wiring, body control modules (BCMs), and increased reliance on shared grounds and data buses.
Each generation presents unique diagnostic challenges. For example, a 1972 Cutlass will rarely suffer from module failures, while a 1997 Aurora may experience BCM-related issues that mimic simple power failures.
Step-by-Step Diagnostic Process for Common Oldsmobile Electrical Issues
1. Battery and Charging System
- Symptoms: Dim lights, slow cranking, repeated battery failure.
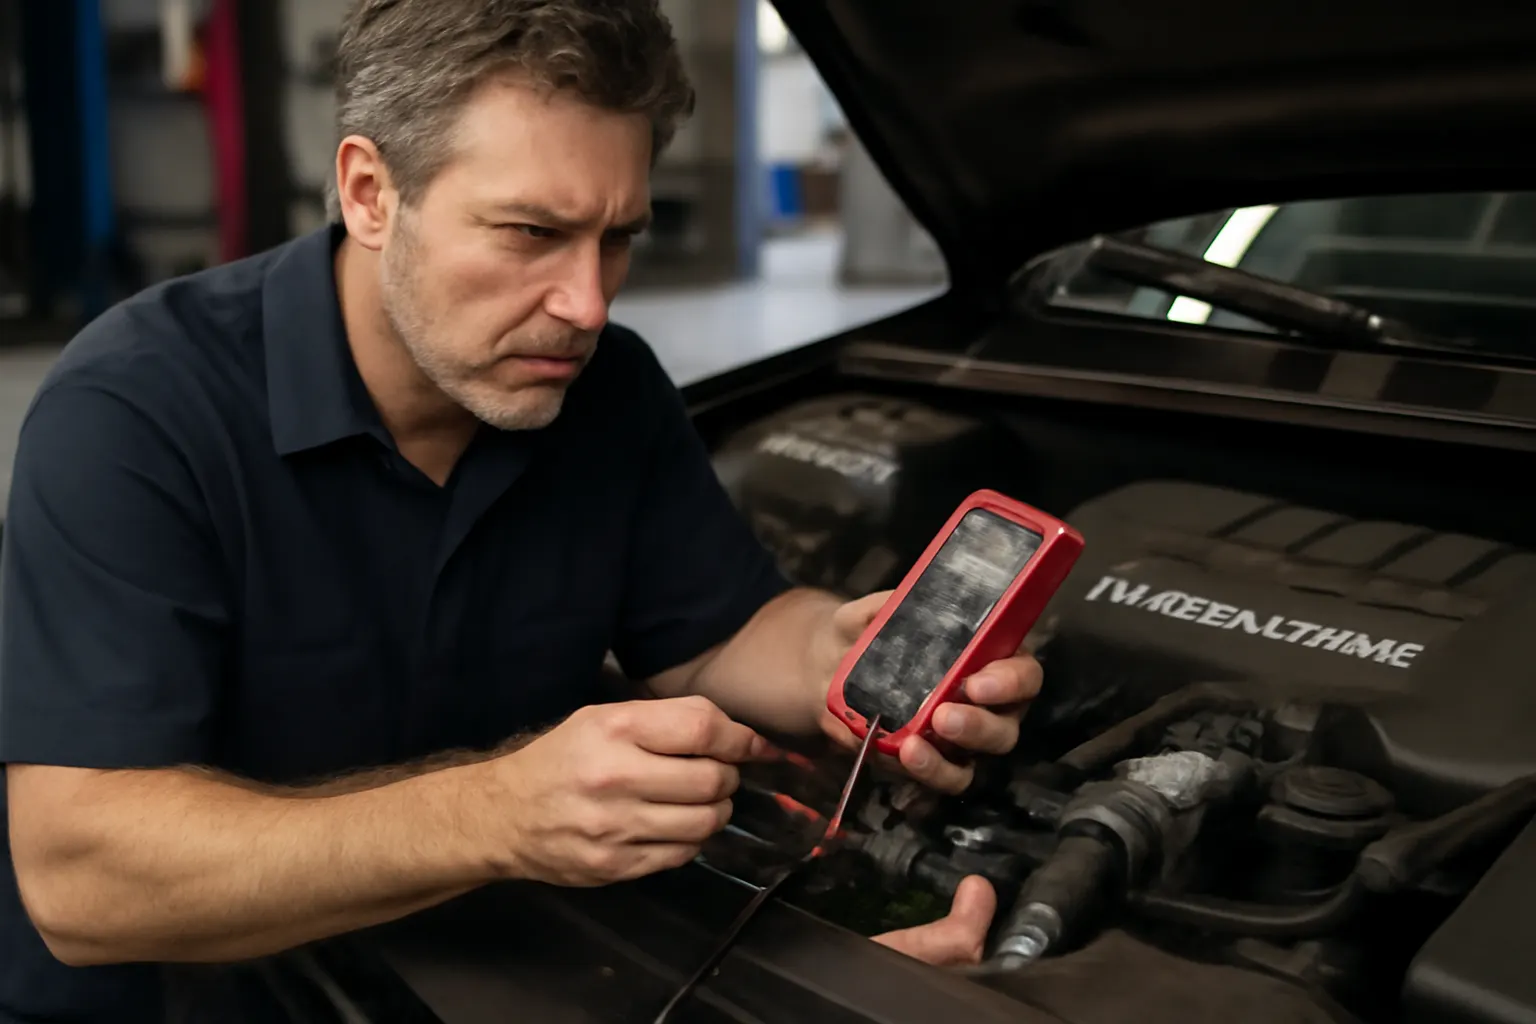
- Diagnosis: Use a multimeter to check resting voltage (should be 12.6V+). With engine running, voltage should rise to 13.8–14.4V (indicating proper alternator output).
- Hidden Issues: Parasitic drains from glove box lights or trunk switches, or poor alternator ground.
- Action: Clean battery terminals, test alternator output, inspect for hidden drains by measuring current draw with ignition off.
2. Power Windows and Door Locks
- Symptoms: One or more windows/locks fail to operate, slow movement, or intermittent function.
- Diagnosis: Listen for motor noise. If silent, check for power at the switch and motor. If present, suspect a failed motor or jammed regulator. If absent, suspect switch, wiring, or fuse.
- Hidden Issues: Broken wire in driver’s door jamb (common on high-mileage cars), or corroded switch contacts.
- Action: Test continuity across door harness, inspect for pinched or broken wires, clean switch contacts, and replace as needed.
3. Ignition System and No-Start Conditions
- Symptoms: Engine cranks but does not start, or starts intermittently.
- Diagnosis: Check for spark at the plugs. If absent, test ignition module and crank sensor. If present, check for fuel delivery.
- Hidden Issues: Heat-soaked ignition modules or failing ECMs (especially on late-’80s/early-’90s 3.8L and 3.1L engines).
- Action: Use a test light or spark tester, substitute known-good modules if possible, and inspect ECM grounds.
4. Lighting System: Headlights, Taillights, and Dash Illumination
- Symptoms: One or more lights not functioning, flickering, or dim operation.
- Diagnosis: Check bulbs and sockets, then test for voltage at the socket. Inspect headlight switch and dimmer.
- Hidden Issues: Faulty headlight relays or corroded ground points, especially at rear lamp assemblies.
- Action: Replace bulbs, clean contacts, and verify ground continuity with a multimeter.
Key Electrical Faults by Oldsmobile Model Generation
Different Oldsmobile generations exhibit unique electrical trouble patterns:
| Model Era | Common Electrical Issues | Diagnostic Focus Areas |
|---|---|---|
| 1960s–1970s | Charging system, basic lighting, horn circuits | Fuses, switches, simple wiring faults |
| 1980s | Power windows/locks, digital dash, ECM failures | Door harnesses, dash clusters, ECM |
| 1990s–2004 | BCM failures, multiplexing, airbag lights | Module diagnostics, data bus faults |
Example: The 1988 Oldsmobile Cutlass Supreme is notorious for power window failures due to broken wires in the door harness, while the 1999 Intrigue may exhibit BCM-related no-starts and security system faults.
In-Depth: Diagnosing Power Window and Door Lock Failures
Power window and lock issues are among the most reported electrical faults in Oldsmobile vehicles—especially those built from the mid-1980s onward. Here’s a model-agnostic, step-by-step diagnostic flow:
Power Window/Lock Diagnostic Checklist
- Test All Switches: Try both driver and passenger switches for each window/lock.
- Listen for Motor: Audible clicks or movement indicate the switch is working.
- Check Fuses: Consult the owner’s manual or fuse box diagram.
- Inspect Door Harness: Open the door and flex the harness; intermittent operation often points to broken wires.
- Test for Power: Use a multimeter at the motor connector.
- Check Grounds: Confirm ground wire integrity at the door and chassis.
- Inspect Regulator/Mechanism: Remove door panel if power is present but window/lock doesn’t move.
Pro Tip: On many Oldsmobiles, the driver’s door harness is the most failure-prone due to frequent movement.
Ignition System Faults: From Switch to Module
Ignition-related electrical faults can leave your Oldsmobile stranded. Here’s how to isolate the problem:
- Ignition Switch: Test for 12V at the coil and module with the key in “run” and “start” positions.
- Ignition Module: Remove and have it tested at a parts store (many offer free bench testing).
- Crank/Cam Sensors: Use a scan tool (on OBD-I/II models) or oscilloscope to verify signal output.
- ECM/PCM: If all else fails, check for ECM power and ground, and scan for trouble codes if equipped.
Common Failure: Heat-induced module failure is rampant on 1980s/1990s Oldsmobiles, especially after short trips or hot restarts.
Lighting System Issues: Headlights, Tail Lamps, and Instrument Illumination
Lighting failures are safety-critical and often traceable to simple causes:
- Bulb Failure: Replace with correct wattage and type.
- Socket Corrosion: Clean with electrical contact cleaner and a wire brush.
- Headlight/Dash Switch: Test for continuity and replace if erratic.
- Grounds: Inspect and clean ground points at lamp assemblies and under the dash.
Instrument Panel Dimming: Often caused by a failing dimmer switch or cracked circuit board in digital clusters.
Parasitic Battery Drain: Finding Hidden Power Losses
Classic and late-model Oldsmobiles alike can develop parasitic drains that kill the battery overnight. Typical culprits:
- Glove box or trunk lights stuck on
- Faulty relay sticking closed
- Aftermarket alarms or stereos
- Shorted modules (especially BCMs)
Diagnosis: With the vehicle off, connect an ammeter in series with the battery and begin pulling fuses one at a time. A sudden drop in current pinpoints the offending circuit.
Sourcing Quality Oldsmobile Electrical Parts
Using the correct replacement parts is crucial for lasting repairs. Genuine Oldsmobile or high-quality aftermarket components ensure fitment and reliability. Avoid generic relays, switches, or modules that may not meet GM’s original specifications, leading to repeat failures or fitment headaches.
For trusted sourcing, visit our Oldsmobile OEM & Replacement Parts: Heritage, Fitment, & Expert Sourcing page for curated options, or consult the Oldsmobile Parts Catalog for direct-fit replacements.
Tip: Always match part numbers and connector styles when ordering electronic modules or harnesses, as minor differences can cause major compatibility issues.
Preventive Maintenance for Oldsmobile Electrical Systems
Proactive care minimizes electrical headaches:
- Clean Battery Terminals: At every oil change, clean and protect with dielectric grease.
- Inspect Grounds: Annually check all visible ground straps and wires; tighten and clean as needed.
- Check Harness Flex Points: Focus on door jambs, trunk hinges, and under-dash areas.
- Replace Fuses with Correct Ratings: Never upsize a fuse to solve a recurring issue; find and fix the root cause.
Annual Electrical Health Checklist
- Test battery and charging system
- Inspect exterior and interior lighting
- Test all power accessories
- Scan for fault codes (if applicable)
- Lubricate window and lock mechanisms
When to Seek Professional Help
Some electrical issues, especially those involving airbag systems, ABS, or multiplexed data lines, require advanced diagnostic tools and expertise. If you encounter:
- Persistent module communication errors
- Airbag or ABS warning lights that return after reset
- Untraceable battery drains
- Wiring harness damage beyond simple repair
...it’s time to consult a technician with factory-level diagnostic equipment and Oldsmobile experience.
Avoiding Common Pitfalls in Oldsmobile Electrical Repairs
- Don’t Overlook Grounds: Many “mystery” faults are simply bad grounds.
- Avoid Universal Parts: Use model-specific relays, switches, and modules.
- Don’t Ignore Recalls: Some electrical faults are subject to manufacturer recalls. Check your VIN at the NHTSA Recalls Database.
- Document Repairs: Keep a log of electrical work—future troubleshooting is easier with a record of what’s been done.
AutoPartEx: Your Partner in Precision Oldsmobile Electrical Diagnostics
At AutoPartEx, we understand the intricacies of diagnosing and repairing Oldsmobile electrical systems. Our curated parts catalog, fitment data, and technical resources empower owners and restorers to achieve factory-level reliability. Whether you’re restoring a classic Cutlass or maintaining a late-model Aurora, our expertise and inventory ensure the right part, every time.
Explore more about authentic parts identification in our guide: How to Identify Genuine Oldsmobile Parts, or discover expert sourcing strategies in Restoring a Classic Oldsmobile: Sourcing Tips.