Advertisement
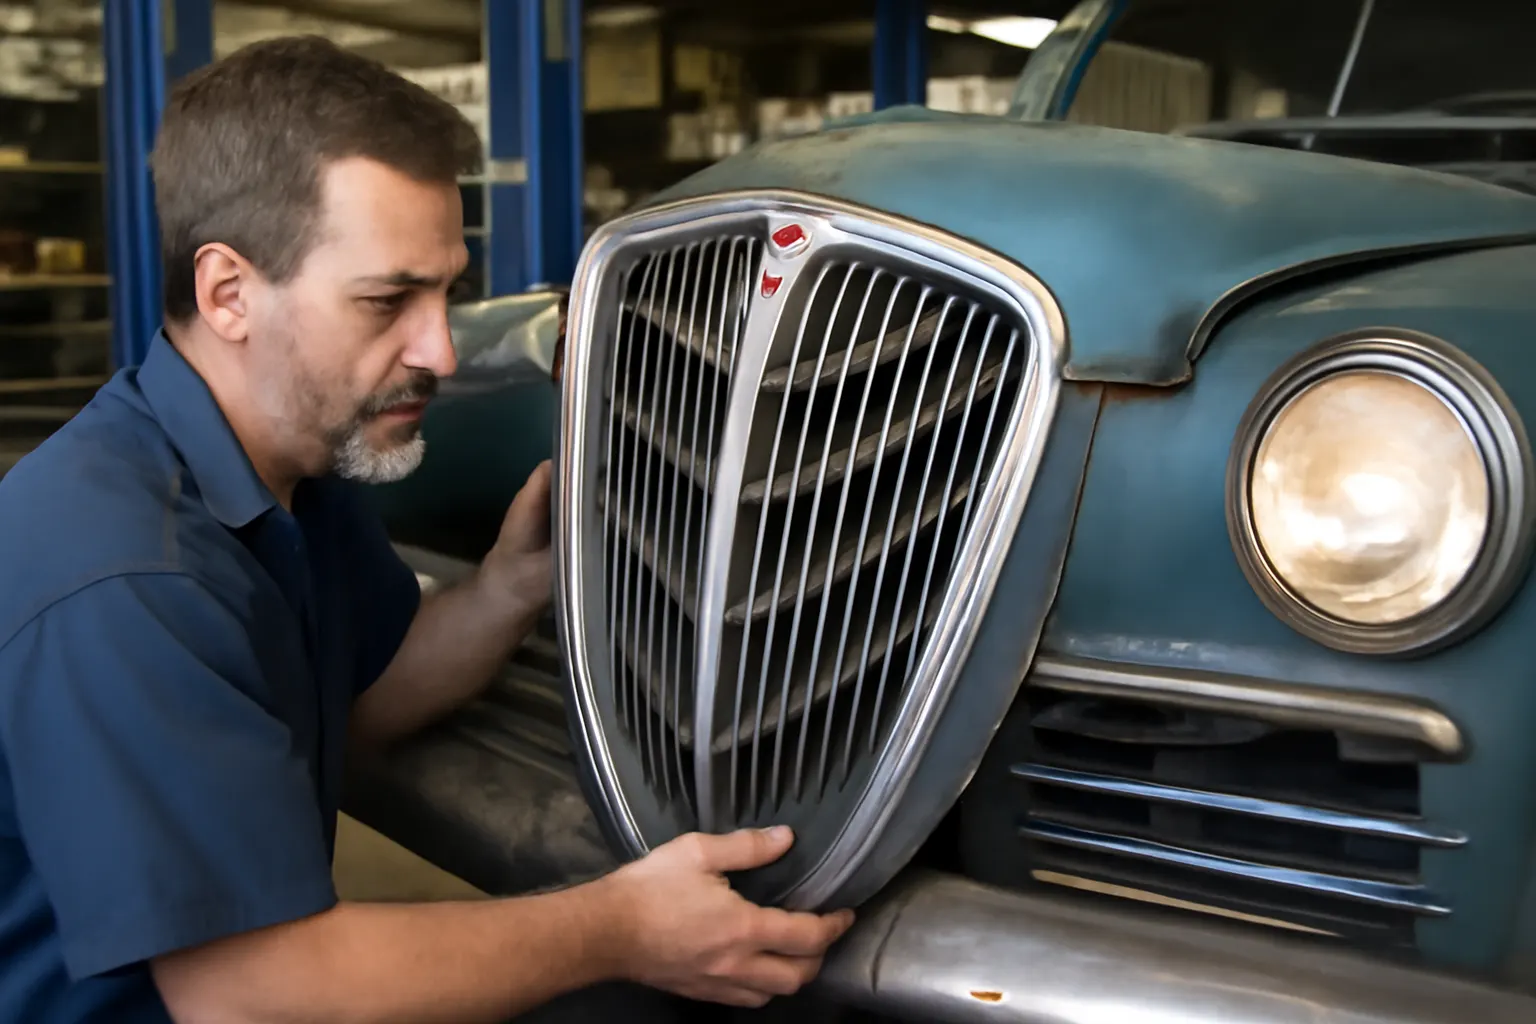
Restoring a Kaiser vehicle is a journey through automotive history—one that rewards the patient and the detail-oriented with unmatched authenticity and driving pleasure. This Kaiser Restoration Blog dives deep into real-world service reports, field-proven diagnostic patterns, and best practices that bridge heritage with modern reliability. Whether you’re tackling a frame-up restoration or searching for the right part, you’ll find practical, technically grounded guidance here—rooted in current standards, safety regulations, and the realities of the classic Kaiser enthusiast’s garage.
To further explore Kaiser’s engineering legacy, fitment guidance, and sourcing strategies, visit our Kaiser Auto Parts: Heritage, Engineering, and Authentic Replacement Guidance hub.
Immediate Answer: Proven Kaiser Restoration Solutions
What actually works for Kaiser restoration in 2026?
The most successful Kaiser restorations rely on a blend of accurate diagnostics, adherence to modern safety and equipment standards, and strategic sourcing of authentic components. Real-world service reports show that methodical troubleshooting—especially of electrical systems, fuel delivery, and structural integrity—yields the most reliable results. Pair this with a disciplined approach to sourcing, using verified fitment data and cross-referencing SAE standards, and you’ll avoid costly missteps while preserving authenticity.
The Hidden Challenge: Why Kaiser Restorations Are Uniquely Complex
Kaiser vehicles present restoration challenges that go beyond typical classic cars.
While their robust engineering and distinctive design are admired, Kaiser models often feature non-standardized parts, proprietary fasteners, and unique body construction methods. The scarcity of OEM components, along with evolving safety and performance expectations, means that restoration is not just about “making it run”—it’s about making it safe, compliant, and true to heritage.
Many new restorers underestimate the complexity of integrating modern safety equipment, sourcing rare fasteners, or diagnosing intermittent electrical faults rooted in vintage wiring harnesses. These issues rarely have simple, one-size-fits-all solutions, and incorrect approaches can compromise both authenticity and safety.
Deeper Technical Explanation: What the Field Reports Reveal
Service case studies and shop reports from the last five years highlight recurring Kaiser restoration themes:
- Electrical System Vulnerabilities: Original cloth-wrapped wiring, corroded connectors, and aged switches are frequent sources of intermittent faults. These issues are compounded by the lack of standardized color-coding in earlier models.
- Fuel System Degradation: Ethanol-blended modern fuels can deteriorate original rubber lines and gaskets, causing leaks and vapor lock. Carburetor rebuilds often require custom gaskets due to dimensional drift in aged housings.
- Chassis and Suspension Wear: Decades-old bushings, kingpins, and leaf springs exhibit play not visible during static inspections. Frame rust—especially in subframe and mounting points—can be hidden under undercoating or previous repairs.
- Brake System Shortcomings: Drum brakes, single-circuit master cylinders, and obsolete friction materials present both safety and sourcing challenges. Modern DOT regulations and NHTSA guidelines recommend replacement or upgrade for reliable operation.
These technical issues underscore the importance of a structured restoration process, grounded in diagnostic rigor and up-to-date safety standards.
Solution Path: A Step-by-Step Kaiser Restoration Framework
1. Initial Assessment and Documentation
Start with a comprehensive inspection and documentation process. Photograph and tag every component—especially wiring, connectors, and fasteners unique to Kaiser. Use a restoration logbook to record serial numbers, casting codes, and any evidence of prior modifications. This creates a reference for sourcing, fitment, and reassembly.
2. Safety and Standards Compliance
Reference current NHTSA equipment standards and SAE International standards as you plan your restoration. Prioritize systems that affect safety—brakes, steering, lighting, and glass. For example, upgrading to dual-circuit master cylinders or installing modern seat belts can be done discreetly, maintaining period-correct appearance while meeting modern safety expectations.
3. Diagnostic Testing and Subsystem Evaluation
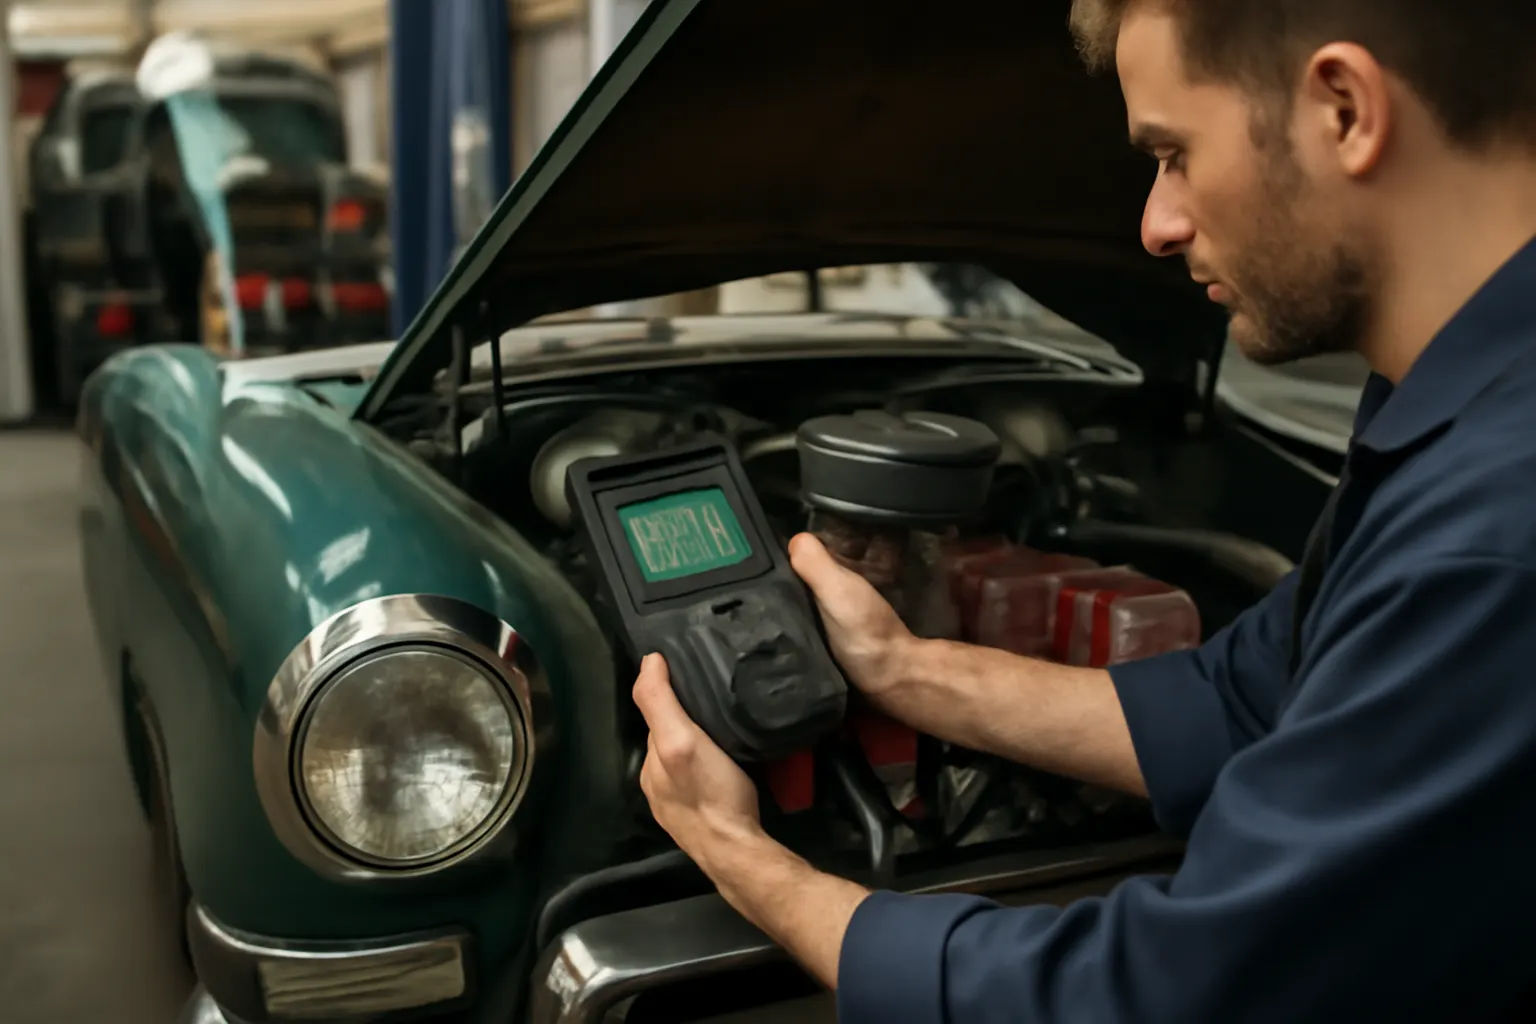
Systematically test electrical, fuel, and hydraulic systems before disassembly. Use a digital multimeter to check for voltage drops and ground faults in the original harness. Pressure-test fuel and cooling systems to identify leaks. Test compression and vacuum to assess engine health. These diagnostics reveal hidden issues that may not be visible—and inform your sourcing and rebuild plans.
Advertisement
4. Strategic Sourcing and Fitment
Leverage resources like the Kaiser Fitment Guide: Compatibility & Sourcing for cross-referencing part numbers, dimensions, and interchangeability with other period vehicles. When sourcing rare OEM parts, consult Sourcing Rare OEM Parts in 2024 for modern strategies, including networking with specialist suppliers, using digital archives, and verifying authenticity with casting codes and material analysis.
5. Assembly, Testing, and Documentation
During reassembly, use anti-corrosion treatments and modern lubricants where appropriate, but document any deviations from original spec. Road-test systems incrementally—brakes, steering, and electrical—before final trim-out. Maintain a detailed service and restoration record for future reference and value retention.
Diagnostic Patterns: Common Kaiser Faults and Fixes
Electrical System Checklist
- Symptom: Intermittent lighting, weak horn, or non-functional gauges.
- Diagnosis: Inspect all grounds, particularly at the firewall and under-dash. Use continuity testing to locate breaks in original harness. Replace corroded connectors with period-correct reproductions when available.
- Fix: Rewire with cloth-braided, color-matched wire for authenticity. Use modern fuses or circuit breakers discretely installed in-line for added protection.
Fuel System Checklist
- Symptom: Hard starting, fuel leaks, or vapor lock.
- Diagnosis: Inspect rubber lines for swelling or cracking (ethanol damage). Test fuel pump pressure and carburetor float operation.
- Fix: Replace all rubber components with ethanol-resistant hose. Rebuild carburetor with modern gaskets and needle/seat assemblies. Consider a heat shield for carburetor in hot climates.
Brake System Checklist
- Symptom: Spongy pedal, poor stopping power, or fluid leaks.
- Diagnosis: Inspect all wheel cylinders, master cylinder, and lines for leaks or corrosion. Measure drum and shoe wear against SAE standards.
- Fix: Replace all hydraulic components with new or properly sleeved parts. Upgrade to dual-circuit master cylinder if possible. Use DOT 3 or DOT 4 brake fluid per component compatibility.
Case Study: 1953 Kaiser Manhattan Electrical Restoration
A recent shop report documented the restoration of a 1953 Kaiser Manhattan’s electrical system. The vehicle exhibited frequent fuse blows and erratic gauge readings. Inspection revealed multiple worn wires with cracked insulation and oxidized terminals at the fuse block.
Diagnostic steps included:
- Removing the dash to access the full harness.
- Using a continuity tester and wiring diagram sourced from the original shop manual.
- Tagging each circuit and replacing wires with new cloth-braided conductors.
Key findings:
- The voltage regulator was outputting excessive voltage, damaging bulbs and gauges. Replacement with a modern solid-state unit, hidden in an original-style case, resolved this while preserving appearance.
- All grounds were upgraded using star washers and dielectric grease to prevent future corrosion.
This restoration demonstrates the importance of baseline testing and the value of modern components that mimic original appearance while significantly improving reliability.
Sourcing Authentic Kaiser Parts: Modern Strategies
Locating genuine Kaiser components in 2026 requires a multi-pronged approach:
- Digital Archives and Specialist Networks: Tap into digital catalogs, enthusiast forums, and specialist suppliers with inventory from estate sales or closed dealerships. Cross-reference casting numbers and part codes to verify authenticity.
- Material Verification: Use material analysis (e.g., magnet testing, alloy comparison) to distinguish original castings from reproductions, especially for critical components like brake drums or intake manifolds.
- Fitment Cross-Checks: Consult fitment guides and SAE interchange tables to identify compatible parts from other period vehicles, such as Willys or early Jeep models, without compromising originality.
For more on sourcing strategies, see Sourcing Rare OEM Parts in 2024.
The Importance of Safety: Integrating Modern Standards
Restoring a Kaiser is not just about aesthetics—it’s about ensuring the vehicle meets modern safety expectations. The National Highway Traffic Safety Administration (NHTSA) provides up-to-date equipment standards for lighting, glass, brakes, and restraint systems. While full compliance is not always legally required for classics, integrating key upgrades is strongly recommended:
Advertisement
- Brake System: Upgrading single-circuit to dual-circuit master cylinders adds redundancy.
- Lighting: Replace sealed beams with modern halogen or LED units in original housings for better visibility.
- Seat Belts: Install modern seat belts using factory mounting points or reinforced anchor plates.
- Glass: Replace delaminated or yellowed safety glass with modern laminated equivalents.
These upgrades can be executed discreetly, preserving the period look while dramatically improving safety for regular driving.
Fuel System Modernization for Reliability
Modern fuels (especially E10/E15 blends) can wreak havoc on original Kaiser fuel systems. Ethanol attacks vintage rubber, cork, and zinc components, leading to leaks, swelling, and premature failure.
Best practices for fuel system reliability:
- Replace all flexible lines with fuel injection–rated, ethanol-resistant hose.
- Use modern float and gasket kits during carburetor rebuilds.
- Consider a low-pressure electric fuel pump (hidden near the tank) to assist with priming and prevent vapor lock in hot climates.
- Clean and seal the fuel tank with an ethanol-compatible liner to prevent corrosion.
Reference Fuel Efficiency guidelines for additional tips on optimizing performance and economy in classic vehicles.
Chassis and Structural Integrity: Inspection and Repair
Kaiser vehicles were engineered with robust frames and innovative body construction, but decades of exposure can lead to hidden corrosion and fatigue.
Inspection checklist:
- Examine subframe mounts, suspension pickup points, and trunk floors for rust-through or prior repairs.
- Tap suspect areas with a ball-peen hammer to detect thin spots.
- Use a borescope or inspection camera to view inside boxed frame sections.
- Check for frame twist or sag by measuring door gaps and body alignment.
Repair tips:
- Weld in new steel patches using butt joints for strength and minimal distortion.
- Use weld-through primer and cavity wax to protect repairs.
- Replace bushings and body mounts with modern equivalents for improved ride quality.
Authenticity vs. Usability: Striking the Right Balance
While purists may insist on 100% originality, real-world service reports show that select upgrades can dramatically improve reliability and safety without detracting from the Kaiser’s historical value.
Where to draw the line:
- Use reproduction wiring, hoses, and hardware that visually match originals but offer modern performance.
- Hide upgraded components (e.g., electronic ignition, solid-state voltage regulators) inside original housings.
- Document all changes in the restoration log for future reference and provenance.
For guidance on parts authenticity, see the Classic Car Parts Authenticity Guide.
Shop-Tested Restoration Checklist
Kaiser Restoration: Field-Proven Checklist
| System | Inspection Points | Recommended Action |
|---|---|---|
| Electrical | Harness, connectors, grounds | Rewire with period-correct materials |
| Fuel | Lines, pump, carburetor, tank | Replace with ethanol-safe components |
| Brakes | Master/wheel cylinders, lines, shoes | Upgrade to dual-circuit, replace friction |
| Chassis | Frame, mounts, bushings, alignment | Repair rust, replace bushings |
| Suspension | Leaf springs, kingpins, shocks | Replace worn parts, lube all points |
| Safety Equipment | Seat belts, glass, lighting | Install modern upgrades discreetly |
| Documentation | Serial numbers, casting codes, mods | Maintain detailed restoration log |
AutoPartEx: Your Partner in Kaiser Restoration
At AutoPartEx, we understand the technical, logistical, and emotional investment required to restore a Kaiser. Our content, fitment guides, and parts sourcing expertise are designed to support enthusiasts at every stage—from initial assessment to final road test. By grounding our advice in verified standards (SAE International), shop-tested diagnostics, and modern safety expectations, we help you avoid common pitfalls and achieve restorations that are both true to heritage and ready for the road.
For additional technical guidance and sourcing support, explore the Kaiser Fitment Guide: Compatibility & Sourcing and our comprehensive Kaiser Auto Parts: Heritage, Engineering, and Authentic Replacement Guidance pages.
Expert Action: Next Steps for the Kaiser Restorer
- Start with a detailed inspection and documentation phase—don’t skip the basics.
- Prioritize safety-critical systems and reference current NHTSA and SAE standards.
- Use field-proven diagnostic patterns to guide your troubleshooting and repairs.
- Leverage modern sourcing strategies to secure authentic, reliable parts.
- Document every step for future reference, resale, and community knowledge-sharing.
With patience, technical rigor, and the right resources, your Kaiser restoration can become both a rolling tribute to automotive heritage and a safe, enjoyable classic for years to come.
References
Advertisement