Diagnosing Cadillac Electronic Systems: Shop Insights
Modern Cadillacs are renowned for their sophisticated electronic systems—ranging from adaptive suspensions and advanced infotainment to intricate safety modules. When these electronics falter, accurate diagnostics and targeted troubleshooting become critical. This guide delivers actionable shop-level insights for diagnosing Cadillac electronic systems, focusing on real-world patterns, common failures, and proven repair strategies. For a comprehensive selection of authentic components that ensure fitment and performance, see our Cadillac OEM Parts: Technical Fitment, Authenticity & Sourcing | AutoPartEx page.
The Immediate Answer: Rapid Diagnosis of Cadillac Electronics
When faced with a malfunctioning Cadillac infotainment display, erratic adaptive suspension, or non-responsive advanced driver-assistance system (ADAS), the fastest path to resolution is a structured diagnostic approach:
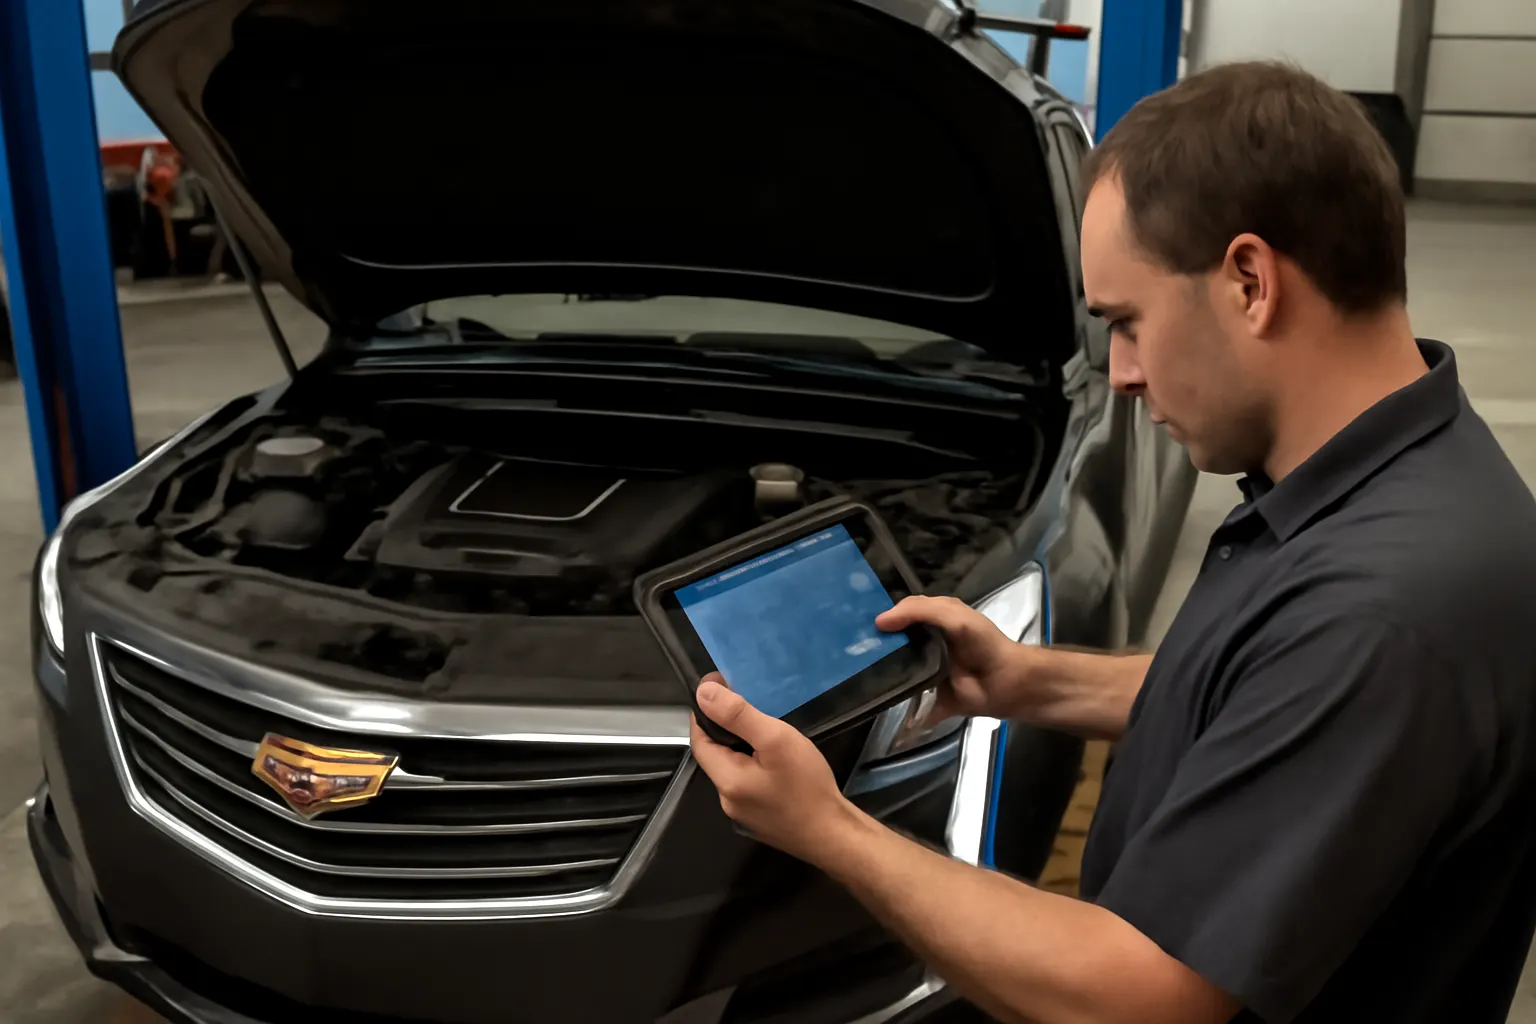
- Scan for Diagnostic Trouble Codes (DTCs): Always begin with a full system scan using a GM Tech 2, MDI, or a high-quality aftermarket scanner with Cadillac coverage.
- Check Power and Grounds: Confirm that modules receive proper voltage and ground at their connectors.
- Assess Communication Networks: Modern Cadillacs use multiple data buses (CAN, LIN, FlexRay). A single bus fault can cripple several systems.
- Prioritize Common Failure Points: Focus on connectors, module firmware, and known service bulletins for your model year.
The Hidden Problem: Complexity and Interdependence
Behind the apparent malfunction, Cadillac’s advanced electronics create hidden diagnostic challenges. A single fault in a seemingly unrelated system—like a corroded ground in the trunk—can trigger cascading failures across infotainment, ride control, and safety modules. The proliferation of interconnected modules means that root causes are often masked by secondary symptoms, complicating both diagnosis and repair.
Why Cadillac Electronics Are Uniquely Challenging
Cadillac’s commitment to luxury and technology results in:
- Multiple Networked Modules: Powertrain, body control, infotainment, suspension, and safety systems all communicate continuously.
- Proprietary Firmware: Many modules require dealer-level tools for reprogramming or adaptation.
- Sensitive Sensors: Adaptive suspensions and active safety features rely on precise sensor inputs, which are vulnerable to environmental and wear-related failures.
Expanding the Problem: Technical Depth and Real-World Patterns
Understanding the depth of Cadillac’s electronic architecture is essential for effective troubleshooting. Below, we expand on the most critical systems, their common failure patterns, and diagnostic nuances.
Infotainment System Failures
Cadillac CUE (Cadillac User Experience) and its successors are central to driver comfort and control. Common issues include:
- Unresponsive Touchscreens: Often caused by failed digitizers or internal display controller faults.
- Audio Malfunctions: Amplifier failures or network communication drops can silence the sound system.
- Connectivity Issues: Bluetooth and USB interfaces may fail due to software glitches or physical port wear.
Key Diagnostic Steps
- Firmware Checks: Always verify the module’s software version and update as necessary.
- Physical Inspection: Look for water intrusion, especially in models with panoramic roofs.
- Network Analysis: Use scan tools to check for lost communication DTCs across the infotainment bus.
Adaptive Suspension and Magnetic Ride Control
Cadillac’s Magnetic Ride Control (MRC) and Air Ride systems deliver dynamic handling but introduce diagnostic complexity:
- Ride Height Errors: Faulty height sensors or leaking air struts are frequent culprits.
- Dampening Faults: MRC dampers can fail electrically or hydraulically, often flagged by specific DTCs.
- Compressor Issues: Air ride compressors wear out or suffer from relay and fuse failures.
Diagnostic Checklist: Adaptive Suspension
| Step | Action |
|---|---|
| Scan for DTCs | Identify module-specific codes for suspension faults |
| Inspect Ride Height Sensors | Check for physical damage or disconnected wiring |
| Test Compressor Operation | Listen for noise; check relay, fuse, and output |
| Measure Damper Resistance | Verify ohms at damper connectors per service manual |
| Check for Air Leaks | Use soapy water on lines and air struts |
Advanced Driver-Assistance Systems (ADAS)
Cadillac’s suite of safety electronics includes adaptive cruise, lane-keeping, and collision avoidance:
- Sensor Alignment: Radar and camera modules require precise calibration after any front-end work.
- Communication Failures: Module communication errors may result from harness damage or low battery voltage.
- Software Updates: Many ADAS features rely on up-to-date software; outdated modules may malfunction or lose features.
Solution Path: Step-By-Step Diagnostic and Repair Strategies
A methodical approach is essential for efficient Cadillac electronics diagnostics. Below, we outline a proven workflow:
1. Full System Scan and Data Logging
Start by connecting a scan tool capable of reading all Cadillac modules. Record all DTCs, even those marked as “history” or “intermittent.” These codes provide insight into the timeline and interrelation of failures.
- Tip: Use OEM-level tools like GM Tech 2 or MDI for full access to proprietary modules.
2. Visual and Physical Inspection
Before replacing components, physically inspect:
- Harnesses and Connectors: Look for corrosion, loose pins, and signs of rodent damage.
- Module Mounting Locations: Water intrusion and vibration can cause intermittent faults.
- Ground Points: Verify clean, tight grounds at all major chassis and module locations.
3. Power, Ground, and Network Checks
Use a digital multimeter and backprobe at module connectors to confirm:
- Battery Voltage at Modules: Low voltage can trigger false DTCs and erratic behavior.
- Ground Integrity: High resistance at ground points can cause communication failures.
- Network Continuity: Check for shorts or opens in CAN/LIN/FlexRay wiring.
4. Software and Firmware Verification
Update software and firmware as needed:
- Infotainment Modules: Update via USB or dealer tool per TSB instructions.
- ADAS and Suspension Controllers: Reflash or calibrate using OEM software.
5. Targeted Component Testing
Once the basics are confirmed, test suspect components:
- Sensors: Use scan tool live data to verify output; compare left/right or front/rear values.
- Actuators: Command on/off via scan tool and observe physical response.
- Modules: Substitute with known-good units only after confirming all other factors.
6. System Calibration and Adaptation
Many Cadillac systems require recalibration after repairs:
- ADAS Cameras and Radar: Use alignment targets and scan tool procedures.
- Suspension Leveling: Reset ride height sensors and recalibrate air/MRC systems.
- Infotainment Personalization: Restore user settings and preferences.
Real-World Case Studies: Common Cadillac Electronic Failures
Case Study 1: 2018 Cadillac Escalade Infotainment Blackout
Symptoms: Blank touchscreen, no audio, HVAC controls unresponsive.
Diagnosis:
- Multiple Uxxx communication DTCs present.
- Inspection revealed water intrusion at the rear fuse block (common in Escalades with roof leaks).
- Corrosion at fuse terminals caused intermittent module power loss.
Resolution:
- Cleaned and replaced corroded fuses, dried harness, and resealed roof drains.
- Performed full system reset and updated infotainment firmware.
- Restored full function and cleared all DTCs.
Case Study 2: 2020 Cadillac CT6 Adaptive Suspension Warning
Symptoms: “Service Suspension System” message, harsh ride.
Diagnosis:
- C1035 DTC for left front ride height sensor circuit.
- Visual inspection found broken sensor mounting tab from curb impact.
- Verified sensor output was out of range.
Resolution:
- Replaced ride height sensor and mounting hardware.
- Cleared codes and recalibrated suspension using scan tool.
- Ride quality and warning message resolved.
Case Study 3: 2017 Cadillac XT5 Lane Keep Assist Failure
Symptoms: Lane Keep Assist inoperative, warning light on.
Diagnosis:
- B101D DTC for front camera communication.
- Found loose camera harness connector following windshield replacement.
- No other ADAS codes present.
Resolution:
- Secured connector, verified proper routing.
- Performed camera calibration procedure.
- System fully restored.
Preventive Maintenance for Cadillac Electronics
Proactive maintenance reduces the risk of electronic failures:
- Inspect Harnesses Routinely: Especially in areas prone to moisture or abrasion.
- Clean and Protect Connectors: Use dielectric grease on exposed terminals.
- Update Software Regularly: Follow manufacturer bulletins for infotainment and ADAS.
- Monitor Battery Health: Weak batteries can cause widespread module errors.
Maintenance Checklist for Cadillac Electronic Systems
| Task | Frequency | Notes |
|---|---|---|
| Scan for DTCs | Every 6 months | Even if no warning lights are present |
| Visual harness inspection | Annually | Focus on underbody, trunk, and roof areas |
| Clean battery terminals | Annually | Prevents low-voltage module faults |
| Update infotainment software | As needed | Check for TSBs and updates |
| Test ride height sensors | Annually | Especially after suspension work |
Sourcing Authentic Cadillac Electronic Parts
When replacement is necessary, sourcing genuine parts is critical for system reliability and safety. Aftermarket or counterfeit modules may not communicate properly or could introduce new faults. For model-specific fitment and authenticity guidance, refer to our Cadillac OEM Parts Guide: Model-Specific Fitment & Sourcing.
Why OEM Parts Matter
- Guaranteed Compatibility: Modules and sensors are programmed for specific Cadillac models and years.
- Safety Compliance: Only OEM parts are tested to meet NHTSA equipment standards.
- Firmware Support: OEM modules can be updated and calibrated with dealer tools.
Avoiding Counterfeit Electronics
Counterfeit electronic modules are a growing problem. They may appear identical but often lack proper internal components or firmware, leading to unpredictable failures. Learn to spot and avoid these with our guide: How to Detect Counterfeit Cadillac Parts.
Fitment and Installation Tips for Cadillac Electronics
Correct installation is as important as sourcing the right part. Improper fitment or missed calibration steps can result in persistent DTCs or compromised performance.
Installation Best Practices
- Always Disconnect the Battery: Prevents accidental shorts and module damage.
- Follow Torque Specs: Over-tightening can damage connectors or mounting points.
- Route Harnesses Properly: Avoid pinch points and ensure slack for suspension movement.
- Perform Required Calibrations: Use scan tools to complete all post-installation procedures.
Fitment Checklist for Modules and Sensors
| Component | Key Fitment Steps |
|---|---|
| Infotainment Module | Secure mounting, connect all antenna leads |
| Ride Height Sensor | Align per service manual, calibrate height |
| ADAS Camera/Radar | Mount to spec, perform scan tool alignment |
| Air Suspension Compressor | Isolate from moisture, verify relay/fuse |
Common Pitfalls and How to Avoid Them
Even experienced technicians can encounter pitfalls. Awareness of these common traps improves first-time fix rates:
- Skipping Software Updates: New modules often require programming to function.
- Ignoring Ground Faults: Many “module failures” are actually ground issues.
- Overlooking Harness Damage: Especially after collision or water intrusion.
- Assuming Aftermarket Parts Will Work: Non-OEM electronics frequently fail to integrate.
When to Seek Expert Help
Some Cadillac electronic faults—especially those involving security modules, immobilizers, or advanced driver assistance—require dealer-level tools and expertise. If diagnostics point to a module programming or network configuration issue, professional intervention is advised.
- Airbag and Safety System Repairs: Always follow NHTSA guidelines for safety-critical systems.
- High-Voltage Hybrid/Electric Systems: Specialized training and PPE required.
The AutoPartEx Advantage: Your Partner in Cadillac Electronics
At AutoPartEx, we understand the technical demands of modern Cadillac diagnostics and repairs. Our curated inventory of OEM electronic modules, sensors, and harnesses ensures first-time fitment and long-term reliability. Whether you’re a shop owner, technician, or enthusiast, our technical resources and sourcing expertise help you resolve complex electronic issues with confidence.
Explore the full range of authentic Cadillac parts and technical fitment guidance at Cadillac OEM Parts: Technical Fitment, Authenticity & Sourcing | AutoPartEx. For restoration projects and rare component sourcing, see Restoring Classic Cadillacs: Sourcing Rare Components.
Final Thoughts: Staying Ahead in Cadillac Electronic Diagnostics
Diagnosing Cadillac electronic systems demands both technical knowledge and attention to detail. By combining structured diagnostics, preventive maintenance, and authentic OEM parts, you can restore advanced features and maintain peak performance. Stay current on evolving technologies and leverage trusted resources—like AutoPartEx—for the most reliable outcomes in Cadillac repairs.