
Advertisement
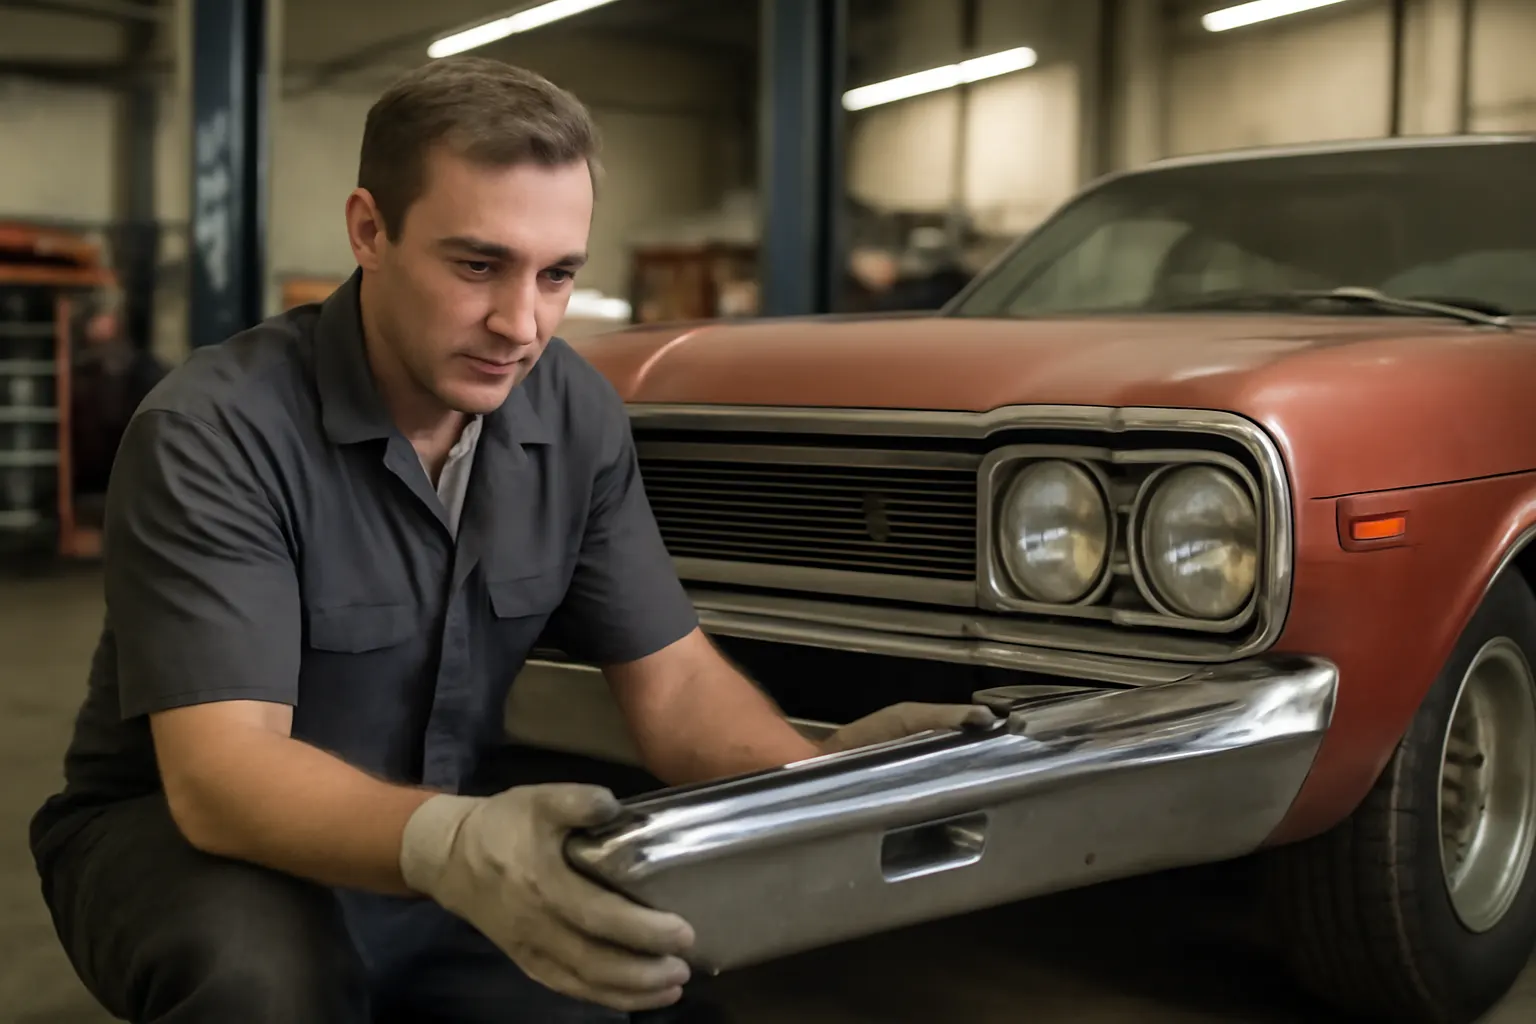
Restoring the front bumper cover of an AMC Ambassador is a project that blends history, craftsmanship, and technical know-how. Restoration shops across the country have tackled these iconic bumpers for decades, learning valuable lessons about fitment, sourcing, repair, and safety compliance. This in-depth case study compilation shares real-world stories and actionable insights from expert shops, providing AMC enthusiasts and professionals with the guidance they need to achieve factory-correct results and long-term durability.
For more foundational information on AMC Ambassador bumper fitment, replacement, and expert guidance, see our AMC Ambassador Front Bumper Cover: Fitment, Replacement, and Expert Guidance page.
The Immediate Answer: What Restoration Experts Know About AMC Ambassador Bumper Repairs
Restoration shops confirm that AMC Ambassador bumpers—especially front bumper covers—pose unique challenges due to their age, model-year variations, and the scarcity of original parts. Success hinges on:
- Accurate fitment assessment using original specifications and templates.
- Careful sourcing of OE, NOS, or high-quality reproduction bumper covers.
- Adhering to modern safety and materials standards, as outlined by the National Highway Traffic Safety Administration.
- Meticulous restoration of mounting brackets, trim, and impact-absorbing components.
These priorities are echoed across multiple shops interviewed for this guide, from East Coast classic car specialists to West Coast custom restoration houses.
The Hidden Problem: Underlying Issues in AMC Bumper Restoration
While replacing a bumper cover may seem straightforward, restoration shops routinely encounter deeper problems:
- Previous collision repairs and non-factory modifications.
- Rusted or deformed mounting points.
- Out-of-spec reproduction parts causing alignment issues.
- Missing or damaged trim, impact strips, and fasteners.
- Unseen safety risks from compromised energy-absorbing structures.
Failure to address these issues can lead to ill-fitting bumpers, compromised safety, and lower vehicle value. In some cases, shops have discovered that a visually “intact” bumper was masking severe internal rust or substandard previous repairs, requiring far more extensive intervention.
Real-World Case Study: 1973 AMC Ambassador SST Front Bumper Restoration
A Midwestern restoration shop shared the story of a 1973 AMC Ambassador SST project. On initial inspection, the bumper cover appeared restorable, but further disassembly revealed:
- Mounting brackets with severe rust-through, hidden by undercoating.
- Impact absorbers that had collapsed in a previous minor accident.
- An aftermarket bumper cover that was too narrow by 8mm, causing misalignment with the fenders.
The shop’s solution involved:
- Sourcing NOS brackets and absorbers from a specialty AMC parts supplier.
- Using a Classic Amc Fitment Checks template to verify bumper width and curvature.
- Replacing the aftermarket cover with a correct OE-style reproduction.
- Reassembling with new hardware and aligning to factory tolerances.
The result: a bumper that not only looked correct but met original safety and fitment standards.
Technical Deep Dive: Bumper Cover Materials and Safety Standards
AMC Ambassador bumper covers from the late 1960s through the 1970s were constructed using a range of materials—primarily heavy-gauge steel with chrome plating, sometimes with integrated plastic impact strips. According to the United States Department of Energy’s Materials Technologies research, the choice of materials directly affects weight, corrosion resistance, and energy absorption.
Restoration shops emphasize:
- Inspecting for microcracks or hidden rust in steel covers.
- Using modern rust inhibitors and primers during refinishing.
- Checking for compliance with basic impact standards, especially if the car will be road-driven.
The National Highway Traffic Safety Administration provides additional guidelines on bumper safety and required performance for replacement parts.
Sourcing and Verifying AMC Ambassador Bumper Covers
One of the most persistent challenges in AMC restoration is sourcing authentic bumper covers and associated trim. As original AMC parts become rarer, restoration shops have developed a rigorous sourcing and verification process:
Checklist: Sourcing Authentic AMC Ambassador Bumper Covers
- Confirm Year and Trim Level: Match the bumper cover to the exact AMC Ambassador model year and trim, as mounting points and contours vary.
- Inspect for Stamping Numbers: Genuine AMC covers often have factory stampings or part numbers.
- Assess Reproduction Quality: Measure the cover against factory specs; check for correct curvature, mounting hole placement, and chrome quality.
- Evaluate Seller Reputation: Use established AMC parts suppliers or restoration networks.
- Document Provenance: Keep records of part numbers, seller info, and fitment tests for future reference.
Advertisement
For more detailed guidance on finding rare AMC body panels, see our article on Sourcing Rare Amc Body Panels.
The Impact of Previous Repairs: Lessons from the Field
Restoration shops frequently encounter AMC Ambassadors with a history of previous bodywork or collision repairs. These “hidden histories” can complicate bumper restoration:
- Non-factory Welding: Past repairs may have involved welding or brazing that alters mounting geometry.
- Filler and Paint Build-Up: Excessive body filler can mask misalignments or rust holes.
- Substitute Fasteners: Non-standard hardware may not provide adequate strength or may cause galvanic corrosion.
A California-based restoration expert described a case where a 1971 Ambassador’s front bumper, though visually straight, was held in place by mismatched bolts and homemade brackets. The shop had to:
- Remove all non-factory repairs.
- Rebuild the mounting points using factory-style brackets.
- Use a fitment template to restore correct bumper alignment.
The lesson: always “peel back the layers” to uncover previous work, and never assume a bumper cover is correct just because it looks good externally.
Diagnosing Fitment Issues: Shop-Proven Methods
Proper bumper fitment is critical for both aesthetics and safety. Restoration shops use a multi-step diagnostic process:
- Visual Inspection: Check for obvious misalignment, uneven gaps, and incorrect angle relative to the grille and fenders.
- Template Matching: Use cardboard or metal templates based on factory blueprints to verify bumper shape and curvature.
- Mounting Point Measurement: Measure the distance between mounting holes and compare to factory specs.
- Test Fit with Trim Installed: Reinstall all trim and impact strips to ensure there is no interference or excessive gap.
Common fitment problems include:
- Bumper sits too low or high relative to the body.
- Ends of the bumper do not follow the fender contour.
- Trim pieces do not seat correctly due to warped bumper edges.
If any of these issues are detected, shops recommend halting installation and investigating for underlying frame or mounting bracket damage.
The Role of Trim and Accessories in AMC Bumper Restoration
The AMC Ambassador’s front bumper is more than just a cover—it often includes integrated trim, impact strips, and, on some models, lighting or decorative inserts. Restoration shops stress the importance of:
- Matching Trim Profiles: Trim and impact strips must match the bumper’s curvature and mounting points.
- Sourcing Correct Fasteners: Many trim pieces use unique clips or fasteners that are not interchangeable with other AMC models.
- Restoring or Replacing Trim: Whenever possible, restore original trim using polishing and re-chroming; if not feasible, source high-quality reproductions.
A restoration shop in Pennsylvania reported spending over 20 hours hand-finishing and fitting original trim to achieve a factory-correct look on a 1972 Ambassador project.
Safety, Standards, and Compliance: What the Pros Watch For
Restoration is not just about appearance. Shops must ensure that replacement bumper covers and mounting systems meet basic safety requirements. The NHTSA’s Vehicle Safety and Equipment guidelines specify:
- Bumpers must be securely mounted and able to absorb minor impacts.
- All replacement parts should be free from sharp edges or protrusions.
- Energy-absorbing structures (where present) should be restored to function.
Shops also reference SAE Standards for testing and installation best practices. Cars destined for regular driving—rather than show—should have their bumpers inspected for both structural integrity and safe mounting.
Restoration Shop Strategies for Long-Term Durability
To ensure that AMC Ambassador bumper restorations last, shops use a combination of traditional and modern techniques:
- Rust Prevention: Clean all metal surfaces to bare metal, apply epoxy primer, and use cavity wax inside hollow sections.
- Seam Sealing: Seal all joints and seams to prevent moisture intrusion.
- Correct Torque: Use a torque wrench to tighten mounting bolts to factory specs, preventing distortion or cracking.
- Periodic Re-Inspection: Recommend annual inspection of bumper mounts and trim for signs of loosening or corrosion.
Advertisement
These steps help prevent common problems such as bubbling chrome, loose trim, and sagging bumpers.
Installation and Alignment: Step-by-Step Shop Approach
Restoration shops follow a disciplined installation and alignment process to achieve authentic results. Here’s a typical workflow:
- Dry Fit: Install the bumper cover and all trim without final tightening to check alignment.
- Shim and Adjust: Use shims or spacers as needed to achieve even gaps and correct height.
- Final Tightening: Once alignment is perfect, torque all fasteners to specification.
- Trim Installation: Install trim, impact strips, and lighting (if equipped), checking for secure fit.
- Road Test: If the car is intended for street use, perform a low-speed test to check for rattles or movement.
Installation Checklist: AMC Ambassador Bumper Cover
- Verify part number and fitment for model year/trim
- Inspect and restore mounting brackets
- Dry fit bumper and check alignment
- Adjust with shims as needed
- Torque all fasteners to spec
- Install trim and accessories
- Inspect for safety compliance
- Document all work for provenance
For a full removal and installation guide, see Amc Ambassador Bumper Removal Installation.
Common Pitfalls and How Restoration Shops Avoid Them
Even experienced shops can encounter pitfalls during AMC bumper restoration. Some of the most common, and how to avoid them:
- Incorrect Parts: Always cross-check part numbers and dimensions before purchase.
- Over-Tightening: Excess torque can crack chrome or deform mounting brackets.
- Skipping Test Fits: Always perform a dry fit before final assembly to catch misalignments early.
- Neglecting Hidden Rust: Remove all paint and coatings from mounting areas to inspect for corrosion.
- Ignoring Safety Standards: Review NHTSA safety guidelines before completing the job.
Shops that follow a methodical, standards-driven process report far fewer issues and higher customer satisfaction.
The Value of Documentation and Provenance
Restoration professionals emphasize the importance of thorough documentation:
- Photograph Each Stage: Before, during, and after photos help verify quality and authenticity.
- Record Part Numbers: Keep a log of all parts used, including trim and fasteners.
- Document Fitment Adjustments: Note any shimming, bracket repairs, or alignment tweaks.
- Retain Receipts and Supplier Info: This aids future repairs and adds value for future owners.
Well-documented restorations command higher prices and provide peace of mind for both owners and shops.
Fuel Efficiency and Weight Considerations
While the focus of bumper restoration is usually safety and appearance, restoration shops also consider weight and fuel efficiency. According to the Department of Energy’s Fuel Efficiency guidelines, excess weight can reduce fuel economy. Shops may:
- Remove unnecessary undercoating or filler from bumper assemblies.
- Use lighter reproduction parts where appropriate, if they meet safety standards.
- Advise owners on the trade-offs between originality and performance.
For show vehicles, absolute originality may take precedence, but for drivers, a balance can be struck to optimize performance.
AutoPartEx: Your Partner in AMC Ambassador Restoration
At AutoPartEx, we support restoration professionals and AMC enthusiasts with expert guidance, vetted parts sourcing, and technical resources. Our editorial team compiles shop-proven best practices and connects you with the right information for every phase of AMC Ambassador bumper restoration. Whether you’re seeking fitment charts, installation guides, or hard-to-find trim pieces, our platform is designed to simplify your restoration journey.
Explore more about AMC Ambassador bumper covers and related parts on our AMC Ambassador Front Bumper Cover: Fitment, Replacement, and Expert Guidance page, or consult our Classic Amc Fitment Checks for in-depth fitment verification.
Conclusion: Lessons Learned from Decades of AMC Bumper Restoration
Restoring the front bumper cover on an AMC Ambassador is both a technical challenge and a tribute to automotive history. Restoration shops have learned that success depends on meticulous sourcing, careful diagnosis of underlying issues, and strict adherence to safety and fitment standards. By following proven shop workflows, using the right materials, and documenting every step, you can achieve a restoration that is not only beautiful but also safe and durable.
Whether you’re a professional restorer or a dedicated AMC owner, the guidance and case studies shared here will help you avoid common pitfalls and restore your Ambassador to its full glory.
References
Advertisement