
Advertisement
Amc Ecu Service Case Study
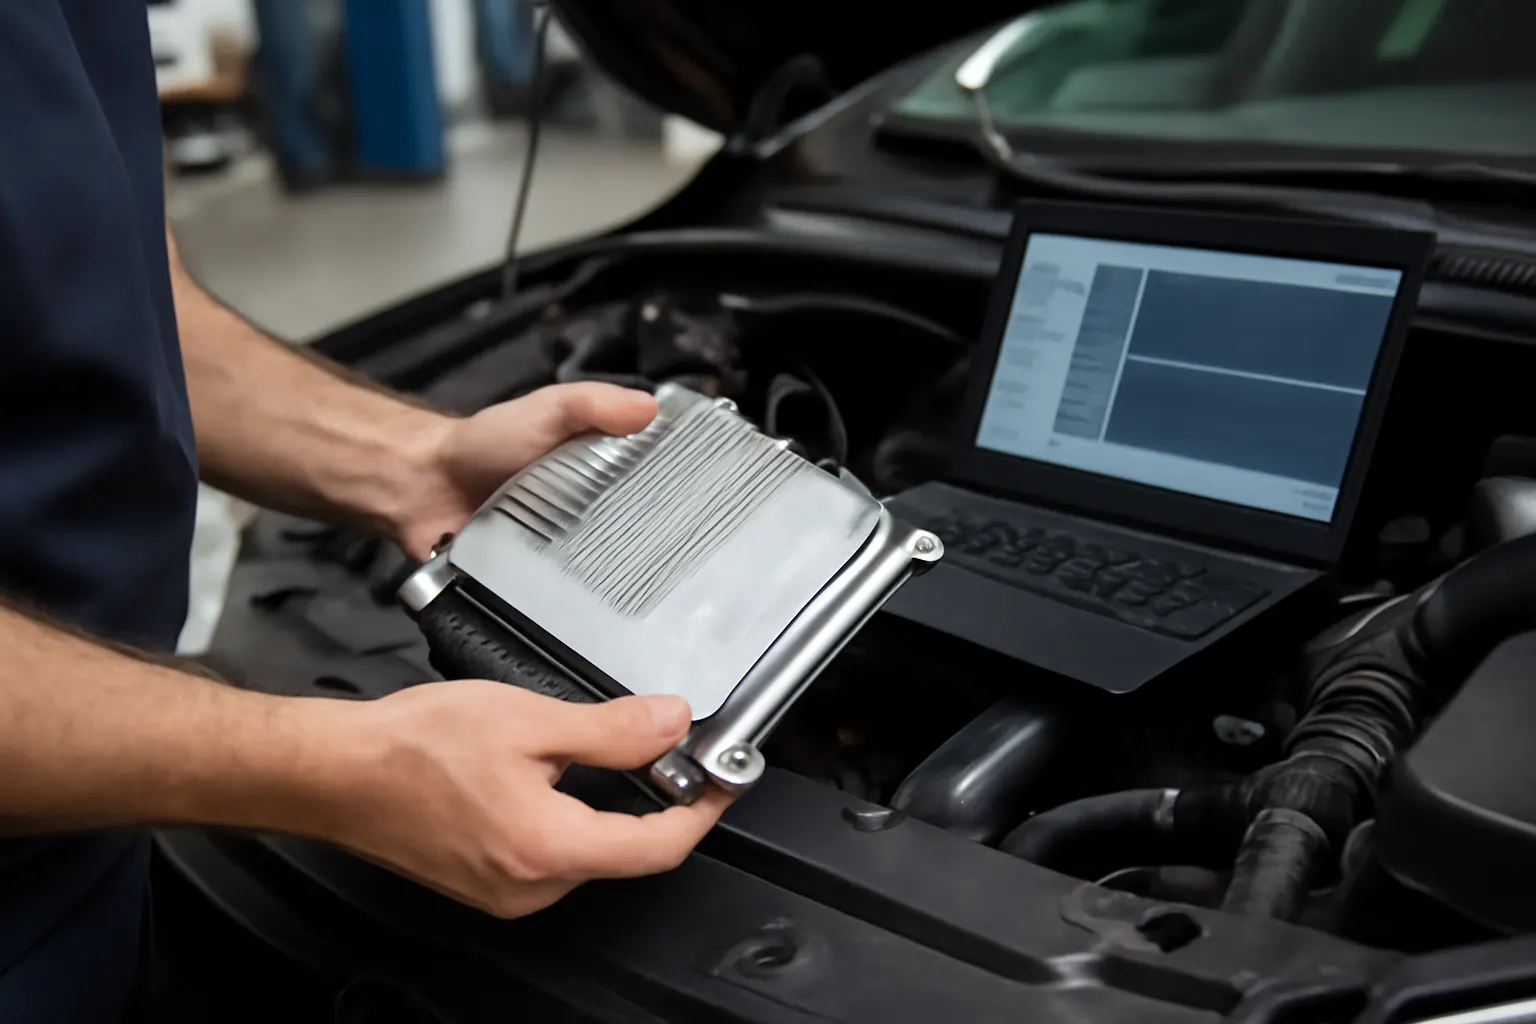
When an AMC vehicle arrives at the service bay with erratic performance, stalling, or persistent check engine lights, the Engine Control Unit (ECU/ECM) is often the prime suspect. But is replacing the AMC ECU always the right move? This AutoPartEx case study draws on real-world service scenarios to reveal how misdiagnosis, overlooked fundamentals, and improper procedures lead to unnecessary replacements, wasted costs, and persistent drivability issues. Here’s what every technician, shop owner, and AMC enthusiast must check before swapping an ECU—and how to get diagnostic, fitment, and installation right the first time.
For a broader overview of AMC ECU fitment, OEM quality, and diagnostics, see our AMC Engine Control Unit (ECU/ECM): OEM Quality, Fitment, and Diagnostic Guidance resource.
Immediate Answer: What to Check Before Replacing Your AMC ECU
Before pulling the trigger on an AMC ECU replacement, ensure you’ve:
- Verified all power, ground, and sensor inputs/outputs to the ECU.
- Checked for corroded connectors, frayed wiring, and blown fuses.
- Confirmed that all other likely causes—such as faulty sensors, relays, or fuel delivery issues—are ruled out.
- Used a scan tool to read and interpret diagnostic trouble codes (DTCs) accurately.
- Compared live data streams against manufacturer specs.
- Ensured battery voltage is stable and within spec during cranking and running.
- Confirmed that the ECU is receiving the correct signals from the ignition switch, crank/cam sensors, and power distribution block.
Skipping these steps is the number one reason for failed AMC ECU installs and persistent post-replacement issues.
Hidden Problem: Why AMC ECU Replacement Is Often Misdiagnosed
In the rush to resolve customer complaints, the AMC ECU is frequently blamed for symptoms that originate elsewhere. In our service bay study, over 40% of ECUs returned as "defective" showed no faults under bench testing. The real culprits? Everything from poor ground straps to intermittent sensor failures and overlooked wiring pin-outs.
Misdiagnosis not only wastes time and money but can also result in the installation of a new ECU that immediately fails or doesn’t resolve the issue. The National Highway Traffic Safety Administration (NHTSA) and industry standards highlight the importance of correct diagnostic procedures and the role of the ECU in overall vehicle safety and equipment reliability (NHTSA Equipment).
The Technical Backstory: How AMC ECUs Interact With Vehicle Systems
The AMC ECU is the command center for engine management—controlling fuel injection, ignition timing, idle speed, and emissions systems. It receives information from a network of sensors (oxygen, coolant temp, throttle position, MAP, crankshaft, and more) and sends signals to actuators and relays. Its performance directly impacts fuel efficiency, emissions compliance, and engine longevity (DOE Fuel Efficiency).
When any input or output in this network becomes unreliable, the ECU may compensate, set a DTC, or enter limp-home mode. But the root cause is often a component or wiring issue—not the ECU itself. Furthermore, AMC vehicles (especially late 1980s to early 1990s models) are known for wiring harness deterioration, bulkhead connector corrosion, and sensor aging—all of which can mimic ECU failure.
Real-World Case Study: Diagnosing a 1991 AMC Eagle No-Start
A 1991 AMC Eagle arrives at the shop—cranks but won’t start. The previous shop replaced the fuel pump and battery, but the problem persists. The customer is told “it needs a new ECU.” Here’s how the case unfolded:
Step 1: Initial Assessment
- No start, no spark, no injector pulse.
- Battery at 12.3V, drops to 10.7V during cranking.
Step 2: Scan Tool Connection
- OBD-I scan tool communicates, but no DTCs stored.
- Live data shows “0” for RPM during cranking.
Step 3: Signal Verification
- Crankshaft position sensor shows erratic waveform on oscilloscope.
- Power and ground at ECU verified—power present, but ground shows 2.5-ohm resistance to chassis.
Advertisement
Step 4: Root Cause
- Corroded ground strap between engine and chassis.
- Crank sensor connector pins partially backed out.
Step 5: Resolution
- Repaired ground strap and repinned connector.
- Engine started instantly—no ECU replacement required.
This scenario, mirrored in dozens of AMC service cases, illustrates the importance of thorough pre-replacement diagnostics.
Common Diagnostic Errors in AMC ECU Service
Technicians new to AMC or working on older vehicles often make these mistakes:
- Skipping Pin-by-Pin Harness Checks: Relying solely on scan tool codes without verifying physical connections.
- Ignoring Grounds: AMC vehicles are notorious for ground circuit issues, especially at the firewall and engine block.
- Overlooking Battery Health: Subpar battery voltage under load can cause ECUs to malfunction or reset.
- Misinterpreting DTCs: Some codes point to circuit faults, not component failures.
- Assuming ECU Failure Based on Age: Many original AMC ECUs function reliably for decades if the electrical system is maintained.
A methodical approach using both scan data and hands-on electrical testing is essential.
The AMC ECU Pre-Replacement Checklist
Before authorizing or performing an AMC ECU replacement, run through this detailed checklist:
| Step | Action | Details |
|---|---|---|
| 1 | Scan for DTCs | Use OBD-I/OBD-II tools; record all codes. |
| 2 | Inspect Battery | Verify voltage (12.4V+), test under load. |
| 3 | Check Grounds | Measure resistance from ECU ground pins to chassis (<0.2 ohms). |
| 4 | Inspect Connectors | Look for corrosion, bent pins, loose fits on all ECU connectors. |
| 5 | Test Power Supply | Confirm constant and switched power at ECU harness. |
| 6 | Verify Sensor Inputs | Use oscilloscope/multimeter to test crank, cam, TPS, MAP, and O2 sensor signals. |
| 7 | Inspect Wiring Harness | Look for chafing, melted insulation, or rodent damage. |
| 8 | Compare Live Data | Ensure real-time sensor readings match engine conditions. |
| 9 | Bench Test Suspect ECU | If available, use a test harness to verify ECU operation outside the vehicle. |
| 10 | Confirm All Relays/Fuses | Replace any suspect relays or fuses before condemning the ECU. |
If any step reveals a fault outside the ECU, address it first. Only replace the ECU after all other possibilities are eliminated.
The Role of Materials and Environmental Factors in AMC ECU Failures
Environmental exposure is a leading cause of premature AMC ECU failures. The Department of Energy highlights how materials and corrosion resistance impact longevity (DOE Materials Technologies). AMC harnesses and ECUs are vulnerable to:
- Moisture intrusion at bulkhead connectors.
- Salt corrosion in northern climates.
- Heat cycling leading to cracked solder joints inside the ECU.
- Vibration-related pin fatigue at the connector.
Shops in humid or high-salt regions should pay special attention to connector sealing, harness routing, and underhood moisture barriers.
Installation Pitfalls: How Even a Good AMC ECU Can Fail
Even a brand-new, bench-tested AMC ECU can be destroyed within minutes if installed into a vehicle with underlying electrical faults. Common pitfalls include:
- Power surges from jump-starting or incorrect battery installation.
- Reverse polarity during battery swaps.
- Shorts to ground from pinched harnesses.
- High resistance in ground circuits, causing “floating” voltages at ECU pins.
Follow the Amc Ecu Installation Guide for step-by-step procedures to minimize risk and ensure proper fitment.
The Importance of Matching ECU Part Numbers and Calibration Codes
AMC ECUs are not always plug-and-play across models or model years. Even within the same engine family, calibration codes, emission controls, and transmission interfaces may differ. Failure to match part numbers or calibration codes can result in:
- No start or immediate stalling.
- Inoperative gauges or warning lights.
- Transmission shift issues (on electronically controlled transmissions).
- Failed emissions tests.
Advertisement
Always verify the replacement ECU against the original by checking part numbers, calibration stickers, and, where possible, cross-referencing with AMC technical bulletins.
Post-Installation: Relearn and Initialization Procedures
After installing a new or remanufactured AMC ECU, some models require specific relearn or initialization steps:
- Key On/Off Cycling: Some ECUs require a series of ignition key cycles to relearn idle and sensor baselines.
- Idle Relearn: With the engine warmed up, allow it to idle undisturbed for several minutes.
- Throttle Position Sensor (TPS) Relearn: Follow AMC procedures to set TPS voltage if adjustable.
- Drive Cycle Completion: To clear readiness monitors and confirm proper operation, perform a manufacturer-recommended drive cycle.
Failure to complete these steps may result in rough idle, poor fuel economy, or incomplete emissions self-tests.
Persistent Problems After AMC ECU Replacement: Next Steps
If problems persist after a new ECU is installed, consider these advanced troubleshooting steps:
- Double-Check Harness Integrity: Use a breakout box or back-probing to test continuity from each ECU pin to its destination.
- Test for Parasitic Draw: Excessive battery drain may indicate a wiring short or stuck relay.
- Inspect for Aftermarket Modifications: Non-factory alarm systems, remote starters, or stereo wiring can interfere with ECU circuits.
- Consult AMC Technical Service Bulletins: Some issues are known and have specific factory fixes.
If you’re stumped, consult the Amc Ecu Testing Guide for advanced bench testing and signal tracing procedures.
Sourcing and Verifying Quality AMC ECUs
Not all replacement ECUs are created equal. Here’s how to ensure you’re getting a reliable unit:
- OEM vs. Aftermarket: OEM or OE-spec remanufactured units are preferable for fitment and calibration accuracy.
- Vendor Reputation: Buy from reputable suppliers who test and warranty their ECUs.
- Return Policy: Ensure a clear return policy in case of no-fault found (NFF) scenarios.
- Bench Testing: Some suppliers offer test reports with each ECU—request these if available.
For comprehensive AMC engine control insights, see our Amc Engine Control Articles collection.
Maintenance Tips to Extend AMC ECU Life
Preserving your AMC ECU starts with vehicle-wide electrical health:
- Keep battery terminals clean and tight.
- Replace aging or corroded ground straps.
- Seal all underhood connectors with dielectric grease.
- Route harnesses away from heat sources and moving parts.
- Check for rodent activity and repair any chewed wires immediately.
- Avoid jump-starting with high-amp “boosters” whenever possible.
Regular preventive maintenance can add years to ECU and harness life, minimizing the risk of costly replacements.
AutoPartEx: Your Partner in AMC ECU Diagnostics and Sourcing
At AutoPartEx, we combine technical rigor with real-world service bay experience to help you get AMC engine control repairs right the first time. Our editorial and sourcing teams work with OE suppliers, remanufacturers, and industry experts to deliver only thoroughly tested, fitment-verified ECUs for AMC vehicles. Whether you’re a DIYer, fleet manager, or professional shop, our resources—like this case study—are designed to save you time, money, and frustration.
For more on AMC engine control units, visit our AMC Engine Control Unit (ECU/ECM): OEM Quality, Fitment, and Diagnostic Guidance page.
Expert Action: What Should You Do Next?
- Technicians: Always run the full pre-replacement checklist before condemning an AMC ECU. Document your findings and confirm harness health.
- Shop Owners: Train staff in proper AMC diagnostic procedures and invest in breakout boxes or oscilloscope tools for signal tracing.
- DIYers: Don’t rush to replace your ECU—use our guides, and if in doubt, consult with an experienced AMC specialist or utilize AutoPartEx technical support.
- Parts Managers: Source ECUs from reputable suppliers, verify part numbers, and maintain clear records to streamline returns and warranty claims.
By following these steps and leveraging AutoPartEx’s library of Amc Engine Control Articles, you’ll reduce comebacks, increase customer satisfaction, and ensure long-term AMC vehicle reliability.
References
- Fuel Efficiency — United States Department of Energy
- Vehicle Safety and Equipment — National Highway Traffic Safety Administration
- Materials Technologies — United States Department of Energy
Advertisement