
Advertisement
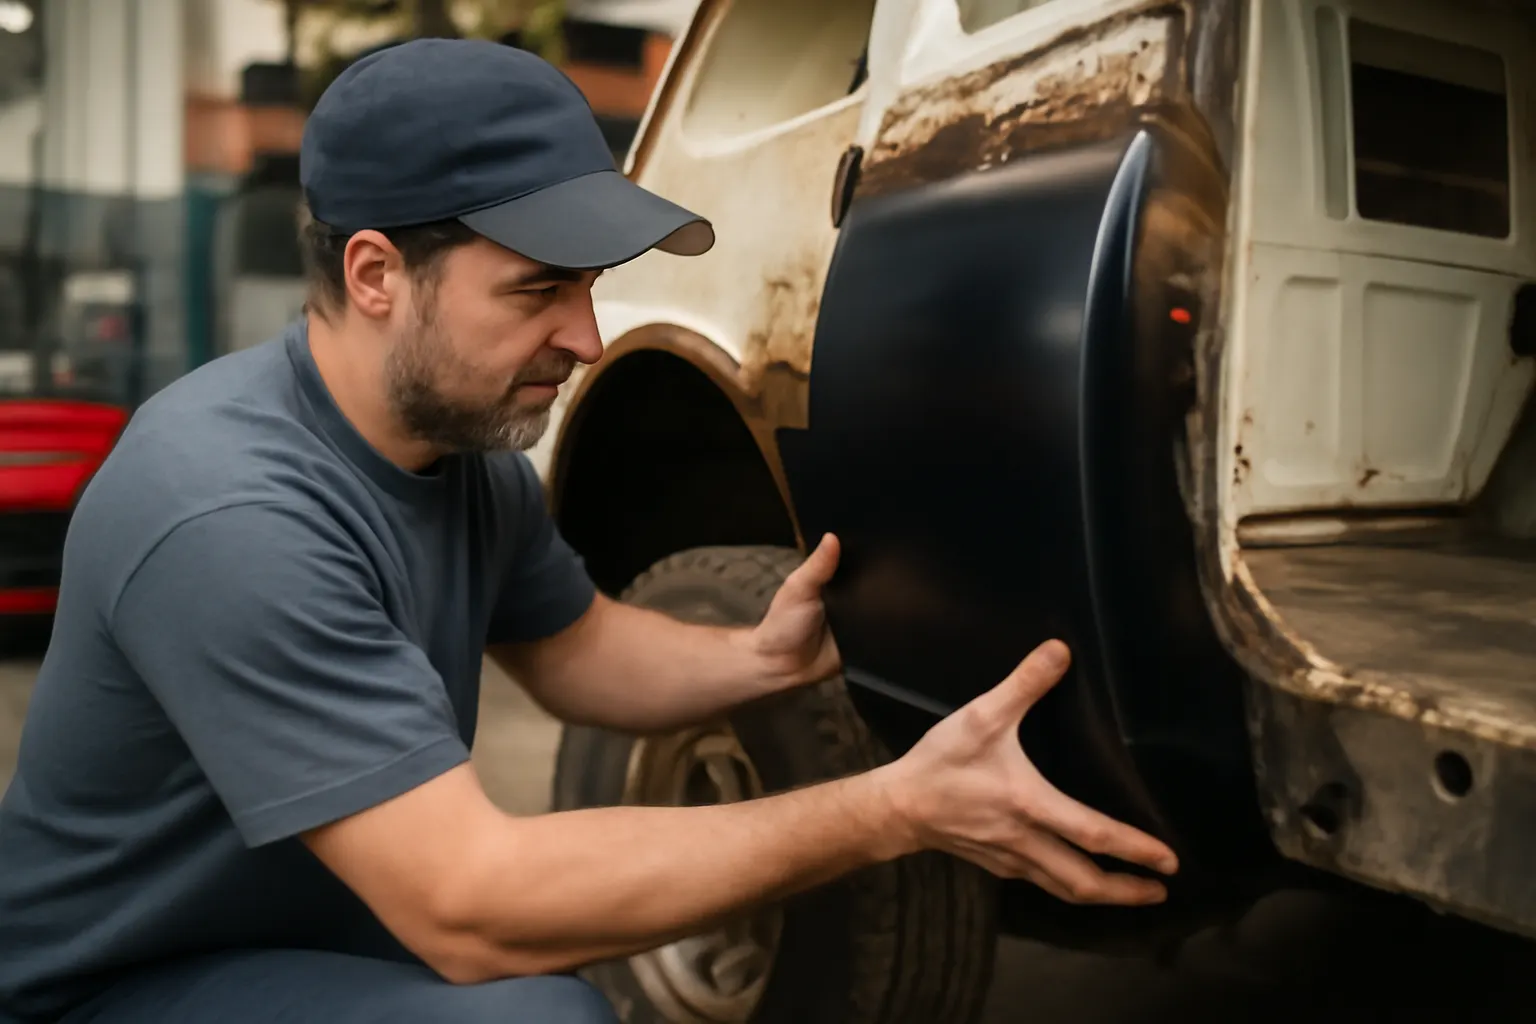
Installing new cab corners on your AMC truck or car is a high-impact restoration job—done right, it stops rust in its tracks and restores factory strength and appearance. However, even experienced DIYers and professional restorers can encounter pitfalls that compromise safety, fit, and finish. This guide gives you the most actionable AMC cab corner installation tips, covering what to watch out for, how to choose the right panels, and step-by-step best practices for a result that matches or exceeds OEM standards.
If you’re sourcing parts or planning a restoration, start with the correct AMC Cab Corner Replacement & Restoration Parts | AutoPartEx to ensure compatibility and long-term durability. Below, we’ll break down the process, highlight hidden challenges, and provide expert-level guidance for a seamless, lasting repair.
Why AMC Cab Corner Installation Matters
The cab corner is a structural and cosmetic component—responsible for tying together the rear of the cab, supporting the door frame, and providing a critical barrier against water, debris, and corrosion. On vintage AMC trucks, these corners are notorious rust traps, especially in climates with road salt or high humidity. A compromised cab corner can lead to:
- Water intrusion and interior damage
- Door misalignment and latch issues
- Weakened cab structure, compromising crash safety
- Accelerated rust in adjacent panels
Proper installation is not just about looks—it’s essential for structural integrity and vehicle safety, as highlighted by the National Highway Traffic Safety Administration.
Common Pitfalls in AMC Cab Corner Sourcing
1. Choosing the Wrong Panel
AMC produced a range of trucks and cars with subtle differences in cab construction. Many aftermarket panels claim “universal fit,” but even a few millimeters of difference in contour, flange, or mounting points can result in:
- Gaps that collect water and debris
- Door fitment issues
- Extra bodywork and filler required for alignment
Tip: Always verify the part number, model year, and trim compatibility before ordering. Reference your vehicle’s VIN and consult detailed fitment guides such as Amc Cab Corner Fitment.
2. Low-Quality Materials
Panels made from thin-gauge steel or poor-quality alloys are prone to premature rust, weak welds, and reduced crashworthiness. According to the U.S. Department of Energy, material quality directly impacts vehicle structure and long-term performance.
Tip: Look for panels stamped from OEM-equivalent or better steel, preferably e-coated for corrosion resistance.
3. Incomplete Kits
Some suppliers sell only the outer skin, omitting inner bracing or reinforcement pieces. Skipping these components can compromise structural strength and leave hidden rust-prone areas exposed.
Preparation: Setting Yourself Up for Success
1. Thorough Inspection and Measurement
Before cutting or removing old panels, inspect the surrounding areas for rust spread, hidden damage, or prior repairs. Use a paint marker to outline the affected area and measure twice—panel overlap and cut lines must be precise.
2. Tool and Workspace Readiness
A successful AMC cab corner installation requires:
- Drill and spot weld cutter
- Angle grinder with cutoff and flap discs
- MIG welder (or spot welder)
- Body hammer and dolly set
- Sheet metal clamps and clecos
- Seam sealer, primer, and rust inhibitor
Prepare a clean, well-lit workspace with ample room to maneuver large panels.
3. Safety First
Wear eye protection, gloves, and a respirator. Disconnect the battery to avoid electrical hazards when welding.
Step-by-Step AMC Cab Corner Removal
1. Remove Trim and Interior Panels
Start by removing seats, interior trim, and wiring near the cab corner area. This prevents heat damage and accidental cuts during panel removal.
Advertisement
2. Locate and Drill Out Spot Welds
Most AMC cab corners are attached with spot welds along the door jamb, floor, and rear cab wall. Use a spot weld cutter to drill out welds without damaging the underlying structure.
3. Cut Out the Old Panel
With welds removed, use an angle grinder to cut along your marked lines. Avoid cutting too deeply—preserve as much original structure as possible for alignment.
4. Clean and Treat the Exposed Area
Wire-brush all exposed metal, treat with rust inhibitor, and check for hidden rust in adjacent panels. Repair any additional damage before proceeding.
Test Fitting the New AMC Cab Corner
1. Dry Fit and Clamp
Position the new panel, using sheet metal clamps to hold it in place. Check all alignment points: door gap, rocker panel seam, and rear cab wall.
2. Check Door Operation
Reinstall the door temporarily (if removed) and check for smooth opening, closing, and latch engagement. Adjust panel position as needed.
3. Mark and Trim
Factory and aftermarket panels often require minor trimming for a perfect fit. Mark areas where the panel overlaps or interferes, and trim gradually.
4. Confirm Panel Contour
Run your hand along the panel seam to feel for high or low spots. Use a body hammer and dolly to adjust as needed.
Welding and Securing the AMC Cab Corner
1. Weld Preparation
Clean all mating surfaces to bare metal. Apply weld-through primer to prevent future rust in the seam area.
2. Spot or Plug Welding
Recreate the factory spot weld pattern using a MIG welder. If access is limited, use plug welds (drilling small holes in the new panel and welding through to the cab structure).
3. Stitch Welding
For long seams, use short stitch welds to minimize heat distortion. Allow panels to cool between welds and alternate locations to spread heat evenly.
4. Grind and Finish Welds
Use a flap disc to smooth welds flush with the panel surface. Avoid over-grinding, which can thin the metal and weaken the joint.
Sealing, Priming, and Rustproofing
1. Seam Sealer
Apply automotive seam sealer to all weld seams and overlaps, both inside and outside the cab. This blocks water intrusion and prevents future rust.
2. Primer and Paint
Prime all bare metal with an epoxy or etching primer. Topcoat with color-matched paint for exterior surfaces, and chassis black or equivalent for inner areas.
3. Undercoating
Apply a quality undercoating to the underside of the cab corner for extra protection against road salt and debris.
Reassembly and Final Inspection
1. Reinstall Interior Components
Replace wiring, trim, and seats carefully. Check for any rubbing or interference caused by the new panel.
2. Door Alignment
Fine-tune door alignment and latch operation. Adjust hinges or striker as needed to ensure smooth operation and proper sealing.
3. Leak Check
Spray water around the cab corner and door seam to check for leaks. Address any gaps with additional seam sealer.
Post-Installation Maintenance Tips
1. Regular Inspections
Check the cab corner area for bubbling paint, surface rust, or seam separation every six months—especially after winter or wet seasons.
2. Touch-Up Paint
Promptly address chips or scratches in the cab corner paint to prevent rust from taking hold.
3. Underbody Wash
Rinse the underside of your AMC regularly to remove salt and debris that can attack seams and welds.
Advertisement
Diagnostic Checklist: AMC Cab Corner Installation
Before you declare the job complete, run through this checklist to ensure a factory-quality repair:
| Step | Complete? | Notes |
|---|---|---|
| Old panel fully removed | ||
| All rust treated/removed | ||
| New panel test-fit | ||
| Door alignment checked | ||
| Welds completed, no gaps | ||
| Seams sealed (inside/out) | ||
| Primer and paint applied | ||
| Undercoat applied | ||
| Interior reassembled | ||
| Leak test passed |
Use this checklist after every AMC cab corner job for consistent, professional results.
Sourcing the Right AMC Cab Corner: What to Look For
1. Model-Specific Fitment
Not all AMC cabs are identical. Double-check that your chosen panel matches your vehicle’s year, model, and trim. For detailed interchange information, see Amc Body Panel Interchange.
2. Material Thickness and Coating
Opt for panels at least 18-gauge steel, matching or exceeding OEM thickness. E-coating or galvanization is a must for corrosion resistance.
3. Complete Kits
Choose suppliers that provide inner and outer panels, reinforcement braces, and all necessary hardware. Avoid piecemeal solutions that leave gaps in protection.
Advanced Tips: Achieving a Factory-Quality Finish
1. Seam Blending
After welding and grinding, use body filler sparingly to smooth transitions. Excess filler can crack and trap moisture.
2. Paint Matching
If repainting only the cab corner, feather the paint blend into adjacent panels for a seamless appearance. Use a color-matching system or consult a professional paint supplier.
3. Sound Deadening
Consider adding sound-deadening material inside the cab corner before reassembly for a quieter ride.
Addressing Hidden Rust and Structural Issues
1. Inspect Adjacent Panels
Rust rarely stops at the visible cab corner. Check rocker panels, floor pans, and lower door jambs for hidden corrosion.
2. Structural Reinforcement
If the cab structure is compromised, weld in reinforcement plates or replace additional panels as needed. Safety and crashworthiness depend on restoring original strength (NHTSA).
3. Professional Assessment
For advanced rust or collision damage, consult a restoration specialist with AMC experience.
The Impact of Materials Technology on Cab Corner Longevity
Modern replacement panels often benefit from improved steel alloys and corrosion prevention, as outlined by the U.S. Department of Energy. Choosing panels with these advancements can dramatically extend the life of your repair and improve resistance to future rust.
Why Proper Cab Corner Installation Improves Safety and Efficiency
A poorly installed cab corner can compromise the vehicle’s crash structure, leading to increased risk in side impacts and reduced occupant protection. The National Highway Traffic Safety Administration highlights the importance of using quality replacement parts and following correct installation procedures to maintain safety standards.
Additionally, a structurally sound, rust-free cab corner helps maintain door and window seals, reducing wind noise and improving cabin comfort—factors that contribute to overall vehicle efficiency and satisfaction.
AutoPartEx: Your Partner for AMC Restoration Parts
At AutoPartEx, we specialize in model-correct AMC cab corners and restoration panels, with a focus on material quality, fitment accuracy, and complete kits. Our curated selection helps you avoid common pitfalls and ensures your restoration meets or exceeds factory standards. For everything from sourcing to installation tips, start with our AMC Cab Corner Replacement & Restoration Parts | AutoPartEx and explore our related resources:
Expert Action: Take Your AMC Restoration Further
- Inspect your AMC’s cab corners every season for early signs of rust.
- Use the checklist above each time you install or inspect cab corners.
- Source panels from trusted suppliers that meet or exceed OEM standards.
- Consult detailed fitment guides and don’t hesitate to seek professional help for advanced repairs.
- Bookmark the AMC Cab Corner Replacement & Restoration Parts | AutoPartEx page for future projects.
With the right preparation, parts, and procedures, your AMC cab corner installation will deliver lasting value, safety, and authentic appearance.
References
Advertisement