
Advertisement
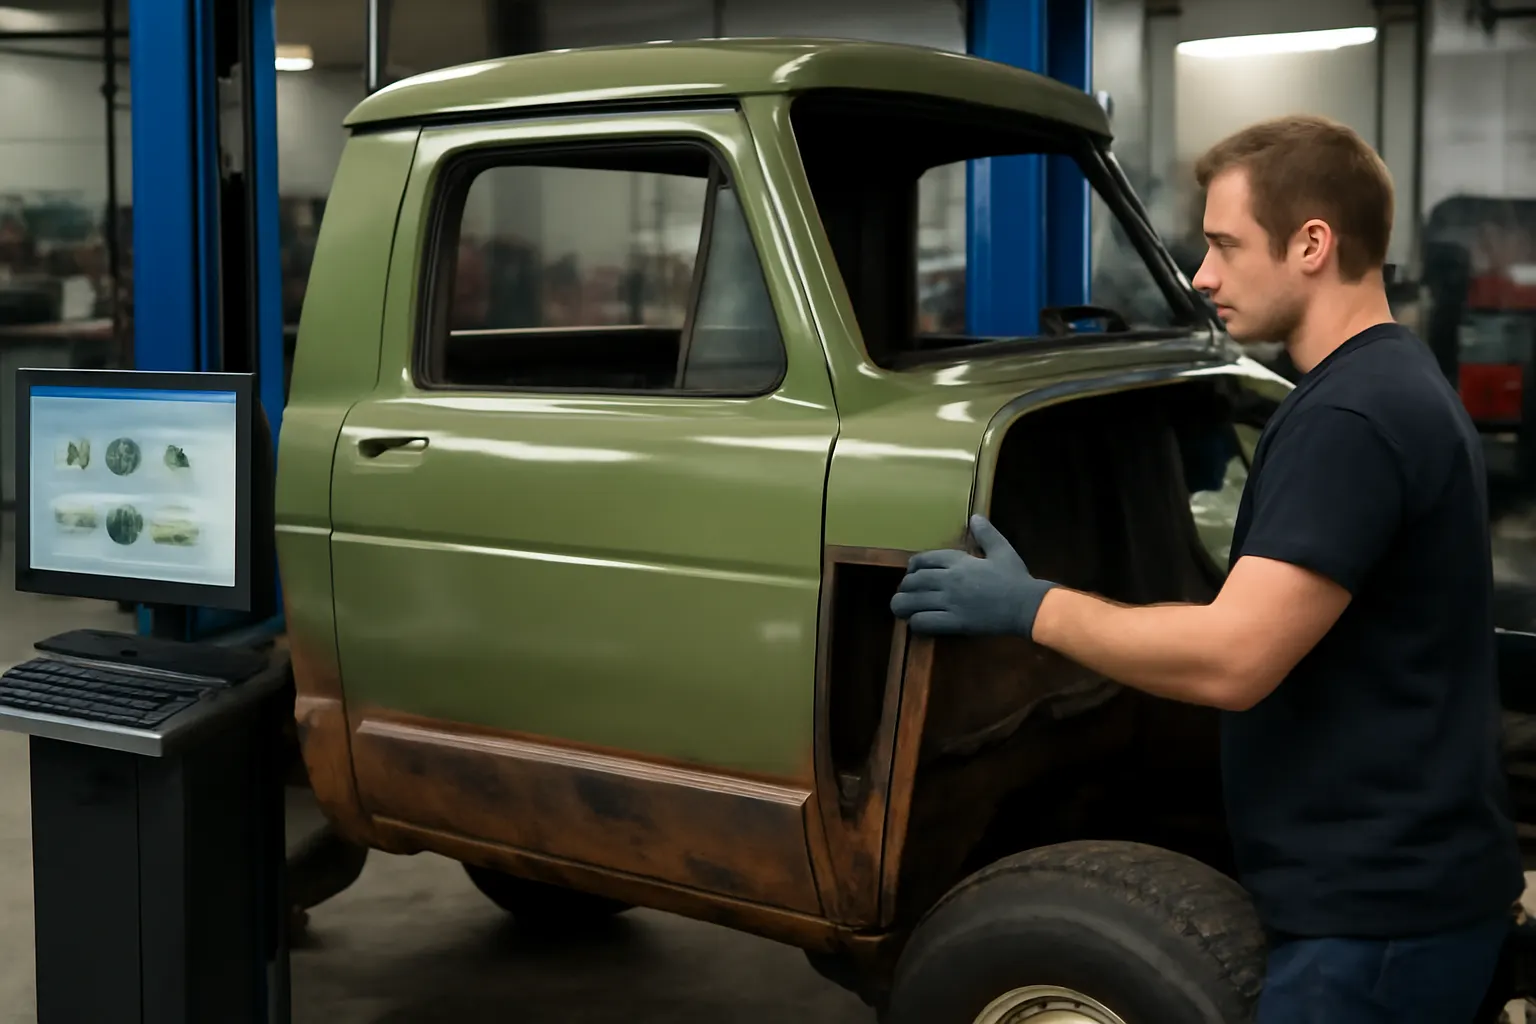
When it comes to restoring or repairing a classic AMC vehicle, a cab clip installation is one of the most transformative and structurally critical procedures you can perform. Whether your AMC has suffered collision damage, severe rust, or you’re seeking to upgrade with an OEM-quality replacement, understanding the full installation process—from initial diagnostics to final welds—is essential for safety, performance, and long-term reliability. This blog delivers a real-world, step-by-step AMC cab clip installation, highlighting diagnostic, alignment, and welding techniques, referencing industry standards and verified safety practices. For further background, the AMC Cab Clip Replacement: Fitment, Service, and OEM Quality Guide provides a comprehensive overview of cab clip fitment and service for AMC models.
Immediate Answer: What Is Involved in an AMC Cab Clip Installation?
An AMC cab clip installation involves removing the damaged or rusted front or rear cab section of your classic AMC vehicle and replacing it with a structurally sound OEM or OEM-equivalent cab clip. This process requires precise diagnostics, careful alignment, and professional-grade welding to ensure safety, restore chassis integrity, and match factory fitment. The job typically includes:
- Thorough inspection and measurement of body/frame alignment
- Safe removal of the damaged cab section (including sectioning, spot weld drilling, and rust mitigation)
- Preparation and test-fit of the replacement cab clip
- Alignment using factory reference points, jigs, and measurement tools
- Welding and corrosion protection according to SAE and NHTSA safety standards
- Final inspection, seam sealing, and reassembly
Successfully installing an AMC cab clip restores the vehicle’s structural rigidity, occupant safety, and original driving characteristics—provided each step is performed to specification.
The Hidden Problem: Why AMC Cab Clip Installs Go Wrong
Cab clip installations are more than just a “cut and weld” job. Many AMC restorers and repairers encounter serious pitfalls that can compromise safety, drivability, and even legality:
- Misdiagnosed damage: Hidden frame or substructure issues can remain undetected, leading to improper alignment and unsafe repairs.
- Alignment errors: Even a few millimeters of misalignment can cause poor door fitment, wind noise, water leaks, and unpredictable handling.
- Inadequate welding or corrosion protection: Weak welds or untreated seams can result in premature rust, loss of crash protection, and eventual structural failure.
- Improper parts sourcing: Using incompatible or poor-quality cab clips may lead to fitment headaches and safety risks.
Each of these issues can turn a promising restoration into an unsafe, unreliable project. That’s why a methodical, standards-based approach is critical—especially for classic AMC vehicles, where factory tolerances and structural integrity are paramount.
Technical Deep Dive: AMC Cab Clip Diagnostics and Preparation
1. Initial Assessment and Diagnostic Steps
Before any cutting begins, a thorough diagnostic assessment is non-negotiable. This includes:
- Visual inspection: Identify rust, previous repairs, frame damage, and any non-OEM modifications.
- Structural measurement: Use tram gauges, laser measuring systems, or factory jigs to check for chassis twist, sag, or misalignment. Reference the AMC factory body manual for specification points.
- Safety equipment check: Ensure all safety-critical components (seatbelt anchors, crash structures, firewall) are intact or marked for replacement.
- Documentation: Photograph every step for reference and insurance purposes.
A detailed checklist for AMC cab clip diagnostics:
| Diagnostic Step | Tools Needed | Key Points to Check |
|---|---|---|
| Visual rust/damage survey | Flashlight, inspection mirror | Floorpans, rocker panels, A/B pillars |
| Measurement of cab geometry | Tram gauge, tape measure | Door openings, windshield frame |
| Substructure inspection | Creeper, pry bar | Frame rails, torque boxes |
| Safety system survey | Socket set, trim tools | Seatbelt anchor points, firewall |
2. Sourcing and Preparing the Replacement Cab Clip
Not all cab clips are created equal. For AMC restorations, sourcing a rust-free, straight, and correct-year cab clip is essential. Consider:
Advertisement
- OEM vs. reproduction: OEM clips offer the best fit, but quality reproductions may be available for some AMC models.
- Donor vehicle selection: Ensure the donor matches your model, trim, and year—minor differences in mounting points can cause major headaches.
- Pre-installation prep: Strip the clip to bare metal, remove all glass, trim, and wiring, and mark all factory weld locations.
For more on sourcing and fitment, see the Amc Cab Clip Oem Fitment Guide.
Sectioning and Removal: Safe Disassembly Techniques
3. Mapping and Cutting the Old Cab
The sectioning process must follow AMC and SAE guidelines to avoid weakening the structure:
- Mark section lines: Use factory service manual diagrams to mark cut lines at factory seams or overlap joints.
- Drill spot welds: Use a spot weld cutter to separate panels without damaging surrounding metal.
- Cut with care: Use a reciprocating saw or cutoff wheel, keeping cuts straight and avoiding wiring or fuel lines.
- Support the body: Place jack stands or body jigs under the frame to prevent sagging during removal.
4. Rust and Damage Mitigation
Classic AMC vehicles often hide rust in seams and reinforcements. Clean, treat, or replace any compromised metal before installing the new clip. Use a wire brush, rust converter, and weld-through primer on all mating surfaces.
Alignment: The Heart of a Successful Cab Clip Install
5. Test-Fitting and Dry-Run Alignment
Proper alignment is the most critical step in the process. A misaligned cab clip will cause endless issues with panel fit, suspension geometry, and even door latching.
- Dry fit the cab clip: Bolt or clamp the replacement in place using factory reference points.
- Check door and fender gaps: Install doors, fenders, and hood to verify even gaps and flush alignment.
- Cross-measure: Use diagonal measurements between key body points to ensure squareness.
- Adjust as needed: Shim, push, or pull the clip as necessary to achieve factory specs.
A sample alignment checklist:
| Alignment Check | Reference Points | Acceptable Tolerance |
|---|---|---|
| Door opening width | Hinge to latch pillar | ±2 mm |
| Windshield frame to cowl | Top corner to corner | ±1 mm |
| Floorpan height | Frame rail to rocker | ±3 mm |
| Diagonal body measurement | A-pillar to opposite rear | ±2 mm |
6. Clamping and Temporary Fastening
Use locking pliers, panel clamps, and temporary bolts to hold the cab clip in position. Double-check all measurements before proceeding to welding.
Welding: Achieving OEM-Quality Structural Joints
7. Welding Methods and Safety Standards
Welding is where the cab clip becomes part of the vehicle’s structure. For classic AMCs, plug welding at factory spot weld locations is recommended, supplemented by seam welding at critical joints.
- Plug welds: Drill holes at factory weld points, then MIG weld through to join panels.
- Seam welds: Continuous or stitch welds at high-stress areas (A-pillars, rocker seams).
- Weld quality: Inspect each weld for penetration and consistency. Grind smooth where necessary, but avoid excessive thinning of the metal.
Follow SAE and NHTSA guidelines for automotive welding and structural repairs (SAE Standards, NHTSA Equipment).
8. Corrosion Protection and Seam Sealing
After welding, treat all bare metal with weld-through primer, seam sealer, and cavity wax. This is essential to prevent future rust and maintain structural strength.
- Weld-through primer: Apply before welding to prevent rust between panels.
- Seam sealer: Brush or caulk into all joints and seams.
- Cavity wax: Spray inside pillars, rockers, and boxed sections.
Reassembly and Final Inspection
9. Reinstalling Components and Systems
With the structural work complete, reinstall all removed components:
- Doors, fenders, hood: Adjust for even gaps and flush fit.
- Wiring and plumbing: Route and secure all harnesses, brake/fuel lines, and HVAC ducts.
- Interior trim and glass: Install with new weatherstripping and fasteners.
10. Post-Install Inspection and Road Test
Before returning the vehicle to service, perform a detailed inspection:
- Visual check: Look for missed welds, unsealed seams, or misaligned panels.
- Functional check: Test all doors, windows, seatbelts, and safety systems.
- Road test: Drive the vehicle to check for wind noise, rattles, and handling issues.
Advertisement
If any issues are found, address them immediately—don’t compromise on safety.
Common Pitfalls and How to Avoid Them
11. Frequent Mistakes in AMC Cab Clip Installs
- Skipping measurements: Relying on “eyeball” alignment leads to poor fit and unsafe repairs.
- Rushing weld prep: Failing to clean or prep surfaces results in weak welds and future rust.
- Ignoring safety standards: Not following NHTSA and SAE guidelines can void insurance and compromise crash protection.
- Improper parts: Using the wrong cab clip, or one with hidden damage, creates endless fitment and safety problems.
12. Checklist: AMC Cab Clip Installation
Use this checklist to ensure a safe, high-quality installation:
- Diagnose and document all damage
- Source a correct, rust-free cab clip
- Remove old cab section at factory seams
- Clean, prep, and treat all mating surfaces
- Test-fit and align the replacement clip
- Temporarily clamp and cross-measure all critical points
- Plug weld and seam weld per factory diagrams
- Apply weld-through primer, seam sealer, and cavity wax
- Reinstall all removed components and adjust for fit
- Inspect welds, seams, and panel gaps
- Road test for noise, leaks, and handling
Sourcing and Fitment: How to Get the Right AMC Cab Clip
Finding the right cab clip for your AMC project is often the hardest part. Here’s what to watch for:
- Model and year compatibility: AMC used different cab structures across models and years. Verify all mounting points and dimensions.
- Rust and previous repairs: Inspect donor clips for hidden rust, old body filler, or non-factory welds.
- OEM vs. aftermarket: OEM clips ensure best fit, but in rare cases, high-quality aftermarket options are available.
- Documentation: Ask for photos and measurements before purchase; check for any recall history (NHTSA Recalls).
The Cab Clip Buyers Guide offers further advice on sourcing, verifying, and transporting cab clips for classic vehicles.
Maintenance and Long-Term Reliability
A properly installed AMC cab clip should last the life of the vehicle, but regular inspections are vital:
- Annual underbody and seam inspection: Check for rust, seam sealer cracks, or water intrusion.
- Touch-up corrosion protection: Reapply cavity wax and seam sealer as needed.
- Monitor panel fitment: If doors or fenders start to misalign, check for settling or weld fatigue.
Routine maintenance not only preserves structural integrity but also helps maintain the value and safety of your classic AMC.
Fuel Efficiency and Performance Considerations
While a cab clip install is primarily about structure and safety, it can also influence fuel efficiency and performance:
- Weight and materials: Using lighter, rust-free donor clips can reduce vehicle weight and improve efficiency (DOE Materials Technologies).
- Aerodynamics: Proper alignment ensures weatherstripping seals and panel gaps are tight, reducing wind resistance and noise.
- Chassis rigidity: A well-installed cab clip restores original handling and ride quality, which can indirectly affect fuel economy (DOE Fuel Efficiency).
AutoPartEx: Your Partner in AMC Restoration
At AutoPartEx, we understand the challenges of classic AMC restoration. Our curated guides, fitment charts, and technical articles—such as the Amc Cab Clip Repair Article—are designed to help you achieve safe, OEM-quality repairs every time. Whether you’re a DIY enthusiast or a professional restorer, our resources and expert support are here to guide you through every stage of the process.
For a comprehensive overview of AMC cab clip fitment, service, and OEM quality, visit the AMC Cab Clip Replacement: Fitment, Service, and OEM Quality Guide.
Expert Action: Take the Next Step in Your AMC Restoration
Ready to tackle an AMC cab clip installation? Start by gathering the right diagnostic tools, reviewing factory service manuals, and sourcing a quality cab clip. Don’t cut corners—invest time in measurements, alignment, and corrosion protection. If you’re unsure about any step, consult with a restoration professional or refer to AutoPartEx’s detailed guides and checklists.
Remember: A safe, properly aligned cab clip install isn’t just about looks—it’s about preserving the legacy, safety, and value of your classic AMC vehicle for decades to come.
References
- Vehicle Safety and Equipment – National Highway Traffic Safety Administration
- Vehicle, Car Seat, Tire, and Equipment Recalls – National Highway Traffic Safety Administration
- Materials Technologies – United States Department of Energy
- Fuel Efficiency – United States Department of Energy
- SAE Standards – SAE International
Advertisement