
Advertisement
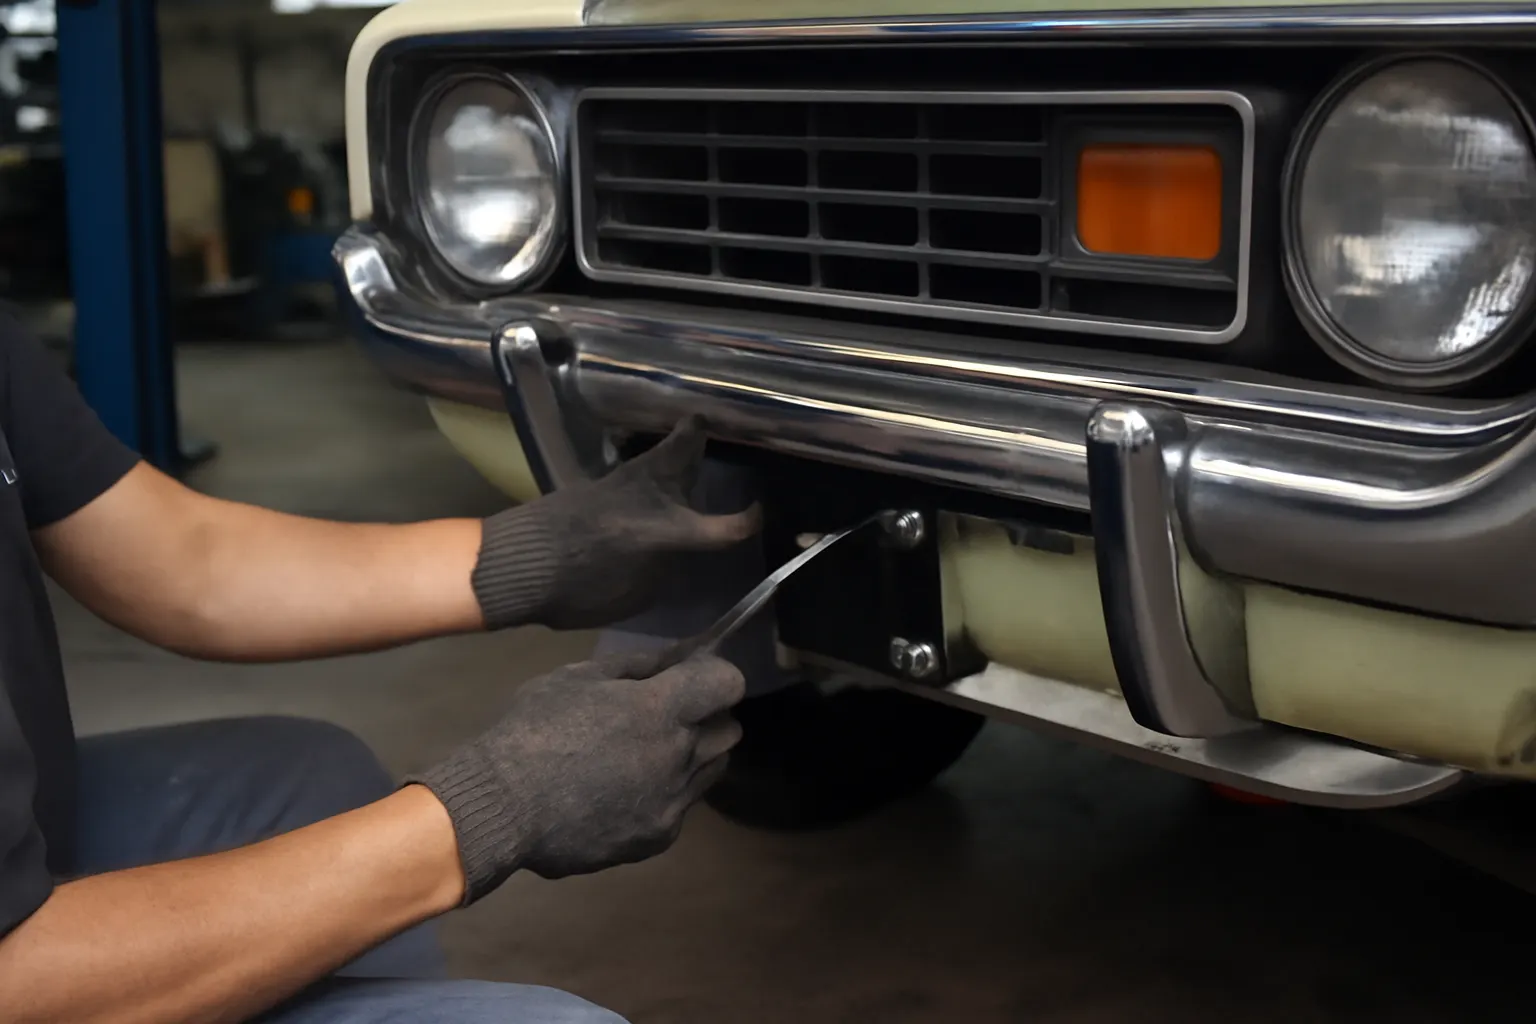
Restoring an AMC vehicle’s bumper to its original strength and appearance often comes down to one part: the bumper bracket. In this field report, the AutoPartEx team delivers hands-on insights from real-world AMC bumper restoration projects, focusing on bracket replacement, authentic fitment, and lessons learned. Whether you’re tackling a 1970s Javelin, Gremlin, or AMX, this report offers practical guidance, diagnostic checklists, and sourcing strategies to ensure your AMC’s bumper is as safe and resilient as the day it rolled off the assembly line.
For a comprehensive overview of AMC bumper bracket fitment, sourcing, and service, see our AMC Bumper Bracket: Authentic OEM Fitment, Service, and Sourcing Guide.
The Immediate Answer: Why AMC Bumper Bracket Restoration Matters
Bumper brackets are the hidden backbone of your AMC’s front and rear protection. When these brackets are corroded, bent, or replaced with ill-fitting aftermarket parts, the bumper’s ability to absorb impacts and maintain correct alignment is compromised. In restoration projects, authentic AMC bumper bracket replacement is not just about aesthetics—it’s a critical step for vehicle safety, structural integrity, and compliance with modern safety expectations as outlined by the National Highway Traffic Safety Administration (NHTSA).
From our fieldwork, the most successful AMC restorations prioritize:
- Sourcing OEM-spec brackets or properly engineered reproductions
- Diagnosing hidden bracket damage before cosmetic work
- Correct hardware and fastener selection for period-correct fitment
- Step-by-step installation with verification of alignment and torque
When these steps are followed, AMC bumpers regain their original fit, function, and safety—ready for the road or the show field.
The Hidden Problem: Underestimating AMC Bumper Bracket Complexity
Many AMC restorers underestimate the complexity of bumper brackets. Unlike some modern vehicles with plastic bumper covers, classic AMC models rely on robust steel brackets that are vehicle-specific. Field reports consistently reveal the following pitfalls:
- Bracket Variations: Even within the same model year, AMC used different bracket geometries and mounting points across models and trim levels.
- Corrosion and Fatigue: Brackets often appear intact but may be weakened by internal rust or metal fatigue, especially in vehicles stored outdoors.
- Compatibility Gaps: Aftermarket brackets may not match OEM dimensions, leading to poor bumper alignment or gaps.
Neglecting these issues can result in misaligned bumpers, rattling, or, in worst-case scenarios, compromised crash protection. Proper diagnosis and bracket selection are essential for a restoration that stands up to scrutiny and real-world driving.
Digging Deeper: Bumper Bracket Failure Modes and Field Diagnostics
Common Failure Modes Documented
- Corrosion: The most widespread problem in AMC bumper brackets is rust-through, especially at mounting holes and welded seams. This is exacerbated by decades of road salt and moisture exposure.
- Deformation: Even minor collisions or improper towing can bend brackets out of shape, leading to a bumper that sits too high, low, or at an angle.
- Fatigue Cracks: Repeated flexing over time, especially in high-mileage or previously damaged vehicles, causes small cracks near bends and mounting points.
- Fastener Thread Damage: Over-torquing or using incorrect hardware strips threads, making secure installation impossible.
Diagnostic Checklist: Is Your AMC Bumper Bracket Safe to Reuse?
- Visual Inspection: Remove the bumper and examine the bracket for rust, cracks, or deformation.
- Tap Test: Lightly tap the bracket with a hammer. A dull thud may indicate internal rust or delamination.
- Measurement: Compare bracket dimensions to OEM specifications or a known-good bracket.
- Mounting Hole Integrity: Check for ovaled or oversized holes, which can cause movement or rattling.
- Thread Check: Test all threads with the correct bolts—loose or spinning fasteners signal stripped threads.
If any of these issues are present, replacement or professional repair is strongly recommended.
Real-World Restoration Stories: Lessons from the Field
Case Study 1: 1974 AMC Javelin Rear Bumper Alignment
A restoration shop in Ohio reported persistent rear bumper misalignment on a 1974 Javelin. After replacing the bumper twice with reproduction units, the issue was traced to a slightly bent left-side bracket—barely visible when installed. Only after removing and comparing both brackets side by side did the 3mm deviation become obvious. Replacing both brackets with OEM-spec reproductions restored perfect alignment.
Advertisement
Lesson: Always inspect and compare both sides before reinstalling any bumper.
Case Study 2: AMX Front Bumper Rattle
A private owner in Texas restored a 1969 AMX but reported a persistent rattle at highway speeds. Investigation revealed that the aftermarket bracket’s mounting holes were 1.5mm larger than OEM, allowing micro-movement under vibration. Switching to a reproduction bracket with correct hole sizing eliminated the issue.
Lesson: Mounting hole tolerances matter—precision fitment prevents noise and premature wear.
Case Study 3: Gremlin Bracket Corrosion
A long-stored 1977 Gremlin arrived at a restoration shop with seemingly solid bumpers. Upon teardown, both front brackets were found to be rusted through at the frame mounting points, hidden under layers of road grime. Replacement was required, and the owner opted for zinc-coated reproductions to prevent future corrosion.
Lesson: Surface inspection isn’t enough—always remove brackets for thorough assessment.
Sourcing the Right AMC Bumper Bracket: OEM vs. Aftermarket
Understanding Your Options
- OEM Brackets: These are original manufacturer parts or NOS (New Old Stock). They guarantee correct fitment, material quality, and mounting geometry. However, they are increasingly rare and often expensive.
- Reproduction Brackets: High-quality aftermarket brackets engineered to original AMC specifications. Look for suppliers who use factory blueprints or 3D scanning.
- Universal Brackets: Not recommended for AMC restorations. Universals often lack the necessary bends, holes, or reinforcements.
Sourcing Checklist
- Confirm the bracket is for your exact AMC model, year, and body style.
- Ask suppliers about their quality control process—look for brackets made from automotive-grade steel with anti-corrosion coatings.
- Request detailed photos and measurements if buying online.
- Avoid brackets with slot-shaped mounting holes unless AMC originally used them.
- Check for included hardware or source correct-grade bolts and nuts separately.
For further sourcing and fitment guidance, see our Amc Bumper Hardware Fitment resource.
Technical Deep Dive: Materials, Engineering, and Performance
AMC bumper brackets were originally stamped from medium or high-strength steel, designed to provide both rigidity and energy absorption in minor collisions. According to the U.S. Department of Energy, material selection in automotive structures directly impacts both safety and vehicle weight.
Key technical considerations in AMC bumper bracket design:
- Steel Grade: Most AMC brackets use SAE 1010–1020 mild steel, balancing ductility and strength.
- Coatings: Factory brackets were typically painted or zinc-plated to resist corrosion. Modern reproductions may use powder coating for enhanced durability.
- Geometry: Each bracket is engineered for a specific body contour, bumper weight, and mounting point spacing.
Using a bracket made from inferior material or with incorrect geometry can compromise crash performance and vehicle integrity. Always verify material specs and finish when sourcing replacements.
Installation Guidance: Step-by-Step for Reliable Results
Proper installation is critical to restoring both appearance and safety. Field reports show that even experienced restorers sometimes overlook key steps, leading to alignment or torque issues.
AMC Bumper Bracket Installation Checklist
- Preparation
- Clean all mounting surfaces on the frame and bumper.
- Test-fit the bracket to both the frame and bumper before securing.
- Hardware Selection
- Use new, grade 8 bolts and locknuts where possible.
- Apply anti-seize compound to all threads.
- Bracket Mounting
- Align bracket holes to frame and loosely install all fasteners.
- Torque bolts to AMC service manual specifications (typically 35–55 ft-lbs).
- Confirm bracket sits flush against mounting surfaces—no gaps.
- Bumper Installation
- With brackets secured, mount the bumper and loosely install all hardware.
- Adjust bumper alignment (height, depth, angle) before final tightening.
- Torque bumper fasteners to spec.
- Final Checks
- Inspect for even bumper-to-body gaps.
- Verify all bolts are properly torqued.
- Test for movement or rattling by gently pushing/pulling on the bumper.
Advertisement
For a full diagnostic approach to bumper bracket issues, visit our Amc Bumper Bracket Diagnostics guide.
Common Installation Mistakes and How to Avoid Them
Even careful restorers fall prey to these pitfalls, as documented in our field reports:
- Over-Torquing Fasteners: This can deform the bracket or strip threads, especially on older or corroded parts.
- Mixing Hardware: Using incorrect bolt lengths or thread pitches leads to poor clamping force or cross-threading.
- Skipping Alignment Steps: Failing to check bumper alignment before final torque often results in uneven gaps or contact with body panels.
- Reusing Old Hardware: Rusty or weakened bolts compromise the entire assembly’s strength.
For a deeper dive into installation errors, see Bumper Installation Mistakes.
Preventive Maintenance: Keeping AMC Bumper Brackets Roadworthy
Once installed, AMC bumper brackets require little routine attention, but preventive maintenance can significantly extend their lifespan:
- Annual Inspection: Check for signs of rust, loose bolts, or movement.
- Touch-Up Paint: Apply rust-inhibiting paint or undercoating to exposed bracket surfaces.
- Hardware Retorque: Periodically check torque on all bracket and bumper fasteners, especially after long drives or impacts.
- Drainage: Ensure any bracket or frame holes are clear to prevent water accumulation.
If your AMC is a daily driver or exposed to harsh climates, consider annual removal and inspection of brackets for hidden corrosion.
Fuel Efficiency and Weight Considerations
While bumper brackets are not the heaviest component on an AMC, their material and design can influence overall vehicle weight. According to the U.S. Department of Energy, reducing vehicle weight improves fuel economy and performance.
In restoration, avoid unnecessarily heavy “universal” brackets or poorly engineered reproductions that add weight without structural benefit. Stick to OEM-spec brackets to preserve the balance between strength and efficiency designed by AMC engineers.
Sourcing Authentic Hardware: The Often Overlooked Detail
Hardware selection is just as important as the bracket itself. Field reports highlight the following best practices:
- Grade and Finish: Use automotive-grade, zinc-plated or stainless hardware to prevent corrosion.
- Correct Sizing: Confirm bolt length, diameter, and thread pitch match AMC specifications.
- Lock Washers or Nylon Locknuts: These prevent loosening from vibration.
- OEM-Style Head Markings: For concours restorations, source hardware with correct head markings for authenticity.
If original hardware is unavailable, purchase from reputable suppliers who specialize in classic AMC fasteners.
Troubleshooting Post-Installation Issues
After bracket replacement, some AMC owners report persistent issues:
- Rattling or Clunking: Often due to oversized mounting holes or under-torqued bolts.
- Bumper Sagging: Indicates bracket deformation or incorrect installation sequence.
- Paint Damage at Mounts: Signals bracket misalignment or contact with body panels.
Field Solution: Re-inspect all mounting points, verify bracket geometry, and re-torque fasteners as needed. If problems persist, compare the installed bracket to an OEM blueprint or reference vehicle.
AutoPartEx Positioning: Your Partner in AMC Restoration
At AutoPartEx, we understand that AMC bumper bracket restoration is a blend of engineering precision and authentic craftsmanship. Our technical editorial team curates field-proven guides, diagnostic resources, and sourcing checklists to support both first-time restorers and seasoned professionals.
We connect you to verified suppliers, provide in-depth AMC Bumper Bracket: Authentic OEM Fitment, Service, and Sourcing Guide, and deliver up-to-date technical standards. Our mission: empower you to restore your AMC’s safety, value, and authenticity—one bracket at a time.
Expert Action Steps: Ensuring a Safe and Authentic AMC Bumper Restoration
- Diagnose Before You Restore: Remove bumper brackets for a thorough inspection—don’t trust surface appearances.
- Source Wisely: Prioritize OEM or high-quality reproduction brackets with correct geometry and material specs.
- Use Correct Hardware: Match AMC factory fastener grades, sizes, and finishes for safety and authenticity.
- Follow Installation Best Practices: Align, torque, and verify all mounting points before finalizing the bumper install.
- Maintain for Longevity: Inspect brackets annually and touch up coatings to prevent corrosion and fatigue.
- Consult Trusted Resources: Leverage AutoPartEx guides and checklists at every stage of your AMC restoration.
With these steps, your AMC’s bumper will not only look factory-fresh but also deliver the crash protection and durability AMC engineers intended.
References
Advertisement