
Advertisement
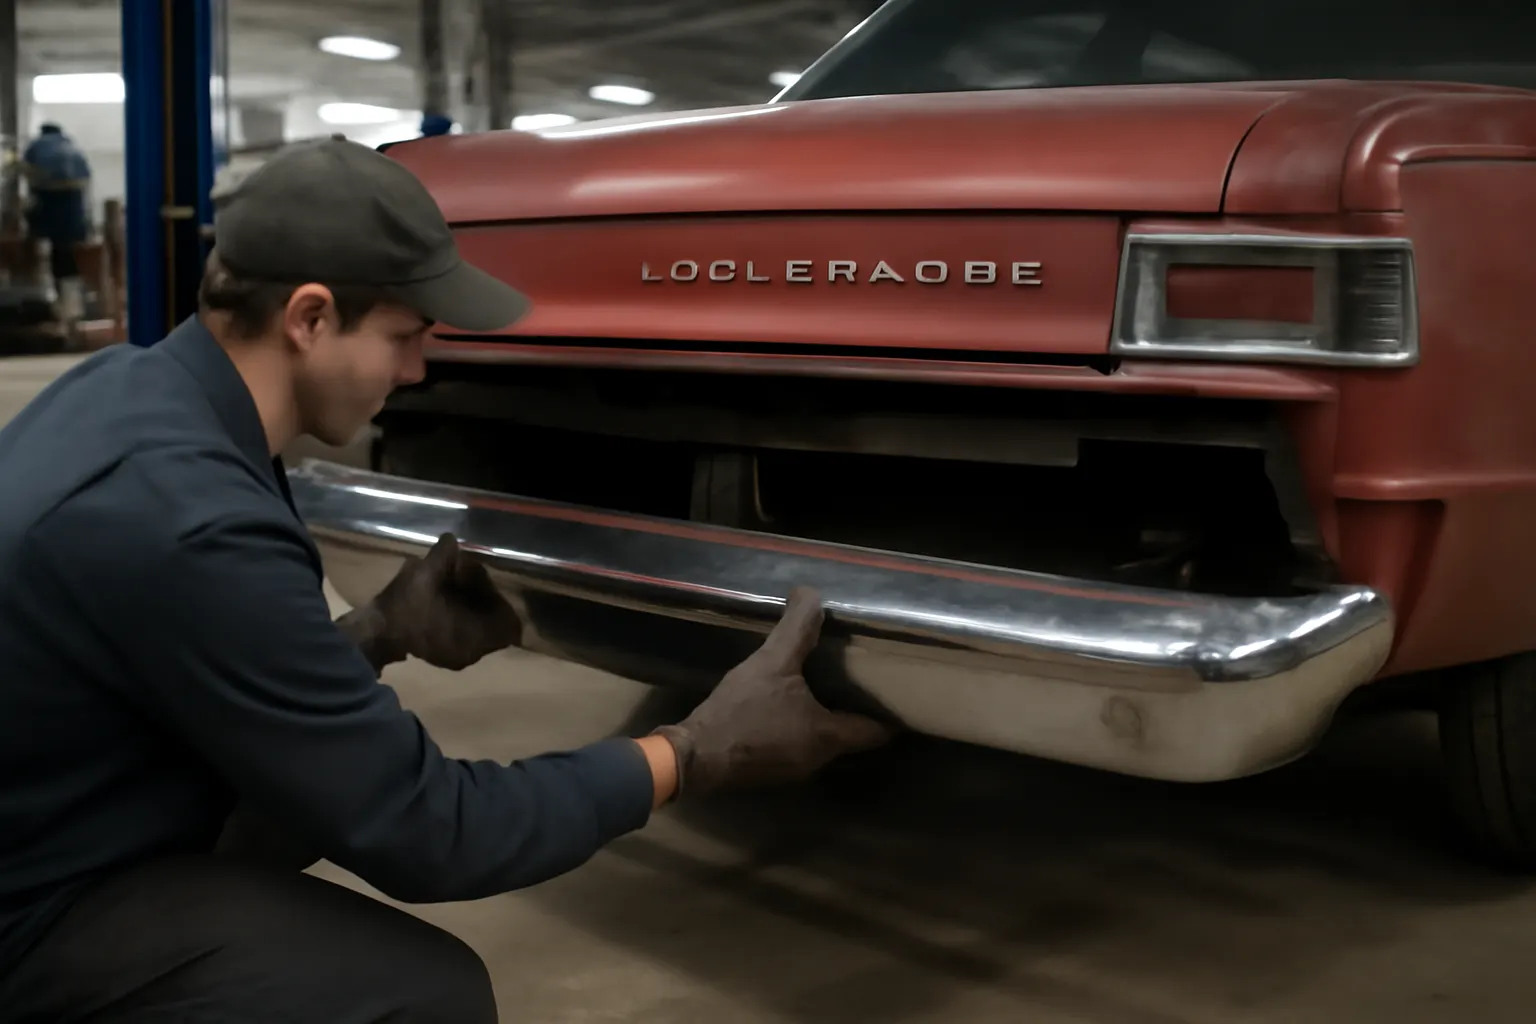
Amc Ambassador Rear Bumper Restoration
Restoring the rear bumper cover of an AMC Ambassador is a process that demands precision, patience, and a deep understanding of the car’s unique design heritage. Whether you’re aiming for concours-level authenticity or a robust daily-driver refurbishment, knowing how to source, evaluate, and restore these rare components is essential for safety, aesthetics, and value retention. This guide delivers immediate, actionable advice for AMC Ambassador owners, collectors, and restoration professionals—plus the nuanced pitfalls and expert tips that can make or break a bumper restoration project.
For a broader look at fitment, replacement, and expert guidance on AMC Ambassador rear bumper covers, see our comprehensive AMC Ambassador Rear Bumper Cover: Fitment, Replacement, and Expert Guidance page.
Immediate Solutions: What to Do When Your AMC Ambassador Rear Bumper Needs Restoration
If your AMC Ambassador’s rear bumper cover is rusted, dented, cracked, or missing, your restoration options are:
- Source a correct replacement: Locate a bumper cover that matches your model year and trim.
- Assess restorable originals: Evaluate if your existing bumper can be repaired and refinished.
- Understand trim-specific challenges: AMC made frequent year-to-year and trim-level changes, so fitment is rarely universal.
- Prioritize safety and compliance: Ensure any restored or replacement bumper meets modern safety and equipment standards.
Immediate action: Inspect your current bumper for structural integrity, missing mounting hardware, and compatibility with your specific model year. Begin sourcing options, keeping in mind that AMC Ambassador rear bumper covers—especially from the late 1960s through the 1974 model year—are among the rarest and most misidentified classic car parts.
The Hidden Problem: Model-Year and Trim-Specific Pitfalls
Restoring an AMC Ambassador rear bumper isn’t just about finding a shiny replacement. The real challenge lies in the subtle, often-overlooked differences between model years, body styles, and trim packages. These differences can result in:
- Incorrect fitment: Mounting points, contour, and overall width vary between years and trims.
- Mismatched appearance: Chrome finish, bumper guards, and trim inserts differ by year and sometimes by region.
- Safety compliance issues: Bumpers must meet minimum standards for impact absorption and mounting security, as outlined by NHTSA Vehicle Safety and Equipment guidelines.
Many restoration projects stall or fail due to misidentified parts or the use of incorrect hardware. Even minor deviations from OEM specifications can affect alignment, trunk closure, and, more critically, occupant safety in a rear impact.
Why AMC Ambassador Rear Bumper Covers Are Especially Challenging
The AMC Ambassador, produced from 1958 to 1974, underwent frequent design updates. Unlike some contemporaries, AMC did not standardize bumper covers across multiple years or body styles. Key challenges include:
- Low production numbers: Fewer cars built means fewer surviving parts.
- Frequent running changes: Even within a single model year, AMC sometimes altered mounting brackets, decorative trim, and bumper profile.
- Trim-specific differences: “DPL,” “SST,” and “Custom” trims often had unique bumperettes, guards, or finish details.
- Limited aftermarket support: Most reproduction parts focus on more popular muscle cars, making Ambassador-specific bumpers rare.
These factors make sourcing and restoring a correct AMC Ambassador rear bumper cover a task that requires research, patience, and sometimes creative problem-solving.
Sourcing Rare AMC Ambassador Rear Bumper Covers: A Practical Guide
Finding a replacement rear bumper cover for your AMC Ambassador can be daunting. Here’s a step-by-step sourcing checklist to maximize your success:
Advertisement
AMC Ambassador Rear Bumper Sourcing Checklist
- Identify Your Exact Model and Trim:
- Year, sub-model (e.g., DPL, SST, Custom), and body style (sedan, wagon, coupe).
- Document Existing Bumper Details:
- Take photos of mounting points, trim holes, and bumper profile.
- Search Specialized Sources:
- AMC-specific forums, classic salvage yards, and dedicated AMC parts vendors.
- Check for Reproduction Options:
- Verify if any reproduction bumpers or covers are available for your year/trim.
- Inspect for Hidden Damage:
- Rust-through, previous repairs, and alignment issues can render a used bumper unusable.
- Request Measurements:
- Confirm overall length, mounting hole spacing, and contour match.
- Verify Return Policies:
- Especially important with rare parts—ensure you can return if fitment is incorrect.
Pro tip: Cross-reference part numbers and visual details with AMC parts catalogs and reputable online resources. If possible, bring your old bumper or a detailed template when inspecting potential replacements in person.
Diagnosing AMC Ambassador Rear Bumper Cover Condition
Before committing to restoration or replacement, perform a thorough diagnostic assessment of your existing rear bumper cover. Key points to inspect:
- Structural integrity: Look for rust-through, cracks (especially near mounting points), and evidence of previous welds or patches.
- Surface condition: Assess chrome plating, pitting, and deep scratches. Minor surface rust or light pitting can often be restored.
- Mounting hardware: Check for missing or incorrect bolts, brackets, and isolators. AMC often used unique hardware that’s not easily substituted.
- Alignment: Poor alignment may indicate frame damage, bent mounting brackets, or an incorrect bumper for your car.
If the bumper is structurally sound and only suffers from cosmetic issues, restoration is often feasible. Severe structural damage, extensive rust-through, or missing mounting features may necessitate sourcing a replacement.
Model-Year and Trim Nuances: Pitfalls to Avoid
The AMC Ambassador’s rear bumper covers are notoriously non-interchangeable across many years and trims. Here’s what you need to know:
Common Model-Year Pitfalls
- 1967-1968 vs. 1969-1970: Mounting points and bumper shape changed, with 1969 introducing a more pronounced center dip.
- 1971-1974: Bumpers became heavier and incorporated more robust energy-absorbing features, especially after federal safety standards tightened.
- Wagon vs. Sedan: Rear bumpers for wagons often have different cutouts or mounting brackets than sedans and coupes.
- Trim-Specific Guards and Inserts: “DPL” and “SST” models may feature additional bumper guards, rubber strips, or decorative inserts.
Tip: Consult AMC factory parts books or Amc Ambassador Rear Bumper Cover Compatibility guides before committing to a purchase or restoration path.
Restoration Techniques: From Surface Prep to Final Finish
Restoring a vintage AMC Ambassador rear bumper cover involves several key steps:
- Removal and Documentation:
- Carefully remove the bumper, photographing each step. Bag and label all original hardware.
- Stripping Old Finish:
- Use chemical strippers or media blasting to remove old chrome, paint, or rust. Be cautious with thin-gauge steel to avoid warping.
- Metal Repair:
- Weld cracks, fill deep pits with metal-based filler, and straighten any bends. Professional bumper shops can re-contour severely damaged units.
- Surface Smoothing:
- Sand and polish the metal to a mirror finish before re-chroming or painting.
- Re-Chroming or Painting:
- Chrome-plating is original for most years, but some trims used painted or argent-finish bumpers.
- Reassembly:
- Replace worn isolators and hardware. Align carefully to avoid stress on mounting points.
Note: Modern re-chroming processes often produce a finish superior to original 1970s AMC chrome, but authenticity-minded restorers may wish to retain minor imperfections for a period-correct look.
Sourcing and Restoring Mounting Hardware
Original AMC mounting hardware is often missing, corroded, or replaced with generic fasteners that compromise fit and safety. Sourcing correct hardware is as important as the bumper itself:
Advertisement
- OEM bolts and brackets: Look for AMC part numbers or period-correct markings.
- Rubber isolators: These prevent metal-to-metal contact and reduce vibration; replacements can often be sourced from AMC specialists or custom-fabricated.
- Spacer shims: Proper alignment sometimes requires shims, especially on cars with prior collision repair.
If you can’t find NOS (new old stock) hardware, consider fabricating replacements to original specifications using high-grade steel and corrosion-resistant coatings.
Safety and Compliance: Meeting Modern Standards
While AMC Ambassadors predate many of today’s stringent safety regulations, any restored or replacement rear bumper must still meet basic safety and equipment standards:
- Secure mounting: All bolts and brackets must be tight, with no play or flex.
- Impact absorption: Later Ambassadors (1973–1974) used energy-absorbing mounts; ensure these are intact and functional.
- No sharp edges or protrusions: Bumper must not present a hazard to pedestrians or other vehicles.
- Lighting and license plate integration: Tail lamp and plate illumination must remain unobstructed.
Refer to the National Highway Traffic Safety Administration’s Vehicle Safety and Equipment requirements for further guidance, especially if the car will be registered for road use.
Diagnosing and Preventing Future Bumper Failures
Once restored, a rear bumper cover can provide decades of service if properly maintained. Common failure patterns include:
- Rust from trapped moisture: Pay special attention to seams, mounting holes, and areas behind rubber trim.
- Electrolytic corrosion: Occurs when dissimilar metals (e.g., steel bumper, aluminum trim) contact each other without proper isolation.
- Fatigue cracks: Especially near mounting points or where bumper guards are attached.
For a detailed analysis of failure patterns and preventive strategies, see Amc Ambassador Exterior Trim Failure Patterns.
Maintenance Tips for Longevity
Protect your restored bumper investment with these maintenance best practices:
- Regular washing: Remove road salts and debris, especially in winter.
- Wax or chrome polish: Use a high-quality product to protect the finish and repel moisture.
- Inspect mounting hardware: Tighten bolts and check for signs of movement or corrosion at least once per driving season.
- Touch-up paint: For painted or argent-finish bumpers, promptly repair chips to prevent rust creep.
- Storage: If the car is stored for long periods, cover the bumper or use a desiccant to minimize moisture exposure.
Restoration vs. Replacement: Making the Right Call
Not every bumper is a candidate for restoration. Use this decision matrix:
| Condition | Restoration Feasible? | Replacement Recommended? |
|---|---|---|
| Minor surface rust | Yes | No |
| Deep pitting | Sometimes | If pitting is extensive |
| Small dents | Yes | No |
| Severe bends | Sometimes | If metal is fatigued |
| Rust-through | No | Yes |
| Missing mounting | Sometimes | If critical |
If sourcing a replacement, always verify fitment using both visual inspection and part number cross-reference.
Expert Solution Path: Steps to a Successful AMC Ambassador Rear Bumper Restoration
- Document: Photograph and measure your existing bumper and mounting points.
- Research: Consult AMC parts catalogs, forums, and compatibility guides.
- Source: Use reputable vendors and be wary of “universal fit” claims.
- Restore: Choose a bumper shop experienced with classic AMC or similar-era vehicles.
- Install: Follow correct torque specs, use OEM-style hardware, and align carefully.
- Maintain: Implement a regular cleaning and inspection regimen.
Whenever possible, work with restoration shops or suppliers who have verifiable experience with AMC Ambassadors. Their insight can help you avoid costly mistakes and ensure period-correct results.
AutoPartEx: Your Partner in AMC Ambassador Rear Bumper Restoration
At AutoPartEx, we understand the unique challenges of restoring classic AMC Ambassador rear bumper covers. Our technical resources, curated parts listings, and expert editorial content are designed to help you make informed, confident decisions—whether you’re sourcing a rare bumper, diagnosing mounting issues, or seeking advice on period-correct restoration.
Explore more on AMC Ambassador Rear Bumper Cover: Fitment, Replacement, and Expert Guidance, and don’t miss our practical Amc Ambassador Bumper Cover Installation guide for step-by-step installation tips. AutoPartEx is committed to supporting the AMC community with accurate, actionable advice and the industry’s best sourcing network.
References
Advertisement