
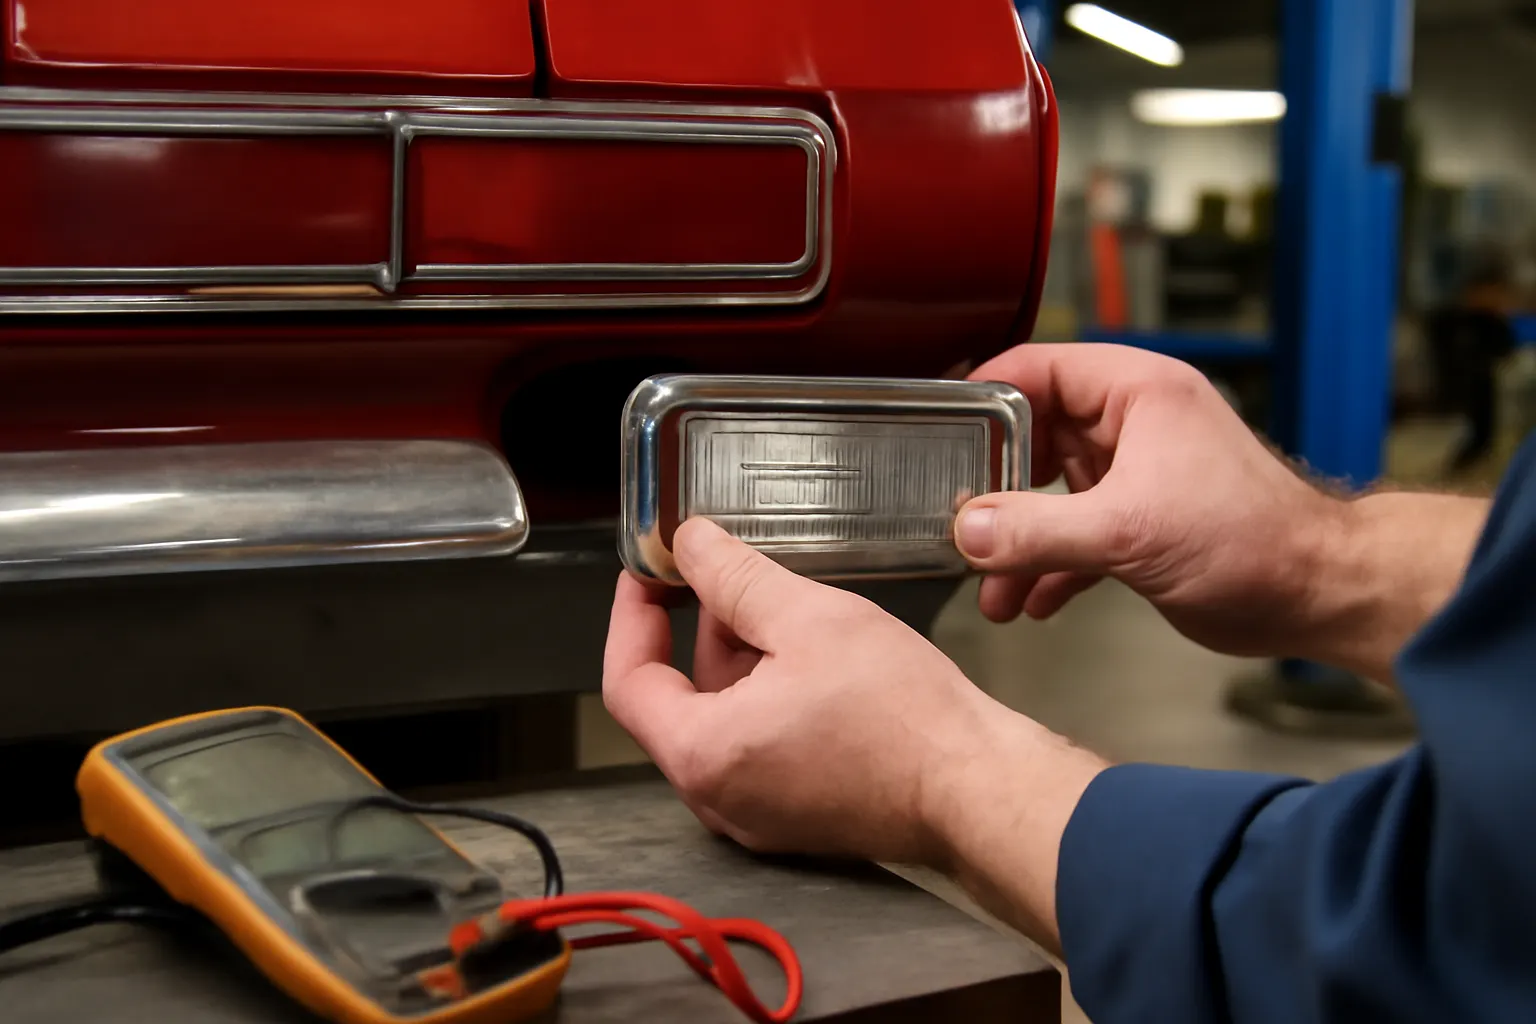
Amc Ambassador Lighting Fitment Differences
Understanding the production-year differences in AMC Ambassador lighting components is critical for any owner, restorer, or technician working on these classic vehicles. AMC Ambassadors, produced over multiple decades, underwent numerous lighting design and fitment changes—especially in backup lights, taillights, and marker lamps. Failing to recognize these differences can lead to costly fitment mistakes, electrical incompatibility, and even safety or compliance issues. In this comprehensive guide, we’ll show you how to accurately identify lighting fitment differences by year, avoid common pitfalls, and source the correct components for your AMC Ambassador. For a deep dive into backup light replacement and model-specific guidance, visit our AMC Ambassador Backup Light Replacement, Fitment & Technical Guide.
Immediate Answer: Why AMC Ambassador Lighting Fitment Differs by Year
The AMC Ambassador’s lighting components—especially backup lights, taillights, and side markers—varied substantially across production years due to evolving federal safety regulations, styling changes, and periodic engineering updates. For example, the backup lights on a 1967 Ambassador differ in lens shape, mounting method, and wiring connector from those on a 1974 model. These differences mean that lighting parts are rarely interchangeable across model years without modification, and using the wrong part can lead to poor fit, water leaks, failed inspections, or electrical faults.
If you’re replacing or upgrading lighting on your AMC Ambassador, always match components to your vehicle’s exact year, body style, and trim level. Confirm part numbers and connector types before purchase. For more detailed technical specifications and replacement procedures, see our Amc Ambassador Backup Light Installation guide.
The Hidden Problem: Overlooked Fitment Variations
It’s easy to assume that all AMC Ambassador lighting parts from the same era are interchangeable, especially since many aftermarket catalogs group them together. However, subtle differences in lens color, housing shape, mounting tab location, and electrical connector style can render a part incompatible even if it looks similar at first glance. This is particularly true for backup lights, which saw frequent updates in response to changing NHTSA safety equipment standards.
Many owners and even some professional shops have installed incorrect lighting parts, leading to:
- Water leaks due to improper gasket fit
- Short circuits from mismatched connectors
- Misaligned or loose housings
- Non-compliance with safety or inspection requirements
- Reduced visibility or incorrect light output
These issues often go unnoticed until electrical problems or inspection failures arise. Identifying fitment differences proactively is crucial to a successful lighting repair or restoration.
Expanding the Problem: How AMC’s Model-Year Changes Impact Lighting
AMC, like most manufacturers, updated its vehicles frequently—sometimes annually—to comply with federal mandates and to refresh styling. Lighting was a particular focus, especially after the late 1960s when the National Highway Traffic Safety Administration (NHTSA) began enforcing stricter standards for lamp placement, color, and brightness.
Key factors that drive fitment differences in AMC Ambassador lighting include:
- Federal Safety Regulations: New requirements for backup light size, intensity, and placement led to design changes, especially after 1968.
- Styling Updates: Facelifted grilles, bumpers, and rear ends often required new lighting housings and lenses.
- Electrical System Changes: Connector styles, bulb types, and wiring harnesses evolved to improve reliability and ease of assembly.
- Material Improvements: Advances in plastics and sealing materials altered lens clarity, color, and weather resistance (see DOE Materials Technologies).
These factors mean that a backup light from a 1968 Ambassador will not directly fit a 1972 model, even if both are sedans. Knowing the specifics for your model year is essential for correct part sourcing and installation.
Key Areas of Lighting Fitment Variation in AMC Ambassadors
Let’s break down the main lighting components where production-year differences most often cause fitment headaches:
1. Backup Lights
- Lens Shape and Size: Early models (1966–1968) often have round or oval lenses, while later years (1970s) use rectangular or square shapes.
- Mounting Location: Some years mount backup lights in the rear bumper, others in the trunk panel or taillight cluster.
- Connector Style: Early models use bullet connectors, later ones switch to spade or blade connectors.
- Gasket Design: Changes in housing shape mean gaskets are not interchangeable.
2. Taillights
- Lens Color: Federal standards shifted from clear to red/amber for certain functions.
- Housing Style: Chrome vs. painted bezels, different mounting tabs.
- Bulb Type: Incandescent vs. halogen or LED (in some restomod applications).
3. Side Marker and Turn Signal Lamps
- Shape and Placement: Side markers were introduced in 1968; their size and shape changed nearly every year through the mid-1970s.
- Wiring: Single- vs. dual-filament bulbs, different harness connectors.
Each of these areas requires careful attention when sourcing replacement parts.
Checklist: How to Identify Correct AMC Ambassador Lighting Components
Use this checklist before purchasing or installing any lighting component on your AMC Ambassador:
-
Confirm Vehicle Year and Body Style
- VIN and trim tag verification
- Sedan, wagon, coupe, or convertible
-
Compare Original and Replacement Parts
- Lens shape, size, and color
- Housing mounting tabs and screw locations
- Connector type (bullet, spade, blade, etc.)
-
Check Part Numbers
- OEM part numbers from AMC service manuals or catalogs
-
Verify Electrical Compatibility
- Bulb type and wattage
- Number of wires/pins in connector
-
Inspect Gaskets and Seals
- Proper fit to prevent water intrusion
-
Compliance with Safety Standards
-
Test Fit Before Final Installation
- Dry-fit housing and lens to body panel
-
Consult Wiring Diagrams
- For proper harness routing and connections (Amc Ambassador Wiring Diagrams)
Following this checklist can save hours of frustration and prevent costly mistakes.
Technical Deep Dive: Evolution of AMC Ambassador Backup Lights
Backup lights on the AMC Ambassador are a prime example of how fitment differences evolved:
- 1966–1967: Backup lamps were small, round units integrated into the rear bumper on most body styles. Electrical connectors were basic bullet types, and the wiring harness was routed through a single grommet in the trunk floor.
- 1968–1970: In response to new safety standards, backup lights migrated to the taillight cluster, using larger rectangular lenses and a two-wire spade connector. The housing design changed to allow easier bulb replacement.
- 1971–1974: As bumper designs became more robust (to meet 5-mph impact standards), backup lights moved back into the bumper on many models, now with more complex mounting brackets and weatherproof connectors.
- 1975–1978: Final years saw the use of wider, horizontally-oriented backup lamps with improved lens optics and sealed connectors to reduce corrosion.
Each change brought unique fitment requirements for the lens, housing, gasket, and wiring. Attempting to swap a 1972 backup light into a 1975 bumper, for example, will result in misalignment and potential water leaks.
Diagnosing Lighting Fitment Issues: Symptoms and Solutions
Even with careful sourcing, fitment problems can arise. Here’s how to diagnose and address them:
Common Symptoms
- Loose or Misaligned Housing: Indicates incorrect mounting tab or bracket position.
- Water Intrusion: Suggests gasket mismatch or improper lens seal.
- Non-Functioning Lamp: Likely due to connector incompatibility or wiring mismatch.
- Blown Fuses or Intermittent Operation: May result from a short caused by pinched wires or improper grounding.
- Failed Safety Inspection: Often due to incorrect lens color or insufficient light output.
Diagnostic Steps
- Visual Inspection: Compare new and old parts side by side.
- Connector Check: Ensure plug style and pin count match.
- Test Fit: Temporarily install the housing without wiring to confirm alignment.
- Electrical Test: Use a multimeter to verify voltage and continuity at the connector.
- Water Test: Spray the assembly and check for leaks.
If any issue arises, consult a wiring diagram or the original AMC parts manual to confirm correct part numbers and installation procedures.
Sourcing Correct AMC Ambassador Lighting Parts
Finding the right lighting component for your Ambassador isn’t always straightforward—here’s how to increase your success rate:
- Use VIN and Body Code: Always reference the full VIN and body code to identify your exact model and trim.
- Consult Multiple Catalogs: Cross-reference OEM part numbers with reputable aftermarket suppliers.
- Ask for Detailed Photos: If buying used or NOS parts, request pictures of the mounting tabs, connectors, and lens markings.
- Beware of “Universal Fit” Claims: Many sellers list generic parts as fitting multiple years; these rarely provide a proper fit for AMC Ambassadors.
- Check for Recalls: Some lighting components were subject to manufacturer recalls or service bulletins (NHTSA Recalls).
When in doubt, consult a specialist familiar with AMC models or reference our AMC Ambassador Backup Light Replacement, Fitment & Technical Guide for model-specific advice.
Installation Tips: Achieving a Factory-Grade Lighting Fit
Installing lighting components on classic vehicles requires attention to detail. Here are best practices for AMC Ambassadors:
- Clean All Mounting Surfaces: Remove old gasket residue and corrosion.
- Test the Electrical Connector: Before final assembly, plug in the connector and verify functionality.
- Use New Gaskets: Never reuse old, brittle seals; always install new weatherproof gaskets.
- Torque Mounting Screws Evenly: Avoid overtightening, which can crack plastic lenses.
- Seal with Dielectric Grease: Apply to connectors to prevent corrosion.
- Align Housings Carefully: Ensure the lamp sits flush with the body panel to prevent water ingress and rattles.
- Function Test: After installation, test all lighting functions—brake, turn, backup, and running lights.
For step-by-step instructions and wiring tips, visit our Amc Ambassador Backup Light Installation guide.
Maintenance and Longevity: Keeping AMC Ambassador Lighting Reliable
Proper maintenance extends the life of your lighting components and prevents fitment-related issues down the road:
- Inspect Gaskets Annually: Replace if cracked or compressed.
- Clean Lenses: Use plastic polish to restore clarity and prevent UV damage.
- Check for Moisture: Any sign of condensation inside the lens indicates a failed seal.
- Tighten Mounting Screws: Vibration can loosen hardware over time.
- Test All Lighting Functions Regularly: Especially before long drives or inspections.
Routine care will preserve both functionality and appearance, maintaining your Ambassador’s value and safety.
Fitment and Safety: Meeting Federal Standards
Lighting fitment on the AMC Ambassador isn’t just about aesthetics or originality—it’s a matter of safety and legality. Federal regulations enforced by the NHTSA dictate lamp placement, color, and brightness. Installing a non-original or poorly fitting component can result in:
- Reduced visibility to other drivers
- Failed safety inspections
- Increased risk of electrical fires or shorts
Always verify that any replacement lighting component meets applicable standards for your model year. For more context on lighting’s role in classic car safety, see our Backup Light Importance Classics article.
Common Mistakes and How to Avoid Them
Even experienced restorers make fitment errors. Here are the most frequent mistakes, and how to steer clear:
- Assuming All Years Are the Same: Always check year-specific details.
- Mixing Up Sedan and Wagon Parts: Body styles often use different housings.
- Ignoring Connector Styles: A mismatch can render a lamp inoperable.
- Skipping Gasket Replacement: Leads to water leaks and corrosion.
- Overtightening Screws: Cracks lenses and distorts housings.
Take the time to research and verify every part before purchase and installation.
Using Wiring Diagrams for Precise Fitment
Wiring diagrams are invaluable for confirming correct lighting fitment and diagnosing electrical issues. AMC Ambassador diagrams show:
- Connector pinouts for each year and model
- Color codes for wires (which changed over time)
- Ground locations and shared circuits
If you encounter non-functioning lights after installation, consult the Amc Ambassador Wiring Diagrams to trace the circuit and confirm correct connections.
How AutoPartEx Helps AMC Ambassador Owners
AutoPartEx is dedicated to supporting classic AMC Ambassador owners with the most accurate, year-specific fitment data, technical guides, and curated parts sourcing. Our editorial team distills verified federal standards, engineering documentation, and real-world experience into actionable resources. By leveraging our fitment checklists, wiring diagrams, and installation guides, you can:
- Avoid costly mistakes and returns
- Ensure your lighting meets both safety and originality standards
- Maintain the value and reliability of your classic Ambassador
Explore our AMC Ambassador Backup Light Replacement, Fitment & Technical Guide for more in-depth support, or reach out to our technical team for personalized fitment assistance.
Expert Action: Your Next Steps
Ready to tackle your AMC Ambassador lighting project with confidence? Here’s what to do next:
- Identify Your Exact Model and Year: Use VIN and trim tags.
- Consult Our Fitment Checklist: Reference before buying any lighting part.
- Source Parts from Reputable Suppliers: Insist on year-correct photos and part numbers.
- Use Our Technical Guides: For installation, wiring, and troubleshooting.
- Test Thoroughly After Installation: Ensure all lamps function and fit as intended.
With careful research and the right resources, you’ll achieve a factory-correct, reliable lighting system that keeps your classic AMC Ambassador safe, legal, and looking its best.