
Advertisement
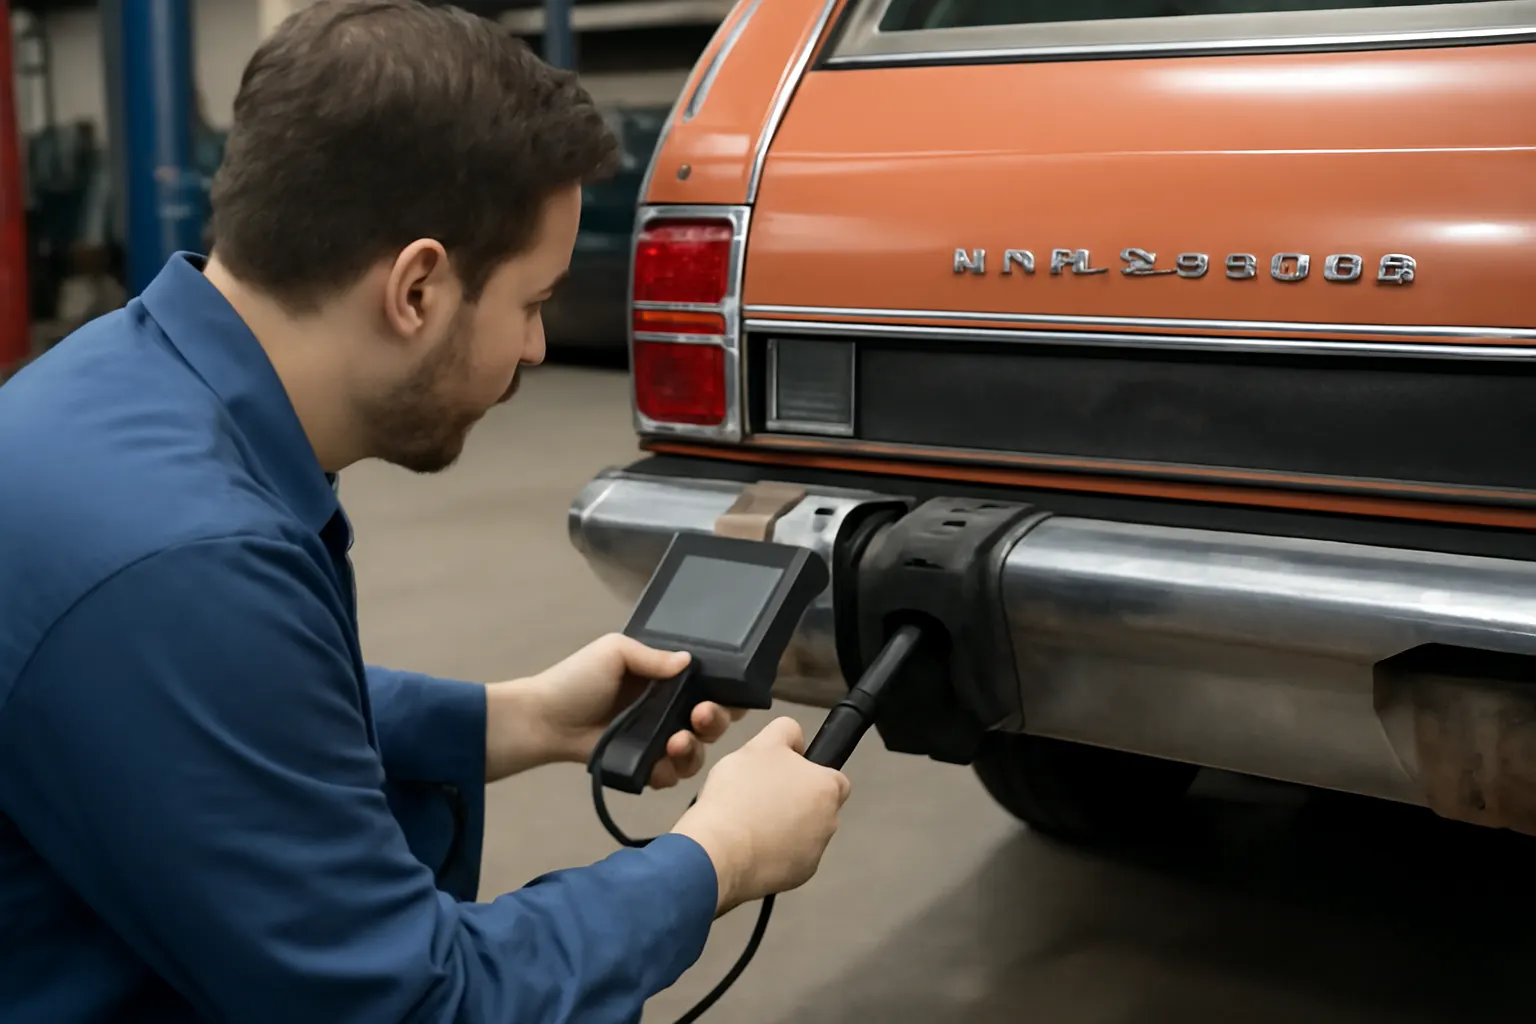
When your 1975 AMC Ambassador wagon’s rear bumper energy absorber starts showing signs of trouble, accurate diagnosis is essential for safety, restoration value, and continued roadworthiness. In this detailed field report, the AutoPartEx technical team provides a step-by-step guide to diagnosing rear bumper absorber issues, illustrated with high-resolution images and practical checklists. If you’re seeking a model-specific fitment, service, or replacement resource, be sure to consult our AMC Ambassador Rear Bumper Energy Absorber – Model-Specific Fitment, Service, and Replacement Guide as well.
Immediate Answer: How to Diagnose a 1975 AMC Ambassador Rear Bumper Absorber
To diagnose rear bumper absorber issues on a 1975 AMC Ambassador wagon, begin with a thorough visual inspection for misalignment, deformation, or corrosion. Next, check for proper bumper movement and resistance by applying moderate pressure; excessive play, rattling, or a “dead” feeling signals internal absorber failure. Finally, remove the rear bumper assembly to inspect the absorber unit for hydraulic fluid leaks, collapsed mounts, or broken hardware. Reference the model’s fitment and service data for correct specifications before proceeding with repair or replacement.
Hidden Problem: Why Bumper Absorber Issues Are Often Overlooked
Many AMC Ambassador owners underestimate the importance of the rear bumper energy absorber, viewing it as a passive component until a low-speed impact or restoration project reveals deeper issues. The hidden problem is that a compromised absorber can allow bumper misalignment, amplify damage in minor collisions, and even reduce the effectiveness of other safety systems. Over time, corrosion, hydraulic leaks, or internal collapse can render the absorber ineffective—without any obvious exterior damage.
Understanding the Bumper Absorber’s Critical Role
Energy Absorber Function in the 1975 AMC Ambassador
The rear bumper energy absorber in the 1975 AMC Ambassador is designed to dissipate kinetic energy during low-speed impacts (typically under 5 mph) in accordance with federal safety mandates of the era. The absorber is a sealed hydraulic or telescoping unit mounted between the bumper and frame rails, engineered to compress under force and rebound to its original position. This mechanism protects the frame, fuel tank, and bodywork from direct impact, minimizing repair costs and potential injury.
Regulatory and Safety Context
The National Highway Traffic Safety Administration (NHTSA) established bumper standards in the early 1970s, requiring passenger cars like the AMC Ambassador to withstand specific impacts with minimal damage to safety-related components. The rear bumper absorber is a direct result of these regulations, making its condition a critical safety concern NHTSA Equipment.
Field Report: Initial Inspection and Common Failure Signs
Step 1: Visual Inspection Checklist
A thorough visual check is the first diagnostic step. Use this checklist to identify visible issues:
- Bumper Alignment: Is the bumper flush with the body? Look for sagging, tilting, or uneven gaps.
- Surface Damage: Check for dents, bends, or signs of prior impact on the bumper face and absorber mount area.
- Corrosion: Inspect the absorber housing, mounting brackets, and hardware for rust or pitting.
- Fluid Leaks: Hydraulic absorbers may show oily residue or drips near the mounting points.
- Hardware Integrity: Ensure all bolts and fasteners are present and tight.
If any of these issues are present, further investigation is warranted.
Step 2: Manual Movement Test
With the vehicle safely parked and the rear wheels chocked, grasp the bumper at both ends and attempt to move it in and out. The bumper should offer firm resistance and return to its original position when released. If the bumper moves freely, rattles, or feels “dead,” the absorber’s internal mechanism may be compromised.
Deeper Technical Analysis: Disassembly and Internal Inspection
Step 3: Bumper Removal
For a complete diagnosis, carefully remove the rear bumper assembly:
Advertisement
- Disconnect Electrical Connectors: If equipped with rear lighting or sensors, unplug connectors.
- Unbolt the Bumper: Use a socket wrench to remove the mounting bolts from the frame rails.
- Support the Bumper: Have an assistant support the bumper as you remove the final bolts.
- Extract the Absorber: Slide the bumper away to expose the absorber unit(s).
Step 4: Absorber Unit Evaluation
With the absorber removed, perform the following checks:
- Physical Deformation: Look for bent, collapsed, or twisted absorber cylinders.
- Hydraulic Fluid Inspection: For hydraulic types, check for leaks, seepage, or loss of pressure.
- Mounting Flanges: Inspect for cracks, distortion, or broken welds.
- Telescoping Action: Compress and release the absorber by hand. It should move smoothly with resistance and return to its full length.
If the absorber fails any of these tests, replacement is recommended.
Common Failure Modes in AMC Ambassador Bumper Absorbers
Hydraulic Seal Failure
Hydraulic absorbers rely on internal seals to retain fluid and maintain pressure. Over decades, these seals harden, crack, and eventually leak, resulting in a loss of damping ability. Evidence includes oily residue, a “bottomed out” absorber, or a bumper that no longer rebounds.
Corrosion and Structural Fatigue
Exposure to moisture and road salt causes the steel housing and mounting hardware to corrode. Severe rust can weaken the absorber or cause it to detach from the vehicle, creating a safety hazard.
Internal Collapse
Repeated impacts or age-related fatigue can cause the internal piston or telescoping mechanism to lock up or collapse, eliminating the absorber’s ability to cushion impacts.
Diagnostic Checklist: AMC Ambassador Rear Bumper Absorber
Use this detailed checklist during your diagnosis:
| Diagnostic Step | Pass/Fail Criteria | Action if Failed |
|---|---|---|
| Bumper Alignment | Bumper is level, flush, and evenly spaced | Inspect absorber, mounts |
| Surface Condition | No major dents, bends, or impact marks | Check absorber, brackets |
| Corrosion Check | Minimal rust, no flaking or deep pitting | Clean, treat, or replace |
| Fluid Leak Inspection | No visible hydraulic fluid or oily residue | Replace absorber |
| Manual Compression | Firm resistance, smooth motion, returns to position | Replace absorber |
| Mounting Hardware | All bolts tight, no missing/loose fasteners | Replace or torque hardware |
Sourcing Replacement Absorbers: Fitment and Quality Considerations
Model-Specific Fitment
Not all bumper absorbers are interchangeable across AMC models or even production years. The 1975 Ambassador wagon uses a unique absorber design, with mounting dimensions and hydraulic characteristics tuned for its weight and chassis geometry. Before sourcing a replacement, verify:
- OEM Part Number: Cross-reference the original part number with reputable suppliers.
- Mounting Pattern: Confirm bolt spacing, flange shape, and bracket compatibility.
- Absorber Type: Ensure hydraulic (vs. foam or spring) absorber as per original equipment.
For detailed fitment charts and sourcing tips, see our Amc Ambassador Bumper Fitment Guide.
Quality and Aftermarket Options
While NOS (new old stock) parts offer originality, they may suffer from age-related degradation. High-quality remanufactured or reproduction absorbers, designed to meet or exceed OEM standards, are often a better choice for safety and longevity. Always request detailed specifications and warranty information from the supplier.
Installation Best Practices: Ensuring Safe Performance
Pre-Installation Preparation
- Clean Mounting Surfaces: Remove rust and debris from frame rails and bumper brackets.
- Test-Fit Components: Confirm all parts align before final assembly.
- Replace Hardware: Use new Grade 8 bolts and lock washers where possible.
Installation Steps
- Install Absorber: Bolt the new absorber to the frame, torquing to manufacturer specifications.
- Align Bumper: Position the bumper and loosely install mounting bolts.
- Adjust Alignment: Center the bumper and tighten bolts incrementally.
- Reconnect Electrical: Restore any disconnected wiring.
- Final Inspection: Check for proper fit, clearance, and secure hardware.
For a detailed hardware guide, refer to Amc Ambassador Bumper Hardware.
Advertisement
Post-Installation Testing and Maintenance
Functional Testing
After installation, repeat the manual movement test. The bumper should resist compression and return smoothly. Confirm that the bumper is level and all gaps are even. Perform a low-speed “tap test” (if safe and legal) to ensure proper energy absorption.
Ongoing Maintenance
- Periodic Inspections: Check absorber and mounting hardware at least annually.
- Rust Prevention: Apply rust inhibitor to exposed metal surfaces.
- Monitor for Leaks: Inspect for hydraulic seepage after heavy rain or car washes.
The Broader Impact: Safety, Regulations, and Value
Safety and Compliance
A functional bumper absorber is not just a restoration detail—it’s a critical safety component. The NHTSA’s bumper standards were enacted to protect occupants and vehicle systems in low-speed impacts. A failed absorber can compromise compliance and increase the risk of injury or costly repairs NHTSA Equipment.
Preservation of Value
For collectors and enthusiasts, maintaining original safety features—including the bumper absorber—preserves vehicle value and authenticity. Document all repairs and retain receipts for future reference.
Related Restoration Topics
If your diagnosis reveals further bumper or bodywork issues, explore these related resources:
- Amc Bumper Restoration: Techniques for restoring chrome, repairing dents, and refinishing original bumpers.
- Amc Ambassador Rear Bumper Energy Absorber – Model-Specific Fitment, Service, and Replacement Guide: Comprehensive fitment and service details for your specific model.
Troubleshooting Unusual Issues
Aftermarket Modifications
Previous owners may have replaced the original absorber with non-standard parts or eliminated it entirely. Inspect for evidence of modifications, such as welded plates, spacers, or missing hardware. Restore original configuration for optimal safety and value.
Multiple Impacts
Vehicles with a history of rear-end collisions may exhibit hidden frame damage, even if the bumper absorber appears intact. Measure frame rail alignment and inspect for stress cracks or buckling.
Hard-to-Find Parts
If sourcing an exact replacement proves difficult, consult specialist suppliers or consider professional remanufacturing services. Avoid generic absorbers that do not match original specifications.
Technical Deep Dive: Materials and Engineering Considerations
Absorber Construction
The 1975 AMC Ambassador’s rear bumper absorber typically consists of a steel cylinder, a telescoping piston, and hydraulic fluid sealed by high-temperature rubber O-rings. Engineering standards for these components are governed by federal safety regulations and SAE guidelines SAE Standards.
Material Degradation Over Time
Steel components are vulnerable to rust, especially in regions with harsh winters or coastal exposure. Rubber seals degrade with age, exposure to ozone, and temperature cycling. These factors explain why even low-mileage vehicles may require absorber replacement after 40+ years.
Expert Solution Path: From Diagnosis to Restoration
- Diagnose: Perform step-by-step inspection and testing as outlined above.
- Source: Use verified fitment data to select an OEM or equivalent absorber.
- Install: Follow best practices for mounting, alignment, and hardware selection.
- Test: Confirm proper function and compliance with safety standards.
- Document: Record all repairs and part numbers for future reference.
AutoPartEx Positioning: Your Partner in Classic AMC Restoration
At AutoPartEx, we understand that diagnosing and repairing model-specific safety components like the AMC Ambassador’s rear bumper absorber is both a technical and preservation challenge. Our curated guides, fitment charts, and expert support help you maintain both safety and authenticity in your restoration. For the full range of AMC Ambassador rear bumper absorber parts, technical data, and restoration resources, visit our AMC Ambassador Rear Bumper Energy Absorber – Model-Specific Fitment, Service, and Replacement Guide.
Take the Next Step: Expert Restoration and Support
Whether you’re a seasoned restorer or a first-time AMC Ambassador owner, precise diagnosis and correct repair of the rear bumper absorber is essential. Use the checklists and technical procedures above as your blueprint. For advanced troubleshooting, rare part sourcing, or to connect with other AMC enthusiasts, contact the AutoPartEx technical team or join our restoration community. Prioritize safety, authenticity, and value—your Ambassador deserves nothing less.
References
Advertisement