
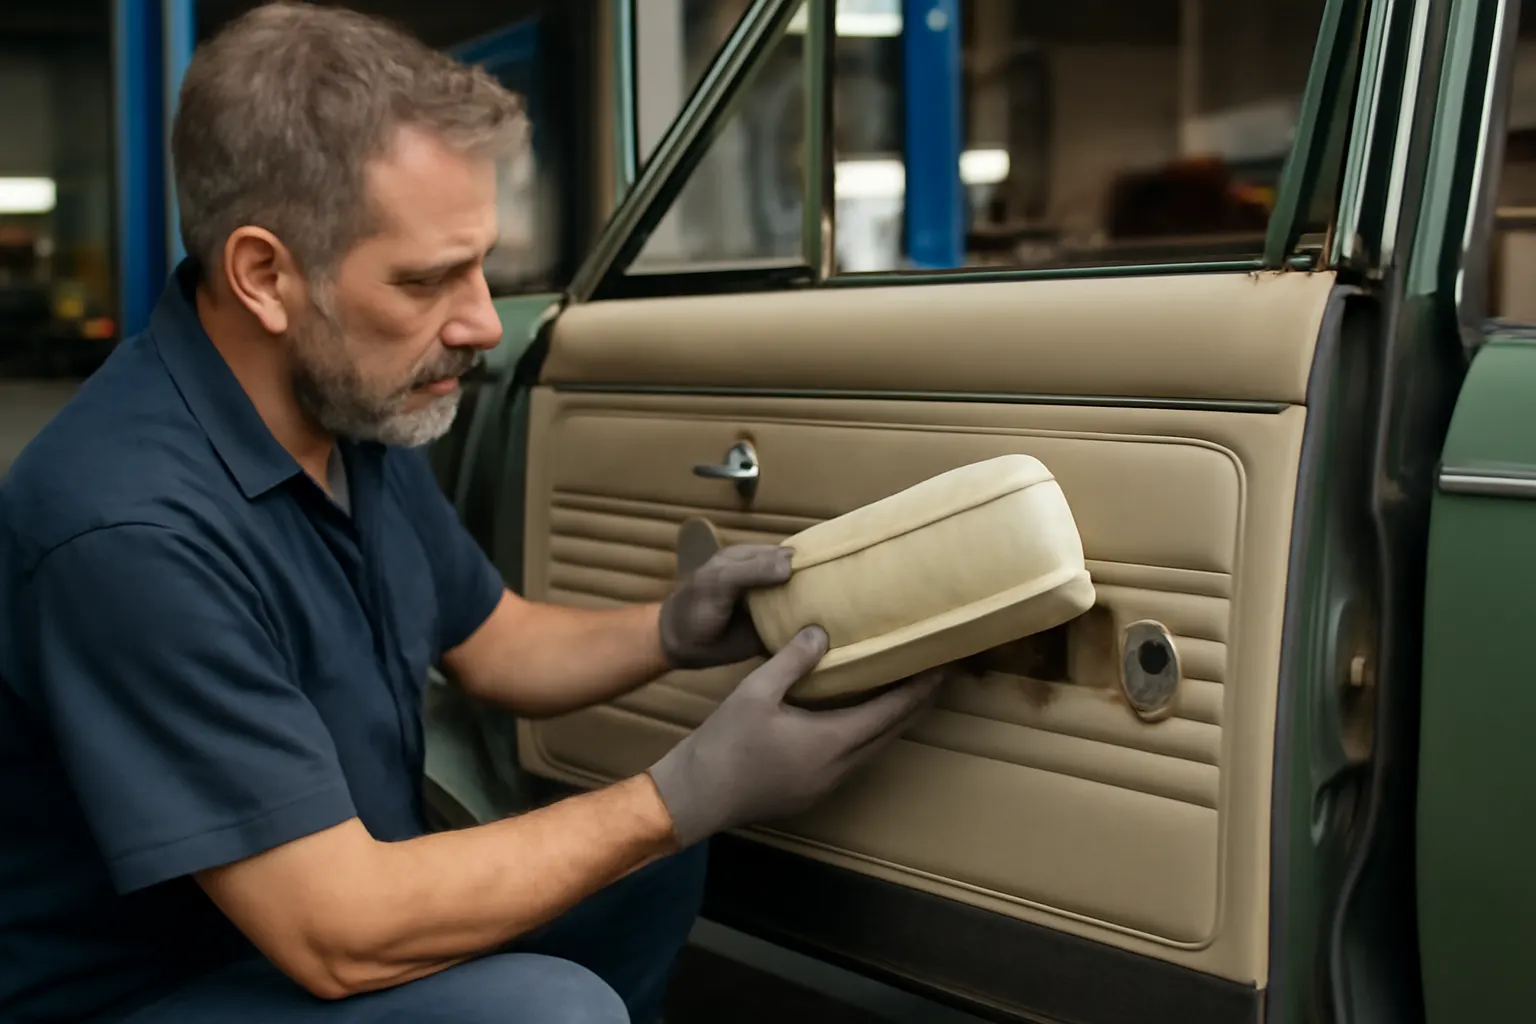
Amc Ambassador Arm Rest Replacement Tips
Replacing the arm rests on your classic AMC Ambassador can be a straightforward upgrade or restoration—when you know the right steps and avoid common pitfalls. This guide delivers professional tips, diagnostic checks, and fitment strategies to ensure your arm rest replacement is both secure and authentic to your vehicle’s era. Whether you’re prepping for a concours restoration or simply want a comfortable, safe ride, these insights will help you achieve a factory-quality result.
If you’re looking for a comprehensive overview of compatible parts, fitment guidelines, and trim decoding, start with our AMC Ambassador Arm Rest Replacement & Fitment Guide.
The Immediate Answer: How to Replace AMC Ambassador Arm Rests Without Regret
Replacing your AMC Ambassador’s arm rests demands more than just a screwdriver and fresh parts. The most successful replacements come from understanding trim codes, sourcing quality materials, and following a proven installation sequence. Restoration experts recommend:
- Verifying part compatibility with your Ambassador’s year, body style, and trim.
- Inspecting mounting points for rust or fatigue.
- Using correct fasteners and support plates to prevent future rattles or failures.
- Matching grain, color, and padding density to factory specs.
Skipping these steps leads to misfits, premature wear, and even safety issues—especially with interior parts that double as structural supports or impact zones.
Hidden Problems: Why Arm Rest Replacement Is More Complex Than It Appears
While arm rests seem like simple soft trim pieces, they’re integral to both comfort and safety. Incorrect installation or poor-quality parts can result in:
- Loose or squeaky arm rests that undermine driving comfort.
- Fastener pull-through, damaging door panels or inner structures.
- Mismatched colors or textures, devaluing the restoration and resale.
- Compromised mounting, which can affect side-impact safety and compliance with modern standards (NHTSA Equipment).
Many AMC Ambassador owners discover too late that their replacement arm rests don’t fit, aren’t supported properly, or don’t match the original interior. These issues often stem from hidden differences in trim codes, mid-year changes, and the use of incorrect reproduction parts.
Understanding AMC Ambassador Arm Rest Variations by Year and Trim
The AMC Ambassador evolved significantly from the late 1960s through the 1974 model year. Each generation brought subtle changes in door panel profiles, fastener spacing, arm rest padding, and color palettes.
- Trim Codes: Deciphering your car’s original trim code is vital for correct part selection. For a deep dive, see our Amc Ambassador Interior Trim Decoding.
- Mounting Styles: Early models often used metal-backed arm rests with exposed screws; later years transitioned to integrated vinyl-wrapped pads with hidden fasteners.
- Color and Texture: AMC’s color names varied by year, and the same color may appear with different grains or gloss levels depending on the supplier or trim level.
If you’re uncertain about your model’s specifics, consult your build sheet, door tag, or original sales literature. Comparing your current arm rest to catalog images or survivor cars can also prevent costly mistakes.
Diagnosing Common Arm Rest Failures on Classic Ambassadors
Before you remove your old arm rest, assess its condition and the underlying door structure. Here’s a checklist to guide your inspection:
Arm Rest Diagnostic Checklist
| Symptom | Possible Cause | Action Required |
|---|---|---|
| Loose or wobbly | Stripped threads, missing support plate | Inspect mounting holes, replace hardware |
| Cracked or brittle pad | UV damage, age-related foam breakdown | Replace with new/reproduction part |
| Mismatched color | Previous replacement, sun fading | Verify color code, consider dyeing or replacing |
| Squeaks/rattles | Missing or worn backing, improper fit | Add new backing, ensure proper alignment |
| Fastener pull-through | Fatigued door panel or oversized holes | Reinforce panel, use correct fasteners |
Addressing these issues during replacement will yield a more durable and satisfying result.
Sourcing Quality Replacement Arm Rests: OE, NOS, and Aftermarket
The AMC Ambassador’s age means original equipment (OE) parts are scarce, and new old stock (NOS) pieces command premium prices. Most restorers turn to quality aftermarket reproductions, but not all are created equal.
- OE/NOS: These offer the best fit and authenticity but can be expensive and may have age-related degradation.
- Aftermarket: Choose suppliers specializing in AMC interiors, and verify that mounting patterns, grain, and color are correct for your year and trim.
- 3D-Printed or Custom Upholstered: Some owners opt for custom solutions, but these may lack the correct mounting hardware or padding density.
Always request high-resolution photos and, if possible, physical samples to compare grain and color before purchasing. For sourcing guidance and historical context, see Amc Ambassador Interior Parts Evolution.
Preparing for Removal: Tools, Safety, and Door Panel Considerations
Arm rest replacement on the AMC Ambassador almost always requires partial door panel removal. Gather these tools before starting:
- #2 Phillips and flathead screwdrivers
- Trim removal tool (preferably plastic to avoid marring)
- 1/4" drive ratchet and socket set (typically 7/16" or 1/2" for mounting nuts)
- Small pick or awl for uncovering hidden fasteners
- Shop towels and plastic bags for hardware organization
Safety Tip: Always disconnect the vehicle’s battery before working near electrical switches or courtesy lights embedded in door panels.
Plan for 30–60 minutes per door, and work in a well-lit area. Take detailed photos of the original installation for reference during reassembly.
Removing the Old Arm Rest: Step-by-Step Process
- Remove Door Panel Screws: Start with visible screws along the perimeter and under the arm rest pad.
- Release Clips: Use a trim tool to gently pop out hidden clips, working from the lower edge upward.
- Disconnect Electricals: If your Ambassador is equipped with power windows or courtesy lights, disconnect wiring harnesses.
- Unbolt Arm Rest: Locate and remove the mounting bolts, which may be hidden behind small trim caps or within the arm rest base.
- Inspect Door Structure: Check for corrosion, stripped threads, or damage around the mounting holes.
Document each step, and keep all hardware organized for reuse or replacement.
Preparing the Mounting Surface: Cleaning and Structural Checks
A successful arm rest installation depends on a solid, clean mounting surface:
- Rust Removal: Use a wire brush or mild rust converter on any oxidized areas.
- Panel Reinforcement: If holes are enlarged or the door panel flexes, reinforce with thin steel plates or specialty repair washers.
- Surface Cleaning: Wipe down with isopropyl alcohol to remove old adhesive, grime, and oils.
Inspect the support bracket behind the mounting area—if it’s loose or missing, source a replacement before proceeding.
Fitting and Test-Mounting the New Arm Rest
Before final installation, test-fit the new arm rest:
- Align Mounting Holes: Confirm that fastener holes line up perfectly with the door panel and support bracket.
- Check for Interference: Ensure the arm rest does not bind against window cranks, door handles, or trim.
- Assess Padding and Shape: Press on the pad to check for proper firmness and contour.
If fitment is off, do not force the part. Double-check part numbers, compare to your original, and consult the supplier for possible application mismatches.
Installation: Fastening, Alignment, and Final Checks
When you’re satisfied with the test fit, proceed with installation:
- Install Support Plate: If required, position the support plate behind the door panel.
- Fasten Securely: Use new or cleaned OE-style fasteners. Tighten evenly to avoid warping the arm rest or panel.
- Reconnect Electrical: Reattach any wiring for switches or lights, testing for function before final assembly.
- Reinstall Door Panel: Align all clips and screws. Ensure the panel sits flush with no gaps or bulges.
Perform a final check: grasp and pull the arm rest firmly to confirm it’s secure and rattle-free.
Matching Color and Grain: Achieving a Factory Look
One of the most noticeable mistakes in AMC Ambassador interiors is mismatched arm rest color or texture. To avoid this:
- Use Factory Codes: Reference your trim code and cross-check with AMC color charts.
- Dyeing Options: If exact-match parts are unavailable, use automotive vinyl dye to adjust color. Always test on a hidden area first.
- Grain Matching: Some reproduction parts offer multiple grain patterns—choose the one that matches your door panel insert.
If authenticity is your goal, prioritize grain and sheen as much as color, especially for concours-level restorations.
Avoiding Common Mistakes: Restoration Pro Tips
Restoration experts see the same errors repeated by DIYers and shops alike. Here’s how to avoid them:
- Over-Tightening Fasteners: This can crack plastic bases or deform door panels.
- Ignoring Backing Plates: Skipping support hardware leads to premature loosening.
- Mixing Parts Across Years: Even small changes in arm rest shape or mounting can cause fitment headaches.
- Neglecting Door Panel Alignment: Misaligned panels lead to wind noise and water leaks.
Always compare new parts to originals before installation and keep all removed hardware until the job is complete.
Post-Installation: Maintenance and Longevity Tips
To maximize the life and appearance of your new arm rests:
- Regular Cleaning: Use a mild vinyl cleaner and soft cloth. Avoid harsh chemicals that can dry out or discolor the material.
- UV Protection: Apply a UV-blocking protectant to prevent fading and cracking, especially if your car is often in direct sunlight.
- Check Fasteners Annually: Periodically tighten mounting screws and inspect for any signs of loosening or wear.
If you notice any movement or squeaks, address them immediately to prevent further damage.
Integrating Arm Rest Replacement Into a Full Interior Restoration
Arm rest replacement is often part of a broader interior refresh. Consider coordinating with other tasks:
- Door Panel Restoration: Replace or repair panels as needed—see our Amc Ambassador Door Panel Removal for step-by-step guidance.
- Seat and Carpet Upgrades: Match materials and colors for a cohesive look.
- Hardware Refresh: Replace worn window cranks, door handles, and escutcheons at the same time to save labor and ensure uniformity.
A holistic approach yields a more professional and satisfying result.
AutoPartEx: Your Partner in AMC Ambassador Restoration
At AutoPartEx, we understand the unique challenges of restoring classic AMC Ambassadors. Our curated catalog of arm rests, door panels, and interior trim parts is organized by year, body style, and trim code—helping you avoid costly mistakes and mismatches. Our technical guides, like this one, are designed to empower DIYers and restoration shops alike.
For a complete selection of fitment-verified arm rests and installation resources, visit our AMC Ambassador Arm Rest Replacement & Fitment Guide. If you’re decoding your interior or planning a full refresh, explore our related Amc Ambassador Interior Trim Decoding and Amc Ambassador Interior Parts Evolution articles.
Expert Action: Final Checklist for a Flawless Arm Rest Replacement
Before you call the job done, run through this expert checklist:
- Verified part compatibility with your Ambassador’s year, body, and trim code.
- Inspected and reinforced mounting points as needed.
- Matched color and grain to factory specifications.
- Used correct support plates and OE-style fasteners.
- Test-fitted arm rest before final installation.
- Checked for proper alignment and secure attachment.
- Cleaned and protected the new arm rest for longevity.
- Documented the process for future reference or resale.
Following these steps will ensure your AMC Ambassador’s arm rest replacement is not only functional but also a showcase of period-correct restoration.