
Advertisement
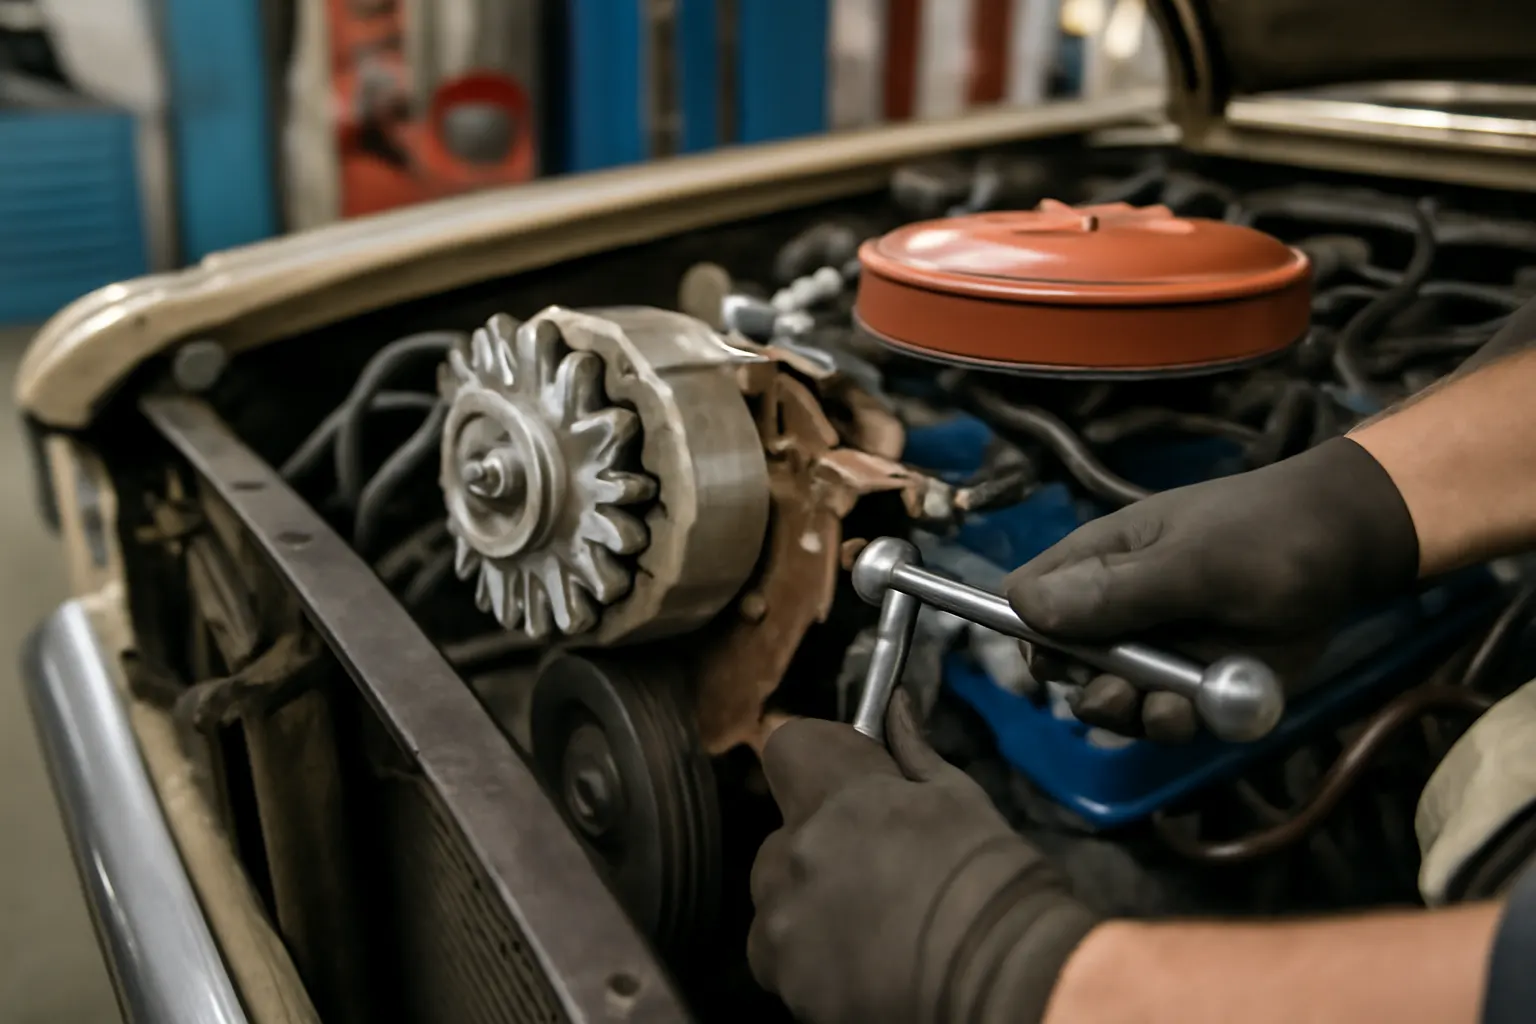
Accessory mounting on the AMC Ambassador has undergone significant changes over the decades, especially regarding alternator brackets and related components. Understanding these model-year variations is essential for correct fitment, reliable repairs, and long-term performance. This guide delivers a detailed, technical overview of the AMC Ambassador accessory mounting evolution, with actionable sourcing and installation tips for enthusiasts, restorers, and professional technicians. For even more bracket-specific guidance and part numbers, see our AMC Ambassador Alternator Bracket – Fitment, Replacement, and Expert Guidance category page.
Why Accessory Mounting Evolution Matters for AMC Ambassador Owners
The AMC Ambassador’s alternator bracket and accessory mounting points are not just bolt-on conveniences—they are fundamental to the vehicle’s charging system, cooling efficiency, and even fuel economy. Over the years, changes in engine design, emissions standards, and accessory drive layouts have resulted in multiple bracket types, mounting locations, and fastener variations. Using the wrong bracket or hardware can lead to misalignment, premature wear, electrical issues, or even catastrophic accessory failure.
The Hidden Challenge: Model-Year and Engine-Specific Differences
Many AMC Ambassador owners and restorers discover, often too late, that alternator brackets and accessory mounts are not universally interchangeable across all years and engines. Even within the same generation, mid-year production changes, engine option packages, and running revisions can affect:
- Bracket geometry and material
- Bolt size, thread pitch, and length
- Accessory drive belt routing
- Compatibility with power steering, air conditioning, and emissions controls
These differences are not always obvious from a visual inspection, and aftermarket catalogs may not capture all the nuances. As a result, misfit brackets or hardware are a common source of persistent charging and accessory drive problems.
AMC Ambassador Accessory Mounting: A Historical Overview
To appreciate the evolution of AMC Ambassador accessory mounting, it’s helpful to review the key model-year milestones:
1958–1966: Early V8 and Six-Cylinder Simplicity
The first-generation Ambassadors featured straightforward accessory mounting, with cast-iron brackets and minimal emissions equipment. Alternators (or generators, pre-1963) were typically mounted on the passenger side, using robust steel or cast brackets bolted directly to the cylinder head and timing cover. Belt adjustment was manual, relying on sliding bracket slots.
1967–1974: Introduction of New Engines and Accessory Layouts
With the introduction of new AMC V8 and straight-six engines, accessory mounting became more complex. The alternator bracket design changed to accommodate larger alternators, air conditioning compressors, and power steering pumps. These years saw:
- The use of stamped steel and aluminum brackets for weight savings
- Redesigned mounting bosses on cylinder heads and timing covers
- Multiple bracket styles for California emissions and A/C-equipped models
- Alternator location shifts (driver vs. passenger side) depending on engine and accessories
1975–1978: Emissions Era and Engine Downsizing
Stricter emissions standards and fuel economy concerns prompted further changes. Brackets were often revised mid-year to integrate air injection pumps and additional pulleys. Some V8s received “one-piece” accessory brackets that combined alternator, power steering, and A/C mounting in a single casting. Bolt patterns and fastener sizes changed to accommodate new engine castings and accessory layouts.
1979–1974: Late-Model Refinements and Parts Rationalization
By the late 1970s, AMC streamlined accessory mounting to reduce production complexity. Universal-style brackets became more common, but exceptions remained for certain engines and option packages. Metric fasteners began to appear, and some mounting bosses were eliminated on later engine castings. This late-model rationalization can lead to confusion for restorers working with mixed-year parts.
Technical Deep Dive: Alternator Bracket Evolution
Let’s drill down into the alternator bracket evolution, since it is both the most failure-prone and the most critical accessory mount on the AMC Ambassador.
Bracket Materials and Construction
- Early Years (1958–1966): Heavy, cast-iron or steel brackets, often painted black or engine color. These are durable but heavy and prone to corrosion.
- Mid Years (1967–1974): Transition to stamped steel and some aluminum brackets for weight reduction. Stamped brackets may flex if overtightened or if improper hardware is used.
- Late Years (1975–1978): Combination brackets integrating multiple accessory mounts, typically aluminum for weight and corrosion resistance.
Advertisement
Mounting Points and Fasteners
- Cylinder Head Bosses: Some engines feature dedicated mounting bosses; others rely on threaded holes in the head or timing cover.
- Bolt Sizes: Early engines use SAE bolts (typically 3/8"-16 or 7/16"-14); later engines and some late-’70s models may use metric bolts (M10 or M12).
- Spacer and Bushing Differences: Many bracket designs use bushings or spacers to align the alternator pulley with the crank and water pump pulleys. These are often lost or replaced with incorrect hardware, leading to belt misalignment.
Belt Routing and Accessory Integration
- Single vs. Double Groove Pulleys: Some models with A/C or power steering use double-groove crank and water pump pulleys, requiring different bracket offsets.
- Air Injection and Smog Pumps: Late-’70s models may have an additional pulley and bracket for emissions equipment, affecting alternator bracket fitment.
Diagnosing Accessory Mounting Issues: Symptoms and Solutions
Accessory mounting problems on the AMC Ambassador often masquerade as unrelated charging, noise, or driveability issues. Here’s how to spot them:
- Unusual Belt Noise: Squealing, chirping, or slapping sounds often indicate pulley misalignment due to incorrect bracket or missing spacers.
- Frequent Alternator Failure: If new alternators fail quickly, suspect bracket flex, misalignment, or inadequate mounting hardware.
- Accessory Drive Vibration: Excessive vibration or movement at idle suggests loose, cracked, or incompatible brackets.
- Accessory Interference: Power steering or A/C compressors contacting other components may indicate an incorrect or bent bracket.
Troubleshooting Checklist
Use this checklist to systematically diagnose AMC Ambassador accessory mounting issues:
| Symptom | Possible Cause | Diagnostic Step | Corrective Action |
|---|---|---|---|
| Belt misalignment | Wrong bracket or missing spacers | Measure pulley offset | Source correct bracket/spacer |
| Bracket cracks or flex | Overtightening, fatigue, or wrong part | Inspect for cracks/flexing | Replace with correct bracket |
| Frequent belt replacement | Misaligned pulleys or rough bracket edges | Check pulley and bracket surfaces | File smooth/replace as needed |
| Alternator mounting loose | Incorrect bolt length or thread | Verify bolt specs | Use correct bolts/washers |
| Accessory interference | Wrong model-year bracket | Compare to factory diagrams | Obtain correct bracket |
Sourcing the Correct AMC Ambassador Accessory Brackets
Finding the right alternator bracket or accessory mount for your AMC Ambassador can be challenging, especially for rare engine and option combinations. Here’s how to increase your chances of a perfect fit:
1. Identify Your Engine and Accessories
- Record the engine code, displacement, and casting numbers.
- Note the presence of factory A/C, power steering, air injection, or other accessories.
- Check for mid-year changes or running production revisions in your specific model year.
2. Reference Factory Diagrams and Parts Catalogs
- Use AMC factory service manuals and period-correct parts catalogs to cross-reference bracket part numbers and diagrams.
- Pay attention to footnotes indicating changes for California emissions, A/C, or specific engine codes.
3. Inspect and Compare Existing Brackets
- If possible, remove and compare your original bracket to potential replacements.
- Measure critical dimensions: mounting hole spacing, offset, and overall shape.
4. Consult Expert Forums and Restoration Communities
- AMC enthusiast forums and restoration groups often have detailed documentation and photos of bracket variations.
- Post clear photos and measurements when seeking advice.
5. Buy from Reputable Sources
- Prioritize NOS (new old stock) or OEM brackets when available.
- When using reproduction or aftermarket brackets, verify compatibility with your exact engine and accessory configuration.
Installation Tips: Ensuring Proper Fit and Alignment
Proper installation of AMC Ambassador alternator and accessory brackets is essential for long-term reliability. Here’s how to get it right:
Pre-Installation Checklist
- Verify Bracket Part Number: Double-check that your bracket matches the required part for your year, engine, and accessory combination.
- Inspect Mounting Surfaces: Clean cylinder head and timing cover mounting bosses. Remove old gasket material, corrosion, and debris.
- Check Fasteners: Use factory-specified bolt sizes, lengths, and thread pitches. Replace any damaged or mismatched hardware.
- Test Fit: Temporarily install the bracket and alternator to check alignment before final tightening.
Advertisement
Alignment and Torque
- Pulley Alignment: Use a straightedge to verify that the alternator pulley aligns with the crank and water pump pulleys. Adjust spacers or bushings as necessary.
- Bolt Torque: Tighten bolts to factory specifications, typically 25–35 lb-ft for 3/8" bolts. Do not overtighten, as this can distort stamped brackets.
- Accessory Belt Tension: Adjust belt tension to manufacturer specs, typically 1/2" deflection at the longest span.
Final Checks
- Inspect for Interference: Rotate the engine by hand to ensure no accessory or bracket contacts moving parts.
- Electrical Connections: Reconnect alternator wiring securely. Check grounds and charging output.
- Test Run: Start engine and observe for noise, vibration, or belt tracking issues. Recheck torque after initial run-in.
Maintenance and Inspection Best Practices
Even with correct installation, AMC Ambassador accessory brackets require periodic inspection and maintenance:
- Inspect Brackets and Fasteners: Check for cracks, corrosion, or loose bolts at every oil change.
- Monitor Belt Condition: Replace belts showing cracks, glazing, or fraying. Misaligned belts indicate bracket or pulley issues.
- Check Pulley Surfaces: Clean pulleys and inspect for burrs that could damage belts.
- Electrical Output: Test alternator output regularly, especially after bracket or belt service. See our Amc Ambassador Charging System Diagnostics guide for detailed procedures.
Upgrading and Modifying AMC Ambassador Accessory Mounts
Some owners choose to upgrade or modify accessory mounting for improved reliability, performance, or to accommodate modern alternators and accessories:
- Aftermarket Brackets: Reinforced or billet aluminum brackets are available for some AMC engines, offering greater strength and corrosion resistance.
- Custom Spacers and Bushings: Machined spacers can be fabricated to correct pulley alignment when mixing components from different years or engines.
- Modern Alternators: Converting to a higher-output alternator may require custom brackets or wiring modifications. Always match the bracket to the alternator case style (e.g., Delco, Motorcraft).
Common Pitfalls to Avoid
- Mixing Brackets Across Years: Even small differences in offset or bolt pattern can cause major alignment issues.
- Ignoring Spacer/Bushing Requirements: Missing or incorrect spacers are a leading cause of belt misalignment and premature wear.
- Using Generic Hardware: Always use the correct grade and length of bolts. Undersize or overlength bolts can strip threads or fail under load.
- Overtightening Stamped Brackets: This can bend or crack the bracket, leading to misalignment and eventual failure.
The Role of Accessory Mounting in Safety and Fuel Efficiency
Proper accessory mounting is not just a matter of convenience—it directly affects vehicle safety and efficiency:
- Safety: Secure mounting prevents catastrophic accessory failure, which could lead to loss of power steering or charging on the road. The National Highway Traffic Safety Administration emphasizes the importance of correct equipment installation for vehicle safety.
- Fuel Efficiency: Misaligned or slipping belts increase parasitic drag, reducing fuel economy. The U.S. Department of Energy notes that efficient accessory drives contribute to overall vehicle efficiency.
When to Seek Professional Help
If you encounter persistent accessory mounting issues—such as repeated bracket failure, chronic belt noise, or electrical problems—consult an experienced AMC technician or restoration specialist. They can:
- Identify subtle model-year differences
- Fabricate or source rare brackets
- Ensure proper alignment and torque
- Diagnose related electrical or mechanical issues
For more advanced fitment guidance, see our Amc Ambassador V8 Alternator Bracket Fitment page.
AutoPartEx: Your Partner for AMC Ambassador Accessory Mounting
AutoPartEx offers a curated selection of AMC Ambassador alternator brackets, mounting hardware, and expert technical support. Our catalog is organized by model year, engine code, and accessory configuration, ensuring you get the correct part every time. Whether you’re restoring a classic or keeping your daily driver on the road, our technical editorial team provides the most up-to-date fitment and installation advice. Visit our AMC Ambassador Alternator Bracket – Fitment, Replacement, and Expert Guidance category page to browse parts and resources, or connect with our support team for one-on-one assistance.
Next Steps: Checklist for AMC Ambassador Accessory Mounting Success
Before starting your next alternator or accessory bracket project, use this checklist:
- Confirm your engine code, year, and accessory configuration.
- Reference factory diagrams and part numbers.
- Inspect and measure your original bracket.
- Source brackets and hardware from reputable suppliers.
- Test fit all components before final installation.
- Align pulleys and verify belt routing.
- Torque all fasteners to specification.
- Inspect and test after installation.
Following these steps minimizes downtime, reduces the risk of repeat repairs, and ensures your AMC Ambassador runs reliably for years to come.
References
Advertisement