
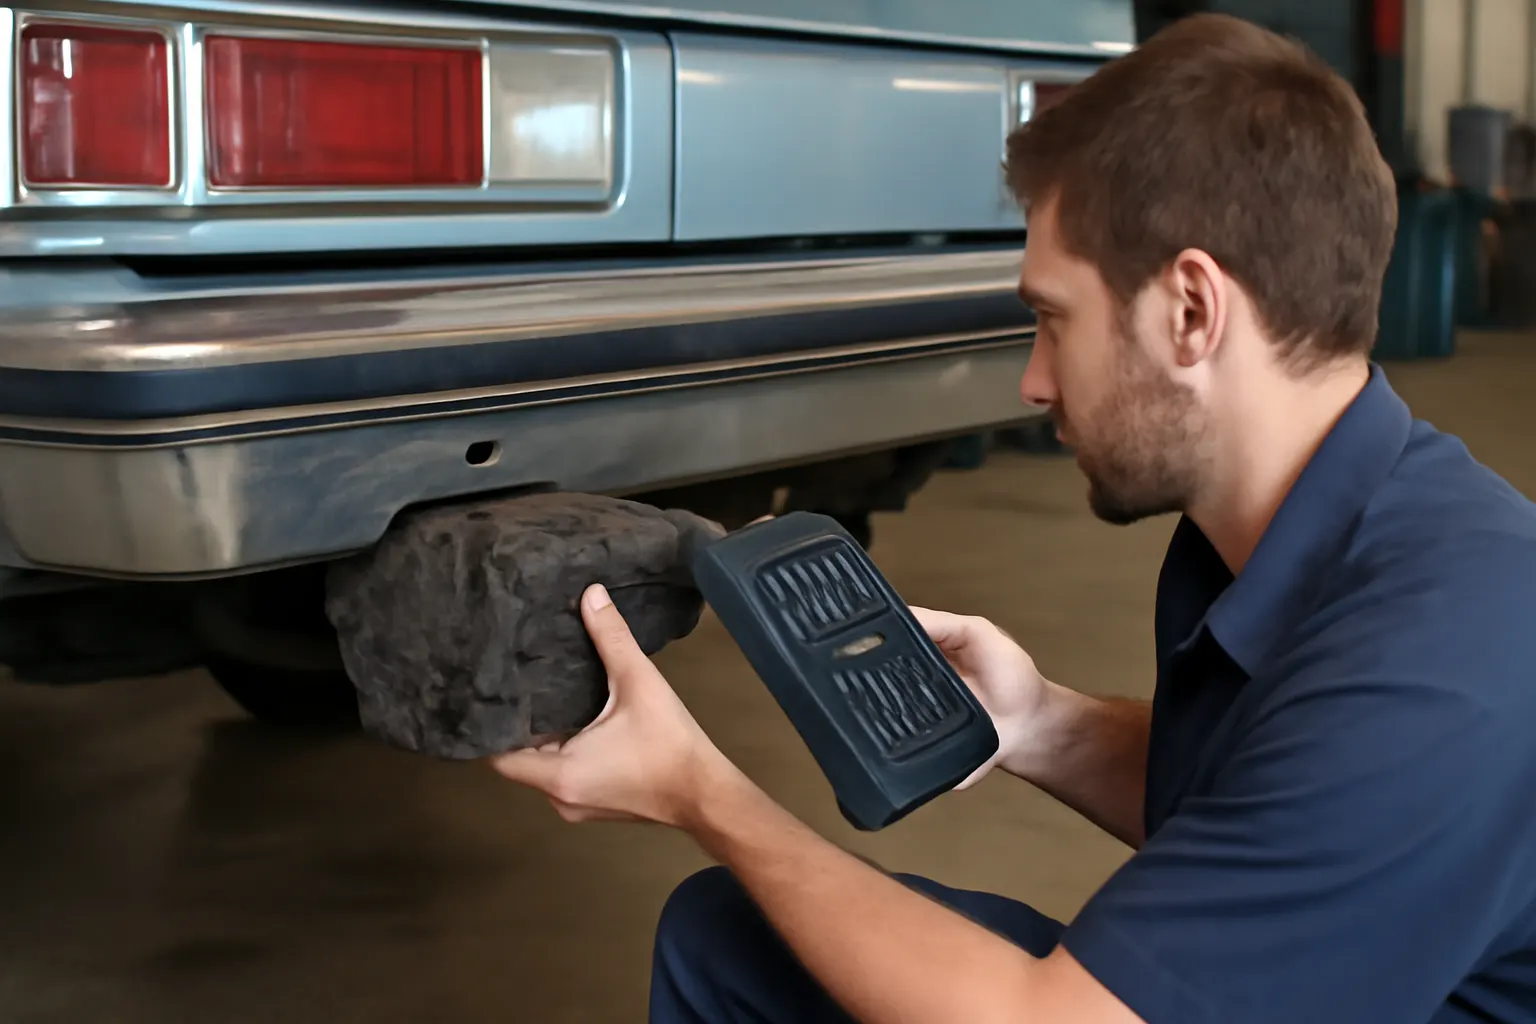
Amc Absorber Failure Patterns
Diagnosing rear bumper energy absorber failures in AMC Hornet and Concord models is essential for safety, restoration accuracy, and reliable impact protection. Many failures are subtle, hidden from view, and only discovered during thorough inspection or after a minor collision. This in-depth shop report details the real-world failure modes, diagnostic strategies, and actionable repair solutions for AMC rear bumper energy absorbers. Whether you're restoring a classic, maintaining a daily driver, or sourcing OEM parts, understanding absorber failure patterns is the key to safe and correct repairs. For comprehensive fitment, OEM sourcing, and model-specific details, see our AMC Rear Bumper Energy Absorber: Fitment, Failure Patterns, and OEM Sourcing resource.
Fast Answer: Most AMC Absorber Failures Are Hidden
Rear bumper energy absorbers in AMC Hornet and Concord models (1970s–early 1980s) most commonly fail in ways that are not visible from outside the bumper. Shop field data shows that internal collapse, polymer degradation, and mounting bracket fatigue are the most frequent failure patterns. The result: a bumper that appears straight and undamaged yet provides little or no impact absorption in a subsequent collision.
Key Field Findings:
- Polymer energy absorbers suffer from hidden cracking and compression set after minor impacts or decades of age.
- Metal mounting brackets may deform or corrode, compromising the absorber’s function.
- Failure to detect these issues can lead to unsafe repairs and increased collision damage.
The Hidden Problem: Why Absorber Failures Go Undetected
Many AMC rear bumper absorbers are designed to deform internally during impact, using crushable polymer or foam materials. Unlike visible bumper damage, these failures often leave the bumper cover or chrome shell looking nearly untouched. This design, while effective for energy management, means that damage is easily overlooked during routine inspections or even after low-speed impacts.
Contributing Factors:
- Age-related material breakdown (polymer embrittlement, foam collapse).
- Subtle deformation of brackets and mounting hardware.
- Incomplete visual inspection routines during collision repair or restoration.
Most AMC owners and even some collision professionals miss these failures unless the bumper is fully removed and the absorber is physically examined.
Problem Expansion: Field Patterns and Real-World Consequences
1. Polymer Absorber Compression Set
AMC used various polymer and foam compounds in their rear bumper energy absorbers, especially in the early 1970s as federal standards for impact protection changed. Over time, these materials can take a “compression set”—permanently compressed and unable to rebound after even minor impacts. This leaves the bumper with little to no energy absorption capability for future collisions.
2. Hidden Cracking and Brittleness
Polymer absorbers, especially those exposed to heat cycling and UV over decades, may develop internal cracks or become brittle. This is rarely visible without disassembly. The absorber may shatter or crumble if removed, or may simply fail to compress as designed in a subsequent impact.
3. Mounting Bracket Fatigue and Corrosion
The brackets securing the absorber to the frame or bumper can bend slightly during impacts or suffer from rust in climates where road salt is used. This can throw off bumper alignment and reduce the effectiveness of the absorber, even if the polymer itself is intact.
4. Incomplete or Incorrect Repairs
After a minor rear-end collision, it is common to see only the bumper shell replaced, with the original absorber and brackets left untouched. This leads to a false sense of security and a risk of catastrophic failure in a subsequent impact.
Technical Deep Dive: How AMC Absorbers Are Built—and How They Fail
Materials and Structure
AMC rear bumper absorbers from the 1970s and early 1980s typically use:
- Rigid polymer (often expanded polyurethane or similar foam).
- Metal mounting brackets bolted to the bumper and frame.
- Sometimes a thin metal or composite shell for additional structure.
The absorber is designed to compress and dissipate energy in low-speed collisions (typically up to 5 mph, per federal standards of the era).
Failure Modes by Material
| Material Type | Typical Failure Mode | Symptoms |
|---|---|---|
| Expanded polyurethane | Compression set, cracking | Absorber remains compressed, powdery residue, loss of rebound |
| Foam composite | Crumbling, loss of density | Flaking, visible voids, poor fitment |
| Metal brackets | Bending, corrosion, fatigue | Misalignment, loose bumper, rust flakes |
Field Observations
- Absorbers may appear visually fine but fail when compressed by hand.
- Mounting hardware may hide corrosion under layers of undercoating or paint.
- Polymer absorbers from donor vehicles often fail after installation due to age, not just impact history.
Diagnostic Checklist: Identifying Hidden AMC Absorber Failures
Use this checklist during every AMC Hornet or Concord rear bumper inspection:
-
Visual Inspection (Bumper Off)
- Remove bumper shell to expose absorber and brackets.
- Look for cracks, crumbling, or powdery residue on the absorber.
- Inspect for uneven compression or permanent deformation.
-
Manual Compression Test
- Press firmly on the absorber at several points.
- Absorber should rebound; if it remains compressed, suspect failure.
- Listen for cracking or crunching sounds.
-
Bracket and Hardware Check
- Inspect all mounting brackets for bends, cracks, or rust.
- Check bolt tightness and look for elongation of bolt holes.
-
Fitment and Alignment
- Test-fit the bumper; look for sagging or uneven gaps.
- Misalignment may indicate bracket or absorber deformation.
-
Compare to New/OEM Specs
- Measure absorber thickness and compare to OEM specification.
- If unavailable, compare to a known-good reference part.
-
Document and Photograph
- Take photos of any damage or suspect areas for your records.
AMC-Specific Failure Patterns: Hornet and Concord Field Report
AMC Hornet (1970–1977)
- Early models (pre-1974) may use simpler energy-absorbing systems, with less robust polymer.
- Polymer breakdown is accelerated in cars stored outdoors.
- Mounting brackets in Hornet models are prone to rust-through in northern states.
AMC Concord (1978–1983)
- Later models used improved polymers, but age-related embrittlement is still common.
- Concord absorbers sometimes develop internal delamination—layers separating within the absorber, reducing energy absorption.
- Concord rear bumpers are heavier, increasing stress on both absorber and brackets.
Common Across Both
- In both models, donor absorbers from salvage yards are often already compromised.
- Aftermarket absorbers may be made from inferior materials compared to original AMC units.
Consequences of Ignoring Absorber Failure
Safety Risks
- A failed absorber cannot dissipate impact energy, resulting in greater damage to the vehicle structure and increased occupant injury risk, even in low-speed collisions.
- The rear bumper may collapse entirely, damaging the fuel tank area or trunk floor—especially dangerous in AMC designs where the tank is close to the rear bodywork.
Restoration Quality
- Incomplete repairs (bumper shell only) compromise the authenticity and safety of classic AMC restorations.
- Judges at concours events may deduct points for improper or missing absorber components.
Insurance and Liability
- Collisions involving vehicles with failed absorbers may result in denied claims or legal liability if improper repairs are found.
Solution Path: Diagnosis, Repair, and Replacement
1. Prioritize Full Disassembly
Always remove the bumper shell to inspect the absorber and bracket assembly. Never assume that a straight bumper means an undamaged absorber.
2. Replace Aged or Damaged Absorbers
- If the absorber shows any sign of compression set, cracking, or crumbling, replace it.
- Do not reuse donor absorbers unless they pass all diagnostic checks and match OEM fitment.
3. Address Bracket and Hardware Issues
- Replace or restore any bent, cracked, or corroded mounting brackets.
- Use new Grade 8 hardware where possible for maximum strength.
4. Use Quality Replacement Parts
- Source OEM or high-quality reproduction absorbers made from correct polymer formulations.
- Avoid generic foam or poorly molded aftermarket parts.
5. Document Repairs
- Keep detailed records and photos of all work for insurance, resale, or show purposes.
Installation Tips: Ensuring Correct Fit and Performance
Step-by-Step Installation Overview
-
Prepare Work Area
- Ensure vehicle is safely supported.
- Protect painted surfaces.
-
Remove Bumper Assembly
- Unbolt bumper shell and set aside carefully.
- Retain all hardware for inspection.
-
Remove Old Absorber and Brackets
- Unbolt and gently pry away absorber.
- Remove brackets, noting orientation and any shims.
-
Inspect and Clean
- Clean all mounting surfaces.
- Treat any rust on the frame or hardware.
-
Test-Fit New Absorber
- Ensure new part matches OEM dimensions.
- Trial-fit with brackets before final assembly.
-
Install Brackets and Absorber
- Torque bolts to manufacturer specification.
- Use threadlocker if recommended.
-
Reinstall Bumper Shell
- Check alignment and gap.
- Tighten all fasteners.
-
Final Inspection
- Perform manual compression check.
- Confirm fitment and appearance.
For more guidance, refer to our dedicated Amc Bumper Absorber Installation guide.
Sourcing AMC Absorbers: OEM, Reproduction, and Aftermarket
OEM and NOS Parts
- Genuine AMC absorbers are rare but preferred for concours restorations.
- Check part numbers and packaging to verify authenticity.
Quality Reproduction Parts
- Several specialty suppliers offer reproduction absorbers using modern polymers.
- Ensure the supplier matches AMC’s original density and fitment specifications.
Aftermarket and Salvage
- Salvage yard absorbers are often compromised by age.
- Aftermarket parts vary widely in quality; avoid generic foam inserts not rated for impact absorption.
Sourcing Checklist
- Verify fitment using an Amc Bumper Absorber Fitment Chart.
- Request material specification from the supplier.
- Inspect all parts on arrival for shipping damage or defects.
Maintenance Strategies: Extending Absorber Life
Inspection Intervals
- Inspect rear bumper absorber every 2 years or after any impact, no matter how minor.
- For cars stored outdoors or in humid climates, inspect annually.
Storage and Environmental Protection
- Minimize UV exposure and temperature cycling.
- Store classic AMC models in dry, climate-controlled environments.
Preventative Rust Protection
- Treat brackets and hardware with rust inhibitor.
- Touch up any bare metal after installation.
Documentation
- Keep a maintenance log with inspection dates, findings, and any parts replaced.
Advanced Diagnostics: Shop Tools and Techniques
Tools for Thorough Assessment
- Borescope Camera: Inspect inside foam for hidden cracks.
- Durometer: Measure polymer hardness compared to OEM spec.
- Digital Caliper: Check absorber thickness and uniformity.
- Torque Wrench: Ensure correct fastener preload on installation.
Professional Evaluation
- For high-value restorations, consider non-destructive testing (NDT) such as ultrasound or X-ray to evaluate internal absorber condition.
Common Mistakes to Avoid
- Skipping Disassembly: Never rely solely on external visual checks.
- Reusing Old Absorbers: Age degrades polymer, even if never impacted.
- Mismatched Brackets: Using incorrect or bent brackets compromises absorber performance.
- Ignoring Hardware: Old bolts may be stretched or fatigued—replace as needed.
- Improper Fitment: Forcing ill-fitting absorbers can lead to misalignment and poor energy absorption.
Case Study: AMC Concord Rear-End Collision
A 1981 AMC Concord was brought to the shop after a 5 mph rear-end tap. The bumper appeared undamaged at first glance. On removal, the absorber was found to be permanently compressed and had visible cracks throughout the foam. The mounting brackets were slightly bent, causing the bumper to sag by 1/4 inch. Replacing both the absorber and brackets restored full function and correct alignment. This case underscores the importance of full disassembly and inspection after any impact.
AutoPartEx Guidance: Your Partner in AMC Absorber Diagnosis and Sourcing
AutoPartEx specializes in providing AMC owners, shops, and restorers with the technical knowledge and high-quality parts needed to ensure rear bumper energy absorbers function as designed. Our resources include:
- Model-specific fitment charts
- Installation guides
- OEM and reproduction part sourcing
- Technical support for diagnosis and repair
Explore our AMC Rear Bumper Energy Absorber: Fitment, Failure Patterns, and OEM Sourcing hub for the most up-to-date technical documentation and sourcing options. For polymer-specific guidance, see Amc Polymer Absorbers.
Conclusion: Prioritize Absorber Health for Safety and Authenticity
Hidden rear bumper absorber failures in AMC Hornet and Concord models are more common than most owners realize. Only through thorough disassembly, careful inspection, and the use of quality replacement parts can you ensure your AMC is safe, authentic, and ready for the road. Make absorber inspection a routine part of your collision repair, restoration, or maintenance workflow.