
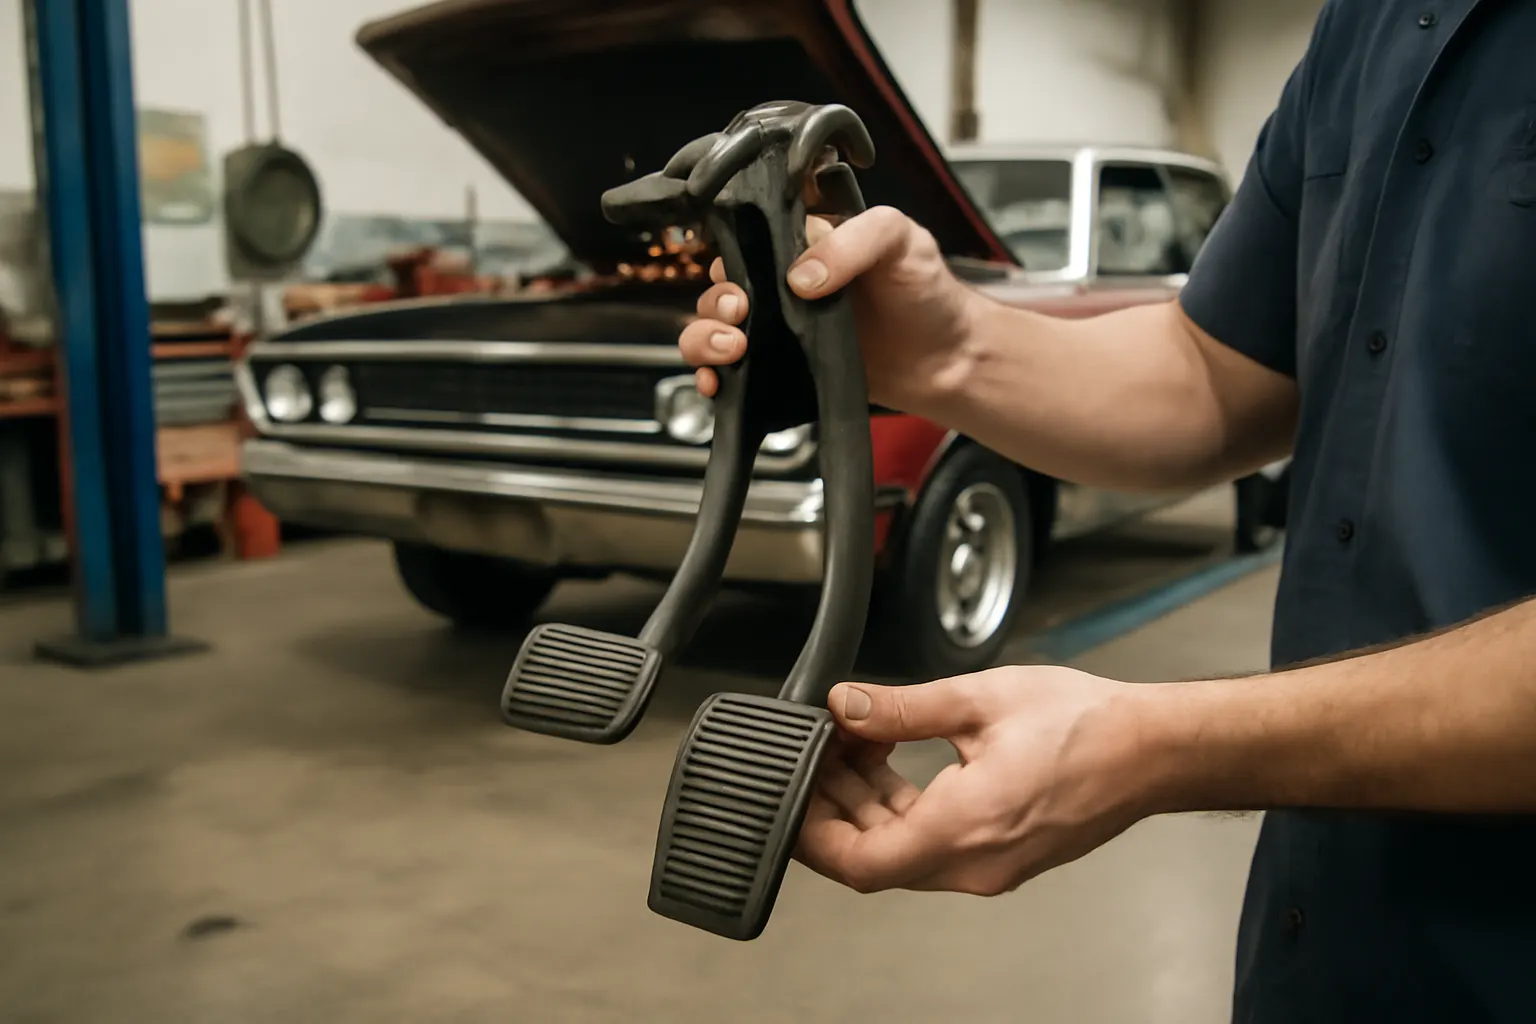
Ambassador Pedal Compatibility
When servicing or restoring an AMC Ambassador, understanding brake and clutch pedal compatibility is critical for vehicle safety, reliability, and drivability. Immediate, model-specific fitment guidance can save hours in the shop and prevent costly mistakes. This comprehensive guide explores AMC Ambassador pedal compatibility, drawing on real-world failure patterns, field data, and shop-proven strategies. Whether you’re troubleshooting a soft brake pedal, sourcing replacement clutch pedals, or confirming fitment across Ambassador model years, this article delivers actionable answers—right from the start.
For full system fitment, recall, and service context, see the AMC Ambassador Brake and Clutch Pedal – Model-Specific Fitment, Service Guidance, and Failure Patterns category page.
Immediate Answer: What AMC Ambassador Owners and Techs Need to Know
AMC Ambassador pedal assemblies are not universally interchangeable across all model years or trims. Variations in bracket design, pedal arm geometry, and switch mounting points exist between years and transmission types. Before sourcing or installing a replacement, confirm the exact year, body style, and transmission configuration. Use verified VIN fitment resources, cross-check part numbers, and inspect the original assembly for wear or modification. Failure to match these details can result in unsafe pedal operation, poor clutch or brake response, or even regulatory non-compliance.
The Hidden Problem: Why Pedal Compatibility Is Often Overlooked
Field data and shop experience reveal a persistent issue: pedal compatibility errors are a leading cause of repeat repairs and driver complaints in AMC Ambassador restorations. Many parts suppliers list pedal assemblies by generic model or year range, but AMC made frequent running changes to pedal brackets, pivot bushings, and pedal pads. This means that even reputable aftermarket or NOS (New Old Stock) parts may not bolt up or function correctly without detailed verification.
Furthermore, the AMC Ambassador’s long production run (1958–1974) included multiple platform updates, trim changes, and transmission options. These factors introduce subtle, but critical, differences in pedal assembly fitment. Overlooking these details can lead to:
- Pedal misalignment or binding
- Inoperative brake light or clutch safety switches
- Incorrect pedal height or travel
- Premature wear or structural failure
Deeper Technical Explanation: AMC Ambassador Pedal Design Evolution
Model Year and Platform Changes
The AMC Ambassador underwent several design evolutions impacting the pedal assembly:
- 1958–1966 (Early Models): Pedal assemblies were largely mechanical, with minimal switch integration and straightforward bracketry. Manual and automatic transmission models used different clutch/brake pedal arms.
- 1967–1971 (Intermediate Range): Introduction of more robust pedal brackets, safety switch accommodations, and the integration of dual-circuit brake master cylinders. Pedal arm lengths and mounting points were subtly revised for improved ergonomics and compliance with new federal standards.
- 1972–1974 (Late Models): Further updates included reinforced pedal arms, changes to return spring attachment points, and modifications for compatibility with power brake boosters or hydraulic clutch systems in select trims.
Transmission-Specific Variations
- Manual Transmission: Clutch pedal assemblies are unique, with dedicated bushings, return springs, and linkage attachment points. Some years use a pedal stop bracket to prevent over-travel.
- Automatic Transmission: Brake pedal pads are often wider, and the pedal arm may have a different bend or offset to match the reduced pedal count and transmission interlock requirements.
Safety and Regulatory Factors
According to NHTSA Vehicle Safety and Equipment guidelines, pedal assemblies must meet minimum strength and ergonomic standards. AMC’s mid-cycle updates often reflected these evolving standards, further complicating cross-year compatibility.
Real-World Failure Patterns: Field Data and Shop Examples
Common Failure Patterns
- Pedal Arm Fatigue Cracks: Especially at the pivot or welds, usually from decades of stress or improper installation.
- Bushing Wear: Resulting in excessive pedal play, noise, or binding.
- Bracket Deformation: Due to rust, collision repair, or improper mounting torque.
- Switch Mounting Issues: Incompatibility with later-model brake light or clutch safety switches.
- Pad Detachment or Wear: Loss of pedal pad grip, leading to safety issues.
Shop Example: 1970 Ambassador Clutch Pedal Swap
A restoration shop attempted to fit a 1968 clutch pedal assembly to a 1970 AMC Ambassador. Despite similar appearance, the bracket mounting holes did not align, and the clutch pedal geometry caused interference with the steering column. Only after referencing the Ambassador Pedal Fitment Guide and verifying VIN-specific requirements was the correct assembly sourced and installed, restoring proper clutch action and pedal alignment.
Solution Path: How to Identify and Source Compatible Pedal Assemblies
Step 1: Confirm Vehicle Details
- Year, Model, and Body Style: Use the vehicle’s VIN and compare with authoritative fitment guides.
- Transmission Type: Manual vs. automatic impacts pedal count, spacing, and linkage requirements.
Step 2: Inspect the Original Assembly
- Check for previous modifications, repairs, or non-original parts.
- Measure pedal arm length, offset, and pivot diameter.
- Note switch mounting locations and return spring attachment points.
Step 3: Cross-Reference Part Numbers
- Use AMC factory parts catalogs, reputable NOS suppliers, or AutoPartEx’s fitment database.
- Beware of “universal” listings—always verify with physical measurements or detailed photos.
Step 4: Source from Trusted Suppliers
- Prefer OE or OE-equivalent parts when available.
- If using used or NOS assemblies, inspect for fatigue cracks, corrosion, and bushing condition before installation.
Step 5: Test-Fit Before Final Assembly
- Temporarily mount the pedal assembly and check for free movement, correct alignment, and interference with switches or adjacent components.
Diagnostic Checklist: Identifying Pedal Compatibility and Failure
Use this checklist during diagnosis and installation:
Pedal Compatibility & Failure Diagnostic Checklist
| Checkpoint | Inspection Action | Pass/Fail Criteria |
|---|---|---|
| VIN/Year/Trim Confirmation | Decode VIN and check fitment guide | Exact match only |
| Pedal Arm Length & Geometry | Measure and compare to spec | Within ±2mm of OE specification |
| Pivot Bushing Condition | Inspect for play or noise | No excessive movement/noise |
| Bracket Mounting Points | Check hole alignment and bracket integrity | All holes align, no cracks |
| Switch Mounting Provision | Verify correct location and compatibility | Switch mounts securely, operates |
| Return Spring Attachment | Inspect for correct anchor points | Spring seats fully, no slippage |
| Pedal Pad Fitment | Ensure pad is secure and matches pedal face | Pad fully seated, no rotation |
| Free Movement | Press pedal through full travel | No binding or interference |
| Pedal Height and Spacing | Compare to OE spec and driver comfort | Matches spec, comfortable reach |
Installation Guidance: Best Practices for AMC Ambassador Pedal Assemblies
Preparation
- Disconnect battery to prevent accidental switch activation.
- Remove lower dash trim and driver’s seat for access.
- Photograph original pedal assembly and linkage routing.
Removal
- Disconnect pedal linkage (clutch cable, brake pushrod).
- Label and unplug all electrical connectors (switches).
- Support pedal bracket while removing mounting bolts.
Installation
- Test-fit new or rebuilt pedal assembly before final torque.
- Install new bushings and lubricate all pivot points with high-moly grease.
- Reconnect linkage, switches, and return springs.
- Verify pedal height and travel before reassembling trim.
Post-Installation Test
- Confirm smooth pedal operation.
- Test all switches (brake lights, clutch interlock).
- Perform a road test in a controlled environment.
For a step-by-step visual guide, reference the Amc Ambassador Brake Clutch Pedal Install article.
Maintenance Insights: Extending Pedal Assembly Life
Regular Inspection
- Inspect pedal pivots and bushings at every major service interval.
- Check for signs of rust or bracket fatigue, especially in vehicles stored outdoors.
Lubrication
- Use a high-quality, temperature-resistant grease on all moving joints.
- Avoid over-lubricating, which can attract dust and accelerate wear.
Pedal Pad Replacement
- Replace worn or hardened pedal pads with OE or equivalent rubber pads.
- Ensure correct pad orientation for maximum grip.
Switch Adjustment
- Verify correct operation of brake light and clutch safety switches after any pedal service.
- Adjust switch position to manufacturer spec to prevent false signals or non-operation.
Fitment Nuances: Ambassador Pedal Compatibility Across Years
Early vs. Late Model Differences
- Bracket Mounting: Early models may use a four-bolt bracket, while later models use a three-bolt or reinforced design.
- Pedal Arm Shape: Subtle changes in bend angle and length can affect reach and clearance.
- Switch Integration: 1970+ models often require a different pedal arm with a dedicated switch tab.
Manual vs. Automatic Specifics
- Clutch Pedal Stop: Manual cars may use a pedal stop bracket not present on automatics.
- Brake Pedal Width: Automatics often have a wider brake pedal pad for two-foot operation.
Cross-Model Interchangeability
- Some pedal assemblies interchange between Ambassador and other AMC models (Rebel, Matador) of the same era, but always verify with a fitment guide before attempting a swap.
For detailed interchange data, consult the Ambassador Pedal Fitment Guide.
Sourcing Strategies: Where to Find Reliable AMC Ambassador Pedal Assemblies
OE and NOS Parts
- Search vintage AMC parts specialists, online auctions, and NOS warehouses.
- Inspect for shelf wear, rust, or incorrect labeling.
Aftermarket Reproductions
- Select suppliers that adhere to SAE SAE Standards for strength and fitment.
- Be cautious of generic “fits all” listings—require detailed application charts.
Salvage and Used Parts
- Source from reputable dismantlers with verified inventory.
- Request detailed photos and measurements before purchase.
AutoPartEx Marketplace
- Use the AutoPartEx fitment database for VIN-specific part matching.
- Access user reviews and shop feedback to identify known fitment issues.
Regulatory and Safety Considerations
Compliance with Federal Standards
- Pedal assemblies must meet NHTSA Vehicle Safety and Equipment requirements for strength, travel, and switch integration.
- Non-compliant assemblies may fail inspection or compromise driver safety.
Recall Awareness
- Check the NHTSA Vehicle, Car Seat, Tire, and Equipment Recalls database for any pedal-related recalls on your model year.
- Replace affected components with recall-corrected or updated parts.
Installation Documentation
- Maintain service records detailing pedal assembly replacements or modifications.
- Document part numbers, supplier, and installation date for future reference.
Advanced Troubleshooting: Addressing Persistent Pedal Issues
Symptom: Pedal Binding or Sticking
- Inspect for misaligned bracket or deformed pedal arm.
- Check for incorrect bushing size or missing washers.
Symptom: Excessive Pedal Play
- Replace worn bushings or pivot pins.
- Confirm correct installation torque on bracket bolts.
Symptom: Inoperative Switches
- Adjust or replace switch as needed.
- Verify correct pedal arm version with dedicated switch tab.
Symptom: Poor Pedal Feel or Travel
- Ensure correct pedal arm geometry for your model year.
- Inspect linkage and return spring condition.
VIN-Based Fitment: Precision Matching for AMC Ambassador Pedals
The most reliable method for ensuring pedal compatibility is VIN-based fitment. AMC’s VIN system encodes the model year, body style, and original equipment. By referencing the VIN against authoritative fitment guides, you can:
- Eliminate guesswork in pedal assembly selection
- Avoid repeat repairs due to incorrect part installation
- Ensure compliance with safety and regulatory standards
For a step-by-step VIN decoding process, see the Ambassador Vin Fitment resource.
Shop-Proven Tips: Lessons from Experienced Technicians
- Never Assume Cross-Year Fitment: Even a 1-year difference can mean a different pedal bracket or switch tab.
- Test-Fit Before Final Assembly: Temporary installation can reveal interference or misalignment before reassembly.
- Replace Bushings with Every Pedal Swap: Old bushings can mask fitment issues and accelerate wear.
- Document Every Change: Take photos and record part numbers for future reference or resale value.
AutoPartEx Positioning: Your Partner in AMC Ambassador Pedal Solutions
At AutoPartEx, we recognize the complexity and nuance of AMC Ambassador pedal compatibility. Our curated fitment database, expert technical guidance, and real-world shop feedback empower you to make informed decisions—whether you’re a DIY restorer or a professional technician. From model-specific pedal fitment guidance to in-depth installation articles, AutoPartEx is your trusted partner in sourcing, diagnosing, and installing the right AMC Ambassador brake and clutch pedal assemblies—first time, every time.
Summary Checklist: AMC Ambassador Pedal Compatibility Service Strategy
- Decode VIN and confirm year, model, transmission
- Inspect original pedal assembly for wear/modification
- Reference authoritative fitment guides and part numbers
- Source from trusted, application-specific suppliers
- Test-fit and verify all mounting points, bushings, and switches
- Document installation and retain service records