
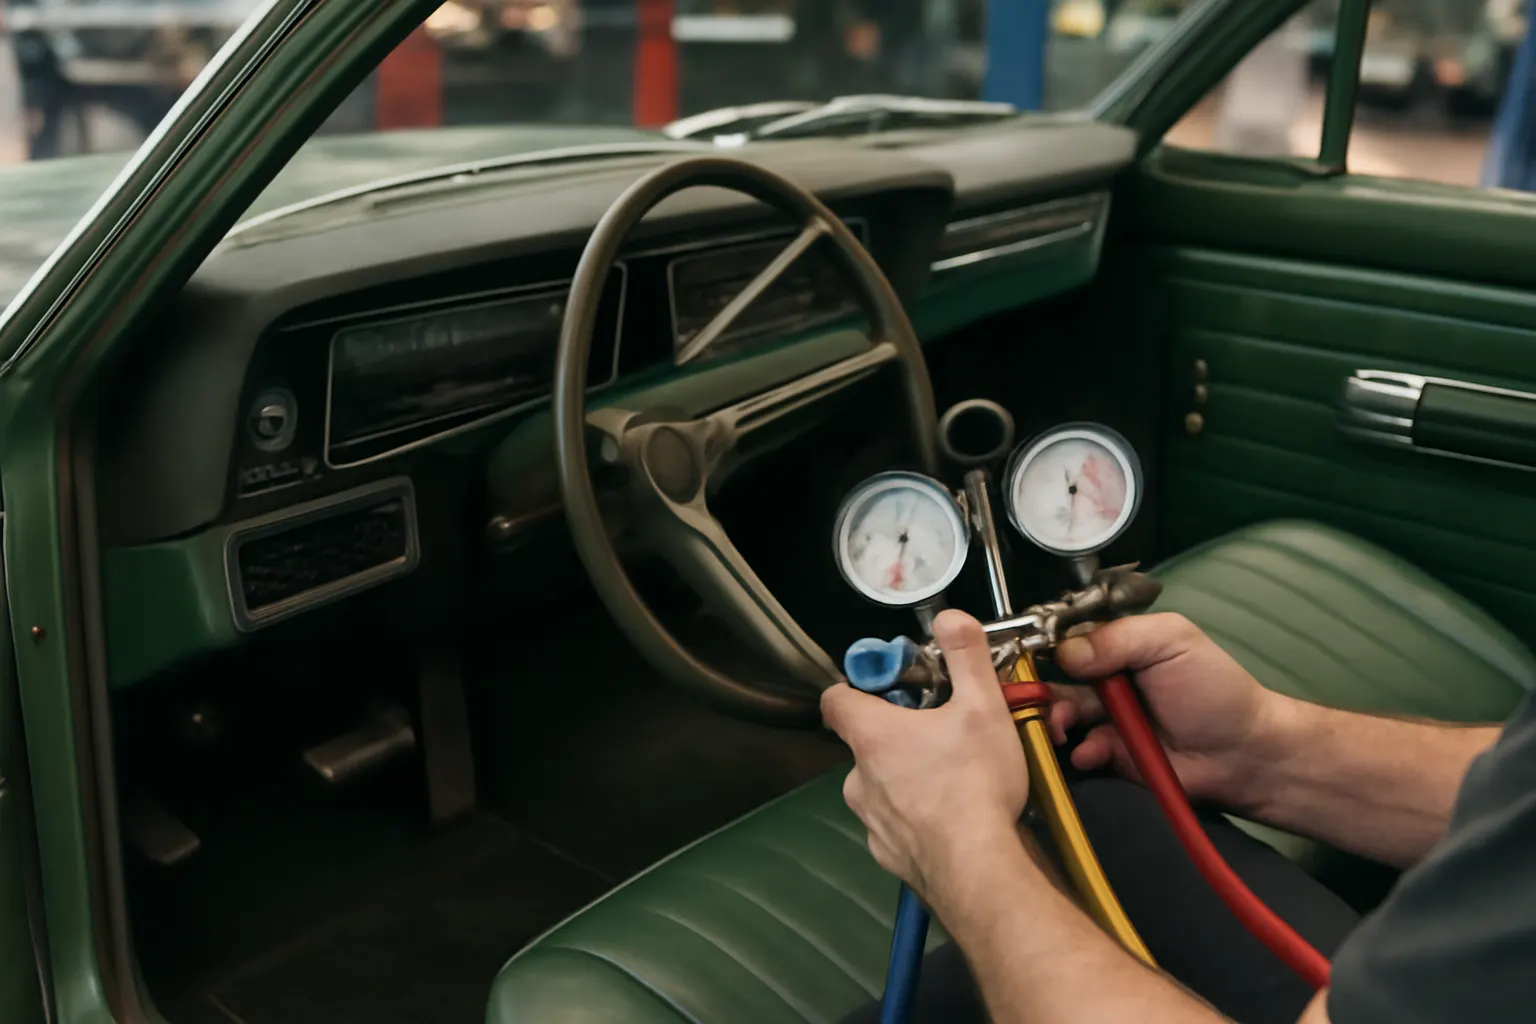
Ambassador Interior Vent Diagnostics
For AMC Ambassador owners and restorers, the condition of interior air conditioning and heater vents is a critical—yet often overlooked—factor in classic car comfort, safety, and HVAC system efficiency. Whether you’re chasing that perfect period-correct restoration or simply want your Ambassador’s climate control to work as intended, understanding how to inspect, diagnose, and address vent issues is essential. This guide delivers a comprehensive, step-by-step approach to Ambassador interior vent diagnostics, including what to look for, why it matters, and how to restore optimal function. For broader fitment and replacement guidance, see our AMC Ambassador Air Condition and Heater Vents: Fitment, Diagnosis, and Replacement Guide.
Why Vent Condition Matters: Immediate Impacts on Comfort and Safety
The interior vents in your AMC Ambassador are the final gateway for cooled or heated air to enter the cabin. Their condition directly determines not only the volume and direction of airflow, but also the air quality and evenness of temperature distribution. A blocked, broken, or leaking vent can result in:
- Reduced HVAC efficiency: Poor vent function forces the blower motor and HVAC components to work harder, reducing overall system performance.
- Compromised comfort: Uneven airflow and temperature can make the cabin uncomfortable, especially in extreme weather.
- Fogging and visibility issues: Faulty vents can impair defrosting, directly impacting driver visibility—a documented safety concern (NHTSA).
- Increased energy use: Inefficient airflow can prompt unnecessary use of the system, marginally impacting fuel economy (DOE).
For classic vehicles like the Ambassador, where original components may be decades old, these issues are common and often progressive if left unaddressed.
The Hidden Problem: Aging, Obstruction, and Material Degradation
Classic AMC Ambassadors, especially those unrestored or stored for years, are prone to a range of vent-specific issues:
- Material fatigue: Vent louvers and housings, often made from mid-century plastics or metals, can warp, crack, or become brittle over time (DOE Materials Technologies).
- Obstructions: Dust, debris, rodent nests, and even deteriorated foam seals can block airflow or contaminate the cabin.
- Seal failure: The foam or felt gaskets that seal vent housings degrade, causing air leaks that bypass the intended airflow path.
- Mechanical linkage wear: The rods or cables that control vent direction and opening may seize, disconnect, or lose calibration.
These problems are not always immediately visible, and symptoms may be subtle—such as a slight reduction in airflow, odd noises, or inconsistent temperature delivery.
Expanding the Problem: How Vent Issues Cascade Through the HVAC System
A compromised vent system does more than inconvenience occupants:
- Strain on HVAC components: The blower motor and heater core or evaporator must compensate for restricted or misdirected airflow, increasing wear.
- Recirculation inefficiency: Blocked or leaky vents can disrupt intended air recirculation routes, reducing system cooling or heating effectiveness.
- Air quality concerns: Old vents can harbor mold, dust, or allergens, which are then distributed throughout the cabin.
- Defrost and demist failure: Windshield and side window vents are critical for safe cold-weather operation. Poor function can delay or prevent effective defrosting, introducing a real safety risk (NHTSA Equipment).
For the AMC Ambassador, a well-maintained vent system is more than a comfort feature—it’s a key part of both safety and mechanical longevity.
Signs Your AMC Ambassador’s Interior Vents Need Attention
Knowing what to look for is half the battle. The following symptoms indicate vent-related problems in your Ambassador:
- Weak or uneven airflow from any dash, floor, or defrost vent, regardless of fan speed.
- Noisy operation (whistling, rattling, or fluttering) when the HVAC is on.
- Visible cracks, warping, or broken louvers on vent assemblies.
- Persistent dust, musty odors, or debris emerging from vents.
- Difficulty adjusting vent direction or opening/closing mechanisms.
- Inconsistent cabin temperature or poor defrost performance.
If any of these are present, a thorough vent diagnostic is warranted.
Step-by-Step Diagnostic Checklist for AMC Ambassador Interior Vents
A systematic approach is best for uncovering both obvious and hidden vent issues. Use the following checklist as a practical starting point:
AMC Ambassador Interior Vent Diagnostic Checklist
| Step | Task | What to Look For |
|---|---|---|
| 1 | Visual Inspection | Cracks, discoloration, missing or broken louvers, warped housings |
| 2 | Physical Test | Move each louver and vent door—should be smooth, with no binding or excessive play |
| 3 | Airflow Test | With HVAC on all speeds and modes, check airflow at each vent (compare left/right, upper/lower) |
| 4 | Listen for Noise | Whistling, rattling, or odd noises may indicate obstructions or loose parts |
| 5 | Smell Test | Musty or dusty odors suggest contamination or mold inside vent ducts |
| 6 | Check Adjustment Controls | Confirm that vent selector levers/cables move freely and actually change airflow direction |
| 7 | Inspect for Debris | Shine a flashlight into each vent—look for dust, leaves, rodent nests, or deteriorated foam |
| 8 | Test Defrost Function | Ensure windshield and side window vents deliver strong, warm air when set to defrost |
| 9 | Assess Cabin Temperature | Confirm that heat/cool air is evenly distributed; note any “cold spots” or unevenness |
| 10 | Re-inspect After Operation | After running the system for several minutes, re-check for new odors, noises, or changes in airflow |
Document your findings for each vent location (driver, passenger, center, floor, defrost) to identify patterns or localized failures.
Common AMC Ambassador Vent Failure Modes
Decades of use and environmental exposure mean that certain vent failures are typical in Ambassadors:
1. Cracked or Brittle Louvers
- Symptoms: Louvers won’t hold position, rattle, or are visibly broken.
- Cause: UV exposure, heat cycling, and plasticizer loss.
2. Warped or Detached Vent Housings
- Symptoms: Gaps between vent and dash, air leaks, or loose fitment.
- Cause: Heat, vibration, or improper previous repairs.
3. Seized or Disconnected Linkages
- Symptoms: Vent selector lever moves freely but does not change airflow; stuck vent doors.
- Cause: Rust, cable detachment, or broken pivot points.
4. Blocked or Contaminated Ducts
- Symptoms: Weak airflow, persistent odors, or visible debris.
- Cause: Ingress of leaves, dust, or rodent activity; deteriorated foam seals.
5. Deteriorated Seals
- Symptoms: Air leaks, hissing noises, or loss of temperature control.
- Cause: Aged foam or felt gaskets shrinking or disintegrating.
Technical Background: How AMC Ambassador Vent Systems Were Designed
Understanding the original vent design helps with both diagnosis and sourcing correct replacement parts:
- Materials: Most AMC Ambassador vents utilize ABS or polypropylene plastics for louvers and housings, with foam or felt gaskets for sealing. These materials were chosen for light weight and manufacturability (DOE Materials Technologies).
- Mechanical Controls: Vents are typically cable- or rod-operated, linked to dash levers or sliders. Floor and defrost vents use vacuum or mechanical actuators in later models.
- Air Distribution: The system is designed to deliver air through dash, floor, and defrost outlets, with blend doors controlling the mix of heated/cooled air.
- Vent Integration: Some models integrate vent assemblies into the dash pad, requiring partial dash removal for service. Others are modular and can be replaced independently.
This construction means that age-related failures are usually due to material degradation, mechanical wear, or contamination rather than electronic faults.
How Faulty Vents Affect Fuel Efficiency and System Performance
While the impact on fuel economy is modest compared to engine or drivetrain issues, inefficient HVAC operation can increase parasitic load:
- Blower Overwork: Blocked or leaky vents force the blower motor to run harder, drawing more electrical power from the alternator, which in turn slightly increases engine load (DOE Fuel Efficiency).
- Extended HVAC Use: Poor airflow or temperature control often leads drivers to set fans to higher speeds or run AC/heat longer, incrementally affecting fuel use.
- System Wear: Over time, these stresses can accelerate failure of the blower, resistors, or even the heater core and evaporator.
For classic car enthusiasts, these factors also affect the long-term reliability and enjoyment of the vehicle.
Inspection and Disassembly: Accessing AMC Ambassador Dash and Floor Vents
Proper diagnosis sometimes requires partial removal of vent assemblies, especially for cleaning or deeper inspection:
- Dash Vent Removal: Many Ambassador models require removal of dash bezels or panels. Refer to our Amc Ambassador Dash Vent Removal guide for detailed, model-specific steps.
- Tool Requirements: Trim removal tools, Phillips and flathead screwdrivers, and sometimes a small ratchet or nut driver are needed. Take care to avoid damaging brittle dash plastics.
- Common Obstacles: Watch for hidden screws, retaining clips, and delicate wiring near vent assemblies. Label any vacuum hoses or control cables for proper reinstallation.
Once removed, vents can be cleaned, inspected for cracks and warping, and new seals or foam installed as needed.
Cleaning and Restoring AMC Ambassador Vents
Routine cleaning and restoration can dramatically improve both aesthetics and function:
- Surface Cleaning: Use a soft brush and vacuum to remove loose dust and debris. For stubborn buildup, a damp microfiber cloth and mild plastic-safe cleaner are recommended.
- Decontamination: If mold or odors are present, use an HVAC-safe disinfectant spray. Avoid soaking vent assemblies, especially if they are installed in the dash.
- Louver Repair: Minor cracks can sometimes be stabilized with plastic epoxy, but brittle or missing louvers require replacement.
- Seal Replacement: Carefully remove old foam or felt gaskets and replace with automotive-grade self-adhesive foam strips, cut to size.
This maintenance, done annually or during restoration, extends the life of original vent assemblies and improves air quality.
Sourcing OEM and Aftermarket AMC Ambassador Vent Parts
Finding correct replacement vents and associated hardware is a common challenge for classic Ambassador owners:
- OEM vs. Aftermarket: Original AMC vent assemblies are scarce but provide the best fit and finish. Aftermarket reproductions are available for some models, but check for correct dimensions and mounting tabs.
- Condition Grading: If sourcing used parts, inspect for cracks, warping, and completeness. Avoid parts with missing louvers or broken mounting points.
- Seal Kits: Replacement foam and gasket kits are available from specialty suppliers. Universal automotive foam can be trimmed for custom fitment.
- Buyer’s Guides: For more detailed sourcing advice, see our Amc Ambassador Vent Buyers Guide.
Always verify part numbers and compatibility with your specific Ambassador model year and trim.
Reassembly and Calibration: Ensuring Proper Vent Function
After cleaning, repair, or replacement, reassembly and adjustment are critical:
- Mounting: Secure vent assemblies firmly, ensuring no gaps at the dash or floor. Use original fasteners where possible.
- Cable/Lever Adjustment: Reconnect control rods or cables, and test for smooth operation through the full range of motion.
- Seal Integrity: Confirm that all foam or gasket surfaces are compressed and sealing against ductwork.
- Final Testing: With the HVAC system running, verify airflow, temperature, and direction at all vents. Check for any new noises or air leaks.
Proper calibration ensures that the restored vent system delivers factory-intended performance.
Preventative Maintenance: Keeping Your Ambassador’s Vents Functioning
Regular maintenance can prevent most vent issues from recurring:
- Annual Inspection: Check for cracks, loose fitment, or signs of contamination at least once per year.
- Cabin Air Quality: Replace or clean any cabin air filters (if equipped) and periodically disinfect vent ducts.
- Seal Refresh: Replace foam or felt gaskets every 5–10 years, or sooner if exposed to heat and humidity.
- Rodent Prevention: Store the vehicle with vents closed and use deterrents if storing long-term.
Proactive care is especially important for Ambassadors driven seasonally or stored in humid environments.
When to Seek Professional Help
While many vent diagnostics and repairs are DIY-friendly, some situations call for expert attention:
- Extensive dash removal: If vent access requires major disassembly, professional shops can avoid damage to rare dash components.
- HVAC system integration: If vent issues are linked to deeper HVAC faults (blower, heater core, vacuum actuators), a professional diagnosis ensures system-wide reliability.
- Restoration projects: For concours or show-quality restorations, specialized shops can source, restore, or fabricate correct vent assemblies.
For more complex troubleshooting, see our Amc Ambassador Hvac Troubleshooting guide.
AutoPartEx: Your Classic AMC Vent Solution Partner
At AutoPartEx, we understand the unique challenges of maintaining and restoring AMC Ambassador interior vents. Our technical resources, model-specific guides, and curated parts selection are designed to help you:
- Diagnose issues accurately with step-by-step checklists and troubleshooting guides.
- Source correct parts—whether OEM, NOS, or quality aftermarket replacements.
- Restore original function and comfort for daily drivers and show cars alike.
For a comprehensive overview of Ambassador vent fitment, diagnosis, and replacement, explore our AMC Ambassador Air Condition and Heater Vents: Fitment, Diagnosis, and Replacement Guide.