
Ambassador Hard Pedal Case Study
A hard brake pedal can turn an iconic 1972 AMC Ambassador from a classic cruiser into a safety liability. In this hands-on case study, we walk through a real-world shop scenario: a customer’s Ambassador arrives with a stiff, unresponsive brake pedal. We’ll cover the full diagnostic workflow, uncover the root causes, and detail the brake booster replacement process—empowering you to restore safe, confident braking to your AMC classic.
For those looking to deepen their understanding of AMC Ambassador brake boosters, fitment, and compatibility, see our AMC Ambassador Brake Booster: Fitment, Compatibility, and Replacement Insights page. This case study delivers practical, step-by-step guidance for identifying and resolving one of the most common brake complaints in vintage Ambassadors.
The Immediate Answer: Why Is the Brake Pedal Hard?
A hard brake pedal in a 1972 AMC Ambassador almost always points to a problem with the brake booster or its vacuum supply. The brake booster amplifies the force you apply to the pedal, allowing for smooth, controlled stops with minimal effort. When the booster fails or loses vacuum, the pedal stiffens, requiring excessive force to achieve even moderate braking.
Immediate Fix: Replacing a faulty brake booster or restoring its vacuum source is the most direct solution. But before swapping parts, a thorough diagnostic process is essential to avoid unnecessary replacements and ensure your Ambassador’s brake system is safe and fully functional.
The Hidden Problem: Overlooked Causes Behind a Hard Pedal
While the brake booster is the usual suspect, several hidden issues can also create a hard pedal in the AMC Ambassador:
- Vacuum Leaks: Deteriorated hoses, loose fittings, or gaskets can disrupt the booster’s vacuum supply.
- Check Valve Failure: The one-way check valve between the intake manifold and booster can stick or leak, cutting off vacuum.
- Engine Vacuum Issues: Low engine vacuum from timing problems, leaks, or worn engine components affects booster performance.
- Internal Booster Failure: Ruptured diaphragms or stuck valves inside the booster prevent it from amplifying pedal force.
- Master Cylinder Drag: A seized master cylinder piston or improper push rod adjustment can mimic hard pedal symptoms.
Ignoring these potential causes can lead to misdiagnosis, wasted parts, and persistent brake problems.
Expanding the Problem: Safety, Performance, and Classic Car Concerns
A hard brake pedal isn’t just uncomfortable—it’s a major safety hazard. According to the National Highway Traffic Safety Administration, compromised brake systems are a leading cause of vehicle accidents and are subject to strict safety standards. On a heavy classic like the AMC Ambassador, a failed booster dramatically increases stopping distances, especially in emergency scenarios.
Classic Car Considerations:
- Age-Related Degradation: After decades, original rubber diaphragms, hoses, and gaskets harden and crack.
- Parts Compatibility: AMC used multiple booster and master cylinder configurations across model years.
- Restoration Pitfalls: Incorrectly sourced or installed boosters can introduce new issues or fail to solve the problem.
- Fuel Efficiency Impact: A dragging brake system or vacuum leak can also affect idle quality and fuel economy, as highlighted by the U.S. Department of Energy.
Step 1: Establishing the Diagnostic Workflow
Every successful repair starts with a systematic approach. Here’s the step-by-step diagnostic workflow we use in the shop for a hard pedal on a 1972 Ambassador:
1. Gather Symptoms and History
- Ask the Customer: When did the hard pedal start? Any recent work on the engine or brakes?
- Test Drive: Confirm the pedal feel, braking response, and whether the problem is constant or intermittent.
- Visual Inspection: Check for obvious vacuum hose disconnections, collapsed hoses, or fluid leaks.
2. Isolate the Brake Booster
- Engine Off Test: Pump the brake pedal several times with the engine off to deplete vacuum. Hold steady pressure, then start the engine. A properly functioning booster will cause the pedal to drop slightly as vacuum is restored.
- If No Drop: Suspect a booster or vacuum supply problem.
Step 2: Vacuum System Inspection Checklist
A thorough vacuum system inspection is essential before condemning the booster itself. Use this checklist to guide your process:
| Item | Checkpoints | Pass/Fail |
|---|---|---|
| Vacuum hose from manifold to booster | Look for cracks, splits, loose clamps | |
| Booster check valve | Remove and blow through both ends; one-way only | |
| Intake manifold port | Inspect for carbon buildup, leaks, or blockages | |
| Engine vacuum at idle | Should measure 15-20 inHg at manifold port | |
| Hose routing and length | Verify correct routing, no kinks or pinches | |
| Grommet at booster | Ensure tight seal, no vacuum leaks |
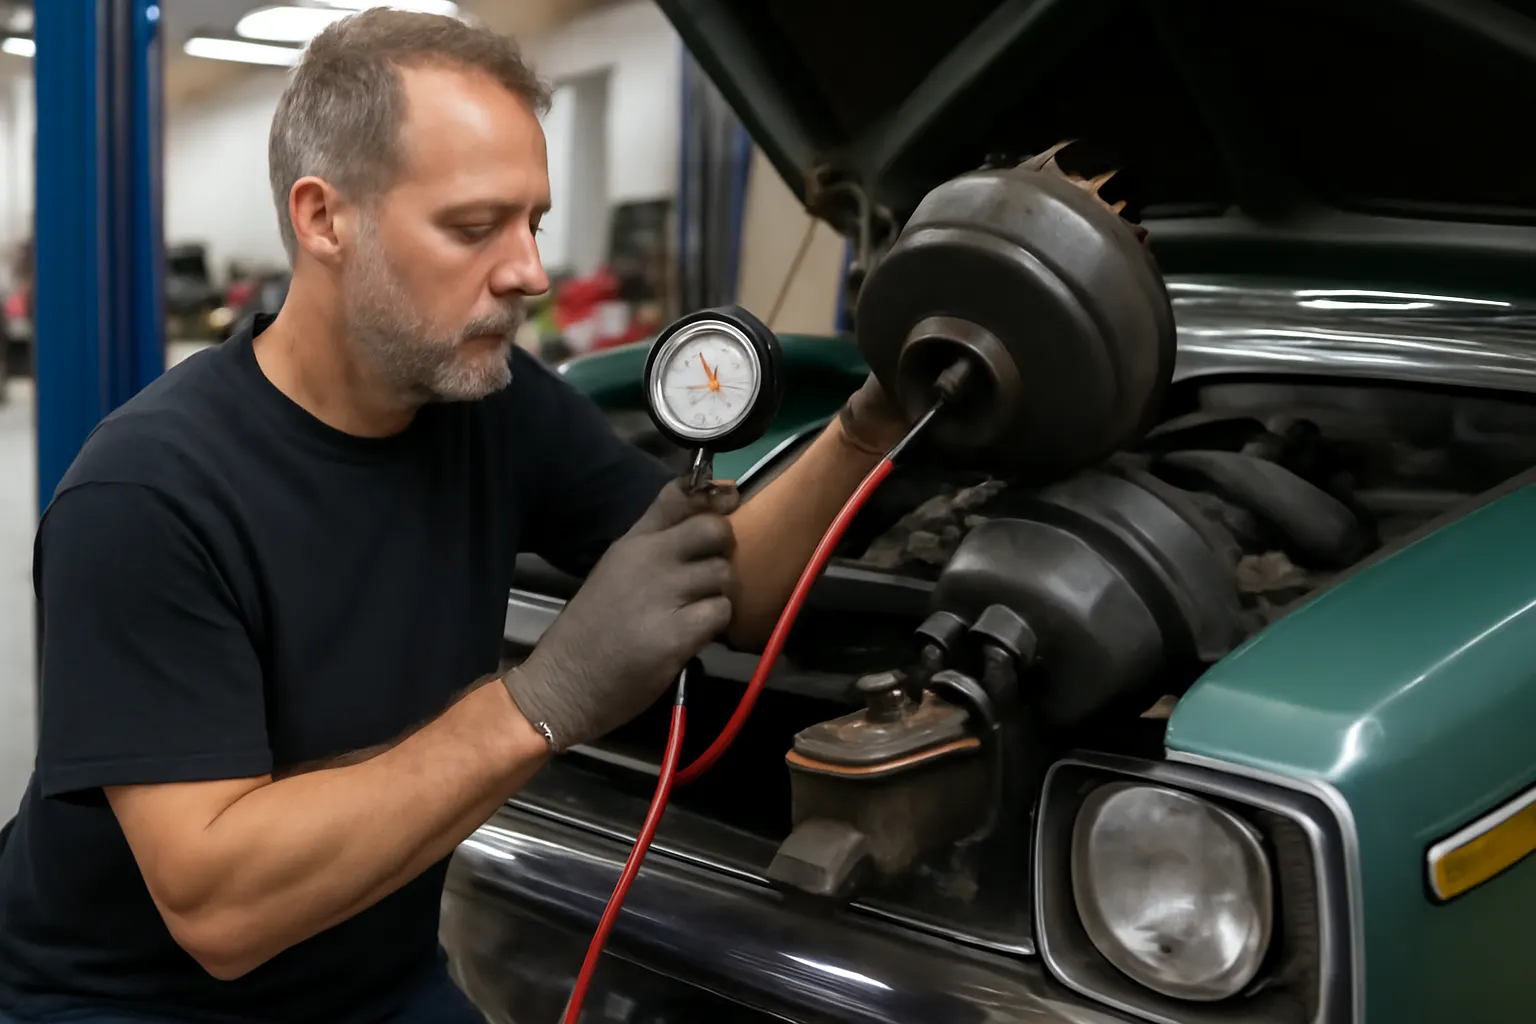
Tip: Use a handheld vacuum gauge to verify vacuum at the booster input. If vacuum is present at the booster and the pedal remains hard, the booster itself is likely at fault.
Step 3: Confirming Internal Booster Failure
If vacuum supply is verified and the pedal remains hard, the next step is to confirm internal booster failure. The following signs indicate a bad brake booster:
- No Pedal Drop: As described earlier, failure of the pedal to drop when the engine starts.
- Hissing Sound: Audible hissing around the booster or pedal area (indicates a diaphragm leak).
- Brake Warning Light: Some models may trigger a warning if the booster is leaking vacuum.
- Increased Stopping Effort: Markedly higher pedal effort with no improvement after checking vacuum.
Advanced Test: Disconnect the vacuum hose from the booster, plug the hose, and test drive. If pedal feel does not change, the booster is not functioning.
Step 4: Sourcing the Correct Replacement Booster
With the diagnosis confirmed, it’s vital to source the correct replacement part. AMC Ambassadors from the early 1970s used several booster types and mounting patterns. Here’s what you need to know:
Key Fitment Considerations
- Year and Model Specificity: 1972 Ambassadors may use different boosters than earlier or later models.
- Mounting Pattern: Check the number and spacing of the firewall studs.
- Push Rod Length: Verify compatibility with your master cylinder.
- Check Valve Orientation: Ensure the replacement matches original vacuum hose routing.
- Aftermarket vs. OE: Quality aftermarket units are available, but always verify dimensions and mounting points.
For a detailed reference, consult the Ambassador Brake Booster Fitment Guide.
Step 5: Brake Booster Removal—Detailed Shop Workflow
Removing the old booster is a labor-intensive but straightforward process. Here’s the step-by-step workflow used in our shop:
Removal Procedure
- Disconnect the Battery: Safety first—prevent accidental shorts.
- Remove Vacuum Hose: Detach from both the booster and intake manifold.
- Unbolt Master Cylinder: Remove the two mounting nuts, then carefully pull the master cylinder forward. Support it to avoid stressing brake lines.
- Disconnect Pedal Linkage: Under the dash, remove the retaining clip and pin connecting the booster push rod to the brake pedal arm.
- Remove Booster Mounting Nuts: Usually four nuts on the firewall side.
- Extract the Booster: Maneuver the booster out of the engine bay, taking care not to damage surrounding components.
Tips:
- Photograph hose routing and linkage before removal.
- Penetrating oil may be needed for rusty firewall studs.
Step 6: Brake Booster Installation—Best Practices
Installation is the reverse of removal, but attention to detail is critical for safety and performance. Follow these best practices:
Installation Checklist
- Bench-Test the Booster: Before installation, apply vacuum to ensure proper operation.
- Clean Mounting Surfaces: Remove old gasket material and debris from the firewall.
- Install New Gasket: Prevents vacuum leaks.
- Align Push Rod: Ensure the booster push rod is properly seated in the pedal arm.
- Torque Fasteners: Use manufacturer-specified values to avoid distortion or leaks.
- Reconnect Master Cylinder: Check for proper alignment and no binding.
- Vacuum Hose Routing: Use new clamps and hoses if old parts are brittle or cracked.
- Final Leak Check: After installation, start the engine and listen for vacuum leaks around the booster, hose, and check valve.
For a step-by-step illustrated walkthrough, see Amc Ambassador Brake Booster Installation.
Step 7: Post-Installation Testing and Safety Checks
With the new booster installed, thorough testing ensures the repair is complete and safe:
- Static Pedal Test: Pump the pedal with the engine off, then start the engine. Confirm the pedal drops.
- Vacuum Gauge Check: Verify 15-20 inHg vacuum at the booster with the engine running.
- Road Test: Carefully test braking at low speeds, gradually increasing to typical driving conditions.
- Emergency Stop: Conduct a controlled hard stop to confirm pedal feel and stopping power.
- Inspect for Leaks: After the test drive, recheck all connections for vacuum or fluid leaks.
Checklist for Safe Return to Service:
- Pedal drops with engine start
- No hissing or vacuum leaks
- Brakes operate smoothly with normal effort
- No warning lights or error codes
- All hardware torqued and secured
Step 8: Common Pitfalls and How to Avoid Them
Even experienced techs can run into trouble when replacing a brake booster on a classic AMC. Here are common pitfalls and expert tips to avoid them:
- Misidentifying the Problem: Always verify vacuum supply before replacing the booster.
- Incorrect Booster Selection: Use year/model-specific guides to avoid fitment issues.
- Damaging Brake Lines: Support the master cylinder during removal to prevent kinks or leaks.
- Improper Push Rod Adjustment: Misadjusted rods can cause brake drag or poor pedal feel.
- Skipping Gasket Replacement: Old or missing gaskets lead to vacuum leaks and reduced performance.
- Reusing Old Hoses: Always replace brittle or cracked vacuum hoses.
Step 9: Long-Term Maintenance and Performance Upgrades
Restoring brake booster function is just the start. To maintain safe, reliable braking in your AMC Ambassador:
Maintenance Best Practices
- Inspect Vacuum Hoses Annually: Replace at the first sign of cracking or softness.
- Monitor Engine Vacuum: Low vacuum can signal engine health issues.
- Flush Brake Fluid Every 2 Years: Prevents internal corrosion and maintains hydraulic performance.
- Check Pedal Feel Regularly: Sudden changes in pedal effort warrant immediate inspection.
Performance Upgrades
For those seeking improved brake performance, consider:
- Dual-Diaphragm Boosters: Offer more assist for heavy cars.
- Disc Brake Conversions: Reduce stopping distances and increase fade resistance.
- Upgraded Master Cylinders: Improve hydraulic response and compatibility with modern brake fluids.
See Amc Brake System Upgrades for more options tailored to classic AMC models.
Step 10: Sourcing Quality Parts and Ensuring Compatibility
With vintage vehicles like the AMC Ambassador, parts sourcing is as important as the repair itself. Here’s how to ensure you get the right parts:
- Use Trusted Suppliers: Choose vendors specializing in classic AMC components.
- Cross-Reference Part Numbers: AMC used different suppliers and part numbers across years—always double-check.
- Request Fitment Data: Ask for mounting pattern, push rod length, and compatibility details.
- Inspect Before Installing: Confirm that the new booster matches the old unit’s dimensions and mounting points.
For a comprehensive overview of fitment and compatibility, visit our AMC Ambassador Brake Booster: Fitment, Compatibility, and Replacement Insights page.
Step 11: Technical Deep Dive—How the AMC Ambassador Brake Booster Works
Understanding the underlying technology helps with both diagnostics and upgrades. The 1972 AMC Ambassador typically uses a single-diaphragm vacuum brake booster:
- Vacuum Operation: Engine vacuum draws atmospheric pressure into one side of the booster chamber, amplifying pedal force.
- Diaphragm Integrity: The rubber diaphragm must remain flexible and airtight for optimal assist.
- Check Valve Function: Maintains vacuum in the booster even if engine vacuum fluctuates during acceleration or load.
Materials and Longevity: According to the U.S. Department of Energy’s Materials Technologies, advances in rubber and composite materials have improved the durability of modern boosters, but original equipment from the 1970s is prone to age-related degradation.
Step 12: Expert Action—When to Call in a Professional
While many skilled DIYers can handle brake booster replacement, certain situations call for professional expertise:
- Uncertain Diagnosis: If you’re unable to isolate the cause of a hard pedal, a professional can use advanced tools (smoke machines, vacuum gauges) for precise diagnostics.
- Brake System Modifications: Upgrading to disc brakes, dual-diaphragm boosters, or non-stock master cylinders requires careful engineering for safety.
- Persistent Brake Issues: If new parts don’t resolve the problem, improper installation or deeper system faults may be at play.
- Safety Inspections: Before returning a classic car to the road, have a professional inspect the entire brake system for compliance with NHTSA safety standards.
Step 13: AutoPartEx—Your Trusted Partner for AMC Ambassador Brake Solutions
At AutoPartEx, we combine deep technical expertise with a curated catalog of high-quality AMC Ambassador brake components. Whether you need a direct-fit brake booster, master cylinder, or a complete upgrade kit, our fitment guides and expert support ensure you get the right part the first time.
Explore our full range of AMC Ambassador brake boosters and related components or contact our technical team for personalized advice.
Conclusion: Restoring Safe, Confident Braking to Your Ambassador
A hard brake pedal on a 1972 AMC Ambassador is more than just a nuisance—it’s a critical safety issue that demands a thorough, methodical approach. By following this step-by-step case study, you can identify the true cause, source the correct replacement, and restore your classic’s braking performance with confidence.
For additional guidance on installation, fitment, and system upgrades, see our related resources:
- Amc Ambassador Brake Booster Installation
- Ambassador Brake Booster Fitment Guide
- AMC Ambassador Brake Booster: Fitment, Compatibility, and Replacement Insights
Drive safe, and keep your AMC classic stopping strong.