
Advertisement
Ambassador Bumper Restoration Case Study
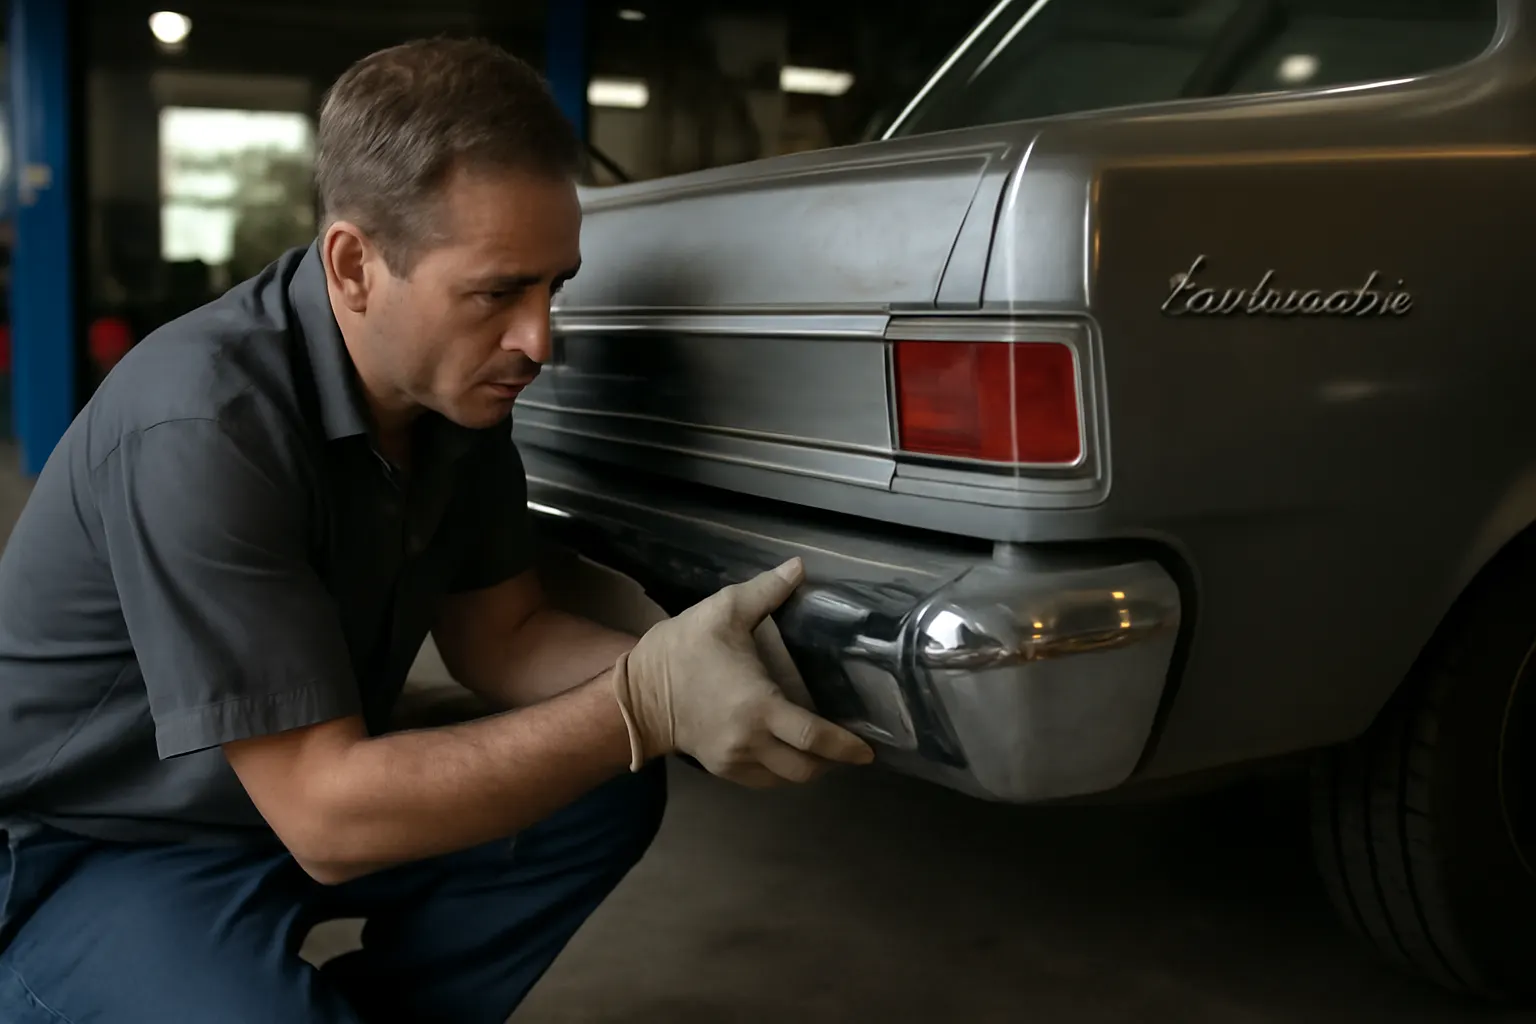
Restoring an AMC Ambassador’s rear bumper is a defining project for classic car enthusiasts and restoration professionals. This case study delivers a comprehensive, field-tested guide to overcoming sourcing, fitment, and installation challenges specific to AMC Ambassador rear bumper assemblies. Drawing on real-world restoration experiences, it offers actionable solutions for locating, restoring, and fitting bumpers to exacting standards—while ensuring compliance with safety and performance benchmarks.
If you need a deeper dive into fitment, failure patterns, or model-specific replacement strategies, visit our AMC Ambassador Rear Bumper Assembly: Fitment, Failure Patterns, and Replacement for All Model Years page for authoritative coverage.
1. Immediate Answer: The Fastest Route to a Restored Ambassador Bumper
To restore an AMC Ambassador rear bumper to factory specifications:
- Source a compatible bumper core, using reputable suppliers or salvage yards.
- Assess and address structural damage, rust, and missing hardware.
- Refinish the surface according to period-correct standards.
- Install using verified mounting hardware and alignment procedures.
- Verify fitment and safety compliance per current guidelines.
These steps, when executed with precision, deliver a visually authentic, structurally sound rear bumper restoration—ensuring both historical accuracy and modern safety.
2. Hidden Problem: Restoration Is More Complex Than Sourcing a Bumper
Many AMC Ambassador owners discover that simply finding a rear bumper is the tip of the iceberg. The real challenge emerges during the restoration process:
- Fitment inconsistencies due to year-to-year design changes.
- Structural corrosion hidden beneath chrome or paint.
- Missing or degraded mounting hardware that undermines safety.
- Unverified aftermarket reproductions with substandard materials or incorrect dimensions.
- Compliance gaps with current safety and equipment regulations.
These factors can jeopardize not only the authenticity of the restoration but also the safety of the vehicle and its occupants. Without a methodical approach, even experienced restorers risk costly setbacks or unsafe installations.
3. Expanding on the Challenge: The AMC Ambassador Bumper Restoration Landscape
Model-Year Variations and Parts Scarcity
The AMC Ambassador’s rear bumper design varied significantly across model years (especially 1967–1974), affecting:
-
Mounting bracket geometry.
-
Bumper contour and width.
-
Lighting cutouts and trim provisions.
This means that a bumper from a different year or trim may not fit or look correct—leading to time-consuming modifications or unsatisfactory results.
Age-Related Degradation
Decades of exposure lead to:
-
Pitting, rust-through, or stress cracks in the bumper shell.
-
Warped or fatigued mounting brackets.
-
Missing or seized fasteners.
Many “good” cores from salvage are compromised beneath the surface, requiring extensive rework.
Regulatory and Safety Concerns
While classic bumpers predate many modern standards, any replacement or restoration must ensure:
-
The assembly is securely mounted.
-
No sharp edges or protrusions are present.
-
Lighting and license plate illumination (if integrated) are fully functional.
The National Highway Traffic Safety Administration’s Equipment Guidelines provide a baseline for these requirements, even for classic vehicles.
4. Technical Deep Dive: Anatomy of the AMC Ambassador Rear Bumper
Key Components
A complete rear bumper assembly typically includes:
-
Bumper shell (chromed steel, sometimes with rubber impact strips).
-
Mounting brackets (model/year-specific).
-
Energy absorbers or spacers (on later models; may be foam, steel, or hydraulic).
-
Attachment hardware (bolts, nuts, washers, spacers).
-
Trim pieces (rubber strips, end caps, license plate lights).
Advertisement
Original Materials and Construction
AMC used stamped steel for the bumper shell, with triple-layer chrome plating. Brackets were heavy-gauge steel, sometimes welded or bolted to the frame. Later years (post-1973) introduced energy-absorbing features to comply with evolving safety standards.
Common Failure Points
- Rust-through at mounting points.
- Deformed or cracked brackets from prior impacts.
- Corrosion under chrome causing bubbling or flaking.
- Fatigue in welds or fastener holes leading to misalignment.
5. Field Diagnostics: Assessing a Candidate Bumper
Before committing to restoration, a thorough diagnostic is essential. Use the following checklist:
AMC Ambassador Rear Bumper Assessment Checklist
| Area | Inspection Points | Pass/Fail |
|---|---|---|
| Bumper Shell | Surface rust, pitting, cracks, chrome adhesion | |
| Brackets | Straightness, cracks, weld integrity, corrosion | |
| Mounting Points | Elongation, deformation, thread condition | |
| Trim & Accessories | Presence, damage, correct for year/model | |
| Hardware | Completeness, corrosion, correct grade | |
| Lighting | Lens condition, wiring, mounting tabs |
Tip: Photograph each area and document part numbers or casting marks for future reference. For more diagnostic tips, see our Ambassador Bumper Diagnostics guide.
6. Sourcing Genuine and Reproduction Bumper Cores
Salvage Yards and Specialty Suppliers
- Salvage yards: Focus on dry-climate regions to minimize rust. Request detailed photos and measurements.
- Classic AMC specialists: Some vendors stock NOS (new old stock) or high-quality used bumpers.
- Online auctions and forums: Useful for rare years, but exercise caution regarding condition and authenticity.
Aftermarket and Reproduction Options
- Reproduction bumpers: Quality varies. Verify that dimensions, mounting holes, and chrome finish match OEM specifications.
- Core exchanges: Some restorers offer re-chromed bumpers in exchange for your refurbishable core.
Warning: Many reproduction bumpers use thinner steel or lower-quality chrome, resulting in reduced durability and incorrect fitment. Always compare with original specifications.
7. Restoration Process: Step-by-Step Walkthrough
1. Disassembly and Documentation
- Remove all hardware, brackets, and trim.
- Tag and bag each component.
- Document original assembly order and orientation.
2. Surface Preparation
- Strip old chrome and paint using chemical or abrasive methods.
- Media blast steel to remove rust and reveal hidden damage.
3. Metal Repair
- Weld or fill rust-through areas.
- Straighten bends using hydraulic presses or heat.
- Grind and finish welds to match original contours.
4. Re-Chroming
- Select a reputable chrome plating shop experienced with classic automotive parts.
- Ensure triple-plating (copper, nickel, chrome) for durability and authentic appearance.
5. Bracket and Hardware Restoration
- Replace fatigued or corroded brackets with NOS or high-quality reproductions.
- Use grade 8 hardware or OEM-spec replacements.
6. Reassembly
- Test-fit all components before final assembly.
- Install trim, lighting, and accessories.
8. Fitment: Ensuring a Factory-Correct Installation
Alignment and Mounting
- Use factory service manual diagrams for bracket orientation and torque specs.
- Temporarily install bumper to check alignment with body lines and trunk lid.
- Adjust as necessary for even gaps and flush fit.
Hardware and Fasteners
- Use anti-seize compound on bolts to prevent future corrosion.
- Torque fasteners to specification—overtightening can distort the bumper or brackets.
Lighting and Accessories
- Ensure license plate lights and wiring are functional and routed per original design.
- Replace any cracked lenses or missing seals.
For an in-depth fitment walkthrough, refer to our Amc Ambassador Rear Bumper Fitment editorial.
Advertisement
9. Safety and Regulatory Compliance
Key Safety Considerations
- Secure attachment: The bumper must withstand moderate impacts without detaching.
- No sharp edges: File or cover any exposed metal.
- Lighting compliance: All rear-facing lights integrated into the bumper must function.
Reference Standards
- While pre-1980s vehicles are often exempt from modern crash standards, the NHTSA Equipment Guidelines recommend that all repairs and restorations meet or exceed the original manufacturer’s safety intent.
Documentation
- Keep records of all replacement parts and restoration steps.
- This aids in future inspections, insurance, or resale.
10. Common Pitfalls and How to Avoid Them
Incompatible Parts
- Always verify year and trim compatibility—small differences in bracket shape or bumper width can prevent proper installation.
Skipping Metal Repair
- Chrome plating will not hide deep rust or cracks. Address all metalwork before finishing.
Improper Fasteners
- Hardware store bolts may lack the strength or corrosion resistance of OEM parts. Use automotive-grade replacements.
Overlooking Lighting and Trim
- Missing or incorrect trim pieces detract from authenticity and may affect safety (e.g., missing license plate lights).
11. Maintenance Tips for Longevity
- Wash and dry the bumper regularly to prevent water spots and corrosion.
- Apply a high-quality wax or chrome polish every 3–6 months.
- Inspect mounting hardware annually for loosening or corrosion.
- Touch up any chips or scratches in the chrome to prevent rust.
12. Sourcing and Installation Resources
Where to Find Parts and Support
- Classic AMC forums: Connect with other restorers for leads on rare parts.
- Specialty suppliers: Some vendors offer complete bumper kits or restoration services.
- AutoPartEx guides: Our editorial coverage provides technical advice, fitment charts, and supplier recommendations.
For step-by-step installation procedures, see Amc Ambassador Bumper Installation.
13. Expert Solution Path: What the Pros Do Differently
Professional restorers take a systematic approach:
- Source multiple candidate bumpers to ensure the best core is selected.
- Disassemble and inventory every component for restoration or replacement.
- Invest in high-quality chrome plating—often the single most visible aspect of the finished product.
- Use jigs or alignment tools to guarantee a factory-precise fit.
- Document all part numbers, suppliers, and procedures for future reference.
This approach minimizes surprises and delivers a result that stands up to close inspection—by judges, buyers, or safety inspectors.
14. AutoPartEx Positioning: Your Trusted Restoration Partner
AutoPartEx is committed to supporting AMC Ambassador owners and restoration professionals with accurate technical resources, vetted supplier recommendations, and detailed fitment data. Our dedicated AMC Ambassador Rear Bumper Assembly category page and related editorial content ensure you have access to the latest restoration insights, diagnostic checklists, and installation walkthroughs.
Whether you are sourcing a rare bumper core or navigating the complexities of fitment and compliance, AutoPartEx is your go-to source for reliable, field-tested guidance.
15. Conclusion: Achieving a Safe, Authentic AMC Ambassador Bumper Restoration
Restoring an AMC Ambassador rear bumper is a rewarding but technically demanding project. By understanding the hidden challenges—ranging from part scarcity to fitment nuances and safety compliance—you can approach the task with confidence. Use this case study as your blueprint for sourcing, restoring, and installing a bumper that meets both historical and modern standards.
For additional technical resources and supplier links, explore our full suite of AMC Ambassador guides and category pages.
References
Advertisement