
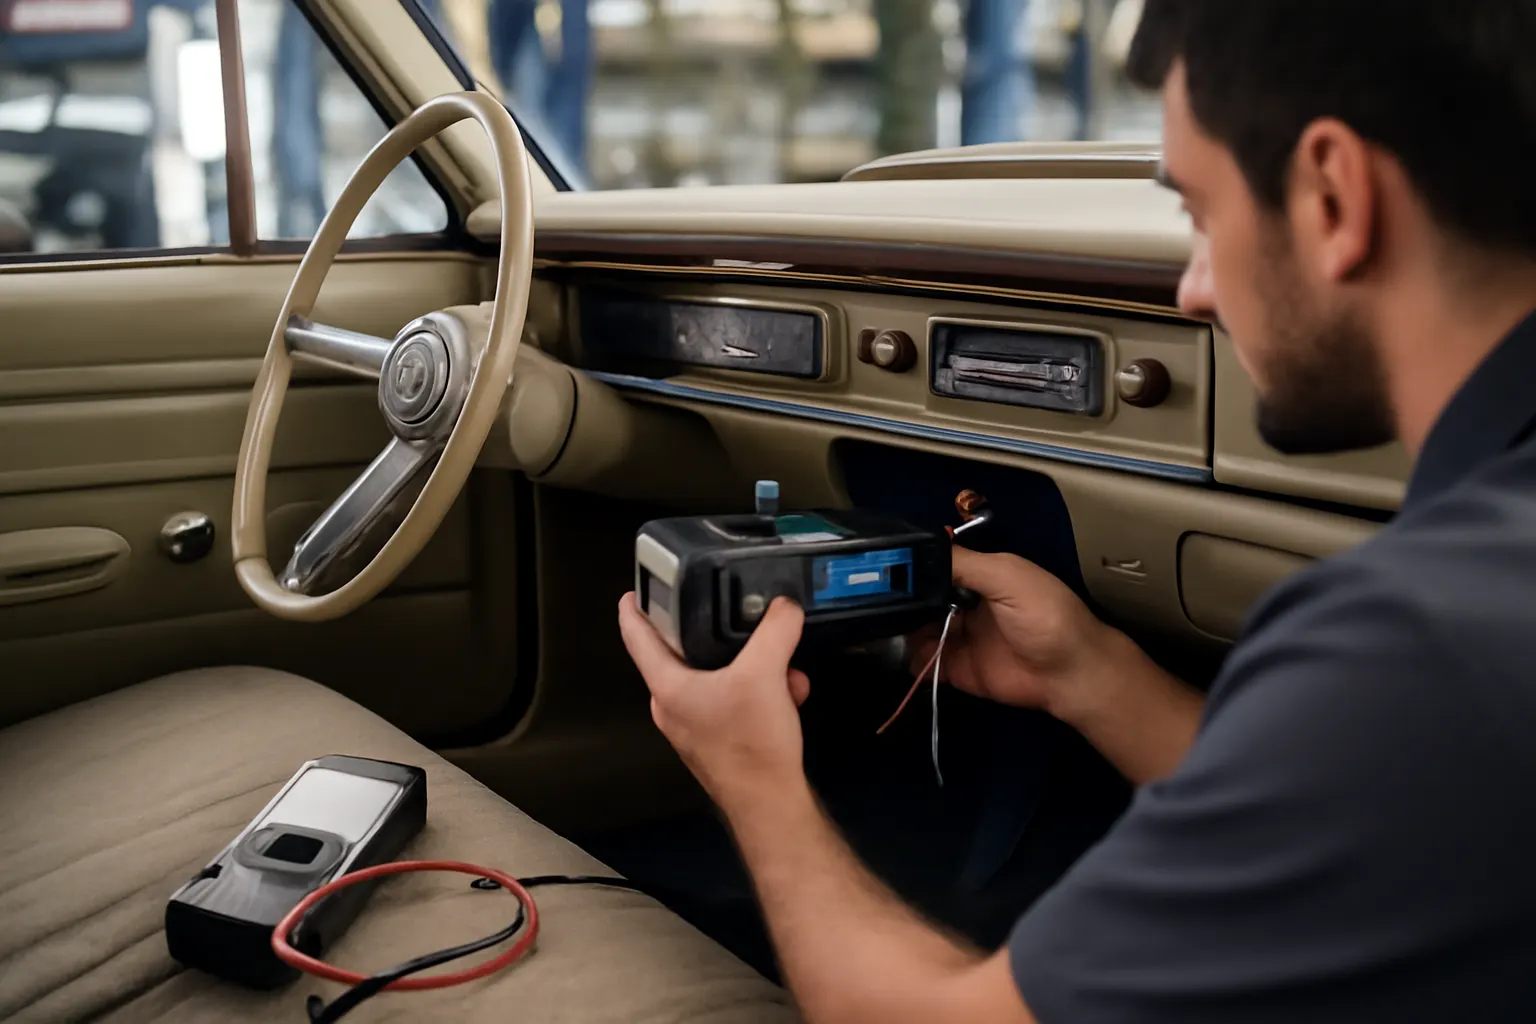
Ambassador Audio Retrofit
Upgrading your AMC Ambassador’s audio system is entirely achievable—without sacrificing the car’s classic character or market value. The right approach allows you to enjoy modern sound quality and features while preserving the period-correct appearance that makes your Ambassador stand out. Whether you drive a show-quality 1960s sedan or a daily-driven 1970s wagon, a smart retrofit can deliver Bluetooth, digital clarity, and reliable operation—all hidden behind factory trim or within original bezels.
For owners seeking verified fitment, period-correct upgrades, and proven installation techniques, AMC Ambassador Audio/Visual Equipment Parts & Upgrades | AutoPartEx provides a trusted starting point. This guide covers the essentials, pitfalls, and best practices for a successful Ambassador audio retrofit.
Why Retrofit Your AMC Ambassador’s Audio?
The factory audio systems installed in AMC Ambassadors from the 1960s and 1970s were designed for AM or basic AM/FM radio, with limited fidelity, power, and speaker placement. Today’s expectations—streaming, hands-free calling, crisp bass, and clear treble—are far beyond what original equipment can deliver. However, many owners hesitate to upgrade, fearing loss of originality or diminished collector value.
Retrofitting allows you to bridge this gap. By using period-correct or “hidden” upgrades, you can integrate features like Bluetooth and digital media while keeping the dash and interior visually stock. This approach not only modernizes your driving experience but can also enhance safety (clearer audio, hands-free operation) and long-term usability.
The Hidden Problem: More Than Just Plug-and-Play
Retrofitting audio in an AMC Ambassador isn’t as simple as swapping out a head unit. The underlying challenges include:
- Limited dash space: Factory radio openings are narrow and uniquely shaped.
- Speaker placement: Original locations were often single dash or rear deck speakers, with small cutouts and shallow depth.
- Electrical system constraints: Stock wiring and alternators were designed for low-wattage radios, not today’s amplifiers or digital accessories.
- Preserving originality: Visible modifications—cutting dash panels, drilling speaker holes—can lower value and authenticity.
Unseen problems can also arise from aged wiring, brittle plastics, and non-standard fasteners. These issues often surface mid-project, risking delays and unexpected costs.
Understanding the Technical Landscape
Factory Audio Layouts in the AMC Ambassador
AMC Ambassadors typically featured a single in-dash speaker and, in some models, an optional rear deck speaker. The radio was a shaft-style unit, with a narrow faceplate and analog tuner. Speaker wiring used simple, low-gauge conductors routed through the dash and under carpeting. There was no provision for external amplifiers, subwoofers, or additional channels.
Materials and Compatibility
Older Ambassadors use steel dashes, fiberboard speaker trays, and early plastics. These materials are less forgiving than modern composites. Drilling, cutting, or forcing components can introduce rattles or even cause cracks. According to the U.S. Department of Energy’s Materials Technologies, understanding legacy materials is critical to avoiding damage during upgrades.
Modern Audio System Requirements
Modern head units require a 12-volt constant power source, a reliable ground, and switched accessory power. Amplifiers and digital sources draw more current, sometimes exceeding the stock alternator’s output. Many new speakers are deeper and require larger mounting holes or enclosures. Bluetooth microphones, USB ports, and auxiliary jacks must be routed discreetly to avoid visible modifications.
Planning Your Retrofit: Key Considerations
A successful Ambassador audio retrofit starts with careful planning. Consider the following:
- Define your goals: Do you want hidden upgrades (stealth), period-correct appearance, or maximum sound quality?
- Assess the car’s originality: Is your Ambassador a survivor, restored, or modified? The more original the car, the more discreet your approach should be.
- Budget and skill level: Will you do the work yourself or hire a specialist? Some upgrades require fabrication, electrical skills, or rare parts.
- Component sourcing: Original-style radios, reproduction bezels, and custom mounting kits are available, but not always in stock.
- Safety and compliance: Ensure all parts and wiring meet safety standards. The National Highway Traffic Safety Administration’s Equipment Guidelines are a useful reference.
Choosing the Right Audio Components
Head Units: Stock, Replica, or Hidden
- Original radios: Best for show cars, but limited functionality.
- Modern “retro” radios: Companies offer digital units in stock housings, with original-style knobs and faces but hidden Bluetooth, USB, and preamp outputs.
- Hidden head units: Mount a modern receiver in the glove box or under the seat, leaving the dash untouched. Use remote controls or smartphone apps for operation.
Speakers: Placement and Fitment
- Dash speaker: Replace the original with a dual-voice-coil speaker for stereo sound from a single opening.
- Rear deck: Use factory cutouts or custom enclosures, but avoid cutting new holes in visible areas.
- Kick panels: Some suppliers offer custom kick panels with integrated speakers, painted to match your interior.
- Under-seat/subwoofer: Compact powered subwoofers can be tucked under seats for improved bass without visible modifications.
Amplifiers and Accessories
- Amplifiers: Choose compact, efficient amps that fit under seats or in the trunk.
- Wiring kits: Use high-quality, appropriately gauged wiring. Avoid running power and signal wires together to prevent interference.
- Bluetooth microphones/USB: Route cables through existing holes or under trim to keep them out of sight.
Retrofit Installation: Step-by-Step Checklist
A structured approach minimizes risks and preserves value. Use this checklist as your roadmap:
Ambassador Audio Retrofit Installation Checklist
- Inventory all parts and tools: Confirm fitment for your Ambassador’s year/model.
- Disconnect the battery: Prevent accidental shorts or electrical hazards.
- Remove original radio and speakers: Use trim tools; document wiring and fastener locations.
- Assess dash and speaker areas: Check for rust, cracks, or previous modifications.
- Test-fit new components: Ensure head unit, speakers, and brackets fit without forcing.
- Install speakers: Use existing openings where possible; insulate mounting points to prevent rattles.
- Wire the system: Route power, ground, accessory, and speaker wires per SAE Standards for automotive systems.
- Install the head unit: Secure using stock mounts or reproduction kits; align faceplate for period-correct appearance.
- Connect accessories: Bluetooth mic, USB, or auxiliary inputs should be routed discreetly.
- Reconnect battery and test: Verify all functions—radio, Bluetooth, USB, all speakers.
- Reassemble trim and panels: Double-check fit and finish; ensure no visible modifications.
- Final inspection: Listen for rattles, verify secure mounting, check wiring for heat or chafing.
Diagnosing and Avoiding Common Retrofit Pitfalls
Electrical Issues
- Blown fuses or shorts: Often caused by incorrect wiring or pinched cables. Always test with a multimeter before finalizing connections.
- Ground loops/noise: Use a dedicated ground point on the chassis, away from other electronics.
- Underpowered system: If headlights dim with audio use, consider upgrading the alternator or adding a power capacitor.
Fitment Challenges
- Dash modifications: Avoid cutting or filing original dash openings. Use adapters or custom brackets.
- Speaker depth: Measure available space before buying. Shallow-mount speakers or custom enclosures may be needed.
- Trim alignment: Reproduction bezels and knobs sometimes require adjustment for a perfect fit.
Sound Quality Issues
- Rattles and vibrations: Use foam or rubber insulators around speakers and mounting brackets.
- Imbalanced sound: Dual-voice-coil dash speakers help deliver stereo from a single location.
- Poor bass response: Add an under-seat subwoofer or upgrade rear deck speakers using stock cutouts.
Sourcing the Right Parts for Your Ambassador
Finding components that fit and look right is critical. Use trusted suppliers specializing in classic AMC parts, and cross-reference part numbers with your Ambassador’s year and trim level. AMC Ambassador Audio/Visual Equipment Parts & Upgrades | AutoPartEx offers curated options for radios, speakers, wiring, and bezels.
When sourcing:
- Check compatibility with AMC’s unique dash openings.
- Prefer period-correct reproduction parts for visible components.
- For hidden upgrades, focus on compact dimensions and flexible mounting.
- Consult Amc Ambassador Audio Visual Fitment for detailed fitment guides and part interchangeability.
Electrical System Upgrades: When Are They Needed?
Stock Ambassador alternators were designed for minimal electrical loads. If your retrofit includes powerful amplifiers, multiple speakers, or subwoofers, you may need to:
- Upgrade to a higher-output alternator.
- Install a modern fuse block for accessory circuits.
- Use relays for high-current devices.
- Inspect and replace old wiring as needed.
Always use wiring and connectors rated for automotive use, following NHTSA’s equipment guidelines and SAE Standards.
Preserving Value: Keeping It Period-Correct
Collectors and enthusiasts value originality. To maintain or increase your Ambassador’s value:
- Avoid visible modifications to dash, trim, or speaker grilles.
- Store removed original parts for future reinstallation.
- Use reproduction radios and knobs, or hide upgrades behind stock panels.
- Document all changes for future owners.
Consult Amc Ambassador Audio Restoration for restoration-friendly audio upgrade techniques.
Maintenance and Troubleshooting
After installation:
- Periodically check all connections for corrosion or loosening.
- Inspect wiring for wear, especially where routed through metal or under carpets.
- Clean contacts with electronic-safe cleaner.
- Update Bluetooth firmware and test all features regularly.
- Listen for new rattles—tighten fasteners and insulate as needed.
If issues arise, refer back to your installation checklist and use a systematic diagnostic approach. Many problems can be traced to a single loose wire or misrouted cable.
Safety and Compliance: What You Need to Know
All retrofit parts and wiring should meet federal safety standards. For reference:
- Use only automotive-rated wiring and fuses.
- Do not bypass safety features (e.g., ignition interlock, lighting circuits).
- Secure all wiring away from moving parts and sharp edges.
- Confirm that upgrades do not interfere with airbags, seat belts, or other safety equipment.
Check the NHTSA recalls database for any known issues with retrofit parts or components.
Advanced Upgrades: Options for Enthusiasts
For those seeking the ultimate in sound quality or features, consider:
- Digital sound processors (DSPs): Tailor frequency response and staging for your car’s interior.
- Smartphone integration: Add discreet wireless chargers and app-based controls.
- Custom enclosures: Build removable speaker boxes for shows or events.
- Noise insulation: Add sound-deadening materials under carpets and in doors for a quieter cabin.
Always ensure advanced modifications are reversible and do not compromise the car’s structure or originality.
Professional vs. DIY Installation: Making the Right Choice
While many Ambassador owners tackle audio upgrades themselves, some projects—especially those involving custom fabrication or electrical upgrades—are best left to professionals. Consider professional installation if:
- You lack experience with automotive wiring or dash disassembly.
- Your car is highly original or valuable.
- The upgrade requires custom panels, enclosures, or significant electrical work.
A reputable installer will respect your car’s originality, use proper materials, and provide a warranty on their work.
AutoPartEx: Your Partner for AMC Ambassador Audio Retrofits
At AutoPartEx, we specialize in classic car audio solutions that blend modern performance with period-correct style. Our curated catalog, expert fitment guidance, and installation resources make us the go-to source for AMC Ambassador owners. Whether you need a direct-fit reproduction radio, custom speaker panels, or wiring kits, our team can help you achieve a seamless, value-preserving upgrade.
Explore our full selection at AMC Ambassador Audio/Visual Equipment Parts & Upgrades | AutoPartEx, and reference our editorial guides (Amc Ambassador Audio Visual Fitment, Amc Ambassador Audio Restoration, Amc Classic Av Tools) for detailed technical support.