
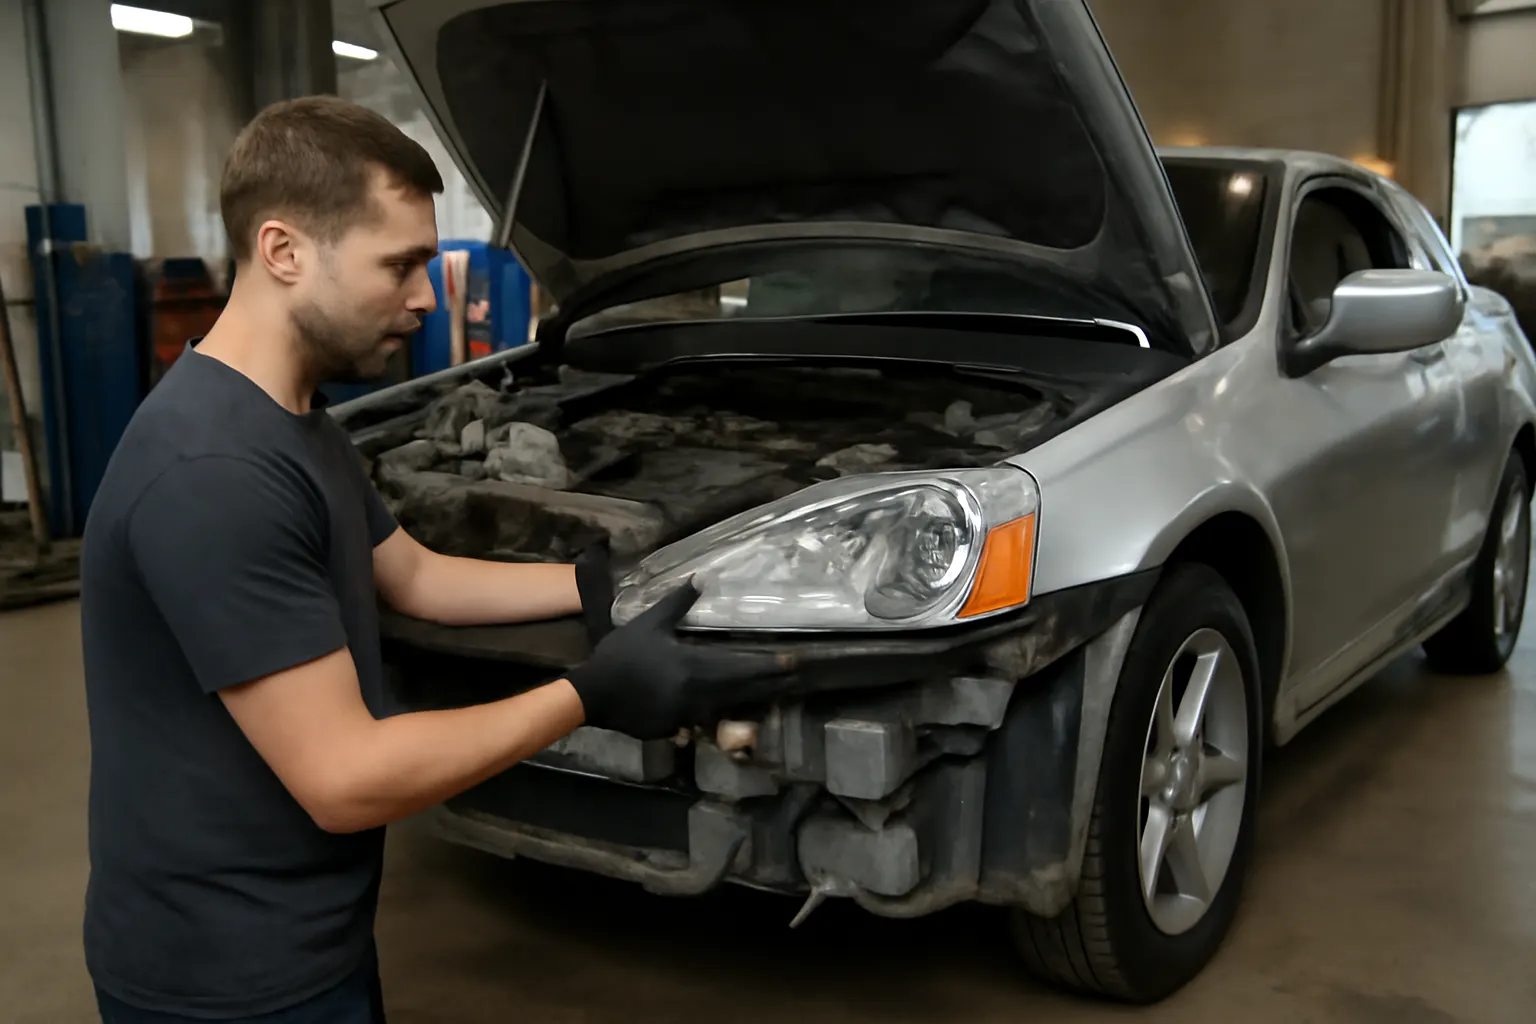
Acura Rsx Restoration Tips
Restoring an Acura RSX—whether to daily driver reliability, show car condition, or track-day readiness—means more than swapping out worn parts. Success requires a clear roadmap, parts sourcing savvy, and a technical understanding of what makes the RSX unique. This guide delivers actionable restoration advice, real-world project insights, and community-driven tips to help you revive your RSX with confidence. For a comprehensive overview of available parts and model specifics, visit the Acura RSX Parts & Model Guide.
Why Restore an Acura RSX? The Immediate Value Proposition
The Acura RSX, produced from 2002 to 2006, has become a modern classic among JDM enthusiasts. Its K-series engines, balanced chassis, and accessible aftermarket support make it a prime candidate for restoration. Whether you’re seeking to preserve OEM originality, enhance performance, or simply keep a beloved daily on the road, restoring an RSX offers:
- Affordable entry into the enthusiast market compared to older Integras or newer Type Rs.
- Broad aftermarket and OEM parts availability.
- Strong online and local community support for technical guidance.
Restoration is not just about aesthetics—it’s about returning your RSX to peak mechanical and safety standards, ensuring long-term reliability and value.
The Hidden Challenges in RSX Restoration
While the RSX platform is robust, restoration projects often reveal unexpected challenges:
- Parts Obsolescence: Some OEM trim, electronics, and body panels are discontinued.
- Rust and Corrosion: Hidden rust in rear quarters, subframes, and underbody bracing is common, especially in northern climates.
- Previous Owner Modifications: Non-OEM wiring, suspension changes, or engine swaps may complicate diagnosis and repair.
- Safety and Compliance: Outdated airbags, seatbelt mechanisms, and lighting may not meet current safety standards (NHTSA Equipment).
Addressing these issues requires more than a basic parts swap. A methodical, safety-first approach is critical for a successful and lasting restoration.
Diagnosing the Real State of Your RSX
Before ordering parts or tearing into the project, invest in a thorough diagnostic phase. This step is often overlooked, but it prevents wasted time and money later.
Comprehensive Inspection Checklist
Use this checklist to assess your RSX’s baseline condition:
- Body & Frame:
- Inspect rocker panels, wheel wells, and underbody for rust.
- Check for accident repairs or structural misalignment.
- Engine & Drivetrain:
- Listen for abnormal noises at idle and under load.
- Inspect for oil leaks, coolant seepage, and worn mounts.
- Scan for engine codes, even if the CEL is off.
- Suspension & Brakes:
- Test for play in ball joints, bushings, and tie rods.
- Inspect brake lines for corrosion and pads/rotors for wear.
- Electrical & Electronics:
- Test all lighting, HVAC, and gauge functions.
- Check window motors, door locks, and sunroof operation.
- Interior & Safety Equipment:
- Inspect seatbelt retractors and airbag warning lights.
- Evaluate seat, dash, and panel condition for restoration or replacement.
Document every finding. Photos, VIN checks, and a written list will guide your parts sourcing and budgeting.
Sourcing Parts: OEM, Aftermarket, and Salvage Strategies
Finding the right parts for your RSX restoration can be a balancing act between cost, quality, and authenticity.
OEM vs. Aftermarket vs. Used
- OEM (Original Equipment Manufacturer):
- Pros: Guaranteed fitment, factory quality, meets safety standards.
- Cons: Higher cost, some items discontinued.
- Aftermarket:
- Pros: Broader selection, performance and cosmetic upgrades, competitive pricing.
- Cons: Variable quality—always check for reputable brands and certifications.
- Used/Salvage:
- Pros: Cost-effective for rare/discontinued parts, eco-friendly.
- Cons: Uncertain history, potential for hidden wear.
For safety-critical items (brake components, airbags, seatbelts), always prioritize new OEM or certified aftermarket parts that meet NHTSA equipment standards.
Parts Sourcing Tips
- Cross-reference part numbers using the Acura EPC (Electronic Parts Catalog).
- Join RSX owner forums and social media groups for leads on rare or discontinued parts.
- Inspect used parts in person when possible, especially body panels and electronics.
- Use reputable suppliers with clear return policies.
Tackling Common RSX Restoration Pain Points
Every RSX project brings its unique quirks, but several problem areas are nearly universal.
Rust Repair and Prevention
- Rear Quarter Panels & Rocker Panels: Rust commonly starts under side skirts and wheel arches. Remove all trim and inspect for bubbling or soft spots. Cut out and weld new metal if necessary; patching with filler is a temporary fix at best.
- Subframe & Suspension Mounts: Northern cars often suffer from underbody corrosion. Treat with rust converter, replace compromised hardware, and apply a quality undercoating.
Interior Restoration
- Seats and Upholstery: OEM seat covers and foam are often worn. Consider professional reupholstery or high-quality aftermarket covers.
- Dash and Console: Faded or cracked plastics can be restored with specialty dyes or replaced with salvage yard finds.
Electrical Issues
- Cluster and Sensor Failures: Aging solder joints and corroded connectors are common. Clean all grounds and replace failing sensors with OEM or reputable aftermarket units.
- Aftermarket Alarm/Audio: Poorly installed electronics can cause parasitic drain and gremlins. Remove and rewire any suspect modifications.
Safety and Compliance: Don’t Overlook Critical Systems
Restoring an RSX isn’t only about performance and appearance—modern safety standards must be met, especially if the car will see public roads.
Airbags and Restraints
- Verify that all airbags are present, with no warning lights or stored faults.
- Inspect seatbelt retractors for smooth operation and proper tension.
- Replace any deployed or missing SRS components with OEM or certified replacements.
Lighting and Visibility
- Restore or replace faded headlamps and taillights for maximum visibility.
- Upgrade to DOT-approved bulbs where possible, avoiding non-compliant “JDM” or tinted lenses.
- Ensure all marker and signal lights function per NHTSA requirements.
Brake System
- Replace aged rubber lines with new rubber or DOT-approved stainless steel.
- Upgrade to performance pads and rotors if desired, but maintain OEM proportions for safe brake balance.
- Bleed the system thoroughly and confirm no leaks or soft pedal feel.
Fuel Efficiency and Drivetrain Optimization
Restoration is the perfect time to address fuel economy and drivetrain efficiency, especially as the RSX ages.
- Engine Tune-Up: Replace spark plugs, filters, and fluids per factory intervals. Use OEM or equivalent components for best results.
- Intake and Exhaust: Clean or replace the intake manifold and throttle body. Inspect exhaust for leaks or rust; replace as needed.
- Transmission: Change fluid, inspect for worn synchros (especially on 6-speed Type-S models), and replace bushings or mounts showing excessive play.
These steps not only improve reliability but can restore or even enhance original fuel efficiency, as outlined by the DOE’s fuel efficiency guidelines.
Real-World RSX Restoration Project Insights
Learning from others’ projects can save you time and frustration. Here are a few community-tested lessons:
- Budget for the Unexpected: Most projects uncover hidden issues—plan for an extra 20% over your initial estimate.
- Document Everything: Photos and notes help track progress and can increase resale value by proving work completed.
- Start with Safety, End with Cosmetics: Address brakes, suspension, and structural repairs before moving to paint or interior upgrades.
- Leverage Community Knowledge: RSX forums and social groups are invaluable for troubleshooting and moral support.
Technical Tips from the RSX Community
The RSX community has developed a wealth of technical wisdom over the years. Here are some of the most valuable tips:
- Test Fit All Parts Before Final Assembly: Especially important for aftermarket body kits, suspension, and exhaust components.
- Chase Electrical Gremlins Methodically: Use wiring diagrams and a multimeter; never “shotgun” parts replacement.
- When in Doubt, Reference Factory Service Manuals: Many are available online or through enthusiast groups.
- Upgrade Selectively: Not every aftermarket part improves performance or reliability—research and prioritize upgrades that align with your goals.
Restoration vs. Modification: Striking the Right Balance
Deciding between a factory-correct restoration and a modified build is a personal choice, but each path has unique considerations:
- Restoration: Focuses on OEM-correct parts, finishes, and specifications. Retains maximum collector value and authenticity.
- Modification: Allows for performance, comfort, or aesthetic upgrades. Can improve driving experience but may reduce originality and resale to purists.
A hybrid approach—restoring core systems to OEM standards while making tasteful, reversible upgrades—often provides the best of both worlds.
Fitment and Compatibility: Avoiding Costly Mistakes
Not all RSX parts are created equal. Differences between base, Type-S, and international models can complicate sourcing and fitment.
- Engine and Transmission: Type-S models use the K20A2/K20Z1 engine and a 6-speed gearbox, while base models use the K20A3 and a 5-speed. Many components are not cross-compatible.
- Suspension and Brakes: Type-S has larger brakes and stiffer suspension tuning—verify part numbers before ordering upgrades.
- Interior and Electronics: Some trim and electronic features differ by year and market. Always check compatibility using VIN or part number databases.
For a detailed breakdown, see our Acura Rsx Fitment Guide.
Maintenance Essentials Post-Restoration
Once your RSX is restored, ongoing maintenance is key to preserving your investment. Establish a maintenance log and adhere to regular intervals for:
- Oil and filter changes (every 3,000–5,000 miles or as specified).
- Transmission and differential fluid service.
- Brake fluid flushes and pad/rotor inspection.
- Cooling system flushes and hose inspections.
- Suspension lubrication and alignment checks.
Our Acura Rsx Maintenance Guide provides a detailed schedule and additional tips for long-term care.
Restoration Project Planning: Timeline and Budget
A successful RSX restoration requires realistic planning. Here’s a sample roadmap:
| Phase | Tasks | Estimated Time | Budget Range |
|---|---|---|---|
| Assessment | Full inspection, parts list, cost estimate | 1–2 weeks | $0–$200 (tools, VIN) |
| Parts Sourcing | Order OEM/aftermarket/used parts | 2–6 weeks | $500–$5,000+ |
| Mechanical Restoration | Engine, brakes, suspension, drivetrain | 2–8 weeks | $1,000–$6,000+ |
| Body & Paint | Rust repair, bodywork, paint, trim | 2–12 weeks | $1,000–$6,000+ |
| Interior & Electrical | Seats, dash, audio, HVAC, lighting | 1–4 weeks | $300–$2,000+ |
| Final Assembly | Re-check systems, road test, detail | 1–2 weeks | $100–$500 |
Adjust these estimates based on your scope, skill level, and whether you’re DIY or using professional shops.
Safety, Quality, and Compliance: Non-Negotiable Standards
Never compromise on safety or quality—especially for structural, braking, or restraint systems. Reference the following for guidance:
- NHTSA Equipment Standards: Ensures compliance with federal safety equipment requirements.
- SAE Standards: Engineering best practices for automotive systems and components.
- DOE Fuel Efficiency Guidelines: Tips for maximizing performance and economy.
If in doubt, consult a certified technician or restoration specialist.
Why Trust AutoPartEx for Your RSX Restoration?
At AutoPartEx, we combine technical expertise with a curated inventory of Acura RSX parts, both OEM and high-quality aftermarket. Our guides, like the Acura RSX Parts & Model Guide, are engineered to help enthusiasts and professionals make informed, safe, and cost-effective restoration decisions. We support the RSX community with up-to-date fitment data, diagnostic tips, and real-world project support—whether you’re tackling a frame-off restoration or a weekend refresh.
Take Action: Start Your RSX Restoration Journey
Restoring an Acura RSX is more than a project—it’s an investment in driving enjoyment, automotive heritage, and personal satisfaction. Begin with a thorough assessment, source the right parts, prioritize safety, and document your progress. Connect with the RSX community, reference authoritative standards, and leverage expert resources like AutoPartEx to ensure your restoration is a success for years to come.